How to connect an aluminum radiator to a heating element
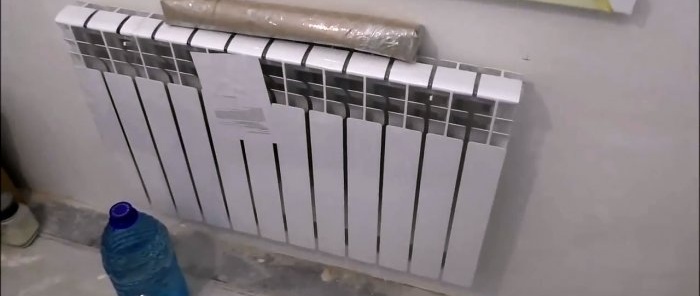
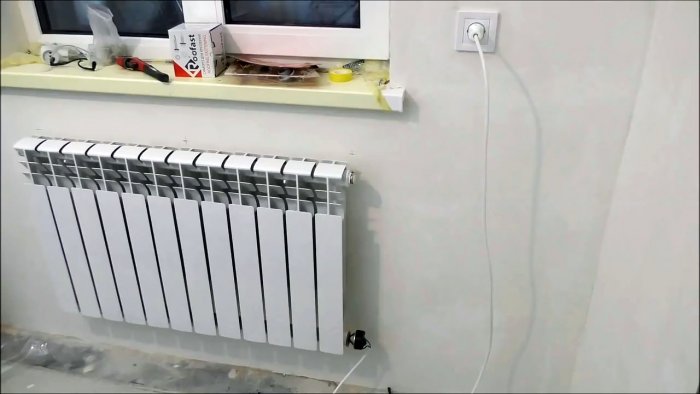
There are situations when the batteries are already installed, but the wiring of the heating system has not yet been done, the boiler is not connected. What should you do if it’s cold outside, but you need to maintain a positive temperature in the rooms, otherwise the finishing of the walls will deteriorate? There is a way out - connect heating elements to the radiators.
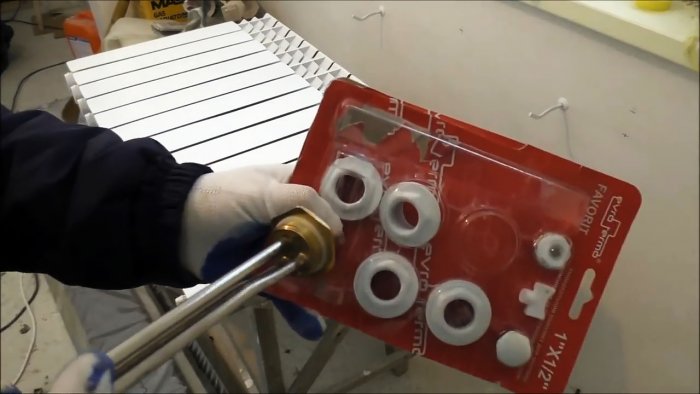
The most important element is the heating element; each radiator requires one with a power of up to 1 kW.

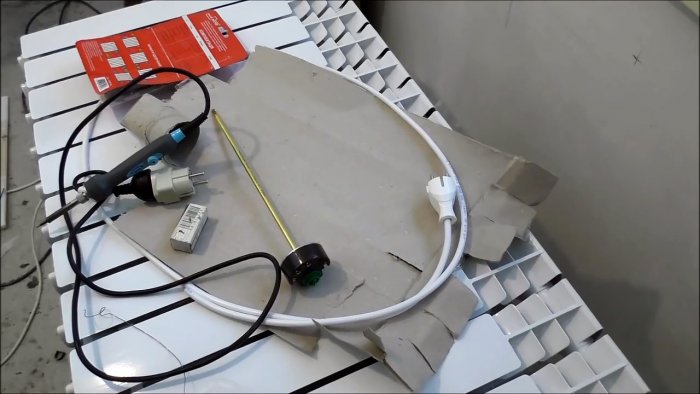
The heating elements are connected with flexible cables, the ends are tinned. For installation work, you must have a set of plumbing tools. The pressure is controlled by a pressure gauge.
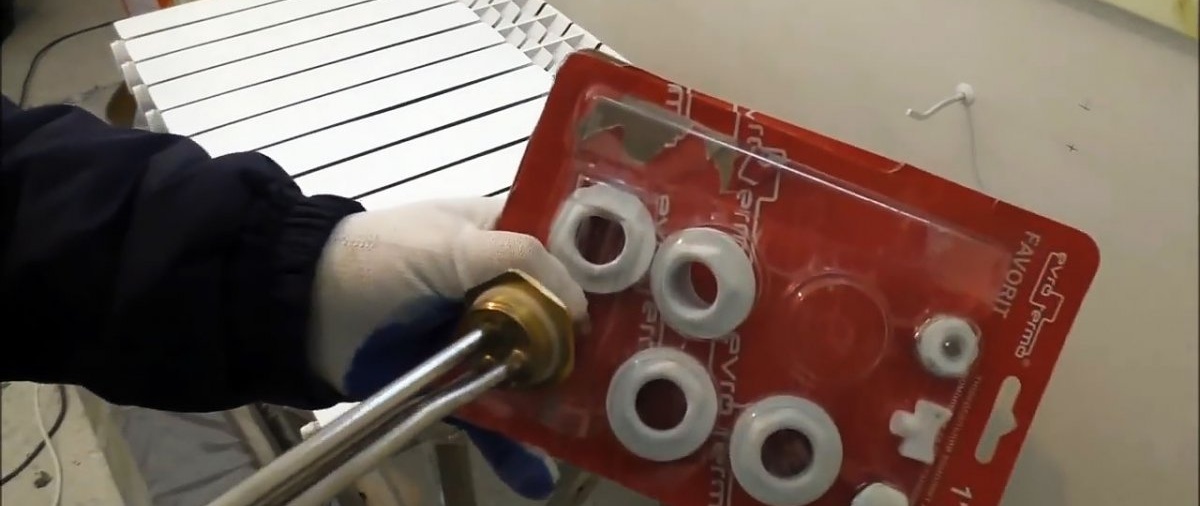
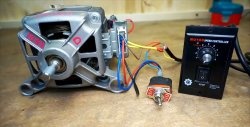
Prepare heating elements with thermostats and wires with a plug; the cross-section of the conductors must be at least 2 square meters. mm. In our case, the power of the heating element is 700 W, the thermostat control scale is 40–80 degrees Celsius.


Unscrew the two bolts and remove the thermostat, this is necessary to facilitate its connection.

Pay attention to the device parameters embossed on the metal base. If they do not match the inscriptions on the front side of the plastic case, this is a fake. We have just such a case, the indicated temperature values are 30–70 degrees Celsius, and on the case 40–80 degrees Celsius.
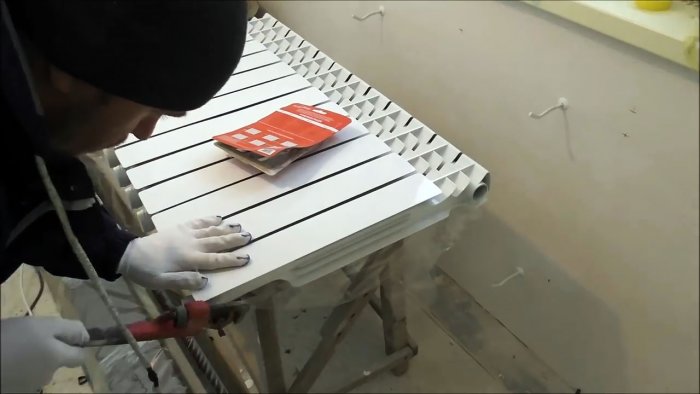
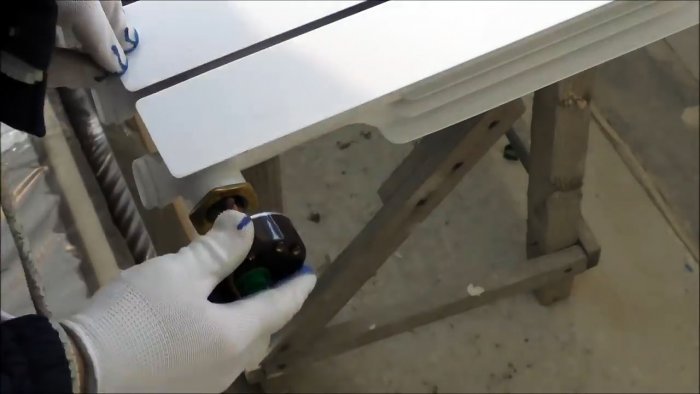
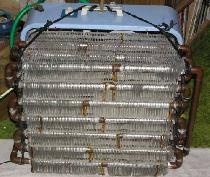
Remove the radiator from the wall and remove the protective film. Try on the heater, insert it into the lower hole, it should fit completely, without effort or jamming.
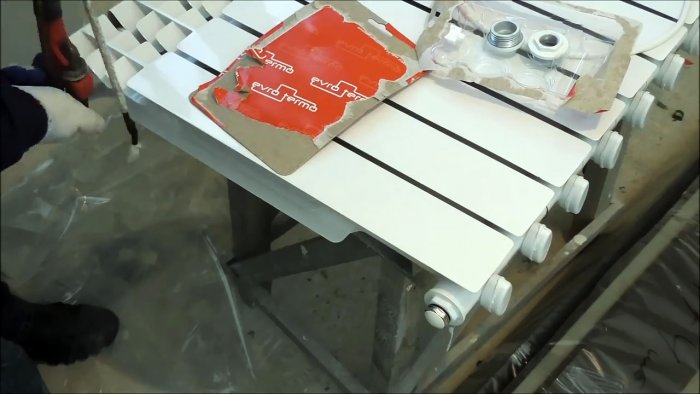
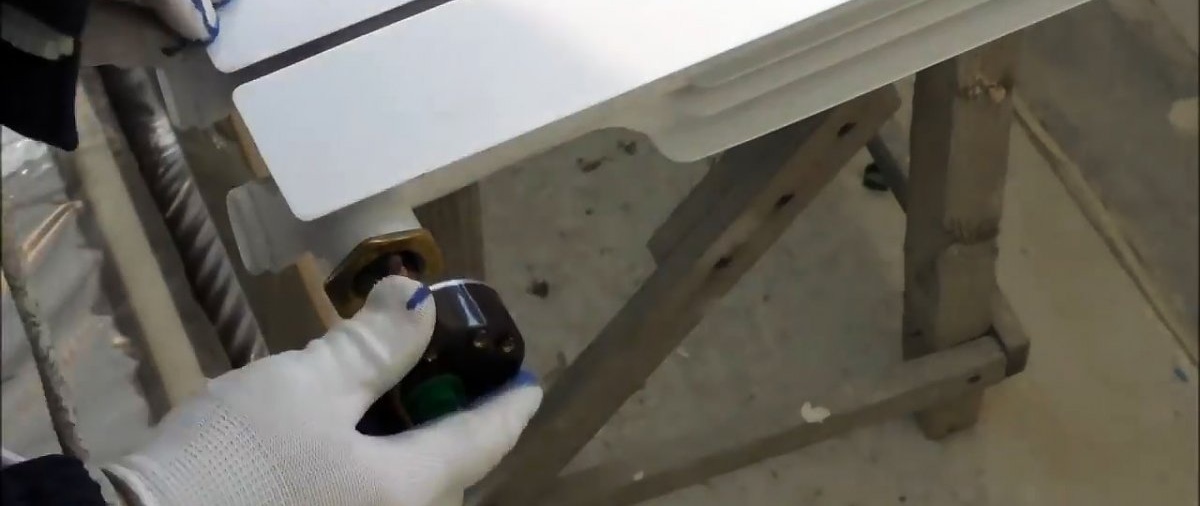
Install a gasket on the metal body of the heating element; it is included with the battery. Using a gas wrench, tighten the heater tightly.

Check the correct position of the heating element. To do this, remove the plug and inspect the inside of the radiator; in our case, it contained a piece of sheet aluminum. The bad news is that the battery was manufactured by an unlicensed company. If the plate remained in the radiator, then no amount of air purging or bleeding would improve water circulation.

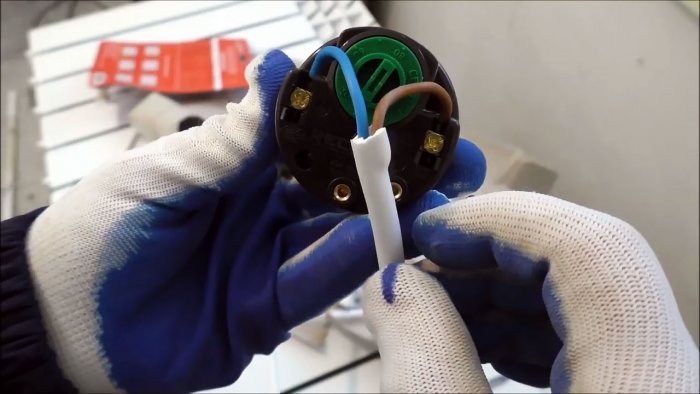
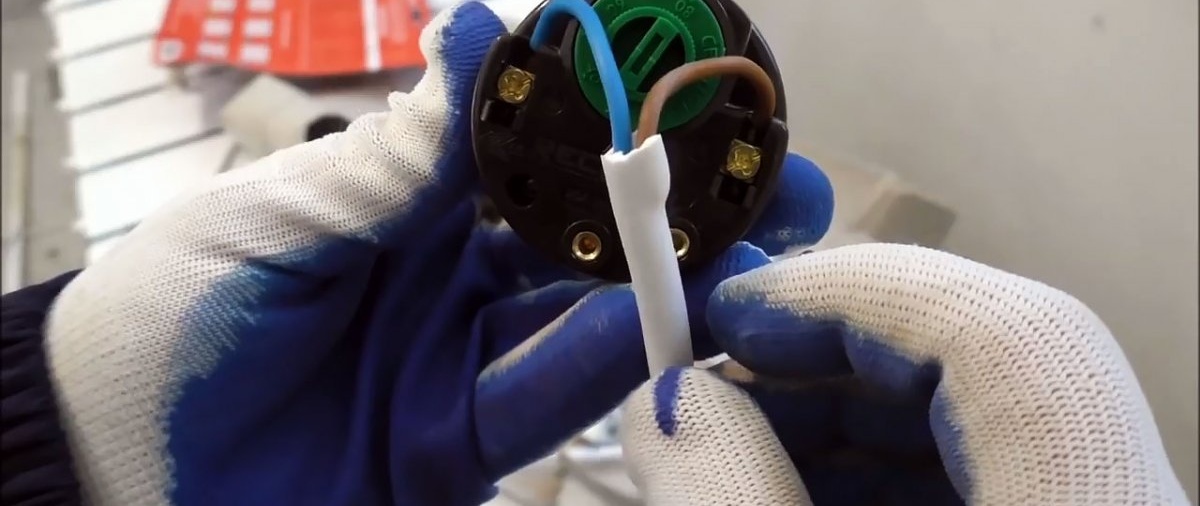
Tin the ends of the wire and screw it to the thermostat terminals.
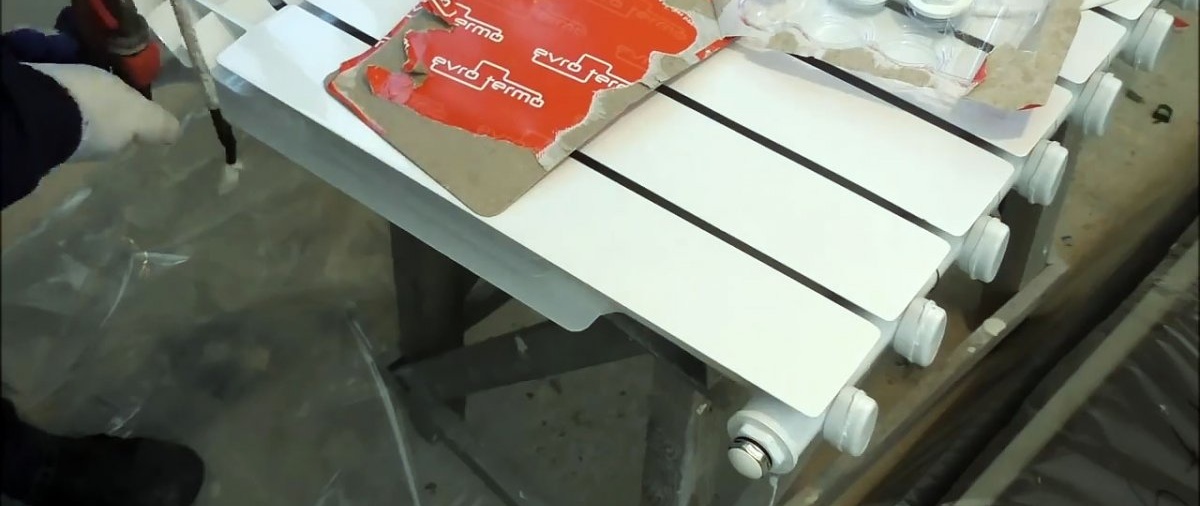
Install the plugs and Mayevsky tap.
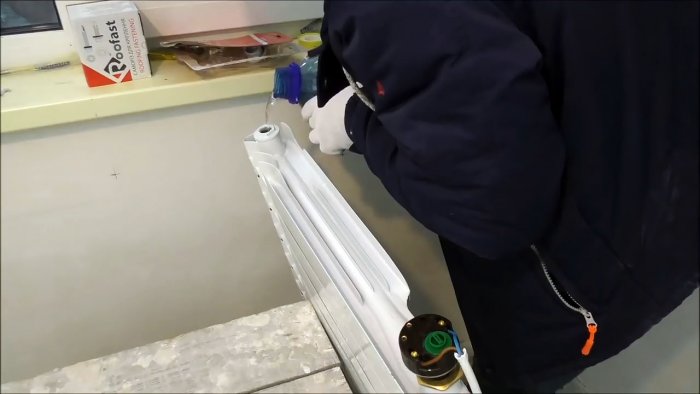
Fill with water, the volume depends on the number of sections.
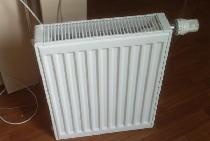
Hang the battery on the wall and turn on the heating element. Wait a bit and check the effectiveness. After 20–30 minutes the battery will begin to warm up well.
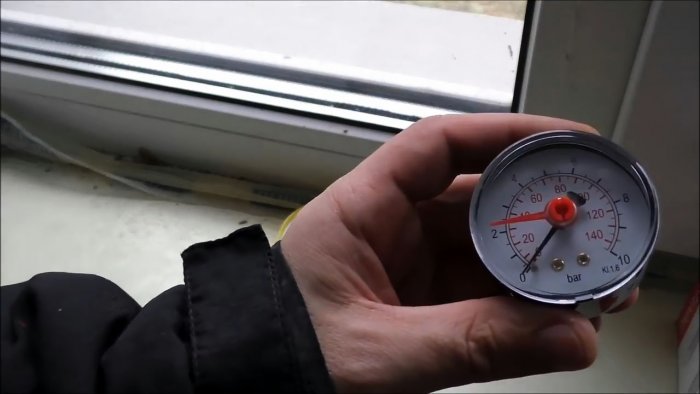
The radiator can withstand a pressure of 16 bar, to prevent rupture due to expansion of water, this parameter must be controlled.
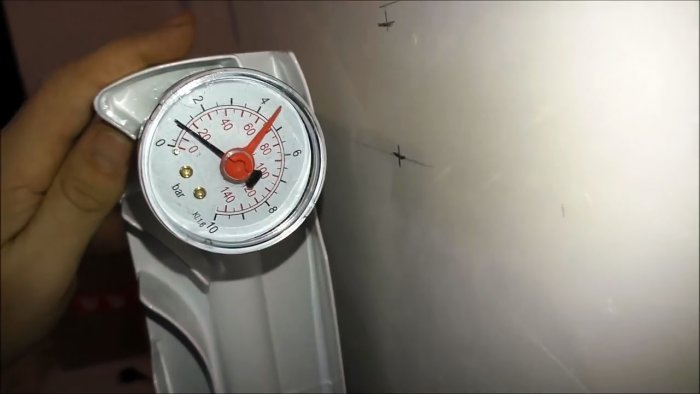
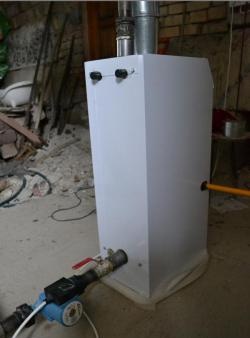
Screw the adapter to the pressure gauge and seal it with a special tape. Install the device on the radiator. If you have little experience and were unable to screw the pressure gauge into the desired position, then remove the elbow and fix the sensor directly on the battery.
Check the pressure with the radiator at maximum temperature. In fact, it does not exceed one Bar, which is quite safe; there is no need to install an expansion tank.


This is only a temporary option for supervised work. It is prohibited to use such a battery without grounding it. You also need to use an RCD to turn it on.

What to prepare
The most important element is the heating element; each radiator requires one with a power of up to 1 kW.

The heating elements are connected with flexible cables, the ends are tinned. For installation work, you must have a set of plumbing tools. The pressure is controlled by a pressure gauge.
Heating element connection technology
Prepare heating elements with thermostats and wires with a plug; the cross-section of the conductors must be at least 2 square meters. mm. In our case, the power of the heating element is 700 W, the thermostat control scale is 40–80 degrees Celsius.


Unscrew the two bolts and remove the thermostat, this is necessary to facilitate its connection.
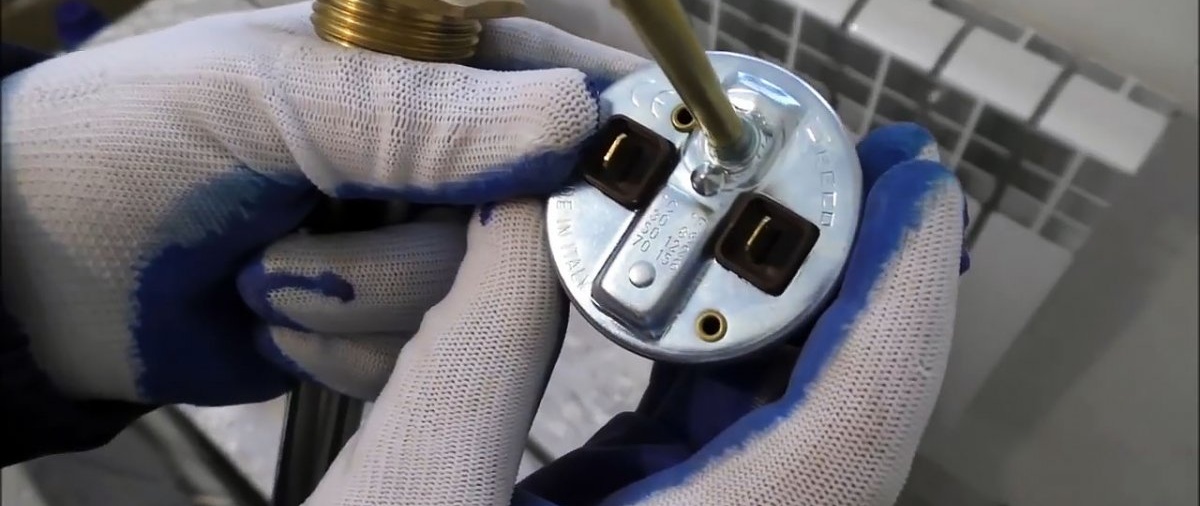
Pay attention to the device parameters embossed on the metal base. If they do not match the inscriptions on the front side of the plastic case, this is a fake. We have just such a case, the indicated temperature values are 30–70 degrees Celsius, and on the case 40–80 degrees Celsius.
Remove the radiator from the wall and remove the protective film. Try on the heater, insert it into the lower hole, it should fit completely, without effort or jamming.
Install a gasket on the metal body of the heating element; it is included with the battery. Using a gas wrench, tighten the heater tightly.


Check the correct position of the heating element. To do this, remove the plug and inspect the inside of the radiator; in our case, it contained a piece of sheet aluminum. The bad news is that the battery was manufactured by an unlicensed company. If the plate remained in the radiator, then no amount of air purging or bleeding would improve water circulation.

Tin the ends of the wire and screw it to the thermostat terminals.

Install the plugs and Mayevsky tap.
Fill with water, the volume depends on the number of sections.

Hang the battery on the wall and turn on the heating element. Wait a bit and check the effectiveness. After 20–30 minutes the battery will begin to warm up well.

The radiator can withstand a pressure of 16 bar, to prevent rupture due to expansion of water, this parameter must be controlled.

Screw the adapter to the pressure gauge and seal it with a special tape. Install the device on the radiator. If you have little experience and were unable to screw the pressure gauge into the desired position, then remove the elbow and fix the sensor directly on the battery.

Check the pressure with the radiator at maximum temperature. In fact, it does not exceed one Bar, which is quite safe; there is no need to install an expansion tank.


Attention:
This is only a temporary option for supervised work. It is prohibited to use such a battery without grounding it. You also need to use an RCD to turn it on.
Watch the video
Similar master classes


Particularly interesting


Comments (5)
