How to make a simple dimmer to control light from a smartphone using Arduino

Using the Arduino Nano module, you can build a simple dimmer, with which you can remotely control not only turning the light on and off, but also its brightness. All control is done from your smartphone without any remote control. The circuit is simple and quite repeatable even by a novice radio amateur.
You will need the following parts
- Arduino Nano -
- Bluetooth module HC-05 -
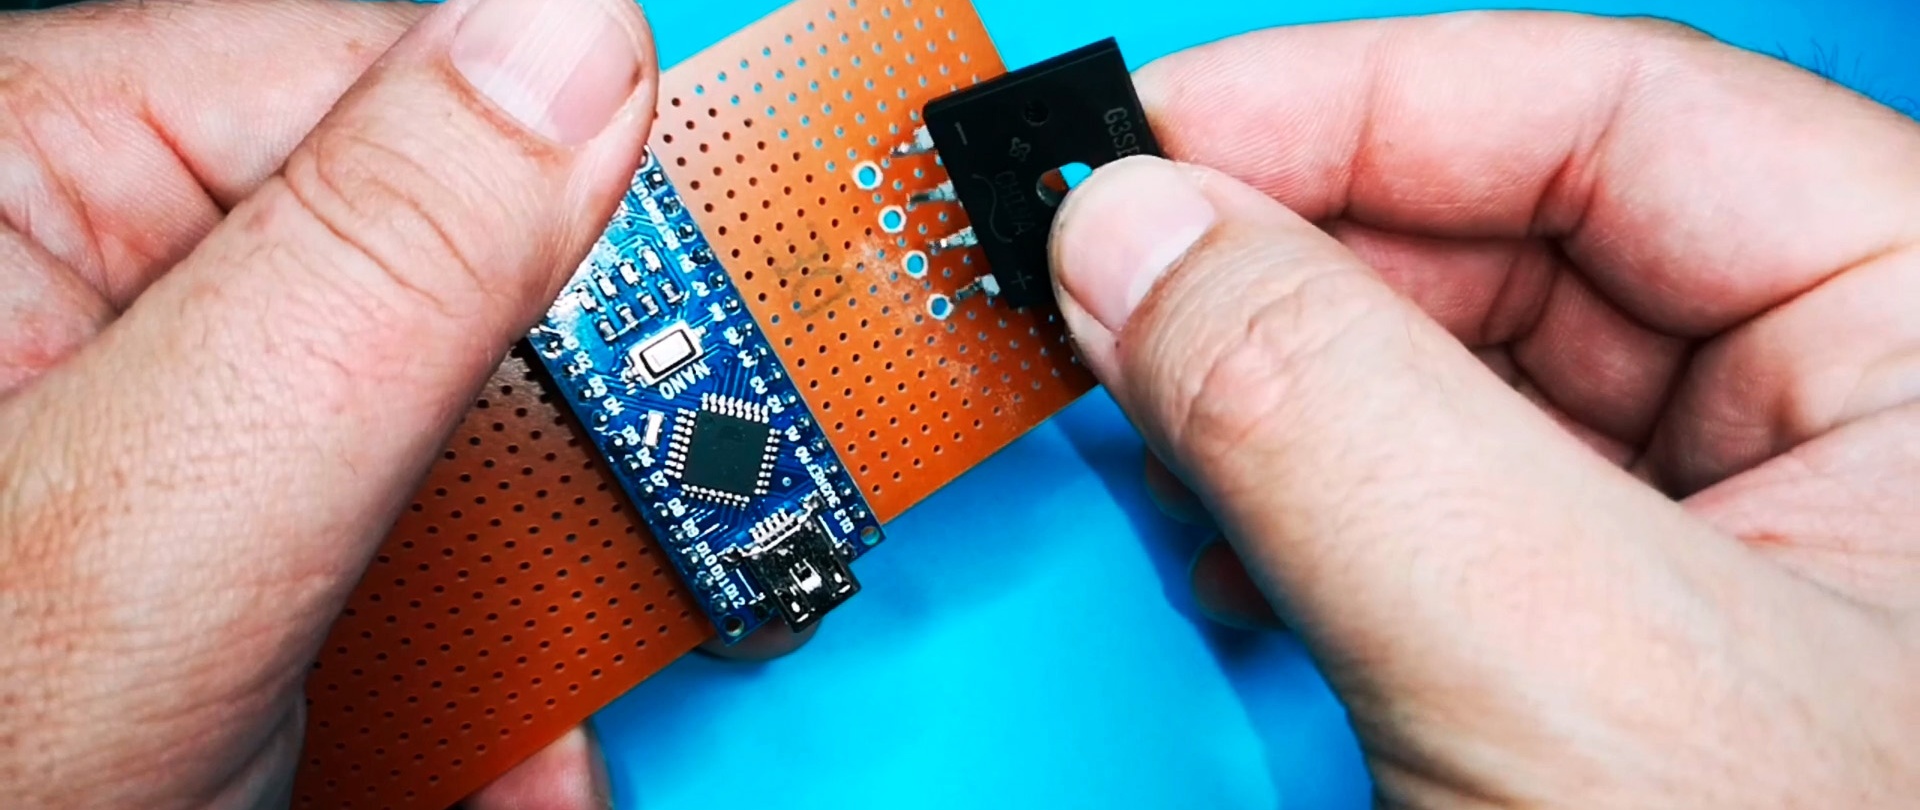
- Triac BTA16 or BT139 -
- Optocoupler EL817 or PC817 -
- Optocoupler with triac output MOC3020 or MOC3021 -
- Diode bridge -
- Resistors 47 kOhm, 1 kOhm, 100 Ohm, 200 R -
Scheme and firmware

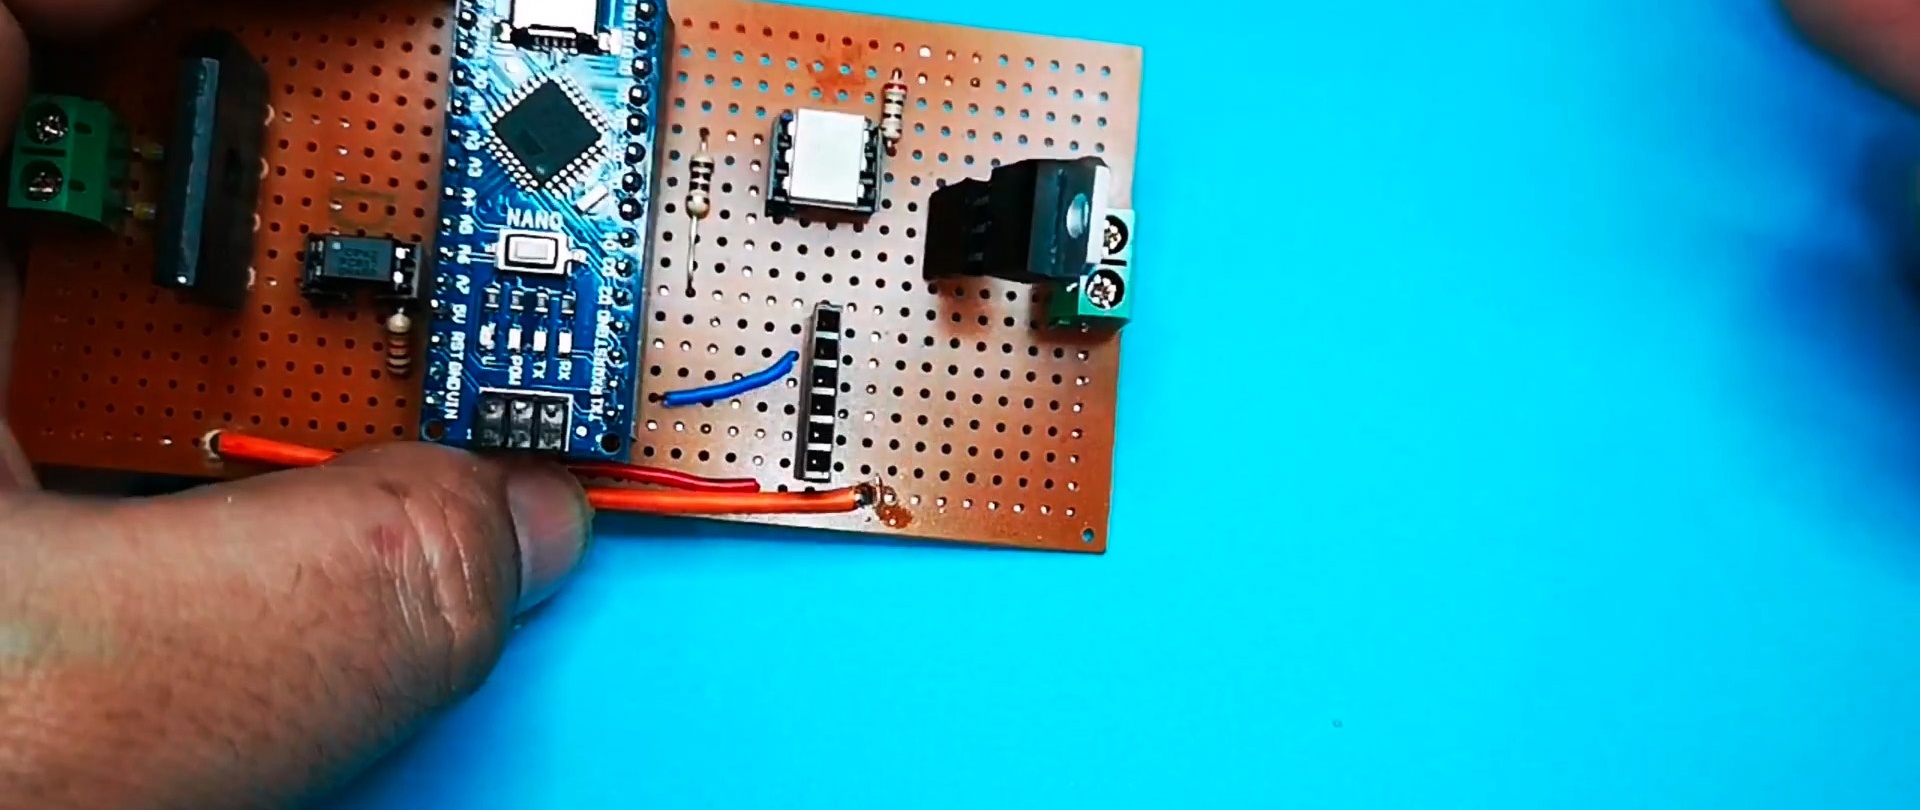
On the left side of the Arduino there is a zero detector. It gives a signal to the module when the sine wave passes the zero mark, turning from positive to negative.
On the right side there is a triac switch with galvanic isolation on an optocoupler. The bluetooth module is also connected to the Arduino.
Firmware for Arduino and phone application in the archive:
downloads.zip
[3.6 Mb] (downloads: 209)
The application must first be copied to the phone's memory in any way convenient for you.
Making a simple dimmer on Arduino Nano
First of all, let's program the Arduino Nano. Let's upload the firmware, so to speak.
We install the Arduino on the board using pads. This makes it possible to remove it from the board at any time.

We drill holes in the board and install a diode bridge.
We install an optocoupler and resistors in the zero detector circuit.

We install and solder the Bluetooth module header.

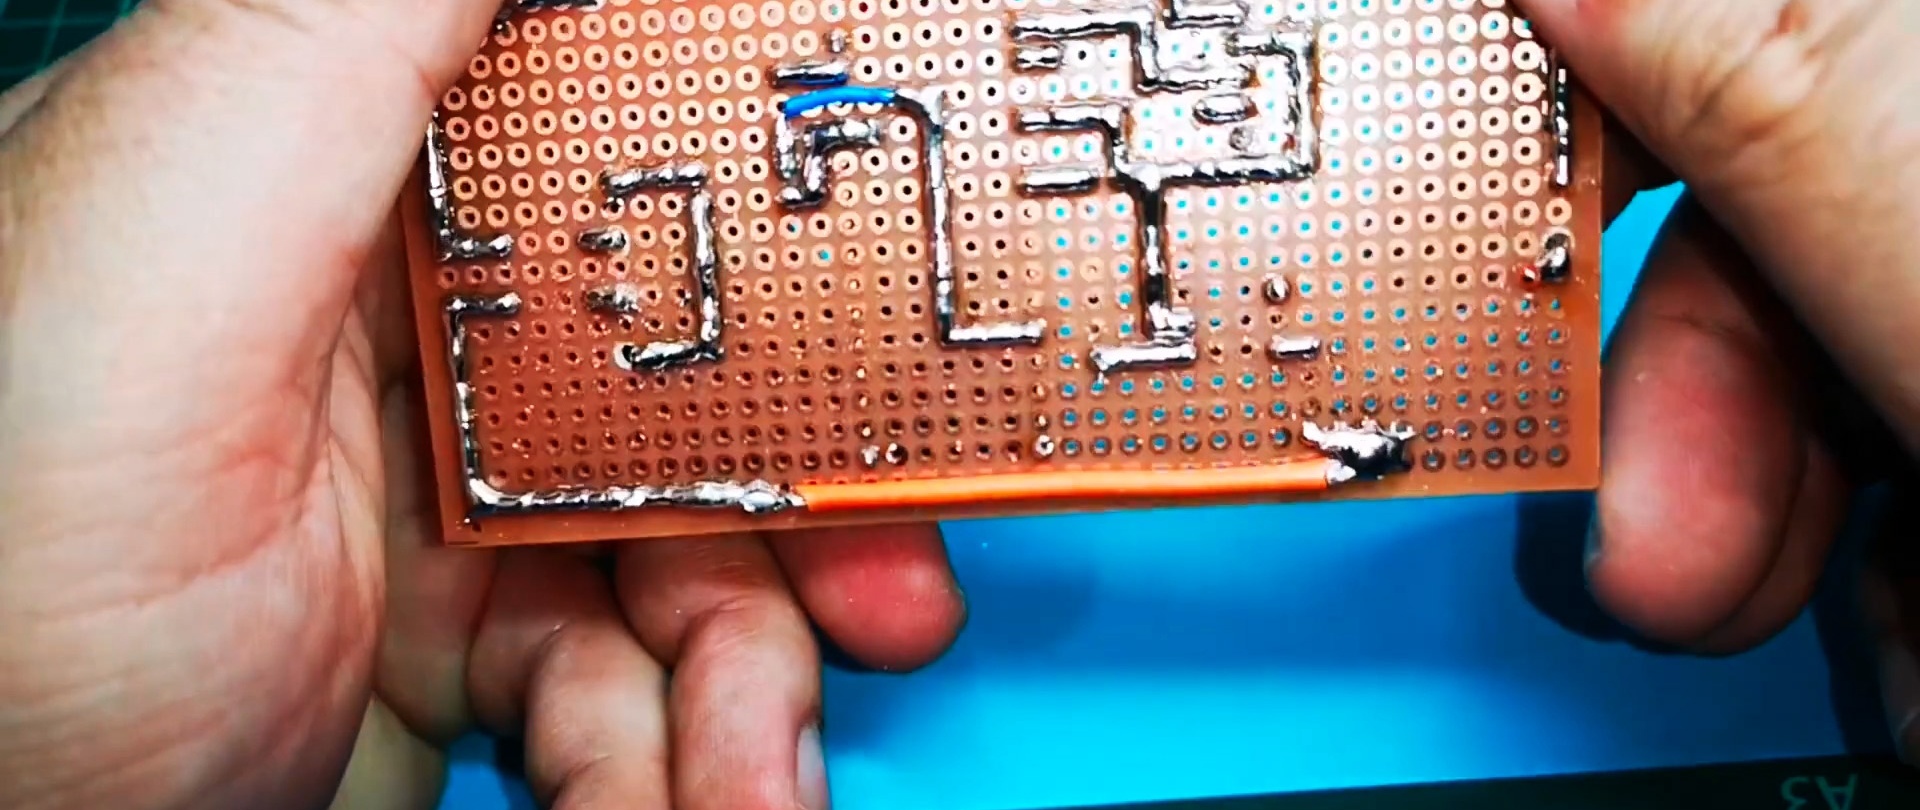
Bottom view of soldering. Long conductors are made of installation wire.
We solder the optocoupler with the triac.
Take the bluetooth module.

We install it in the block on the board.

We connect the plug with the wire and the load in the form of an incandescent lamp.

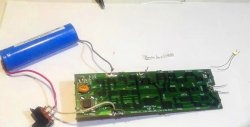
We will power the Arduino from a separate 5 V unit. We will connect it via micro USB.

That's all, the dimmer is ready for use.
Dimmer check
Install the application on your smartphone.

We connect via bluetooth to the dimmer.

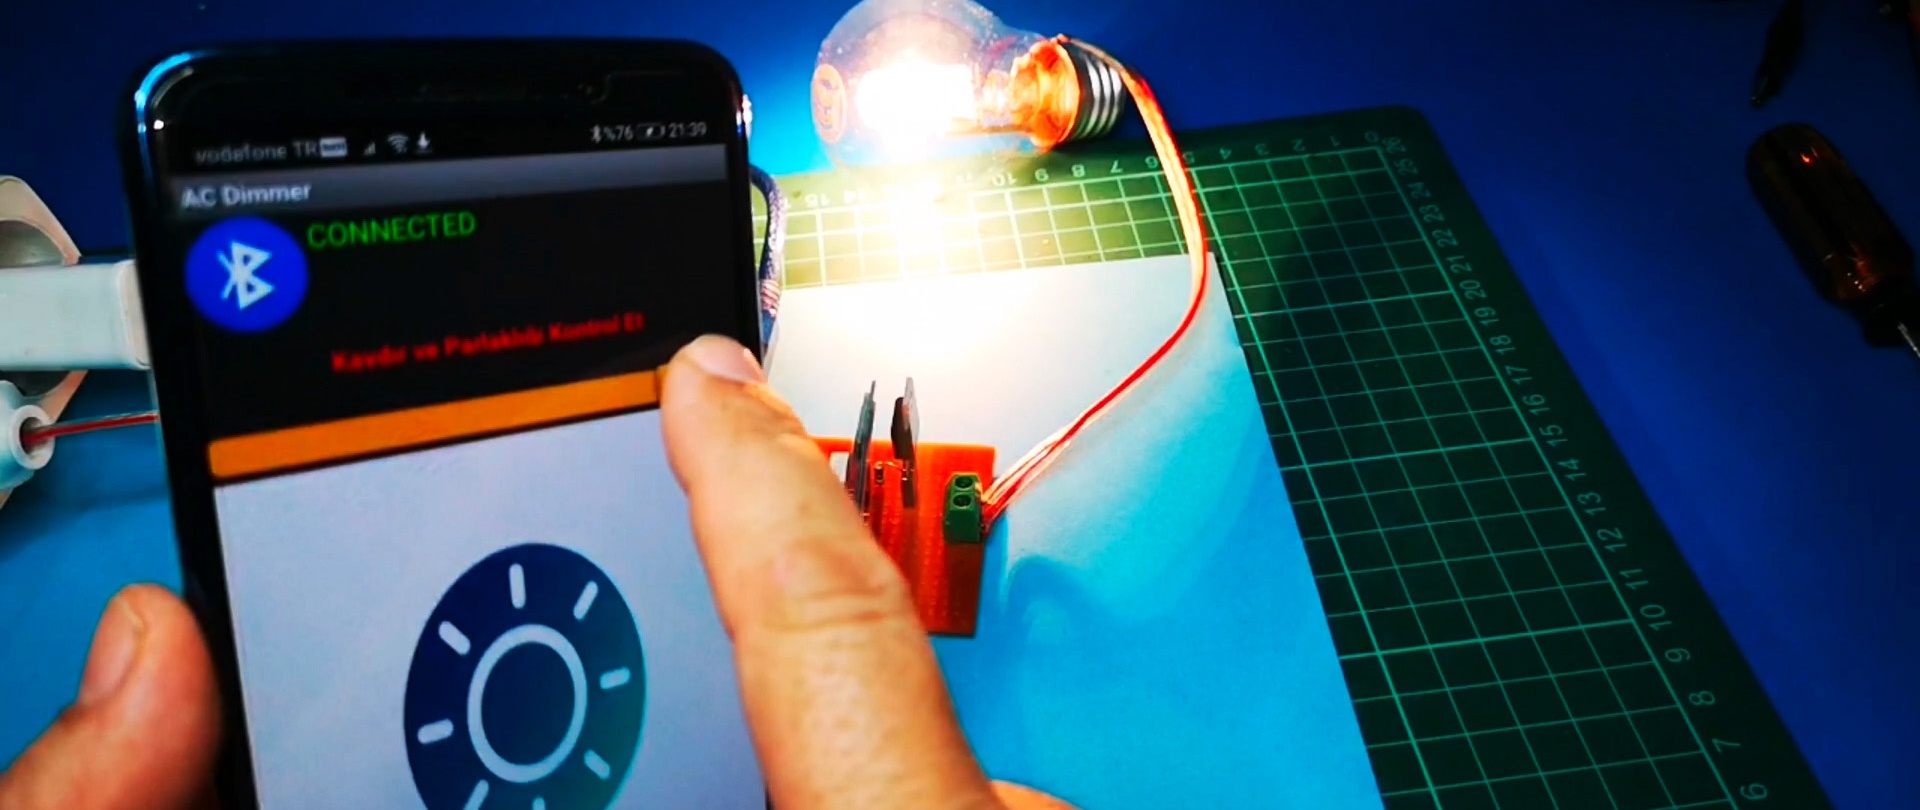
Now you can control the brightness of the light.
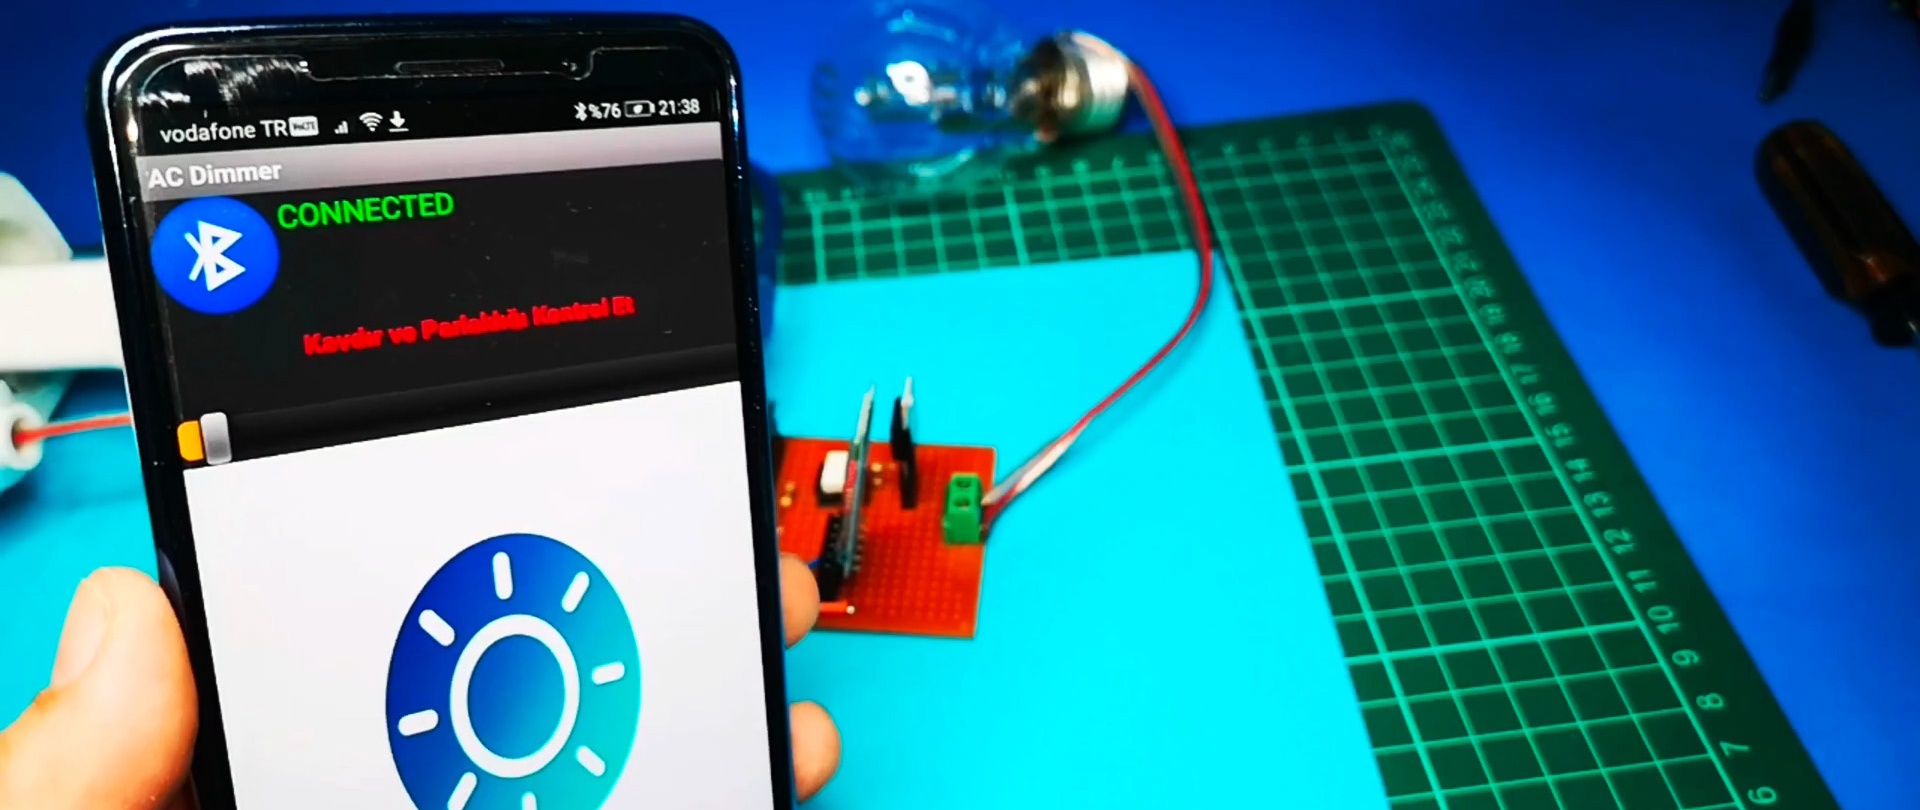
We move the slider in the application and the brightness of the lamp increases from zero.
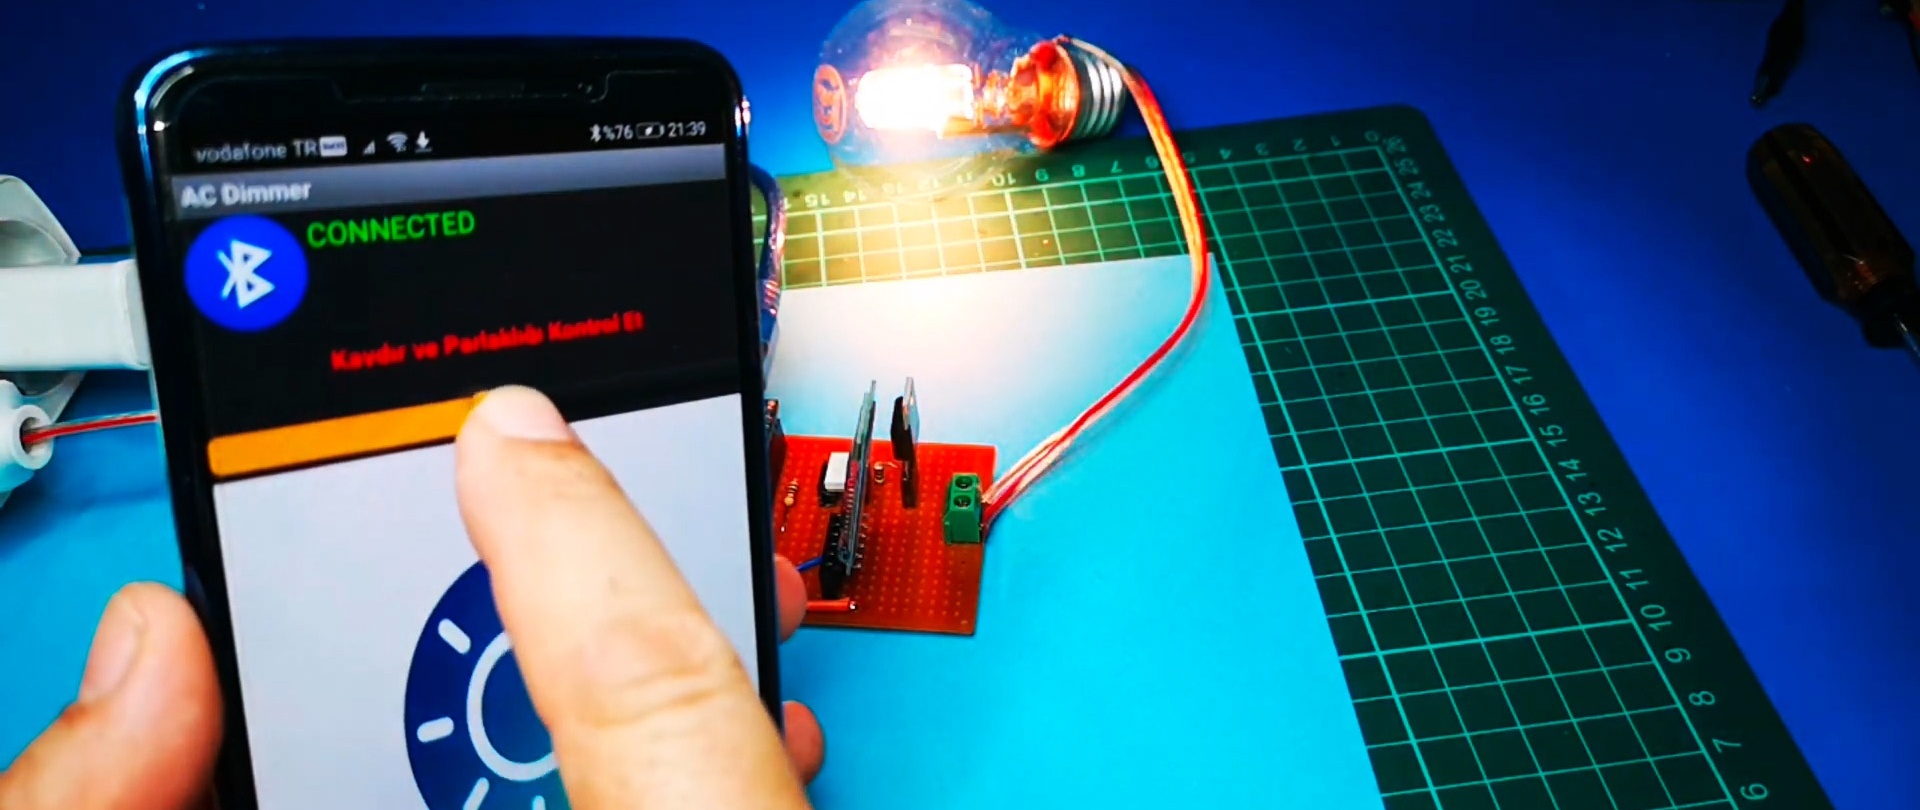
And to full brightness.
Watch the video
Similar master classes


Particularly interesting


Comments (0)
