How to make a custom stationery knife with your own hands
Having broken another Chinese stationery knife at work, I realized that buying one knife every day was not an option for me. I paid attention to the cost of good knives and was unpleasantly surprised... Normal companies, such as OLFA or Kraftool, cost from 1000 rubles... For me this was an unaffordable luxury. It was decided to make a knife with your own hands.
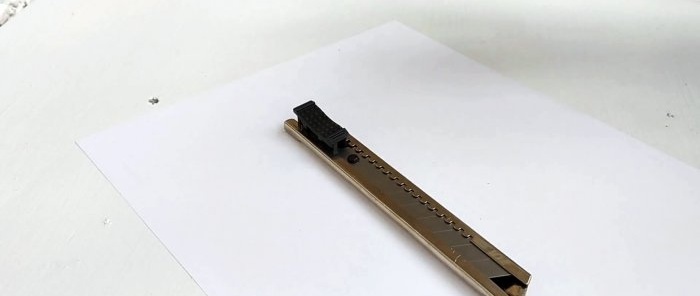
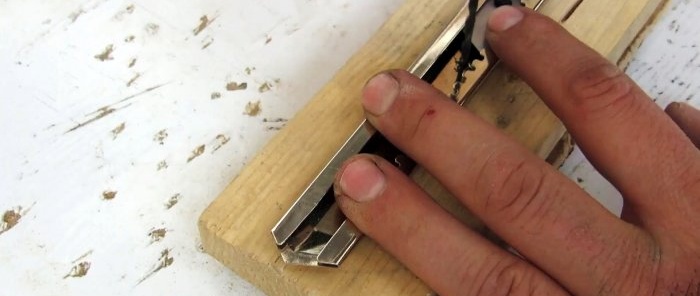
An inexpensive knife was used as a basis, around 70 rubles. I threw away its plastic case. The central part remains. I decided to make the body out of wood. Oak is perfect for these purposes. I took the shape for the body from my head, stylized it to suit my hand, so it turned out to be completely individual.
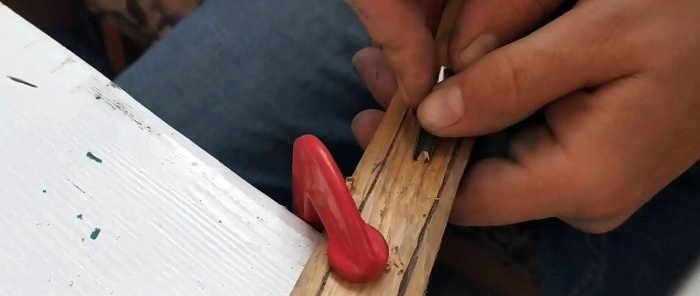
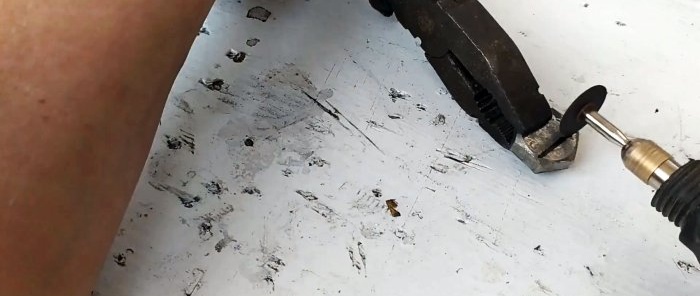
The process of processing oak by hand is, to put it mildly, not the fastest and not the most pleasant process. My incisors refused to cut the tree the way I wanted. In some places I had to use a Dremel and a file.
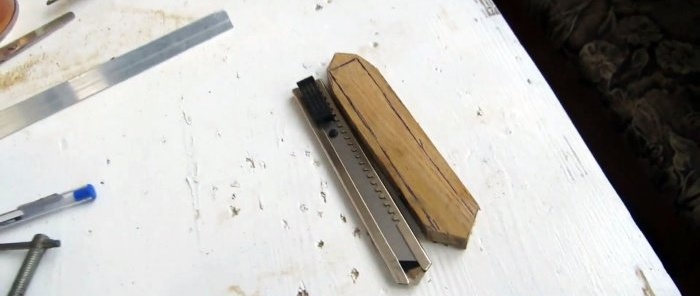

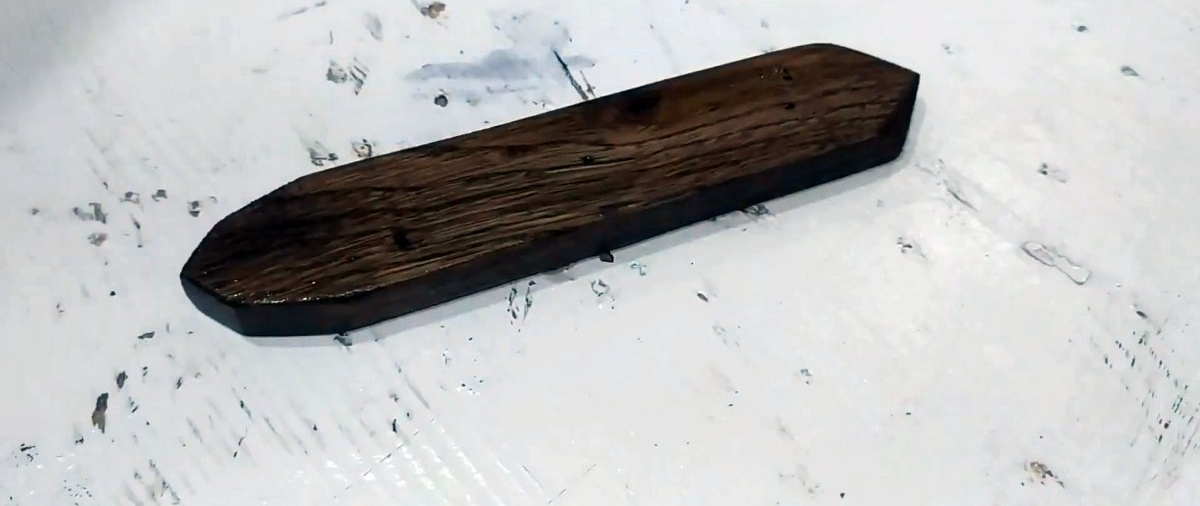
But still, by the end of the day I had this body ready.

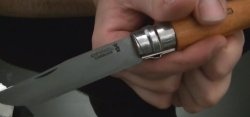
To make it more interesting, I decided to add several elements to the design: a backdrop made of a stainless bolt and a stainless plate on the back of the handle.


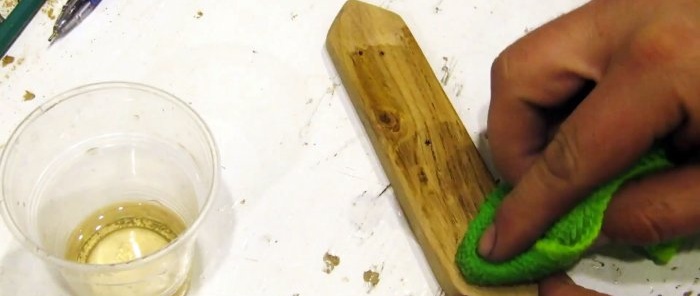
It was decided to make the body in wenge colors.For this, I did not use stains from the store, but made a composition for staining with my own hands... The video clearly shows how this composition works. (if you are interested in the composition, please write in the comments, I will answer everyone).

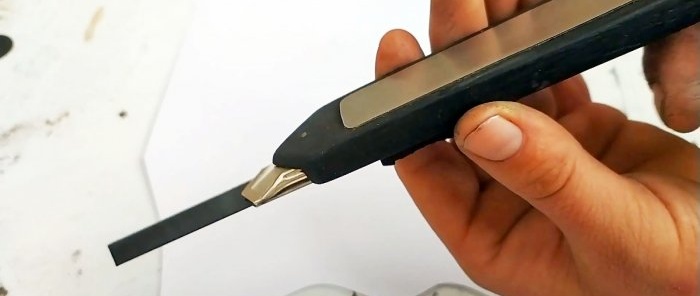
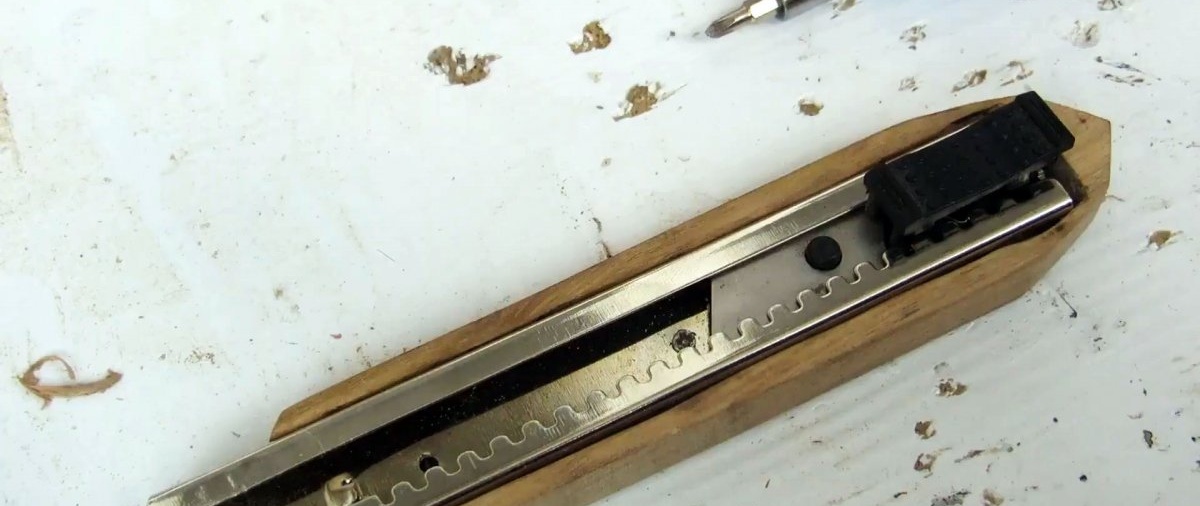
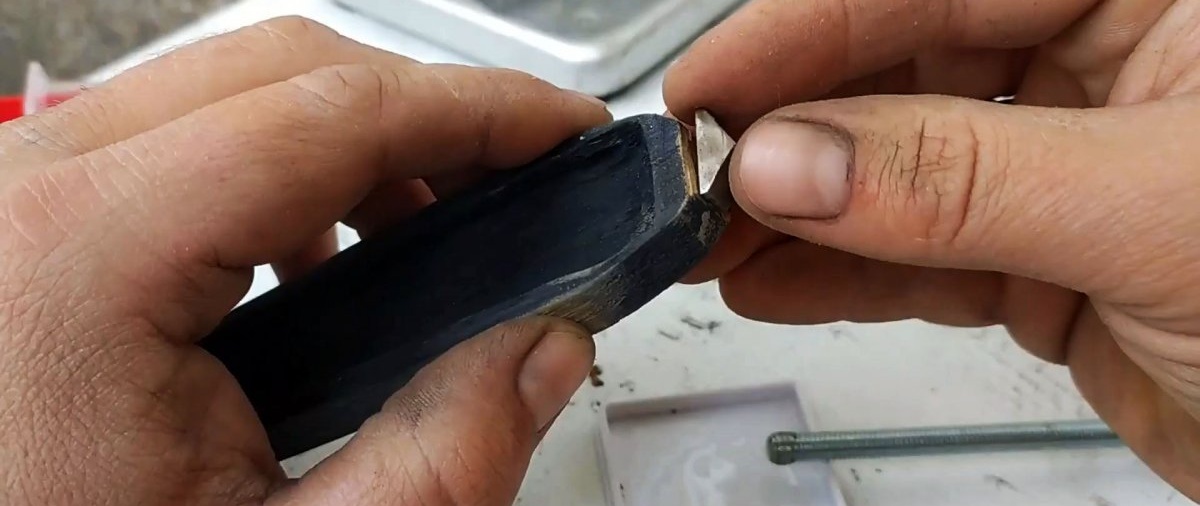
Next came the process of assembling the knife. It was decided to screw the central part to the body using two self-tapping screws. The back and the lining are glued with epoxy glue (it holds up perfectly, the knife has already passed “combat” tests, was dropped, etc. Nothing came off or flew off). The most interesting thing is the blades. I didn't skimp and bought a pack of blued blades. Yes, this is not the cheapest option, but they are worth it - the blades are more resistant to corrosion, abrasion, etc. They hold an edge perfectly and just look great on my knife.
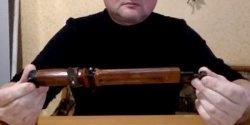
In general, I did what I wanted. Then you be the judge.


The entire manufacturing process and some nuances are shown in the video on my Youtube channel:

Making a custom utility knife
An inexpensive knife was used as a basis, around 70 rubles. I threw away its plastic case. The central part remains. I decided to make the body out of wood. Oak is perfect for these purposes. I took the shape for the body from my head, stylized it to suit my hand, so it turned out to be completely individual.

The process of processing oak by hand is, to put it mildly, not the fastest and not the most pleasant process. My incisors refused to cut the tree the way I wanted. In some places I had to use a Dremel and a file.


But still, by the end of the day I had this body ready.
To make it more interesting, I decided to add several elements to the design: a backdrop made of a stainless bolt and a stainless plate on the back of the handle.


It was decided to make the body in wenge colors.For this, I did not use stains from the store, but made a composition for staining with my own hands... The video clearly shows how this composition works. (if you are interested in the composition, please write in the comments, I will answer everyone).

Next came the process of assembling the knife. It was decided to screw the central part to the body using two self-tapping screws. The back and the lining are glued with epoxy glue (it holds up perfectly, the knife has already passed “combat” tests, was dropped, etc. Nothing came off or flew off). The most interesting thing is the blades. I didn't skimp and bought a pack of blued blades. Yes, this is not the cheapest option, but they are worth it - the blades are more resistant to corrosion, abrasion, etc. They hold an edge perfectly and just look great on my knife.
In general, I did what I wanted. Then you be the judge.


Watch the video
The entire manufacturing process and some nuances are shown in the video on my Youtube channel:
Similar master classes
Particularly interesting

Comments (3)
