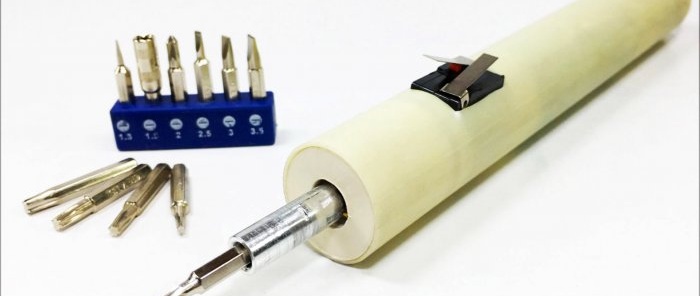
How to make a convenient, inexpensive cordless screwdriver
As a professional electronics repairer, every day you have to manually unscrew and tighten hundreds of screws. This takes time and effort, so if possible, you should get an electric screwdriver. You can buy it or make it yourself.
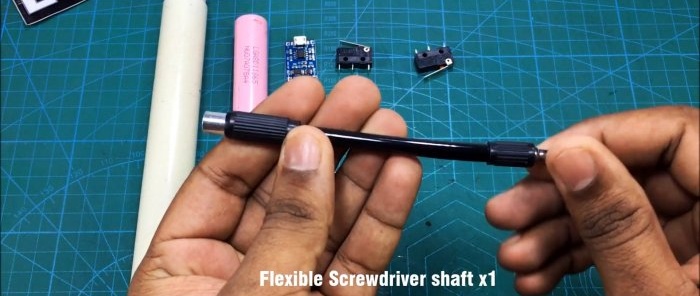
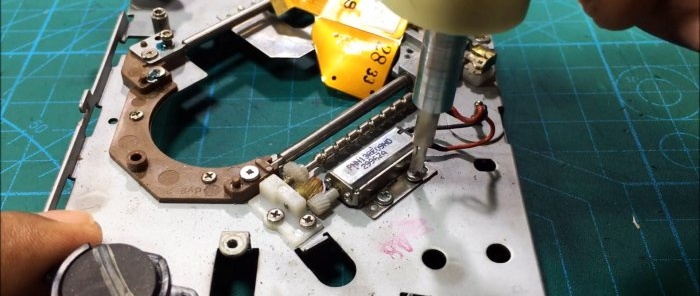
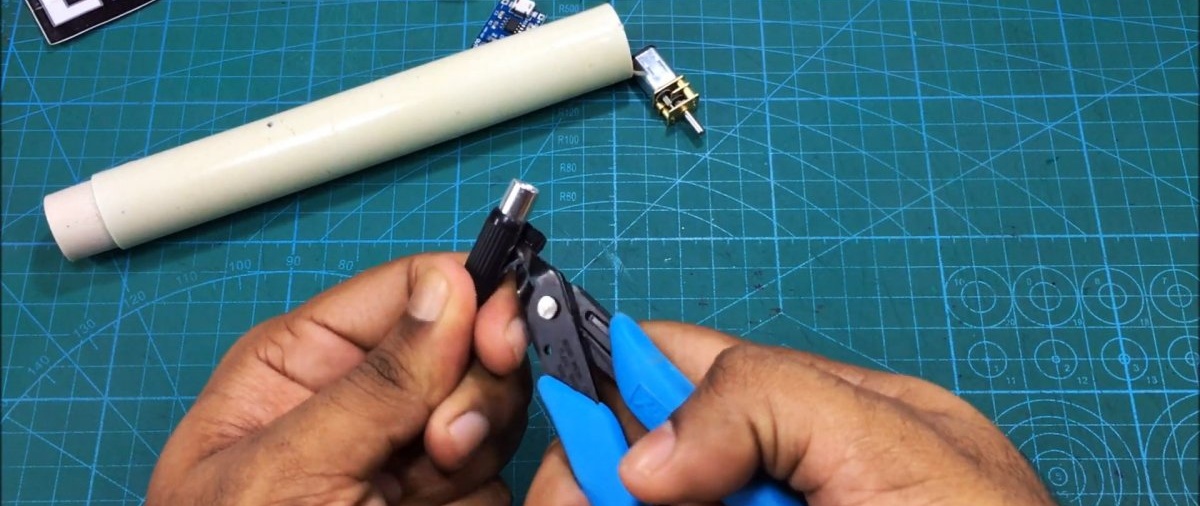
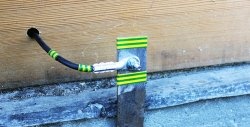
If you plan to use not a separate bit holder, but remove it from the flexible shaft for a factory electric screwdriver, then it should be cut off before assembling the screwdriver.

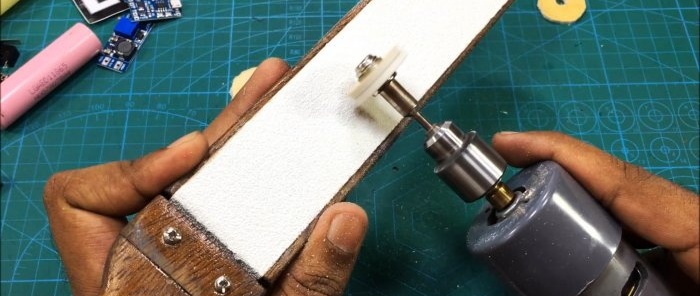
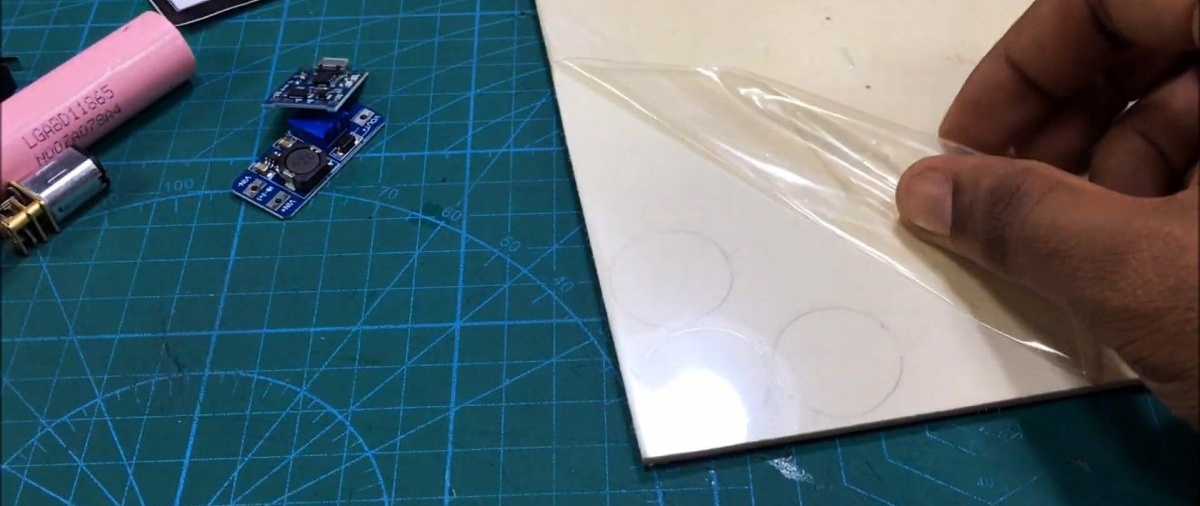
Next, 4 disks corresponding to the internal diameter of the pipe are cut out of sheet plastic. They need to be sanded. Central holes are made in 3 disks. One of them will be put on the motor housing, and the bit holder must pass through the other 2.


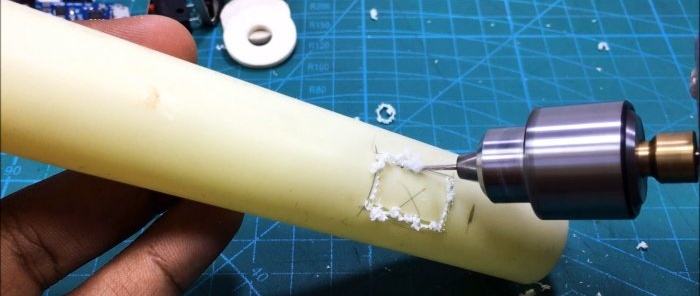
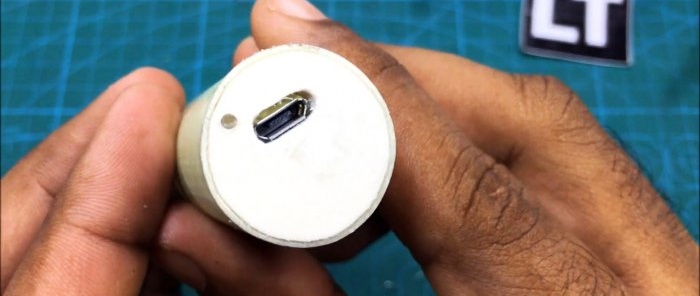
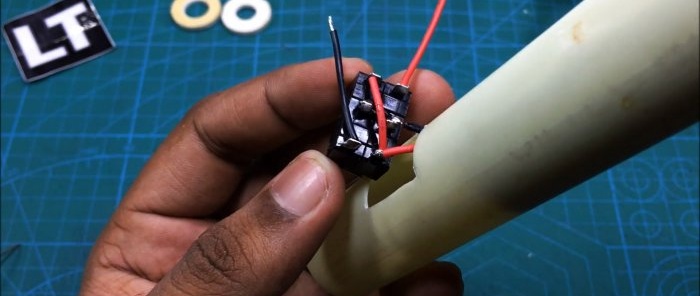
A window is cut out of the PVC pipe for the installation of limit switches. In a blank plastic disk you need to make a hole for a USB port with a cutout for inserting the charger module board.

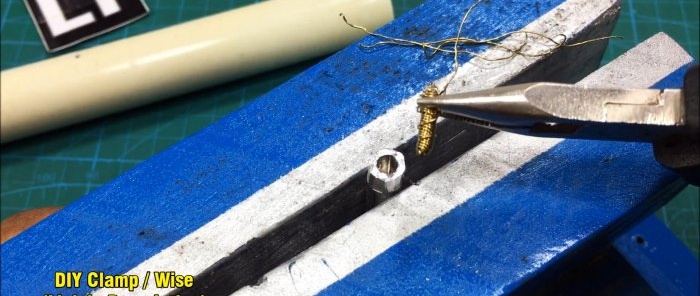
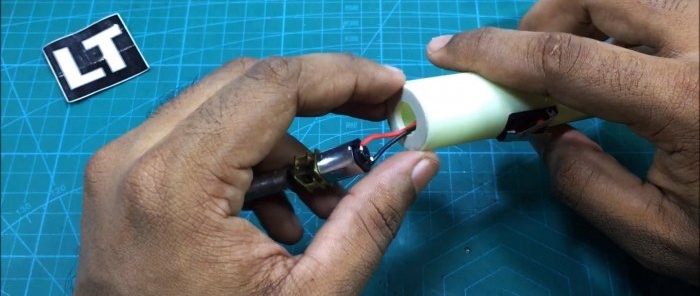
Next, you need to glue the bit holder onto the motor gearbox shaft. To do this, you can use cold welding or epoxy glue.


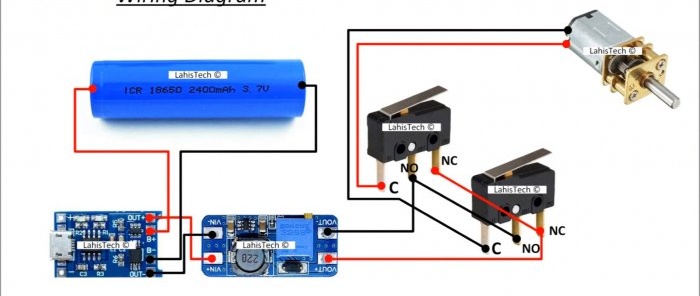
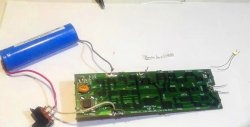
The electronic component of the electric screwdriver is soldered according to the proposed circuit.
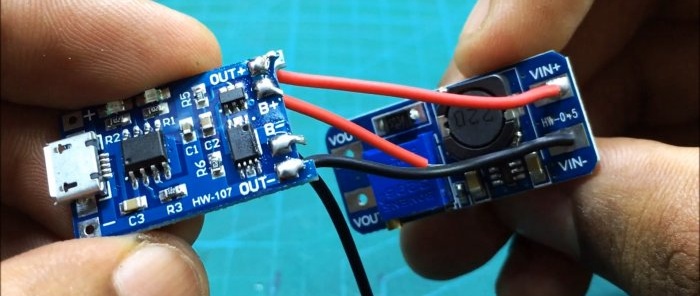
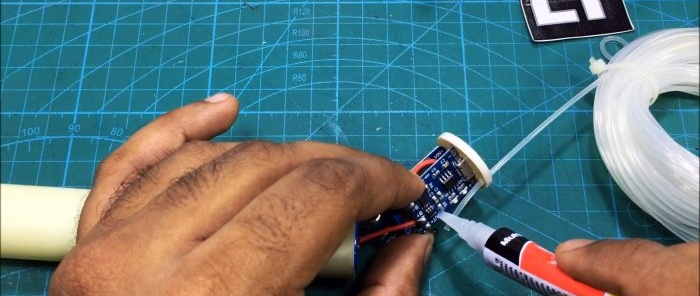
In this case, the charger module is glued with superglue to a disk with a cut for a USB port. The MT3608 converter is attached nearby with hot-melt adhesive.
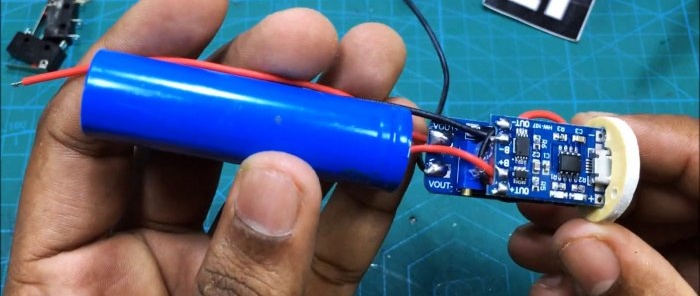
The battery is soldered in according to the diagram directly without using clamping contacts. You also need to display a power indicator on the plastic cover with the USB port. To do this, you just need to make a hole in it and insert a fishing line into it, directed towards Light-emitting diode.
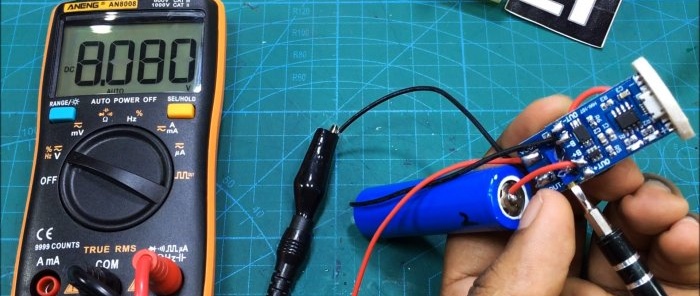
We adjust the output voltage of the converter.
After this, the assembled electronic part is placed in the tube, and its end is sealed with a lid with a USB port and indicator. Then the lead wires are connected to the limit switches according to the diagram. After connection, the switches are glued into the tube.
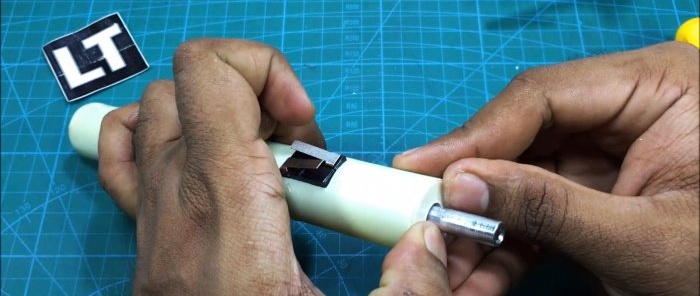
The wires from the switches are soldered to the motor. Before this, a plastic ring is put on it. To prevent the motor from turning in the ring, it should be secured with hot glue. The ring itself is glued into the tube.
The front part of the screwdriver is sealed with two plastic plugs. They are put on through the shaft, since the bit holder passes through their hole without any problems.

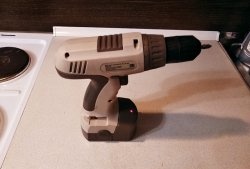
In such an assembly, a homemade screwdriver can easily handle screws on boards and electronics housings. To recharge it, use a regular phone charger.

When connected to power, the indicator lights up.That is, the result is an absolutely functional device with similar parameters as its factory counterparts. At the same time, a homemade electric screwdriver is completely repairable.
Watch the video to see how convenient it is to use such a screwdriver.

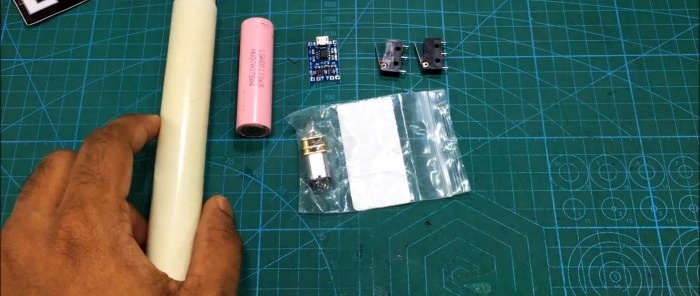
Materials:
- PVC pipe d25 mm;
- 3-pin limit switches – 2 pcs.;
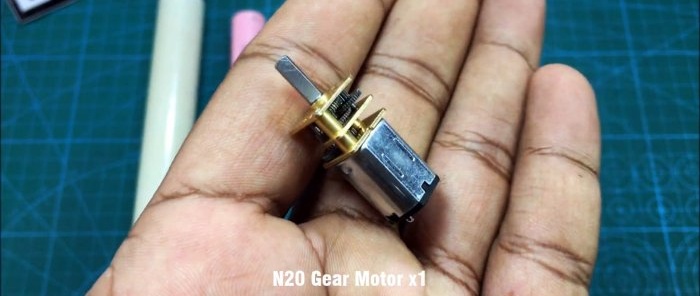
- gear motor N20 -
- bit holder or flexible shaft from an electric screwdriver;
- Li-Ion charger module TP4056 -
- boost converter MT3608 -
- 18650 battery -
- wires;
- epoxy adhesive;
- sheet plastic;
- Super glue
- Hot melt glue.


Making an electric screwdriver
If you plan to use not a separate bit holder, but remove it from the flexible shaft for a factory electric screwdriver, then it should be cut off before assembling the screwdriver.


Next, 4 disks corresponding to the internal diameter of the pipe are cut out of sheet plastic. They need to be sanded. Central holes are made in 3 disks. One of them will be put on the motor housing, and the bit holder must pass through the other 2.


A window is cut out of the PVC pipe for the installation of limit switches. In a blank plastic disk you need to make a hole for a USB port with a cutout for inserting the charger module board.


Next, you need to glue the bit holder onto the motor gearbox shaft. To do this, you can use cold welding or epoxy glue.


The electronic component of the electric screwdriver is soldered according to the proposed circuit.

In this case, the charger module is glued with superglue to a disk with a cut for a USB port. The MT3608 converter is attached nearby with hot-melt adhesive.


The battery is soldered in according to the diagram directly without using clamping contacts. You also need to display a power indicator on the plastic cover with the USB port. To do this, you just need to make a hole in it and insert a fishing line into it, directed towards Light-emitting diode.

We adjust the output voltage of the converter.

After this, the assembled electronic part is placed in the tube, and its end is sealed with a lid with a USB port and indicator. Then the lead wires are connected to the limit switches according to the diagram. After connection, the switches are glued into the tube.


The wires from the switches are soldered to the motor. Before this, a plastic ring is put on it. To prevent the motor from turning in the ring, it should be secured with hot glue. The ring itself is glued into the tube.


The front part of the screwdriver is sealed with two plastic plugs. They are put on through the shaft, since the bit holder passes through their hole without any problems.
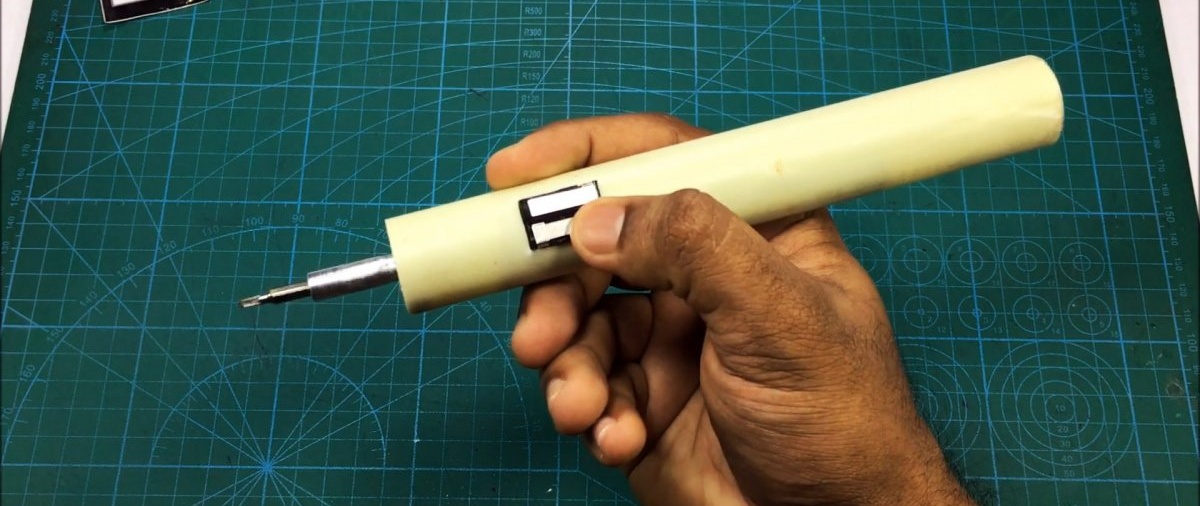
In such an assembly, a homemade screwdriver can easily handle screws on boards and electronics housings. To recharge it, use a regular phone charger.

When connected to power, the indicator lights up.That is, the result is an absolutely functional device with similar parameters as its factory counterparts. At the same time, a homemade electric screwdriver is completely repairable.

Watch the video
Watch the video to see how convenient it is to use such a screwdriver.
Similar master classes


Particularly interesting


Comments (1)
