POWERBANK from junk
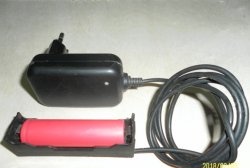
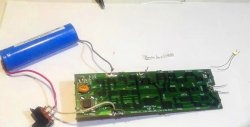
Nowadays Powerbank is quite a necessary device. I've been collecting a Powerbank in a tissue box for a long time. The capacity was decent, but the casing burst. I took it on a hike and pressed it in my backpack. I decided to use the components in another design. I had a package of batteries for a smartphone. The box is quite strong. The most important thing is that it’s flat, like a book.
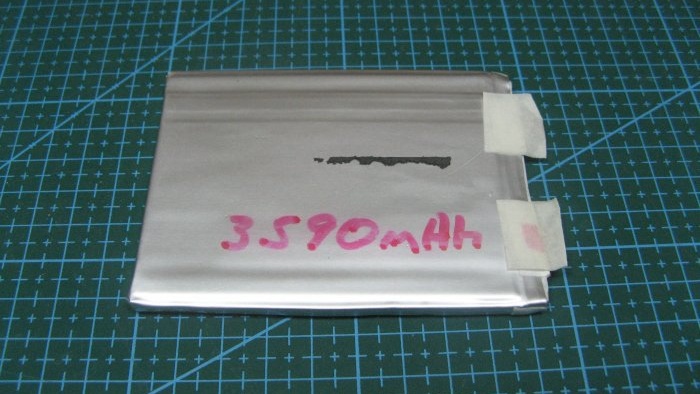
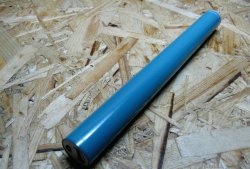
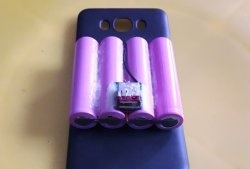
My battery is Li-pol. Capacity of about 3.5 A/h. Enough to charge your smartphone a couple of times.
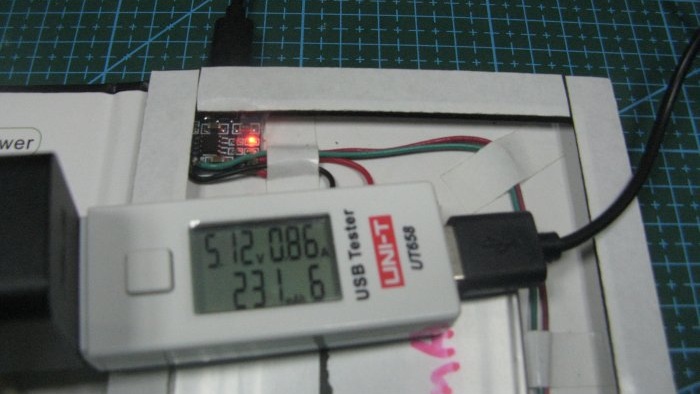
I will charge using a charge controller based on TR4056 - . My protection board is a BMS board from a Li-pol battery. Initially I took a small one, I will replace it with a more suitable board.

Now you need to increase the battery voltage. To set 5 volts at the output of the device, I will use a Chinese module. The boost module, I will set the output to 5.1 volts, with a margin.

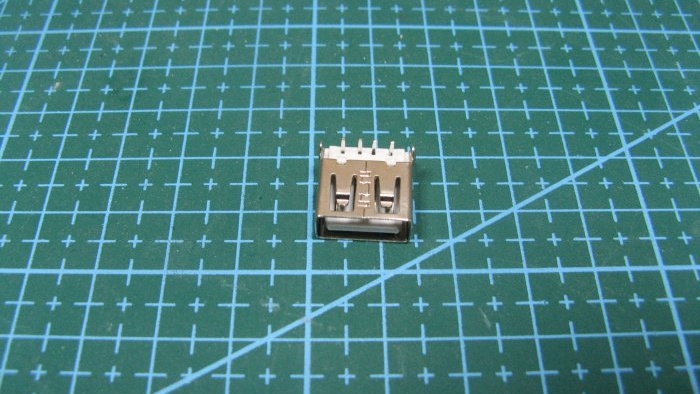
To connect a smartphone, you can use a standard cable. USB connector from China, can be used from the motherboard.
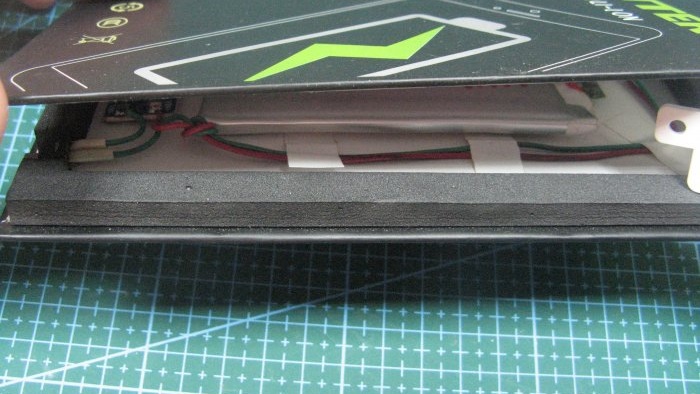
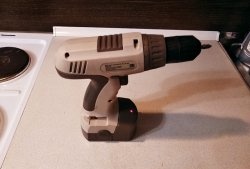
The case has a frame made of porous rubber. I installed the charge controller not entirely successfully. Well, what's done is done.

The battery was glued with double-sided tape.I installed the output connector with double-sided tape and added a couple of drops of super glue. I also forgot to mention the switch. I also installed it in a similar way.

I pasted double-sided tape onto the elastic band. I connected everything with wires. It's simple here. From battery to charge controller. From the charge controller to the boost module, the negative wire is broken through the switch. I checked the charging, everything works.
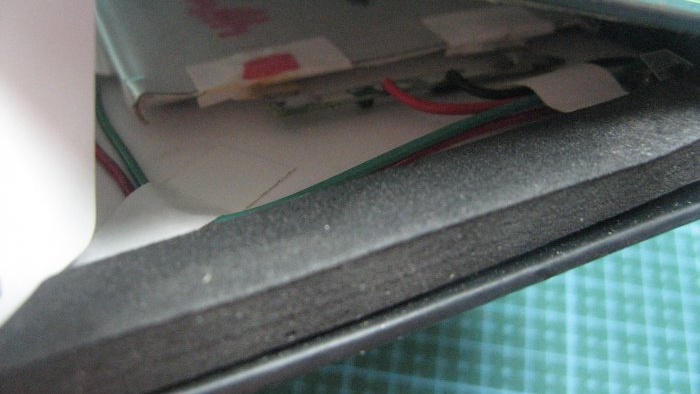
And then there was a mistake: I forgot to take pictures of the process. I decided to open the case cover and take a couple of photos. The tape held the lid very tightly. This is what happened.
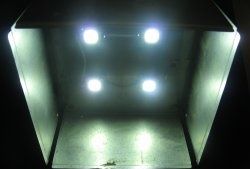
To indicate the charging process, I used an interesting technique. I made a cut in the elastic and inserted a strip of plastic. The plastic is the same as on a plastic bottle. The light is clearly visible LEDs.
Now I press the lid, and the body is glued securely, even after trying to tear off the lid.
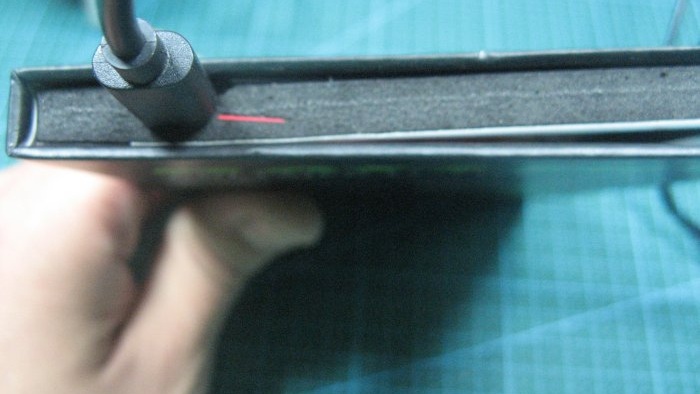
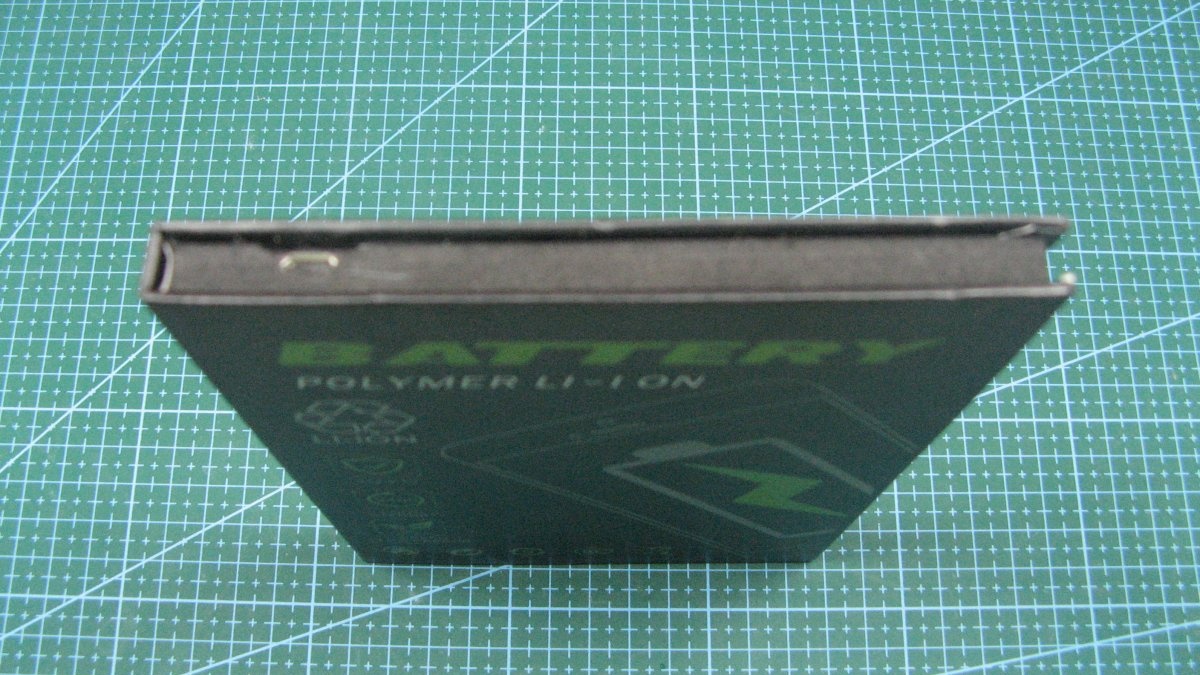
This is what the Powerbank side looks like from the charging connector side.

This is what the Powerbank side looks like from the output connector and power switch of the boost module.
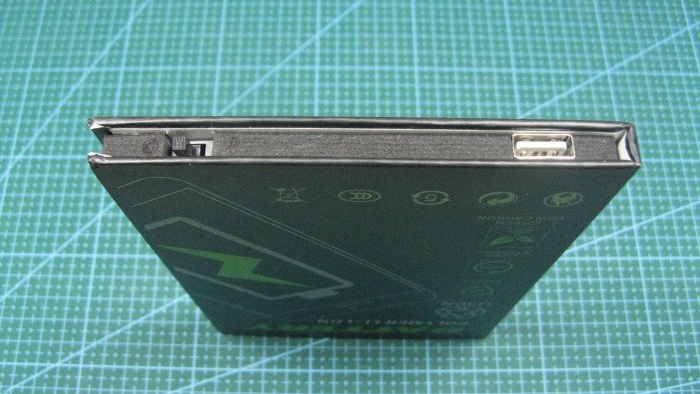
This is how a compact portable battery turned out. From the outside you can’t tell that this is a Powerbank. You can take it on hikes, or anywhere.


I needed it
My battery is Li-pol. Capacity of about 3.5 A/h. Enough to charge your smartphone a couple of times.

I will charge using a charge controller based on TR4056 - . My protection board is a BMS board from a Li-pol battery. Initially I took a small one, I will replace it with a more suitable board.

Now you need to increase the battery voltage. To set 5 volts at the output of the device, I will use a Chinese module. The boost module, I will set the output to 5.1 volts, with a margin.

To connect a smartphone, you can use a standard cable. USB connector from China, can be used from the motherboard.

Making a Power Bank with your own hands
The case has a frame made of porous rubber. I installed the charge controller not entirely successfully. Well, what's done is done.

The battery was glued with double-sided tape.I installed the output connector with double-sided tape and added a couple of drops of super glue. I also forgot to mention the switch. I also installed it in a similar way.

I pasted double-sided tape onto the elastic band. I connected everything with wires. It's simple here. From battery to charge controller. From the charge controller to the boost module, the negative wire is broken through the switch. I checked the charging, everything works.

And then there was a mistake: I forgot to take pictures of the process. I decided to open the case cover and take a couple of photos. The tape held the lid very tightly. This is what happened.


To indicate the charging process, I used an interesting technique. I made a cut in the elastic and inserted a strip of plastic. The plastic is the same as on a plastic bottle. The light is clearly visible LEDs.

Now I press the lid, and the body is glued securely, even after trying to tear off the lid.
This is what the Powerbank side looks like from the charging connector side.
This is what the Powerbank side looks like from the output connector and power switch of the boost module.

This is how a compact portable battery turned out. From the outside you can’t tell that this is a Powerbank. You can take it on hikes, or anywhere.

Watch the video
Similar master classes
Particularly interesting


Comments (2)
