A real smoker made from a coffee can

Exactly from the coffee shop: many of us will be surprised to read such a headline. And all because such jars, designed for 3 kilograms of grains and measuring 20 cm in diameter and 35 cm in height, were not available to everyone. But if you try, especially if you have “friends and acquaintances” who service coffee machines, you can find similar ones.
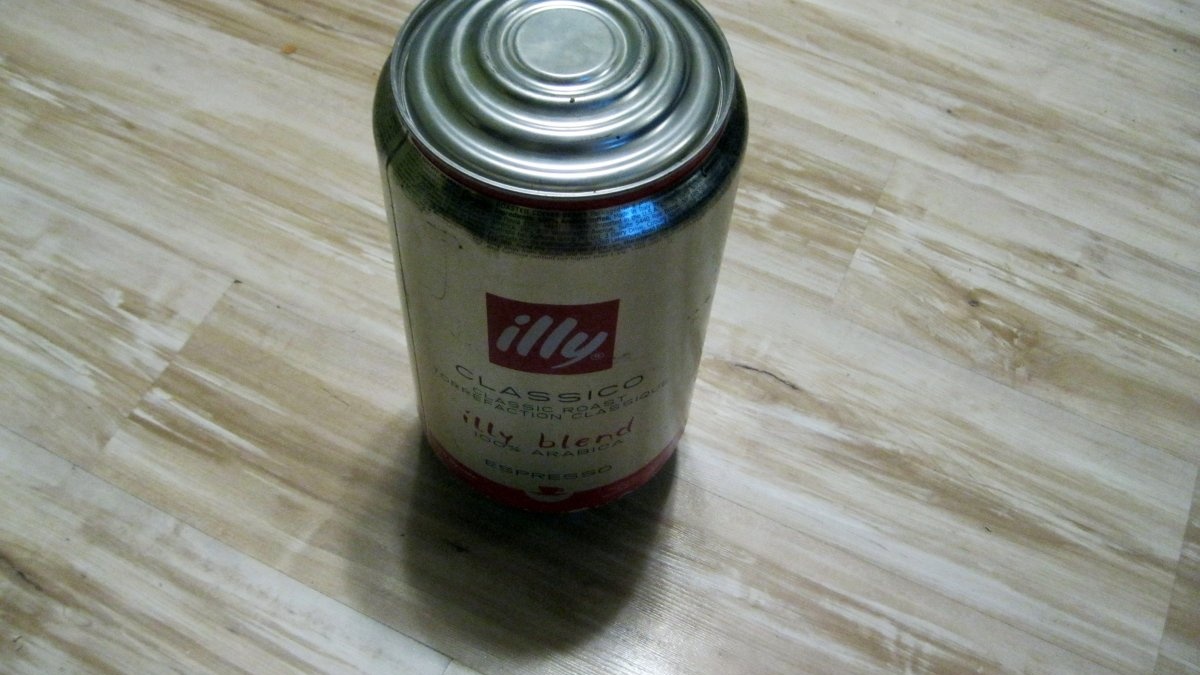
And what I especially liked about it: the thickness of the metal around the neck, which will become the base.

If the walls are frankly thin and could burn out in another craft, then everything is fine here. The whole secret of smoking is that the main temperature load falls on the base, and on them - according to the residual principle.
That's it, let's get started.
Making a smokehouse with your own hands
Carefully (you will need it later), remove the blind base. You can drill many small holes, and then use a chisel to connect them: this is what I did. Or you can simply cut it with a jigsaw: this does not affect the result.

We process the edge.

The resulting bowl is quite deep and roomy: we will use it as a container for draining fat.

We also process the inner cut edge of the can.

And although we won’t touch it with our hands when adding ingredients and cooking, you can still cut yourself on the sharp edge if you are careless.

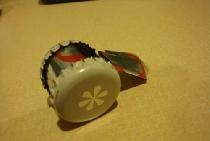
Lid. We select the most ordinary one from those that are in the kitchen. But definitely with such an edge: this way it won’t “ride” around the smokehouse.

Standard jar lid. She's plastic

Therefore, I didn’t even consider the option of using it for its intended purpose. But the neck must be completely closed: there will be coals at the bottom of the smokehouse. Moreover, they are not always large.

Therefore, we simply cut it flush, and then use a bolt and two washers with wide margins to close and tighten it.

At the same time we make the legs. Three M8 bolts 70 mm long with washers and nuts will be enough: there is a distance from the fryer, and the smokehouse will stand stable.
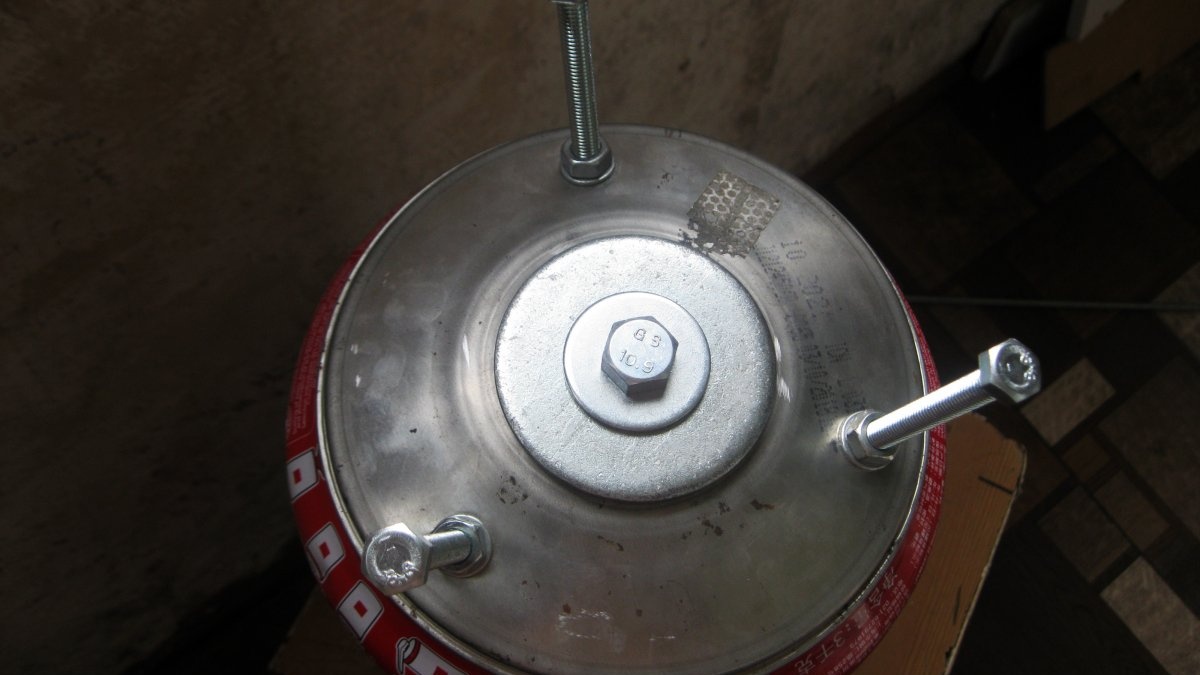
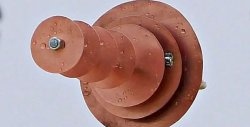
Central part. The idea with a central rod, on which there will be a container for draining fat, and a top lid, and side hangers, adjustable up and down, was born by itself. To do this, I used a piece of rod with an M6 thread 35 cm long. As the assembly showed, the length turned out to be optimal.
But I decided to make even more original how to make adjustable hangers. I took M22 nuts, drilled holes in the side faces,

and cut M4 threads into them.

I drilled it out a little and inserted two M6 nuts into each of them. On a single bolt, so that the threads in them go as a continuation of one another. I grabbed it with welding and cleaned it up. Once again I ran the thread with a tap: this way the structure will rotate very easily.

In addition, you will need 12 M4 screws 40 mm long,

24 washers for them,
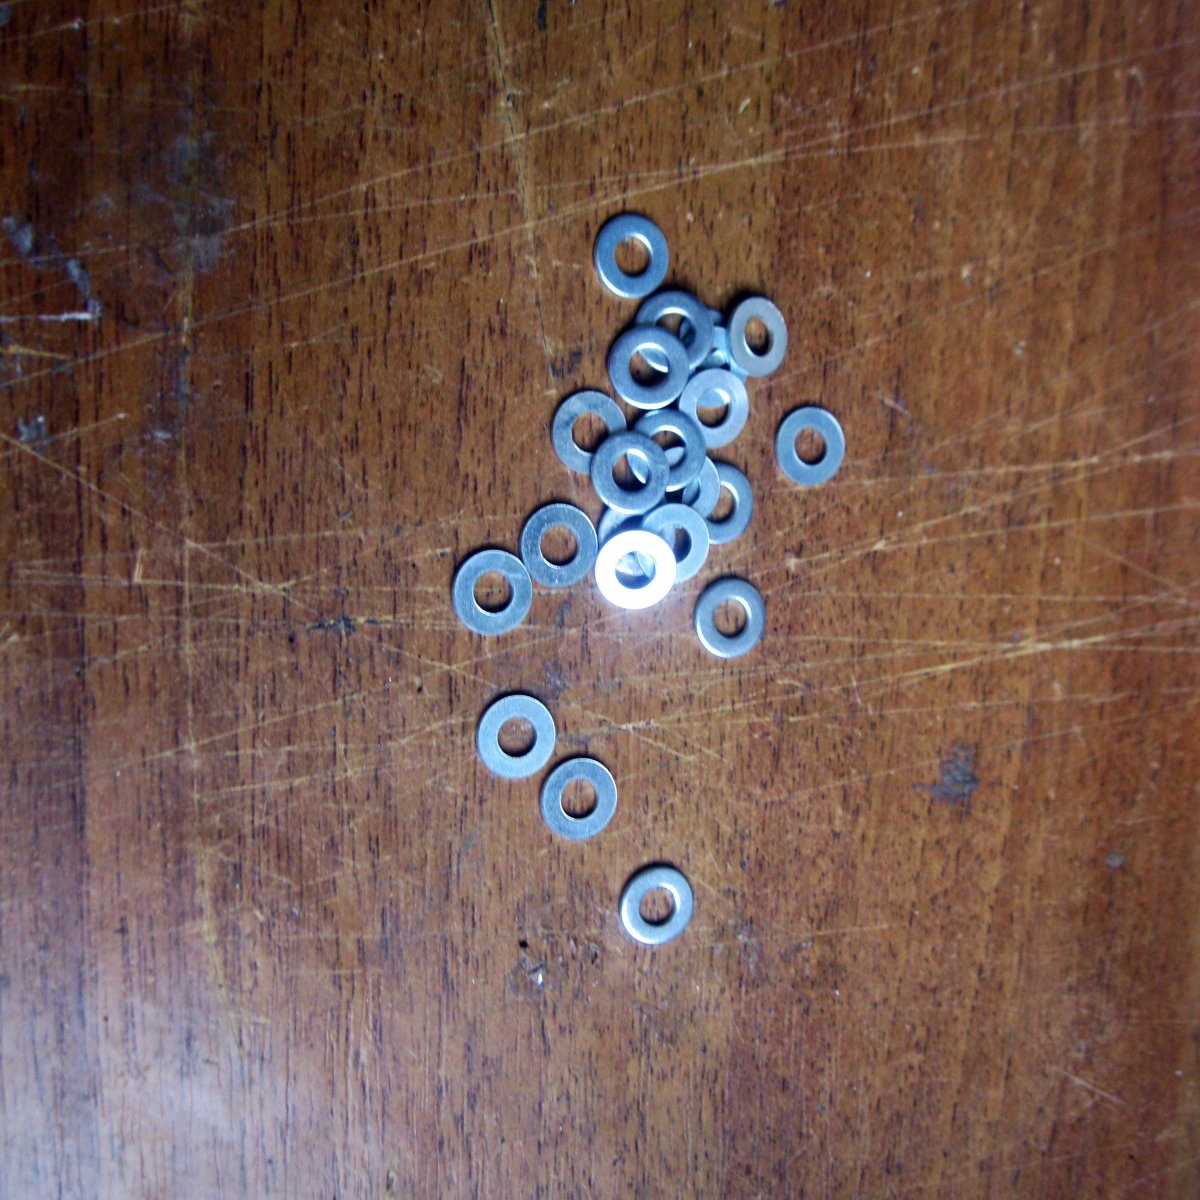
36 M4 nuts

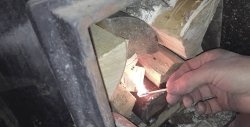
and 12 nails. You need to cut off the cap and bend it like this: therefore, a gas stove will help you.

We assemble these parts and screw three nuts onto the screw.One will lock the screw so that it does not come out, and the second and third will become a limiter for the hook.

We screw them into our nuts with holes. The result is these “snowflakes”.

We assemble the entire structure.

Saucer for fat - you need to drill a hole in the center and secure it with two nuts at the very base.

Then “snowflakes”: they will move up and down freely,

a nut at the bottom and on it - a cover (the hole had to be drilled out), an improvised handle made of a washer with a large shelf, and still crowned with one more nut.

The internal module is assembled.

At the same time, a simple rotation of the “stars” up and down allows you to easily select the height of the products that you will smoke.

That's all, you can go into nature. And what exactly to put in the newly made smoking unit, fatty mackerel, juicy ham or magnificent ribs, your imagination will tell you. Any of these dishes will become a real decoration of today's menu.
Similar master classes


Particularly interesting


Comments (0)
