The easiest mounting of a knife handle without glue
Among all the methods for installing a knife handle, the easiest is mounting. It does not require glue, bolster, rivets or other fasteners, which allows you to equip the blade with a handle even in the field, for example, if the old one is cracked. In order for the mounted handle to hold firmly and for a long time, several important conditions must be adhered to during installation.

From a live fresh branch with a diameter of 30-40 mm, you need to cut a blank for a handle of the required length. Maple is well suited for this purpose, since it rarely cracks at the ends when it dries out with this installation method. The end of the handle on the side where the blade is installed should be slightly planed with a knife to remove the ruffled fibers left by the saw.
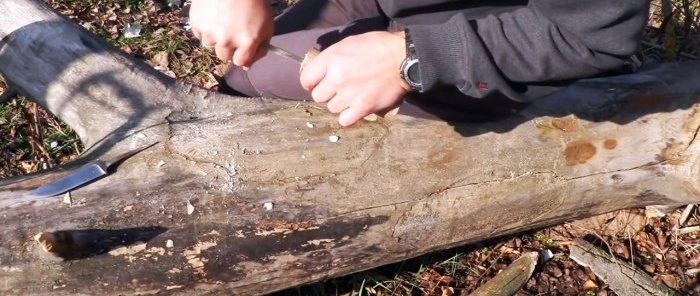
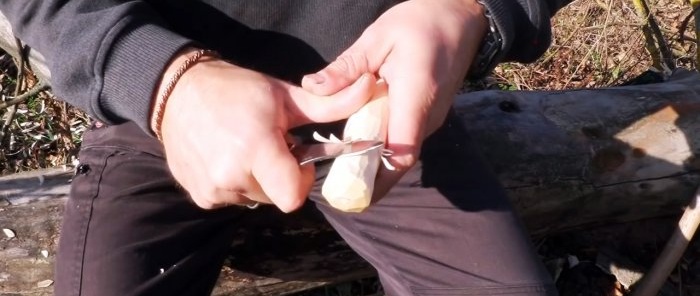
Then, using a working knife, you need to slightly expand the hole in the core of the workpiece, which is usually present in young branches of this diameter.It is necessary to trim it so that when driving in the shank, the shoulders of the blade do not split the workpiece. To do this, first the holes are sampled to suit the width and thickness of the shoulders with a depth of no more than 3-5 mm.
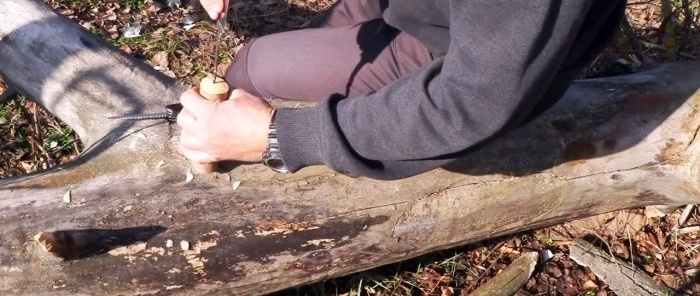
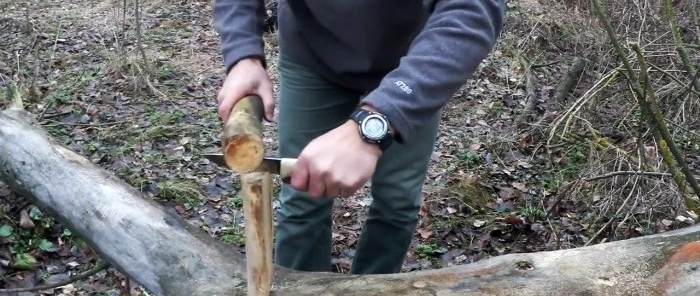
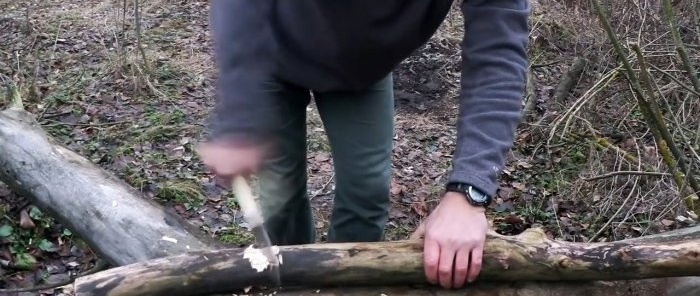
The end of the shank is inserted into the workpiece as long as possible. Then the blade rests its tip against a wooden backing, and the handle is hammered with blows from a mallet, a thick stick or a log until it is completely seated.
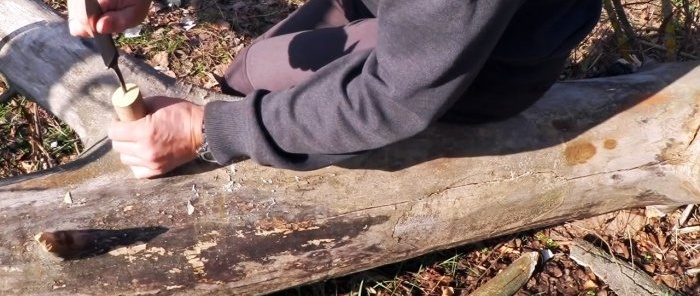

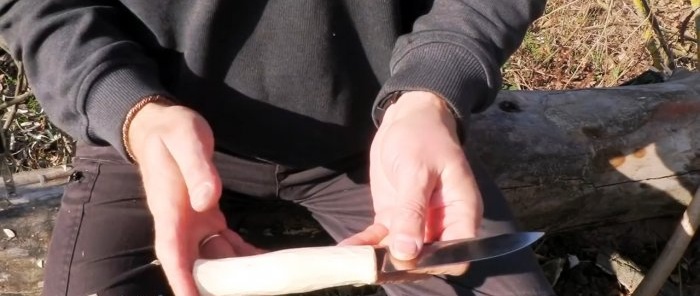
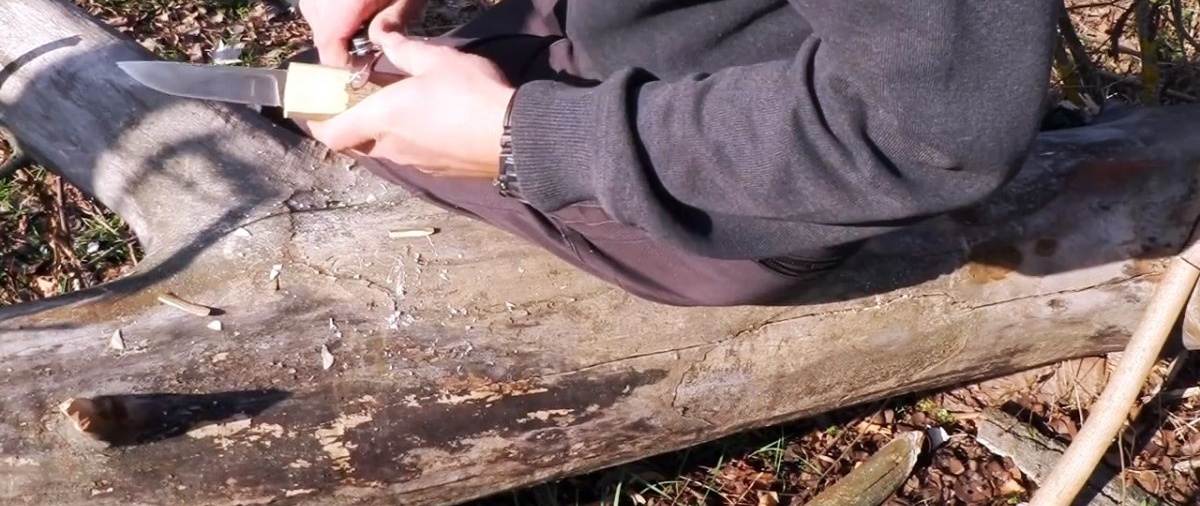
The workpiece stuffed onto the blade should be immediately processed with a knife. Fresh wood is very easy to cut. You need to give it the desired shape, but its diameter should be slightly larger than necessary. In the future, as a result of drying, the handle will turn out to be just the required size.


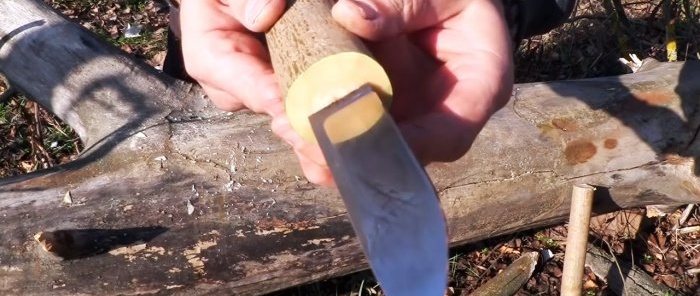
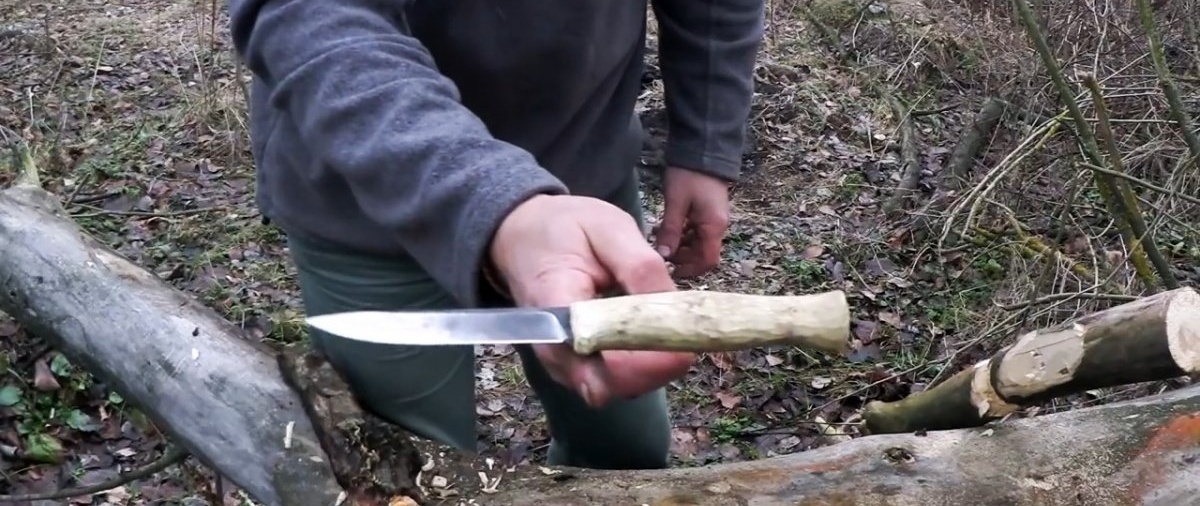
In this form, the knife can already be used for work. It is advisable to let it dry for a couple of weeks. Having dried out, the handle will strongly compress the shank. It is optimal if, before installation, you make several notches on the shank, like on a saw. Then, as the tree shrinks, it will fill these notches, which will completely prevent the blade from falling out.
After drying, the handle can be sanded with fine sandpaper, removing rough blemishes, and soaked in oil. This will make the knife more attractive. You don’t have to do this, the fact is that when cutting the handle with a knife, the pores of the wood are closed, so it will no longer absorb water and rot as much as a regular cut.


Tools and materials:
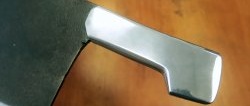
- blade with a thin shank;
- an even piece of fresh wedge branch with a diameter of 30-40 mm;
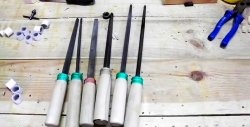
- sharp knife;
- mallet or wooden stick.
Mounting Handle Installation Process
From a live fresh branch with a diameter of 30-40 mm, you need to cut a blank for a handle of the required length. Maple is well suited for this purpose, since it rarely cracks at the ends when it dries out with this installation method. The end of the handle on the side where the blade is installed should be slightly planed with a knife to remove the ruffled fibers left by the saw.

Then, using a working knife, you need to slightly expand the hole in the core of the workpiece, which is usually present in young branches of this diameter.It is necessary to trim it so that when driving in the shank, the shoulders of the blade do not split the workpiece. To do this, first the holes are sampled to suit the width and thickness of the shoulders with a depth of no more than 3-5 mm.

The end of the shank is inserted into the workpiece as long as possible. Then the blade rests its tip against a wooden backing, and the handle is hammered with blows from a mallet, a thick stick or a log until it is completely seated.


The workpiece stuffed onto the blade should be immediately processed with a knife. Fresh wood is very easy to cut. You need to give it the desired shape, but its diameter should be slightly larger than necessary. In the future, as a result of drying, the handle will turn out to be just the required size.


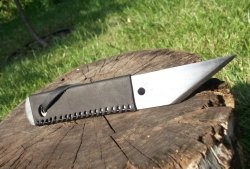
In this form, the knife can already be used for work. It is advisable to let it dry for a couple of weeks. Having dried out, the handle will strongly compress the shank. It is optimal if, before installation, you make several notches on the shank, like on a saw. Then, as the tree shrinks, it will fill these notches, which will completely prevent the blade from falling out.


After drying, the handle can be sanded with fine sandpaper, removing rough blemishes, and soaked in oil. This will make the knife more attractive. You don’t have to do this, the fact is that when cutting the handle with a knife, the pores of the wood are closed, so it will no longer absorb water and rot as much as a regular cut.
Watch the video
Similar master classes

Particularly interesting


Comments (1)
