Making a tube for storing welding electrodes
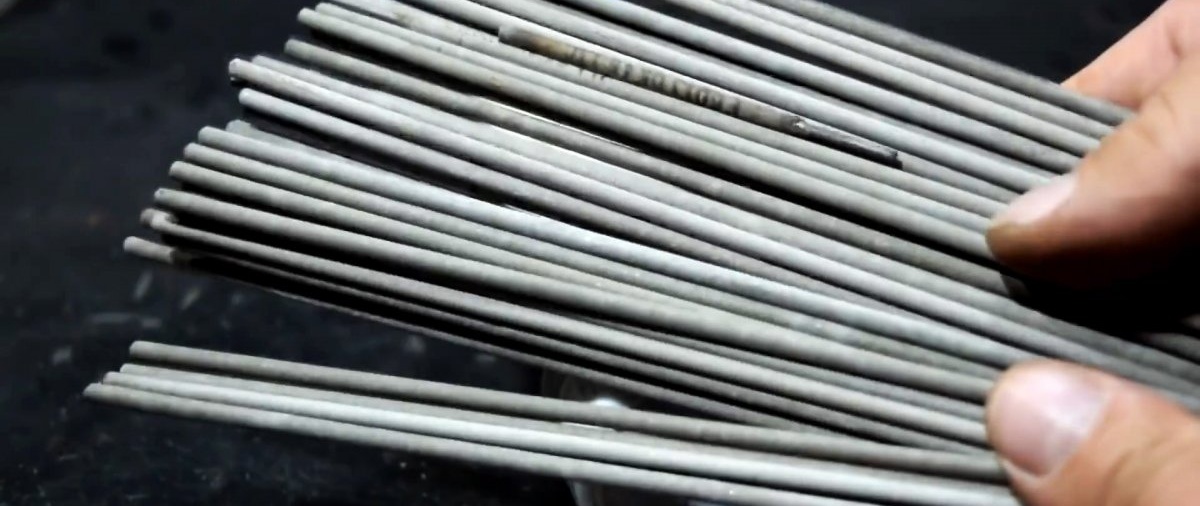
If there is no constant heating in the workshop, the welding electrodes may become damp. As a result, until they dry out, they practically do not cook. To prevent the electrodes from absorbing moisture, you can make a tube for them with a quick removal system.


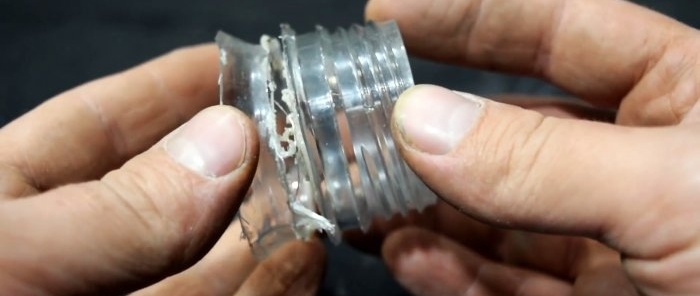
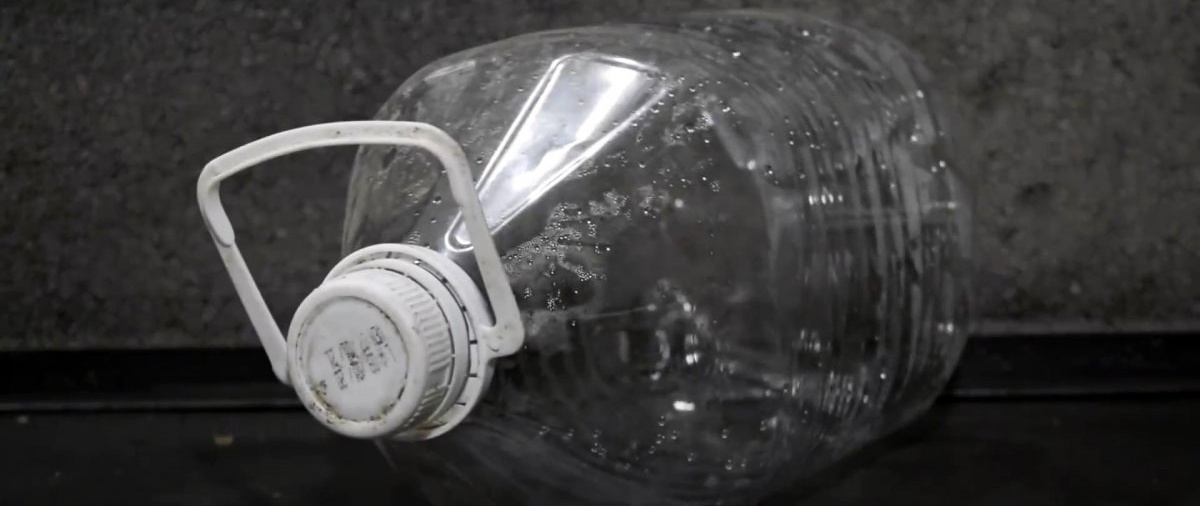
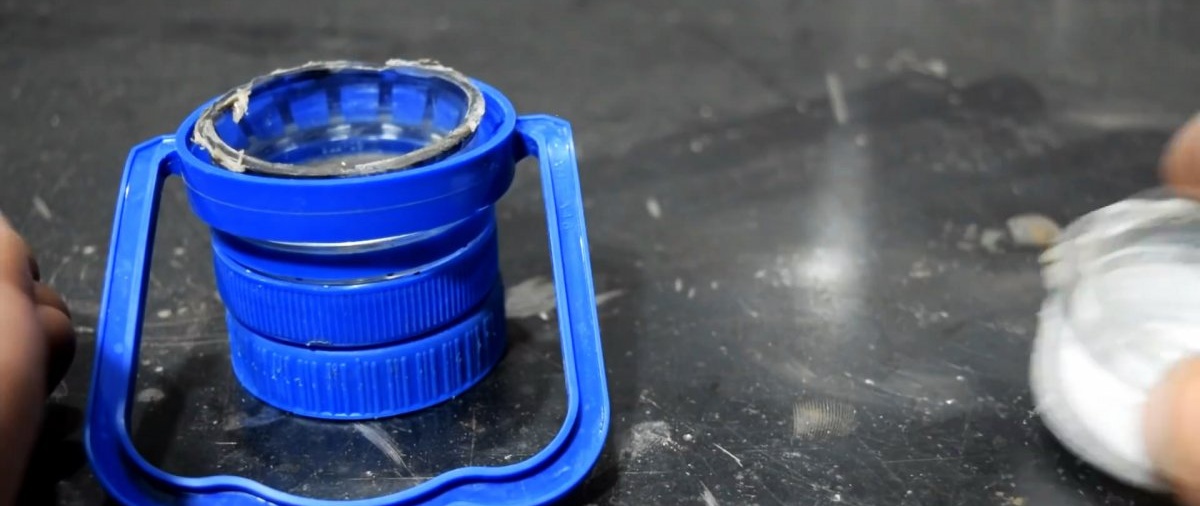
The necks of two plastic bottles are cut off for a carrying handle. It is best to do this with a hand hacksaw for metal so that the cut is smooth and without sharp edges. If you cut with a knife, then in the future you will need to sand everything with sandpaper.

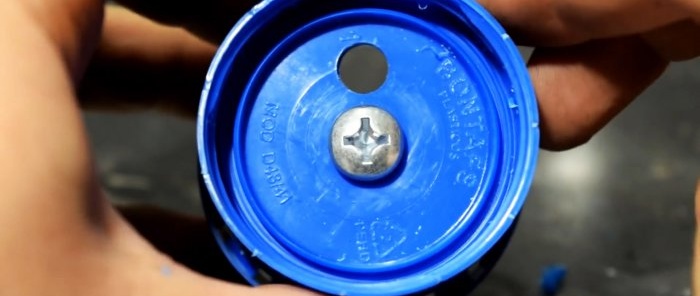
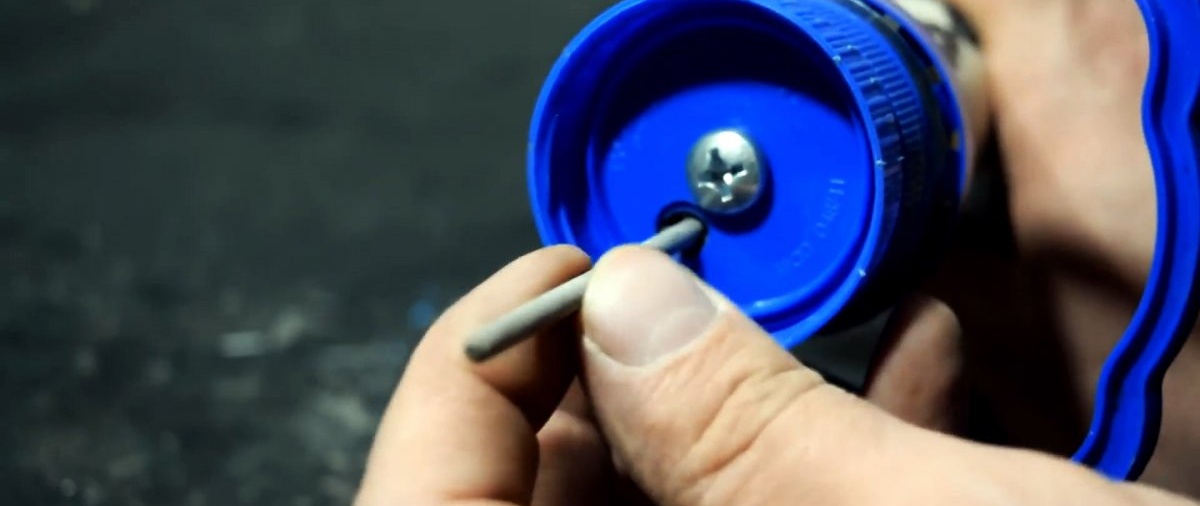
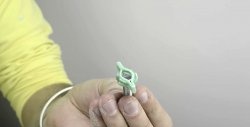
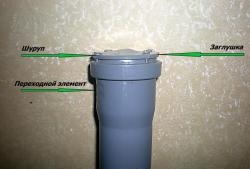
The cap from the third bottle is applied to the cap of one of the necks. After that, while they are docked, 2 holes are drilled into them. One in the center, the second shifted to the side.

An M6 bolt is inserted into the central one, and the covers are tightened together with a nut.
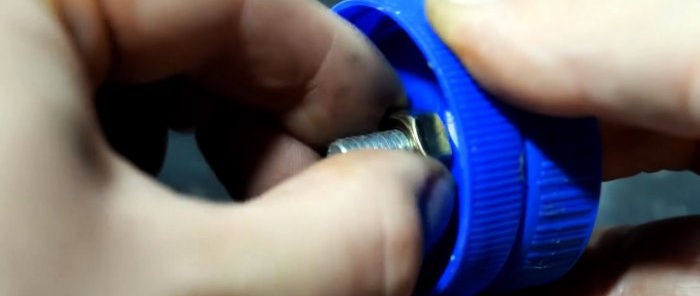
It is clamped tightly, but not completely, so that the plugs can rotate relative to each other. The second side hole should have a diameter several millimeters larger than the cross-section of the electrodes that will be stored in the tube.
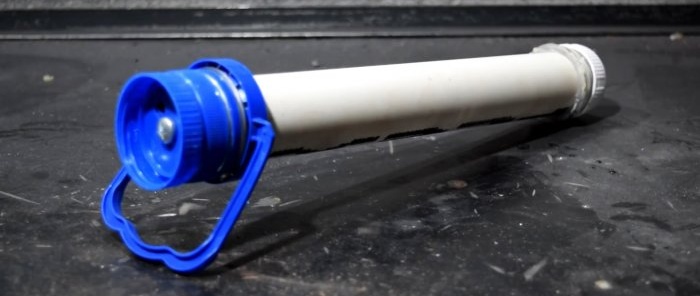
The second neck is cut closer to the beginning of the lid, which will allow the handle to be removed.

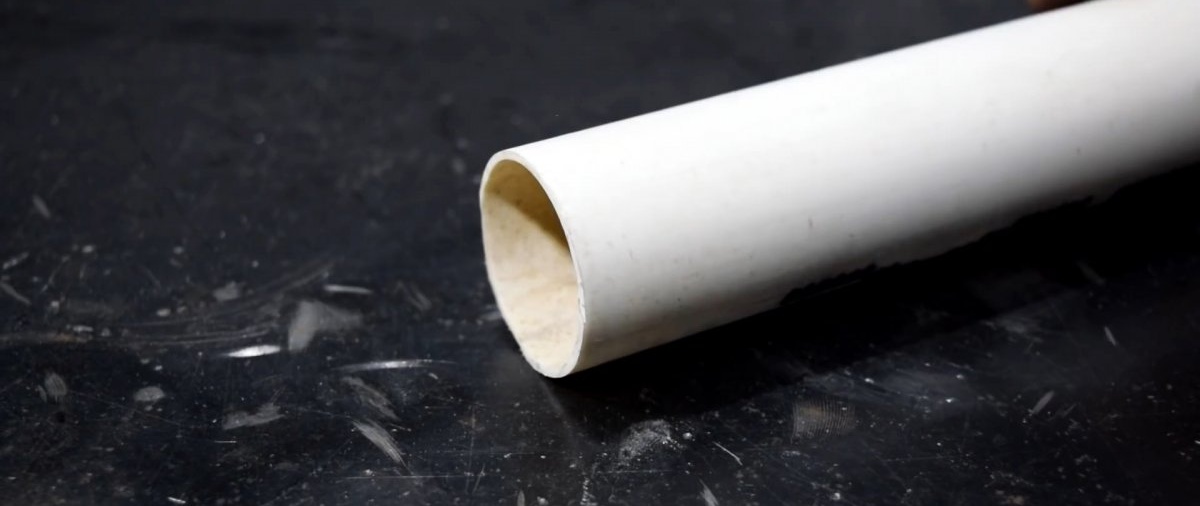
Then it is stuffed onto a plastic tube already cut to the length of the electrodes. The pipe is a couple of millimeters smaller, so it should fit. To make it sit deeper, its tip can be heated with a hairdryer or over a flame.

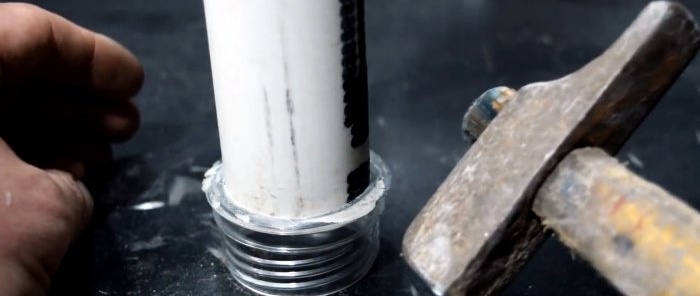
A neck with fastened caps is placed on the other end of the tube. If the pipe does not sit tightly, it can be secured with glue. It’s even easier to take a red-hot nail and pierce the neck and pipe with it in several places so that they are spot-welded together. This must be done before the electrodes are placed in the tube, which, when carried, can knock out the plug with the neck and crumble.
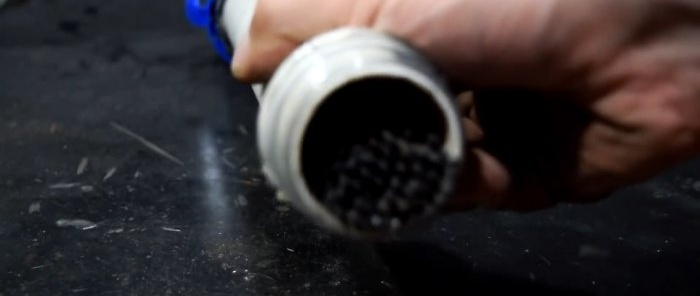
The electrodes are placed into the tube through a neck with one lid.

In the future, to get one of them, you need to turn the inverted plug on the second neck until the hole in it meets the bottom cover. The electrode is shaken out through it, and the plug is turned to the side. In fact, the design repeats the principle of operation of a box of toothpicks.
In this way, you can make several tubes for different electrodes and label them. For each electrode size, you need to drill a corresponding hole in the spliced plug. For storage, the tubes are hung by the handle remaining on one neck.
Materials:
- plastic bottles 5-10 l – 3 pcs.;
- smooth PVC pipe d40 mm;
- M6 bolt with nut.
Making a tube
The necks of two plastic bottles are cut off for a carrying handle. It is best to do this with a hand hacksaw for metal so that the cut is smooth and without sharp edges. If you cut with a knife, then in the future you will need to sand everything with sandpaper.

The cap from the third bottle is applied to the cap of one of the necks. After that, while they are docked, 2 holes are drilled into them. One in the center, the second shifted to the side.

An M6 bolt is inserted into the central one, and the covers are tightened together with a nut.

It is clamped tightly, but not completely, so that the plugs can rotate relative to each other. The second side hole should have a diameter several millimeters larger than the cross-section of the electrodes that will be stored in the tube.

The second neck is cut closer to the beginning of the lid, which will allow the handle to be removed.

Then it is stuffed onto a plastic tube already cut to the length of the electrodes. The pipe is a couple of millimeters smaller, so it should fit. To make it sit deeper, its tip can be heated with a hairdryer or over a flame.

A neck with fastened caps is placed on the other end of the tube. If the pipe does not sit tightly, it can be secured with glue. It’s even easier to take a red-hot nail and pierce the neck and pipe with it in several places so that they are spot-welded together. This must be done before the electrodes are placed in the tube, which, when carried, can knock out the plug with the neck and crumble.

The electrodes are placed into the tube through a neck with one lid.

In the future, to get one of them, you need to turn the inverted plug on the second neck until the hole in it meets the bottom cover. The electrode is shaken out through it, and the plug is turned to the side. In fact, the design repeats the principle of operation of a box of toothpicks.
In this way, you can make several tubes for different electrodes and label them. For each electrode size, you need to drill a corresponding hole in the spliced plug. For storage, the tubes are hung by the handle remaining on one neck.
Watch the video
Similar master classes


Particularly interesting

Comments (1)
