How to make a Power bank - keychain
External chargers are very compact in size, and their transportation does not present any difficulties. However, if you look at things with your own eyes, not every one of us carries this useful gadget with us. There are many reasons for this: forgetfulness, or just laziness - it doesn’t matter. Despite its small size, the external charger (good and powerful!) is by no means light in weight. And, of course, if you don’t have a backpack on your back, a handbag, or a purse, carrying this device in your pocket is far from the ultimate dream for any normal person. However, sometimes there are moments when leaving the house, for one reason or another, we are delayed. Meanwhile, the phone is “eating up” the last percentage of its built-in battery charge. For this reason, I put together a small charger with a capacity of several hundred mAh, which will help, if not fully charge the phone, then at least make a few calls in an emergency, in order to warn your loved ones about your lateness. This power bank charger has very compact dimensions and minimal weight.
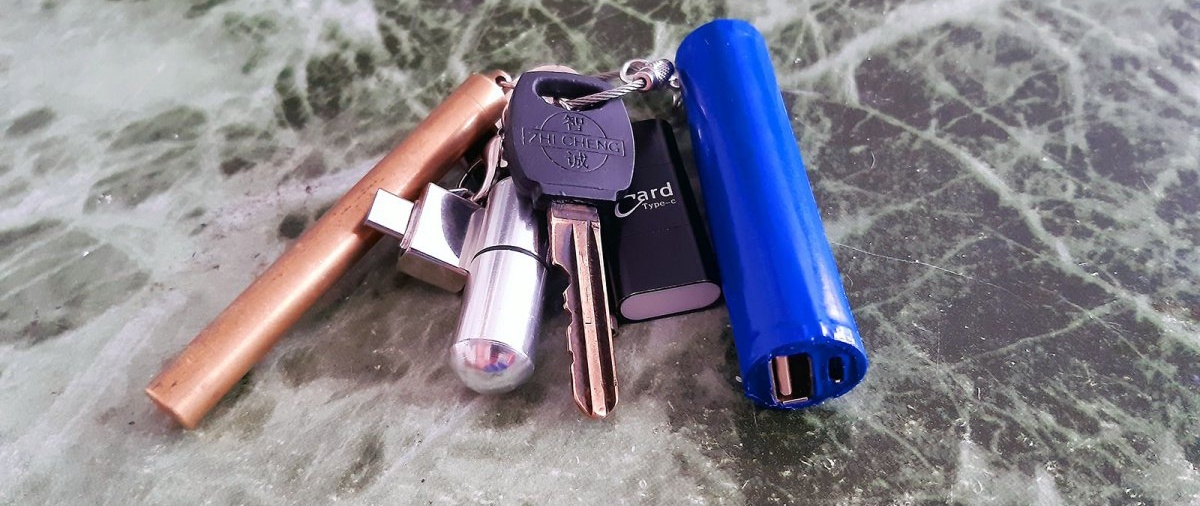
You can easily attach it to your apartment keys, thereby completely eliminating the possibility of forgetting it at home.
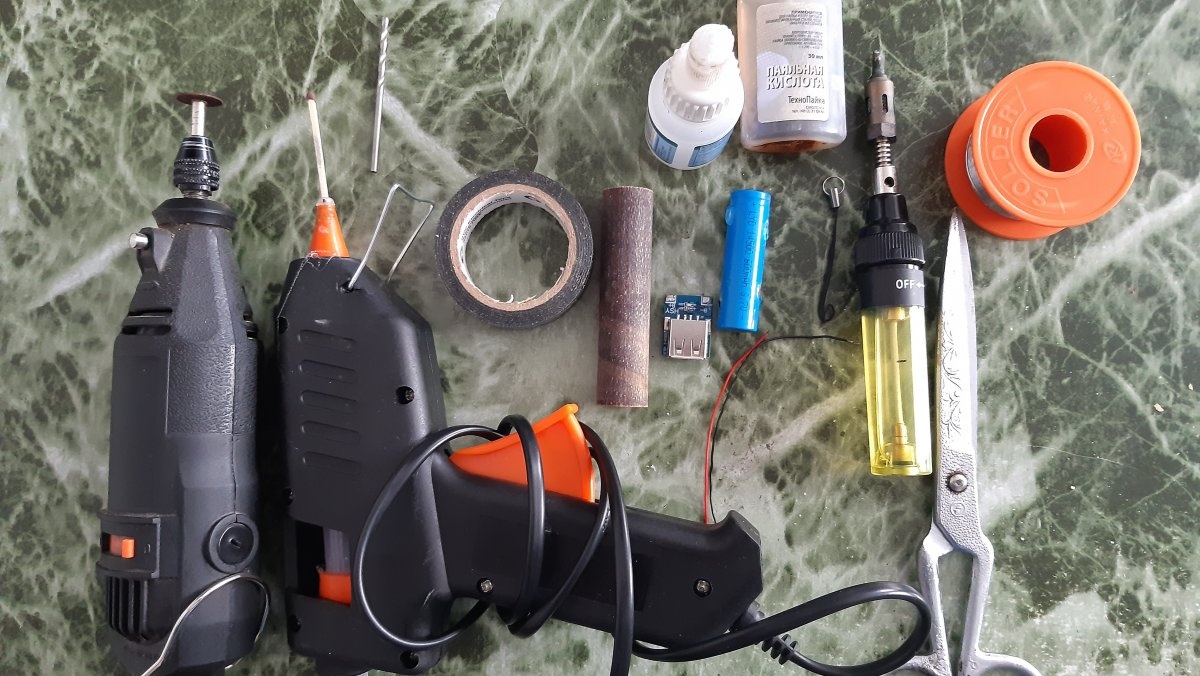
Will need
- Bor machine.
- Glue gun.
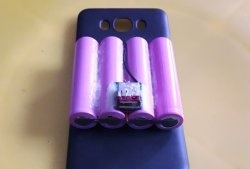
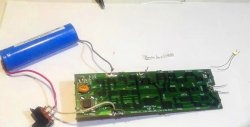
- Battery 14500 (finger-type), 3.7 V. Capacity of your choice. (The bigger, the better!)
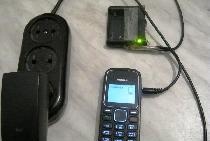
- Charger module (as in simple chargers).
- Soldering iron, tin and flux.
- Stationery knife.
- Two small wires (black and red).
- A tube, 80mm long and as wide as the charging module.
- Ruler.
- Marker.
- A piece of sandpaper.
- Adhesive film (color at your discretion).
Assembling the power bank key fob
The most capacious battery of this type that I found on the farm was 600 mAh.

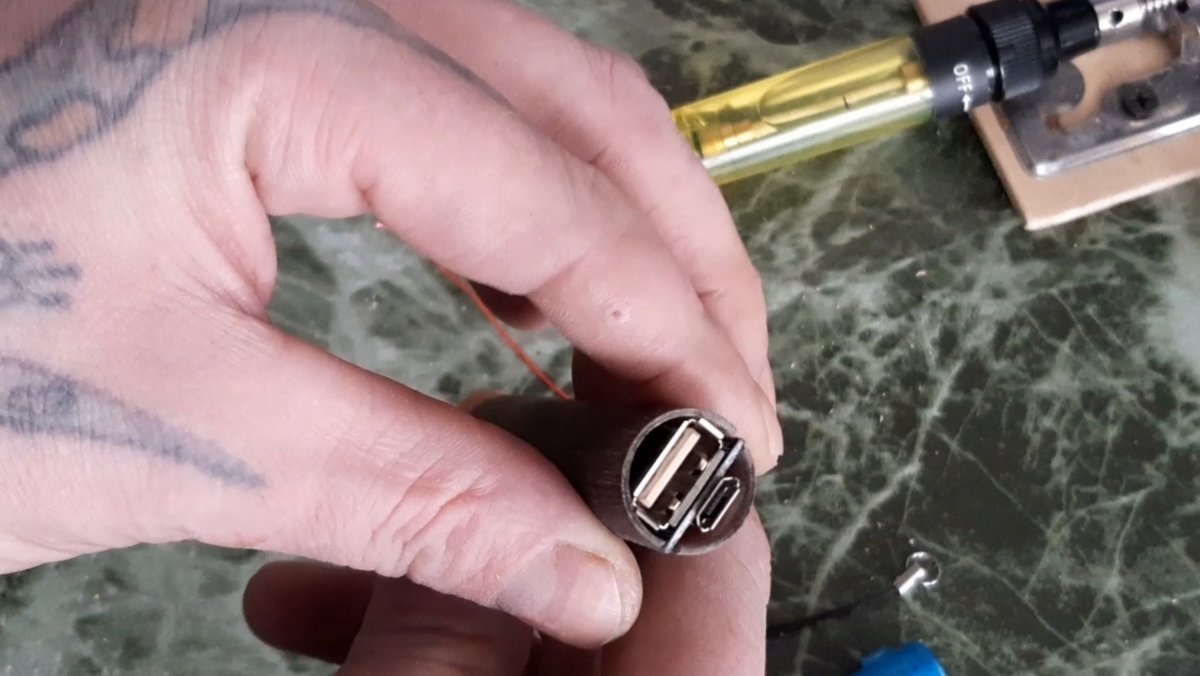
And, to be honest, I haven’t seen any more in stores. Therefore, we will work with what we have. So, first, let’s prepare the tube, that is, the body of the future charger. To do this, add up the length of the battery and module, plus 10 mm of reserve for glue and wires.

If the module does not fit into the tube, measure its length and make appropriate longitudinal cuts on the tube using a machine.

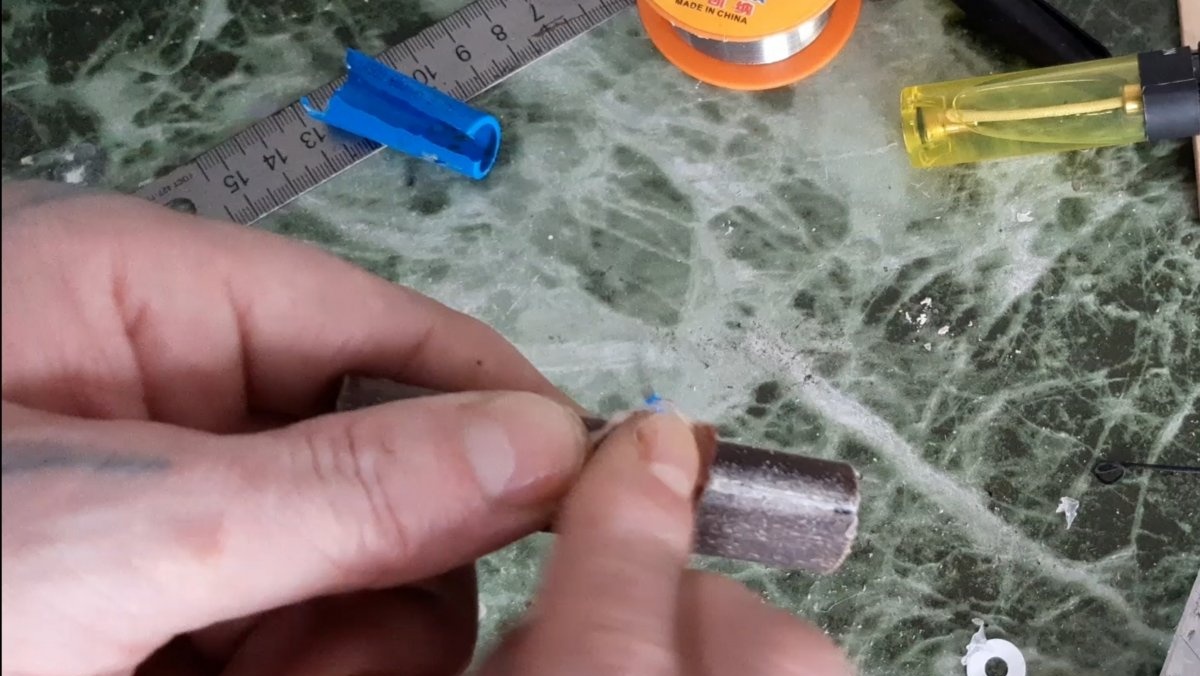
You will get something like grooves. Next, from the bottom edge of the tube, drill a 2 mm hole.
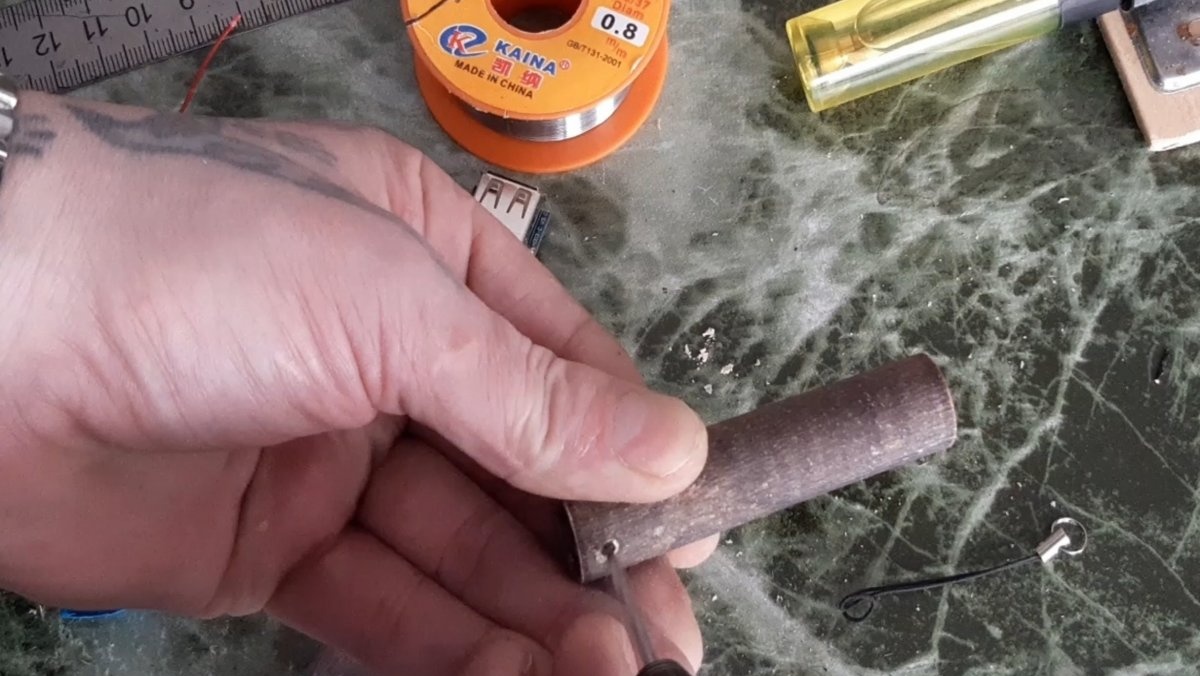
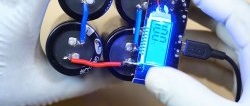
This will be the hole for the ring or carabiner. Now we solder the battery to the charging module. Don't forget about polarity!

For greater convenience, I peeled off the protective film from the battery - there will be no metal parts inside the case, so nothing will short out. After soldering, you can try everything on.
If everything is in order, apply hot glue between the module and the battery, push it all into the tube, and fill the bottom and top of the resulting charger with hot glue.
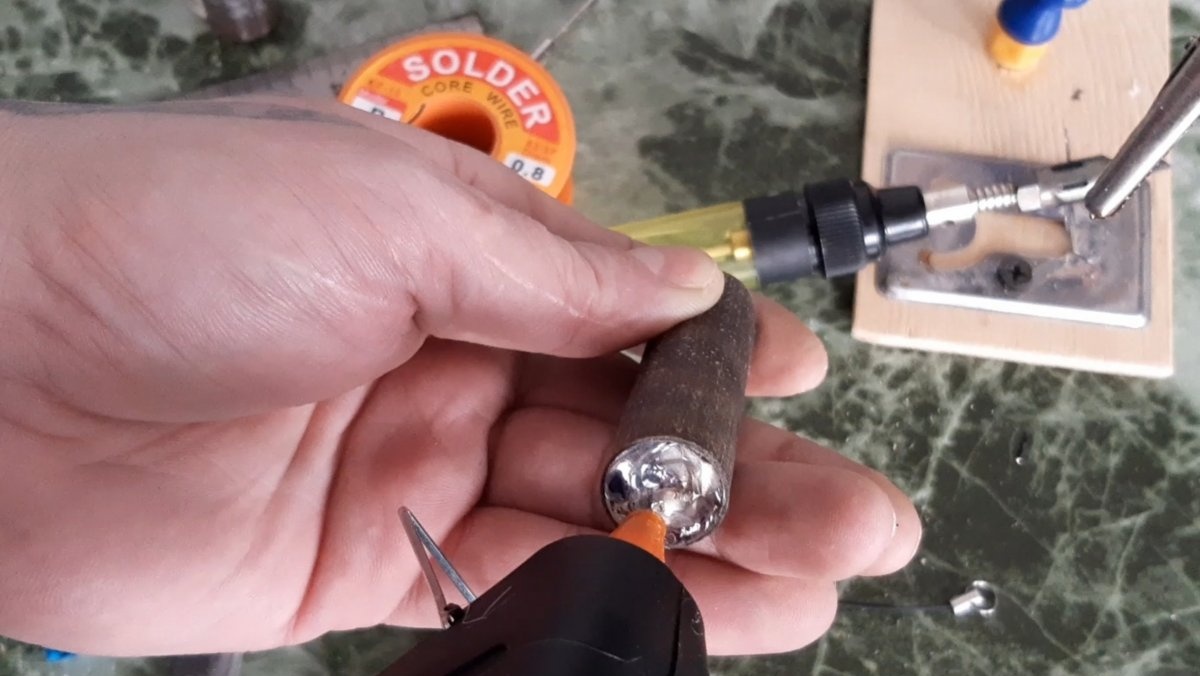
We wait for the glue to cool and harden, and use a utility knife to straighten the ends, cutting off excess glue.
We check for functionality.

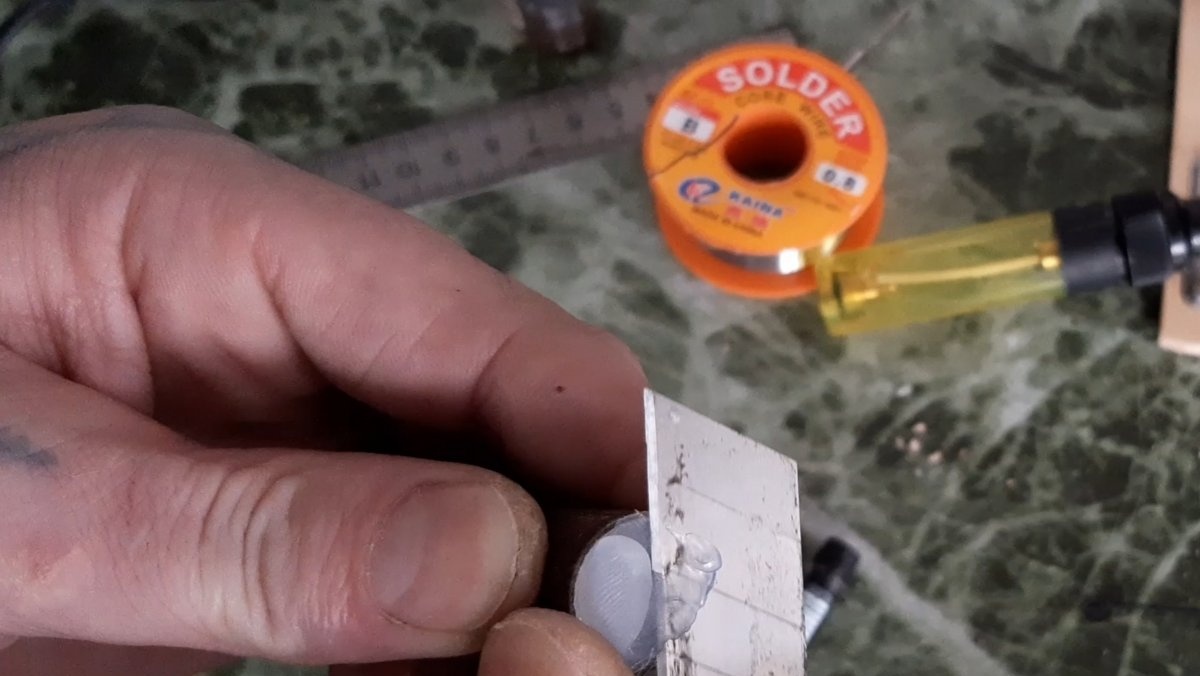
If everything is normal, we smooth out all the irregularities on the tube with sandpaper.
All that remains is to cover the finished charger with any film you like and cut technical holes in it for the plugs.


Keychain-Power bank is ready! This is what you should end up with:

The charger I designed had a capacity of 600 mAh. It charges my phone by 14 percent, with a built-in battery capacity of 4000 mAh.

In size and weight, as I already mentioned, this Power bank turned out to be very compact, about the size of a disposable lighter.

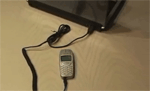
It can also be used to charge not only a dead phone, but also various headsets, players, navigators, etc.
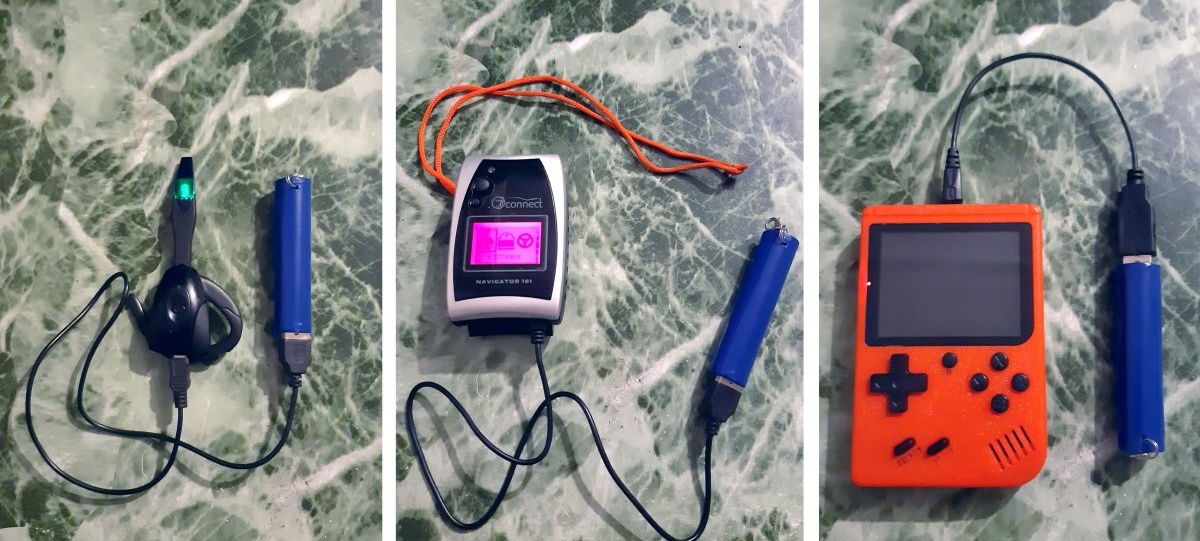
By the way, it can charge the headset several times - in bluetooth headphones, for example, the battery capacity is usually from 75 to 100 mAh. In rare cases, up to 300 - this is in large specimens. In general, the little thing turned out to be useful. It doesn’t take up much space and can be a good help in an emergency.