Homemade wheels - all-terrain vehicles
It is no secret that some villages can only be reached without problems in the summer. In autumn, winter or spring, great difficulties arise - either a swamp or snow drifts; only a modern all-wheel drive vehicle copes with the tasks. But this is a very expensive pleasure, most residents of the outback cannot afford it. We'll tell you how to remake old tires and make a real all-terrain vehicle out of an ordinary Zhiguli car.

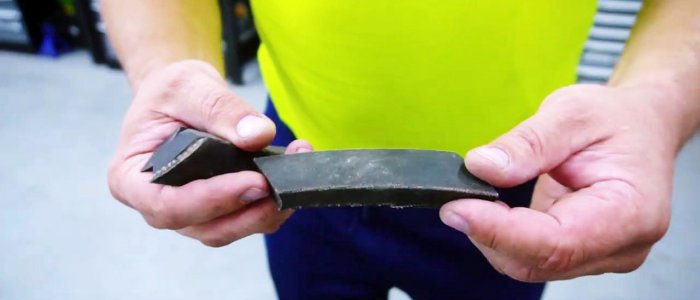
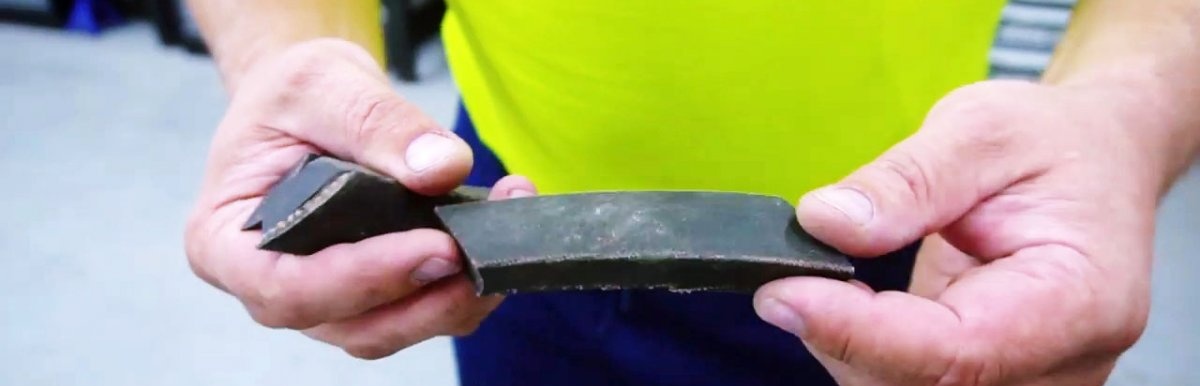
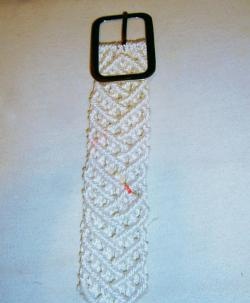
To fix the elements, M6 hardware of the appropriate length is required. The hooks are made from a “D” profile belt (top width 32 mm, bottom width 19.2 mm). The belt is cut into pieces with an ax; to ensure the accuracy of the pieces, the blow is made with a sledgehammer. The holes are drilled with an ordinary drill and a metal drill; it is easier to tighten the nuts with a screwdriver. The flipper is made from old tubes and glued to the tires with rubber glue. To cut bolts, you need a grinder with an abrasive disc.
Using an ax on a flat board, chop the belt blanks. The length is approximately 15 cm, specific values depend on the width of the tire and the angle of inclination of the segments. Place the ax blade at an angle of 45 degrees to the axis of the belt.The quantity depends on the distance between the individual elements, on average it should be 20 cm.
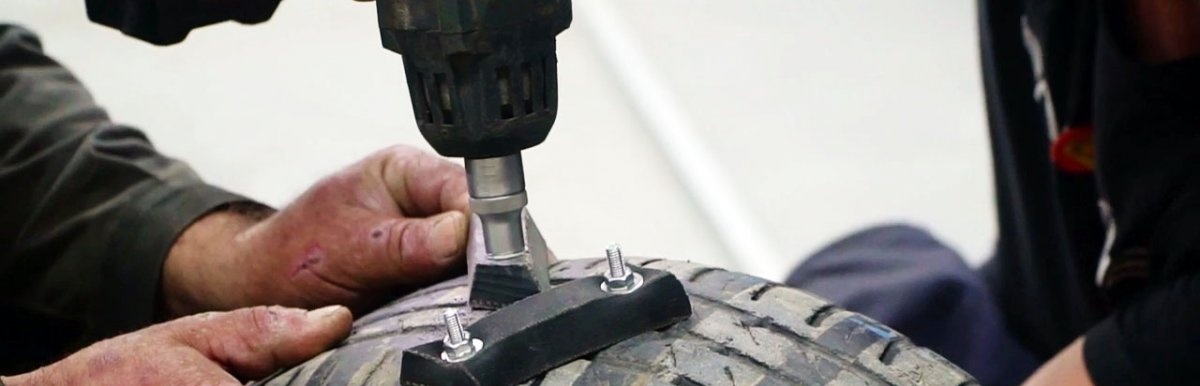
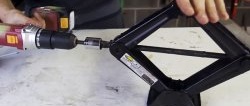
To ensure that all the pieces are the same length, make a mark on the board and use it as a template. Place the ax in the right place and cut off a piece of the belt by hitting the butt with a sledgehammer. Drill holes in the belt and tire, place them at a distance of approximately 1 cm from the ends and along the axis of symmetry.

First, drill holes on all the belt pieces, and then use each as a template to drill holes in the tire. Screw each herringbone element separately immediately after preparing the holes. The distance between the pieces of the belt can be set by eye or any board of the appropriate width can be adjusted to fit the template.

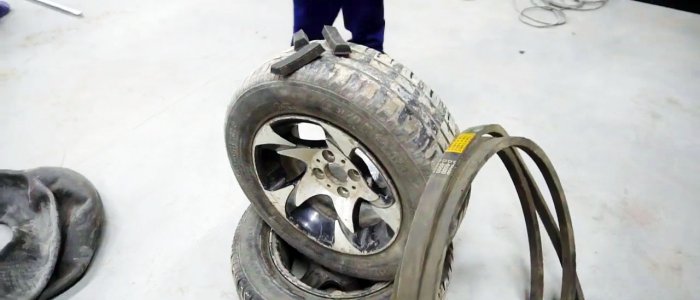
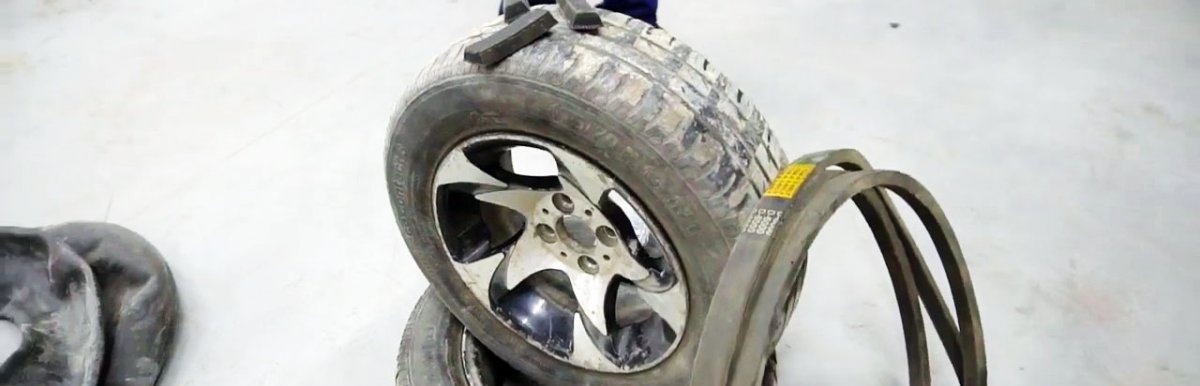
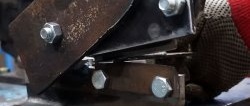
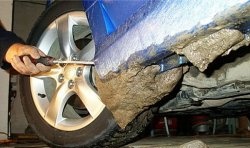
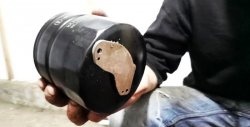
According to the described algorithm, install a “herringbone” across the entire wheel. Prepare two tires for the rear wheels. Cut the old camera along the radius. You need to make something like a flipper - this is a special tape that protects the camera from damage by the heads of the bolts that hold pieces of the belt around the perimeter of the tire. Apply rubber cement to the inside of the tire.
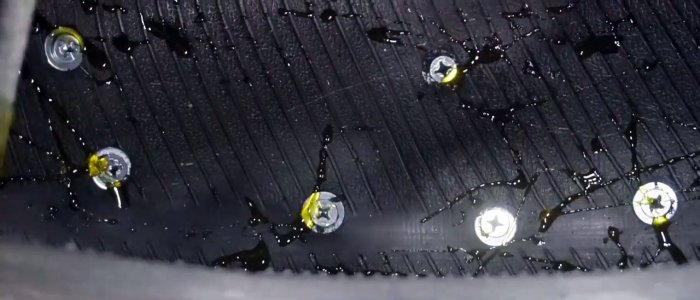
Carefully insert the flipper and align it. Leave for a day for the glue to harden. Using a grinder, cut off the protruding parts of the bolts around the circumference of the wheels.

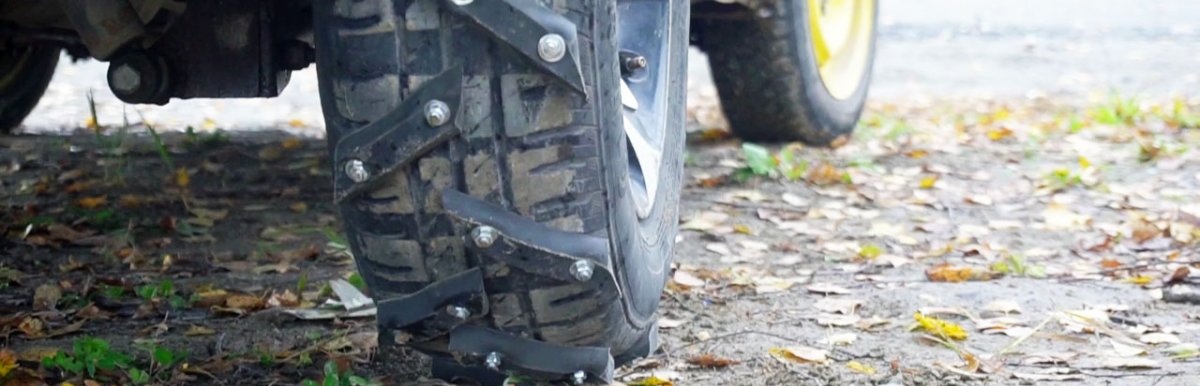
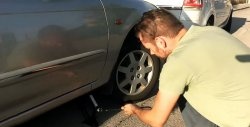
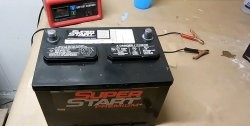
Assemble the wheels and install them on the car. Take it for a test drive. You will be surprised by the results; in terms of cross-country ability, such a Zhiguli is much superior to the most modern jeeps.
You cannot drive on such tires on paved roads; the speed should not exceed 50 km/h.It must be remembered that the fixation strength does not meet the requirements for high-speed tires; such tires can only be used for a short time to drive through bad sections of the road.
Be sure to watch the video for complete tests of all the passing properties of these wheels on a rear-wheel drive car.
What you need to prepare
To fix the elements, M6 hardware of the appropriate length is required. The hooks are made from a “D” profile belt (top width 32 mm, bottom width 19.2 mm). The belt is cut into pieces with an ax; to ensure the accuracy of the pieces, the blow is made with a sledgehammer. The holes are drilled with an ordinary drill and a metal drill; it is easier to tighten the nuts with a screwdriver. The flipper is made from old tubes and glued to the tires with rubber glue. To cut bolts, you need a grinder with an abrasive disc.
Manufacturing process
Using an ax on a flat board, chop the belt blanks. The length is approximately 15 cm, specific values depend on the width of the tire and the angle of inclination of the segments. Place the ax blade at an angle of 45 degrees to the axis of the belt.The quantity depends on the distance between the individual elements, on average it should be 20 cm.
To ensure that all the pieces are the same length, make a mark on the board and use it as a template. Place the ax in the right place and cut off a piece of the belt by hitting the butt with a sledgehammer. Drill holes in the belt and tire, place them at a distance of approximately 1 cm from the ends and along the axis of symmetry.

First, drill holes on all the belt pieces, and then use each as a template to drill holes in the tire. Screw each herringbone element separately immediately after preparing the holes. The distance between the pieces of the belt can be set by eye or any board of the appropriate width can be adjusted to fit the template.
According to the described algorithm, install a “herringbone” across the entire wheel. Prepare two tires for the rear wheels. Cut the old camera along the radius. You need to make something like a flipper - this is a special tape that protects the camera from damage by the heads of the bolts that hold pieces of the belt around the perimeter of the tire. Apply rubber cement to the inside of the tire.

Carefully insert the flipper and align it. Leave for a day for the glue to harden. Using a grinder, cut off the protruding parts of the bolts around the circumference of the wheels.

Assemble the wheels and install them on the car. Take it for a test drive. You will be surprised by the results; in terms of cross-country ability, such a Zhiguli is much superior to the most modern jeeps.
Conclusion
You cannot drive on such tires on paved roads; the speed should not exceed 50 km/h.It must be remembered that the fixation strength does not meet the requirements for high-speed tires; such tires can only be used for a short time to drive through bad sections of the road.
Watch the mud tests in the video
Be sure to watch the video for complete tests of all the passing properties of these wheels on a rear-wheel drive car.
Similar master classes

Particularly interesting

Comments (0)
