A simple wooden clamp for joining workpieces at right angles
When making wooden products, you often have to join parts at an angle of 90 degrees. In order not to waste time on installation and subsequent control of the accuracy of the connection, we will make a simple clamp that will ensure the speed and accuracy of such an operation.

To do this, we will make do with the simplest products and materials:
We will have to use: a drilling machine, drills and countersinks, a drill and screws, a vice, a pin sharpened for a tap, a marker, a square and pliers.

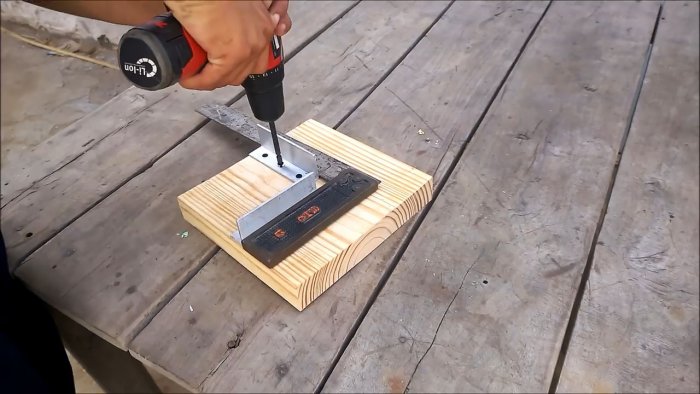
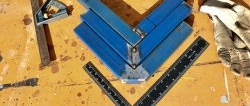
We attach two aluminum corners to the wooden base.

To do this, we drill three holes in them and drill out their half screw heads.
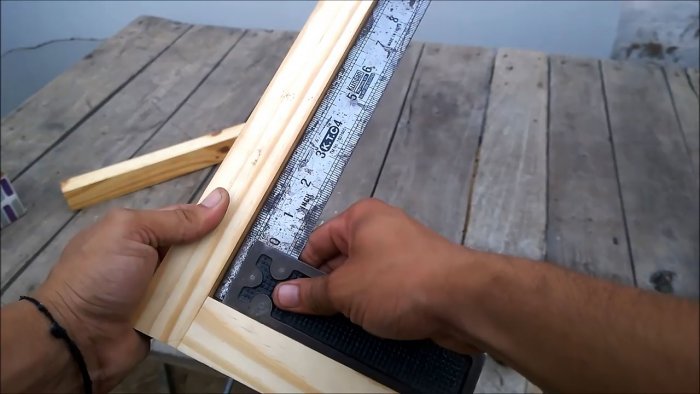
We align one end of the corner with the edge of the base just above its geometric center. We attach the second corner to the first at a right angle.
Having verified the accuracy of the installation with a square, using a drill we fasten the corners to the base with screws. Moreover, the vertical shelves of both corners should be directed outward.
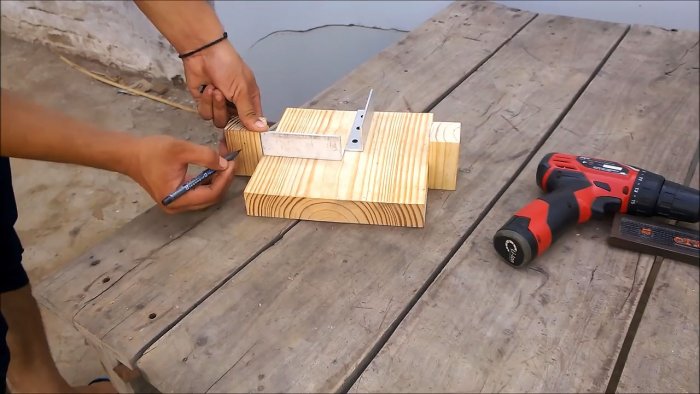
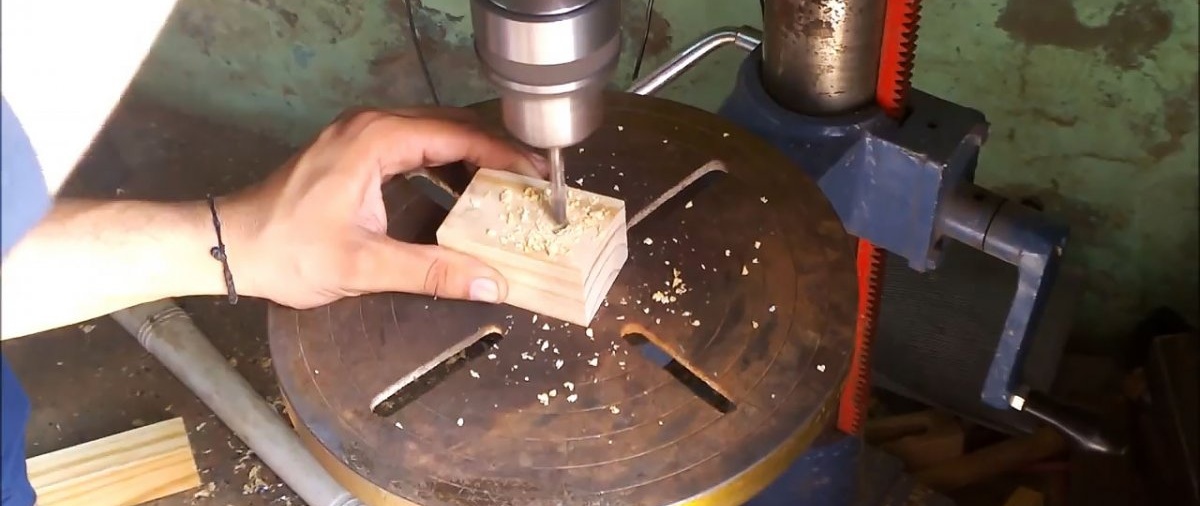
On two rectangular blocks just above the center we make markings and drill holes, which we then widen and thread with a pin sharpened for a tap.

Homemade sword from a bolt.

At the bottom of the blocks we make four blind holes.

We apply PVA glue to the opposite side from below and attach them to two adjacent sides of the bases so that their ends lie in the same plane, and the upper parts with holes are above the upper plane of the base.
We place the bars so that their centers approximately coincide with the centers of the corresponding aluminum corner. We screw screws into the blind holes to strengthen the position of the blocks on the base.

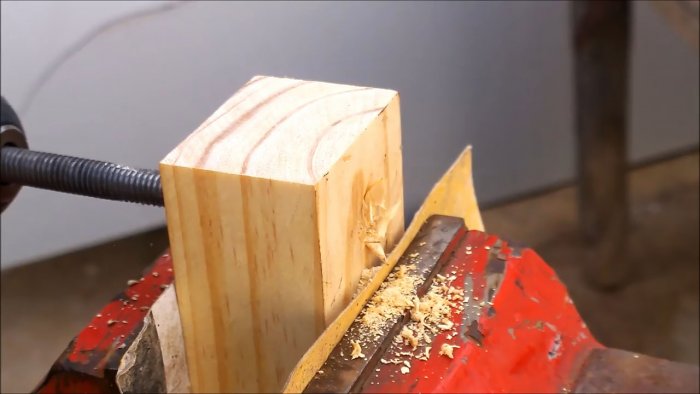
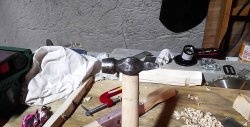
In two smaller blocks in the middle we form blind recesses for the outer size of the bearings. Apply epoxy glue to the holes and install bearings in them.


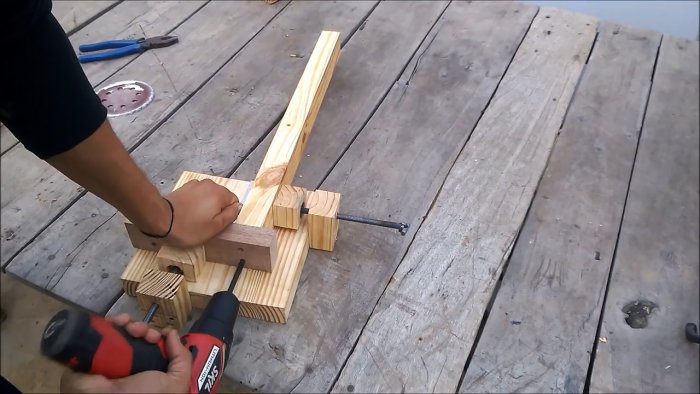
We screw pins with handle-collars into the blocks with threaded holes, the ends of which rest against the bearings glued into the small blocks. The length of the studs should allow the blocks with bearings to be pressed against the shelves of the aluminum corners. In principle, our clamp is ready for use.


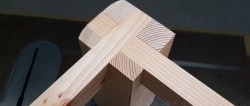
It's quite easy to use. We place the workpiece between the block with the bearing and the outer shelf of the aluminum angle. We firmly clamp it using the appropriate pin, rotating the handle-collar.

We place the second one transversely close to the first workpiece and also clamp it between the second block with a bearing and the aluminum corner, rotating its pin.
We firmly fasten the workpieces together using screws and a drill.

We remove the resulting structure from the clamp and use a metal square to control the angle, which is exactly 90 degrees.

Will need
To do this, we will make do with the simplest products and materials:
- a piece of wooden board;
- two aluminum corners;
- four wooden blocks;
- two rolling bearings;
- PVA and epoxy glue;
- two studs with a handle-collar.
We will have to use: a drilling machine, drills and countersinks, a drill and screws, a vice, a pin sharpened for a tap, a marker, a square and pliers.
The procedure for making the clamp

We attach two aluminum corners to the wooden base.

To do this, we drill three holes in them and drill out their half screw heads.
We align one end of the corner with the edge of the base just above its geometric center. We attach the second corner to the first at a right angle.
Having verified the accuracy of the installation with a square, using a drill we fasten the corners to the base with screws. Moreover, the vertical shelves of both corners should be directed outward.

On two rectangular blocks just above the center we make markings and drill holes, which we then widen and thread with a pin sharpened for a tap.

Homemade sword from a bolt.

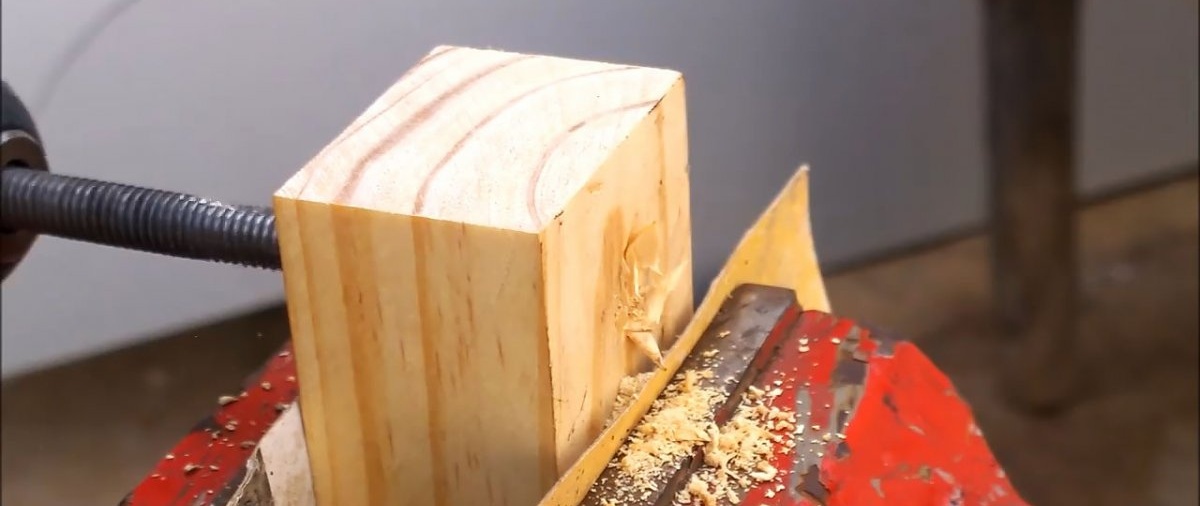
At the bottom of the blocks we make four blind holes.

We apply PVA glue to the opposite side from below and attach them to two adjacent sides of the bases so that their ends lie in the same plane, and the upper parts with holes are above the upper plane of the base.
We place the bars so that their centers approximately coincide with the centers of the corresponding aluminum corner. We screw screws into the blind holes to strengthen the position of the blocks on the base.

In two smaller blocks in the middle we form blind recesses for the outer size of the bearings. Apply epoxy glue to the holes and install bearings in them.


We screw pins with handle-collars into the blocks with threaded holes, the ends of which rest against the bearings glued into the small blocks. The length of the studs should allow the blocks with bearings to be pressed against the shelves of the aluminum corners. In principle, our clamp is ready for use.


Checking the clamp operation
It's quite easy to use. We place the workpiece between the block with the bearing and the outer shelf of the aluminum angle. We firmly clamp it using the appropriate pin, rotating the handle-collar.

We place the second one transversely close to the first workpiece and also clamp it between the second block with a bearing and the aluminum corner, rotating its pin.
We firmly fasten the workpieces together using screws and a drill.


We remove the resulting structure from the clamp and use a metal square to control the angle, which is exactly 90 degrees.

Watch the video
Similar master classes


Particularly interesting


Comments (0)
