How to use an iron to replace a burnt-out LED in an LED lamp
If the LED light bulb stops working or starts flickering, then the problem usually lies in one of LEDs. It is enough to replace it so that it shines like new again. Let's look at how to do this.
What you will need:
- SMD Light-emitting diode - http://alii.pub/5pbz45
- multimeter;
- iron;
- glue.
LED light bulb repair process
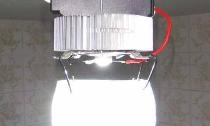
It is necessary to remove the plastic bulb of the light bulb to get to the board with soldered LEDs. The diffuser is held in place by glue, so if you trim it with a thin blade, everything will come apart just fine.


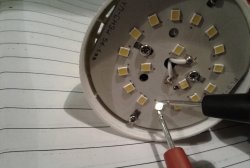
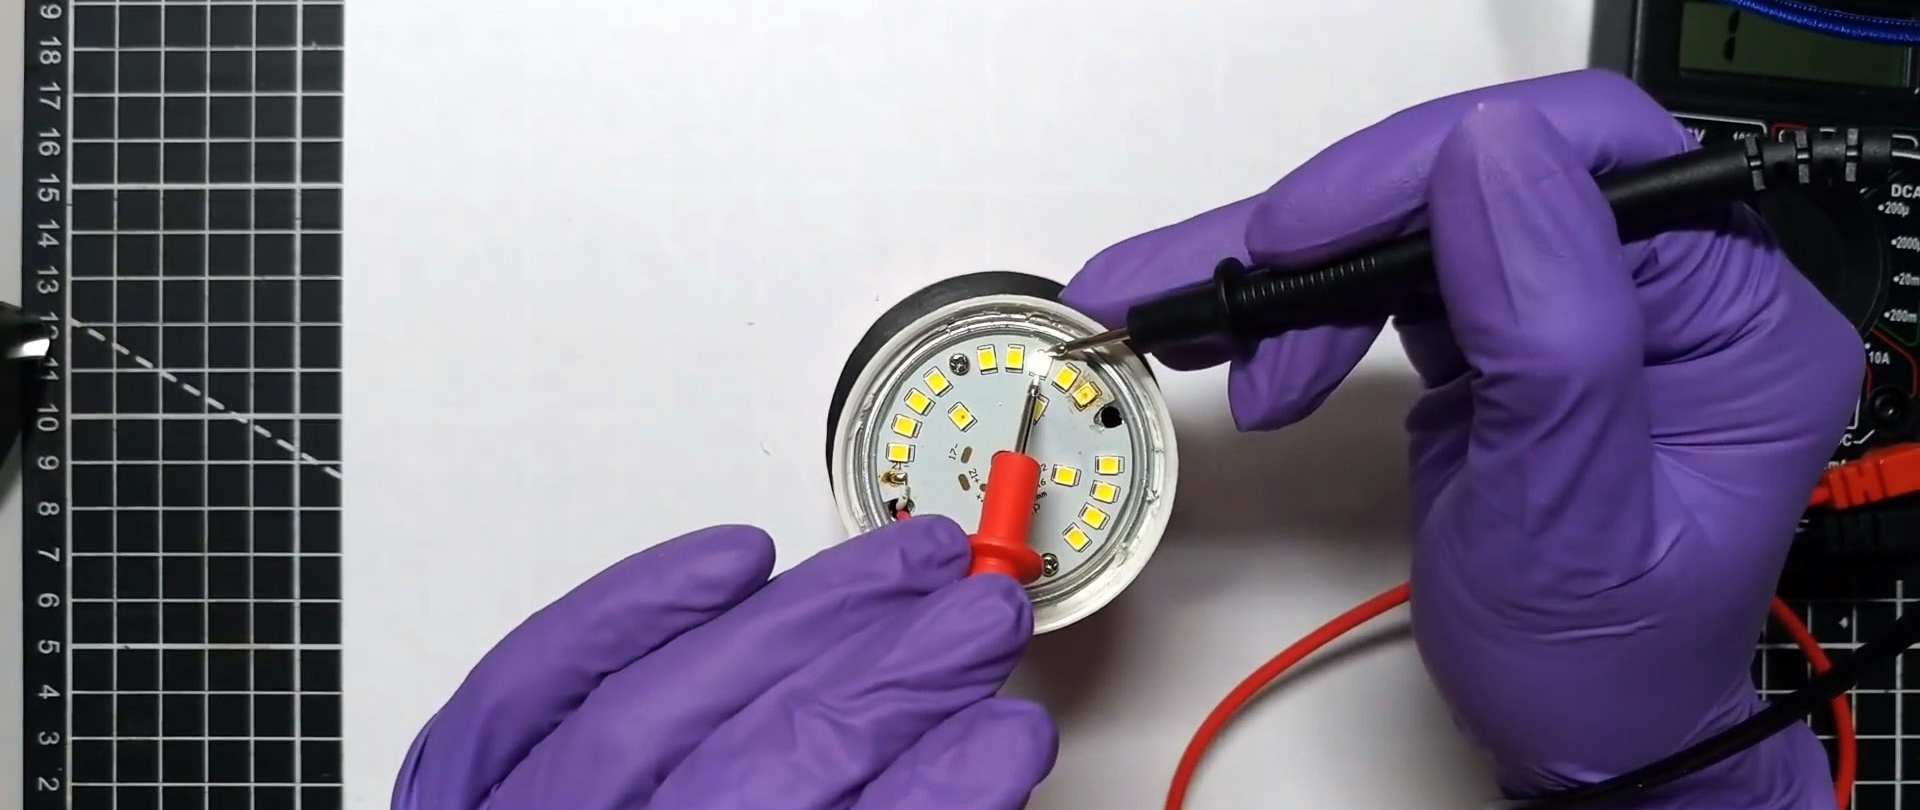
Identify burnt Light-emitting diode possible by a characteristic dark point. But it may not exist.
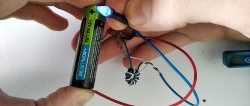
This is determined with 100% accuracy by a multimeter set to dialing mode. If, observing the polarity, you touch it with probes from the sides to the LED, it will begin to glow.
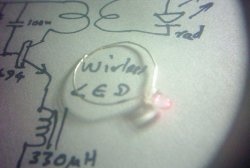
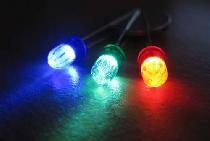
To replace you need to get a new one Light-emitting diode, similar to the burnt one. Using the same multimeter in dial mode, you need to determine its polarity in order to solder it correctly if there are no marks or they are hard to see.
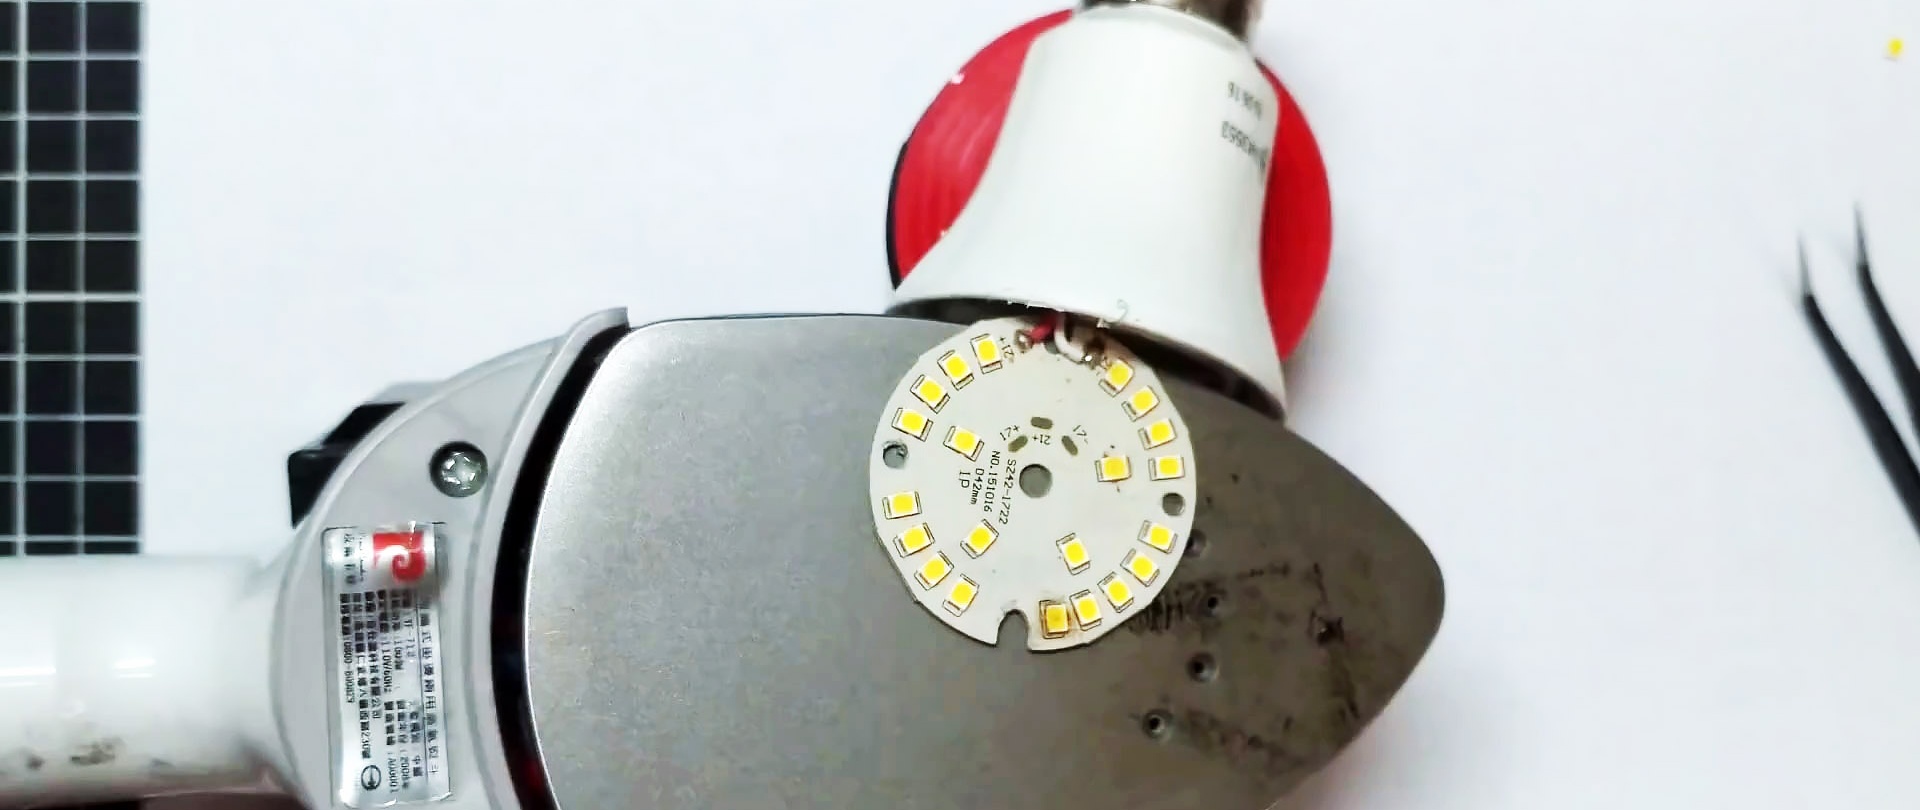
The iron temperature is set to maximum. Then it turns over, secures and turns on.

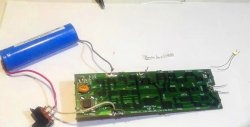
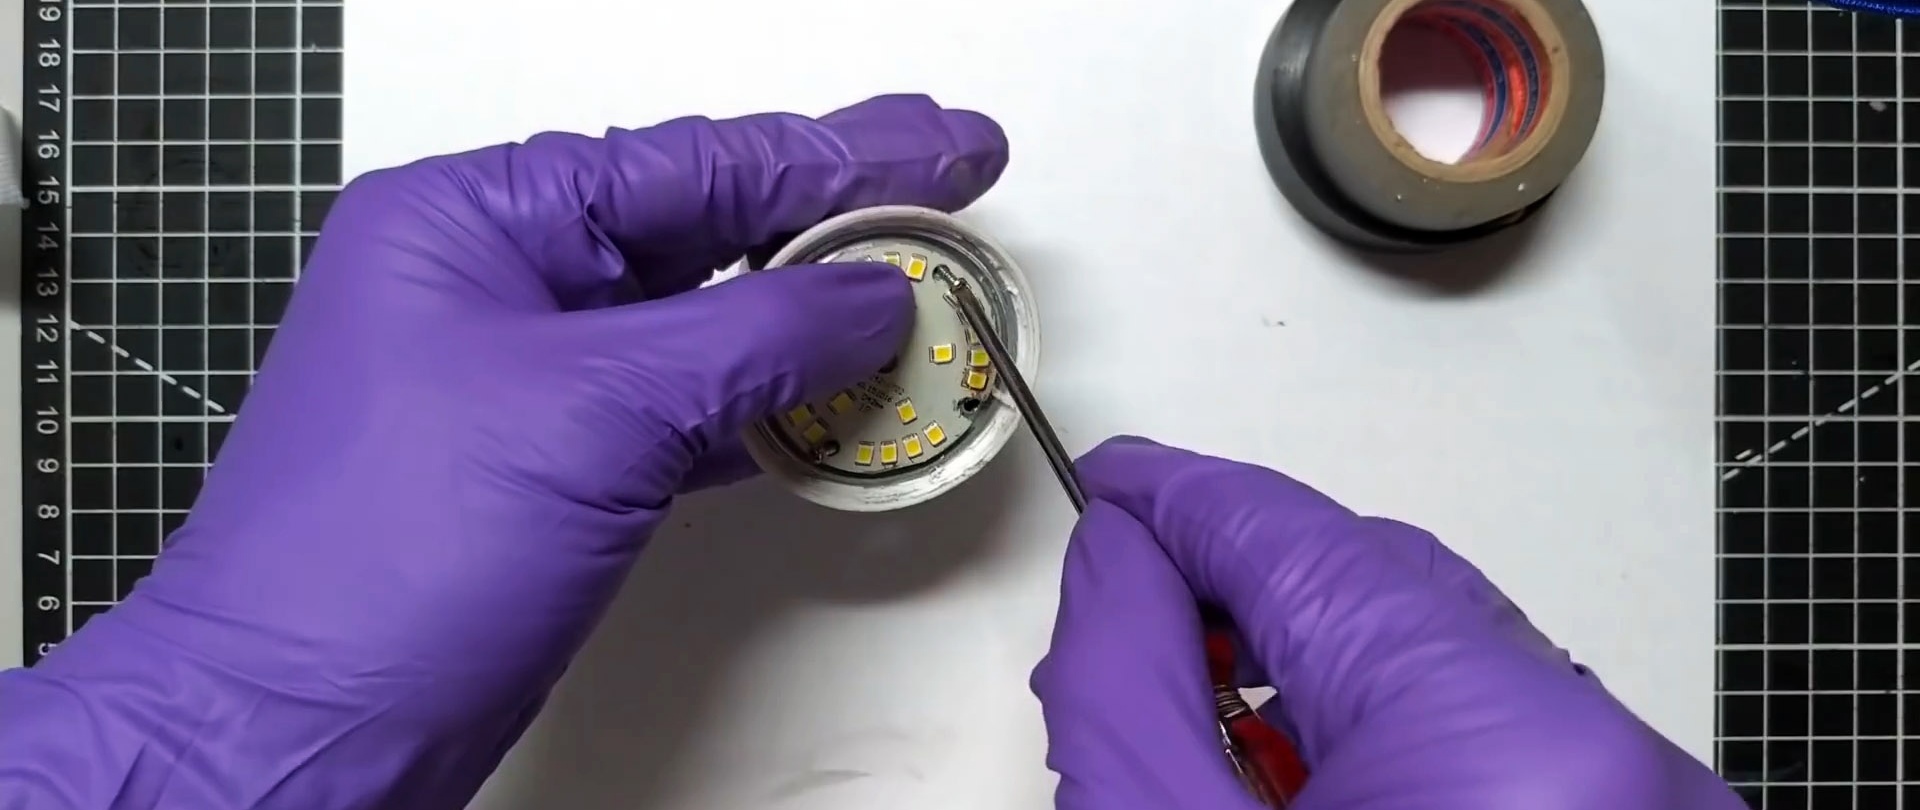
Unscrew the screws securing the board.

The lamp board is placed on the sole of the inverted iron.

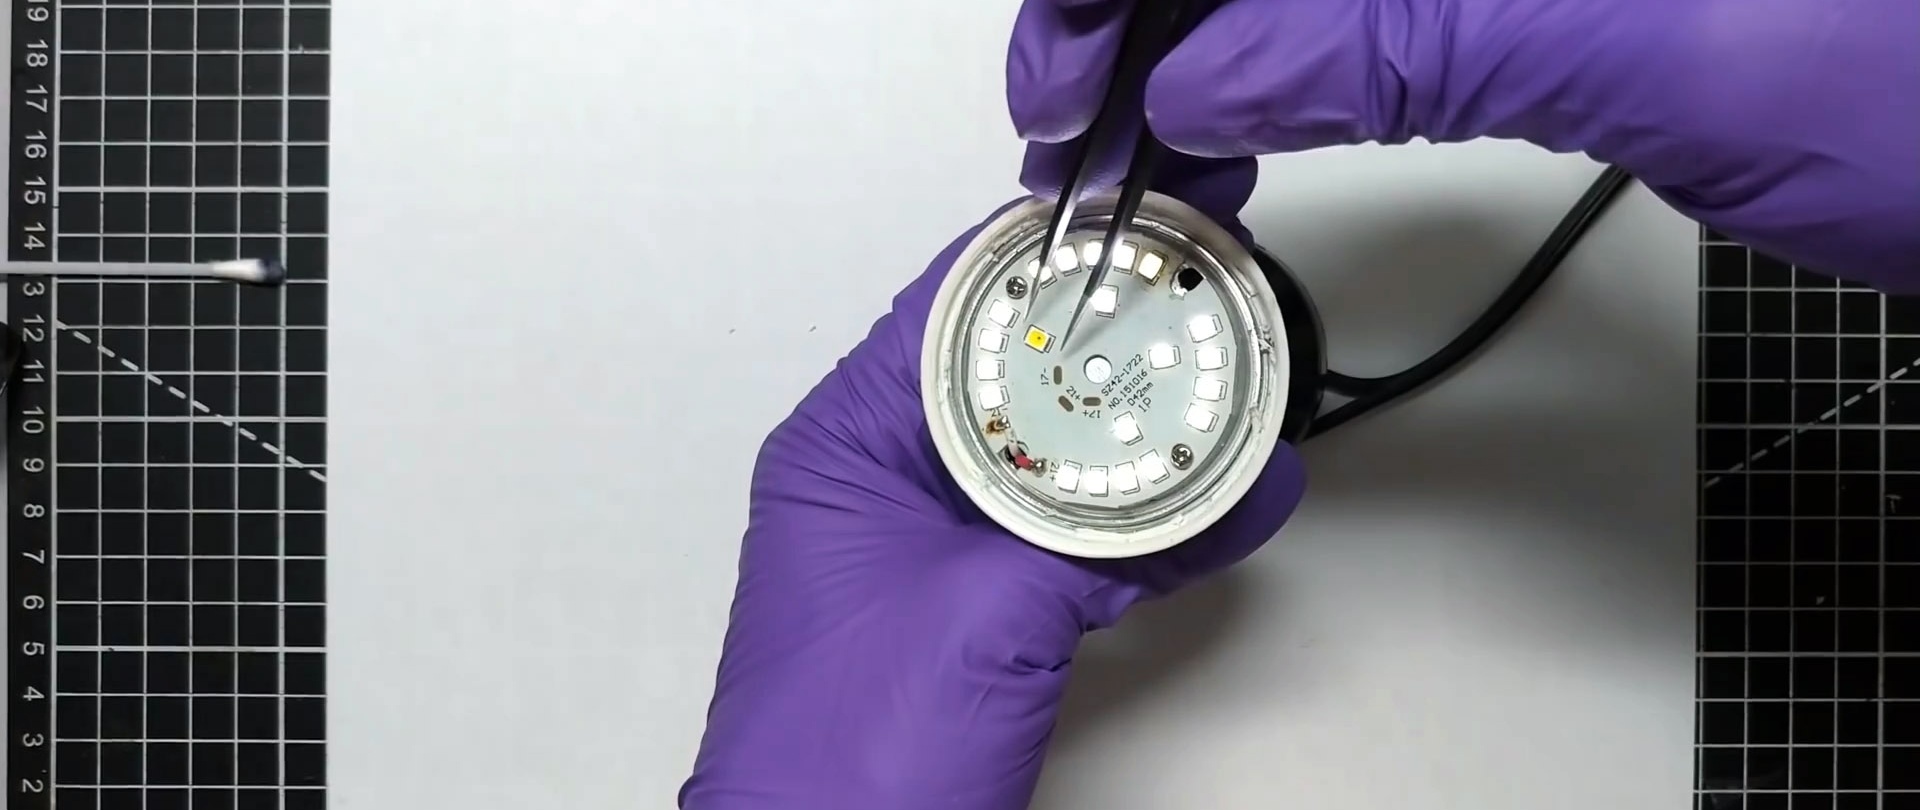
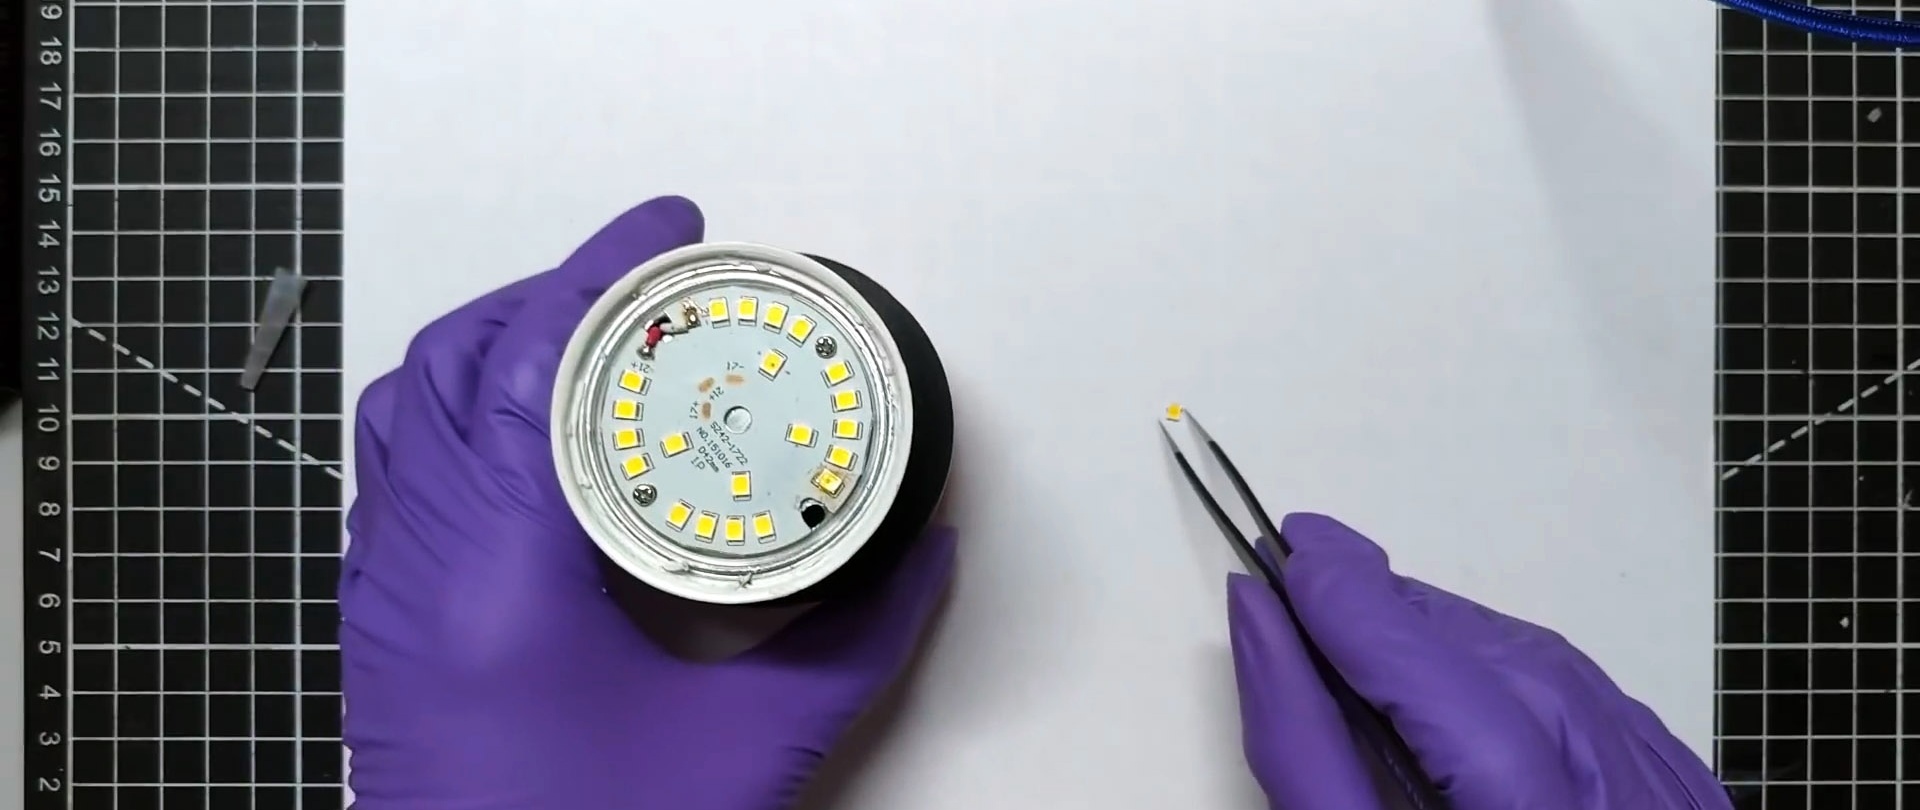
After melting the solder, burnt Light-emitting diode removed with tweezers.
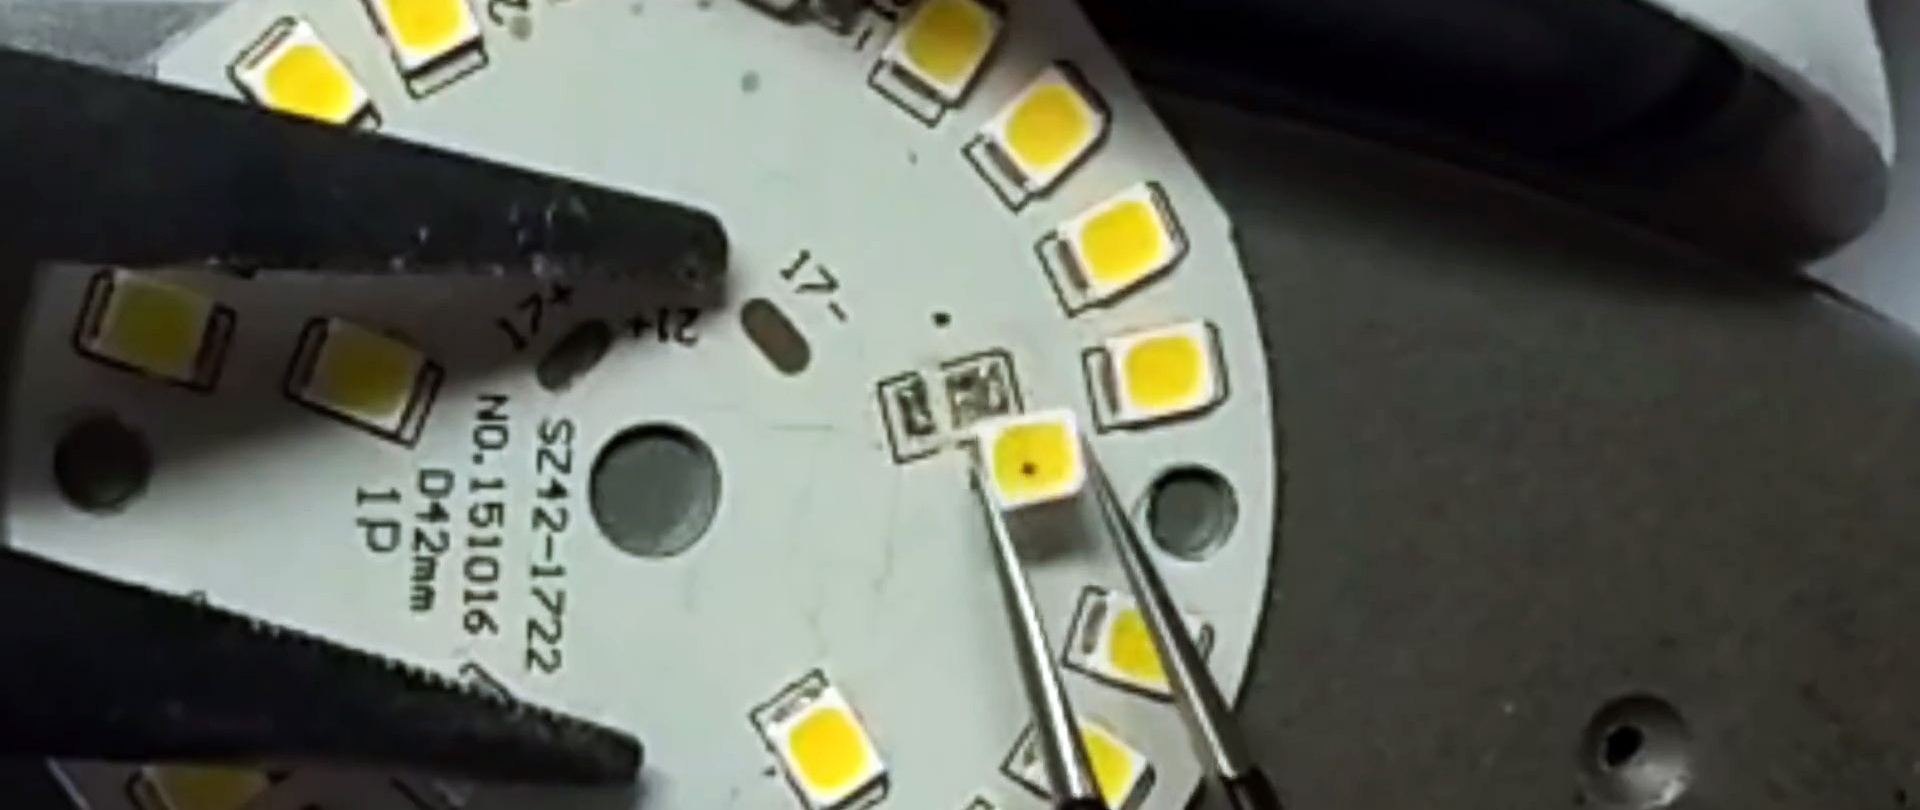
Then a new LED is placed in its place, observing the polarity.

You need to wait until its legs are soldered into the remaining solder on the board, then the heating stops. After this, the lamp is checked and put back together.
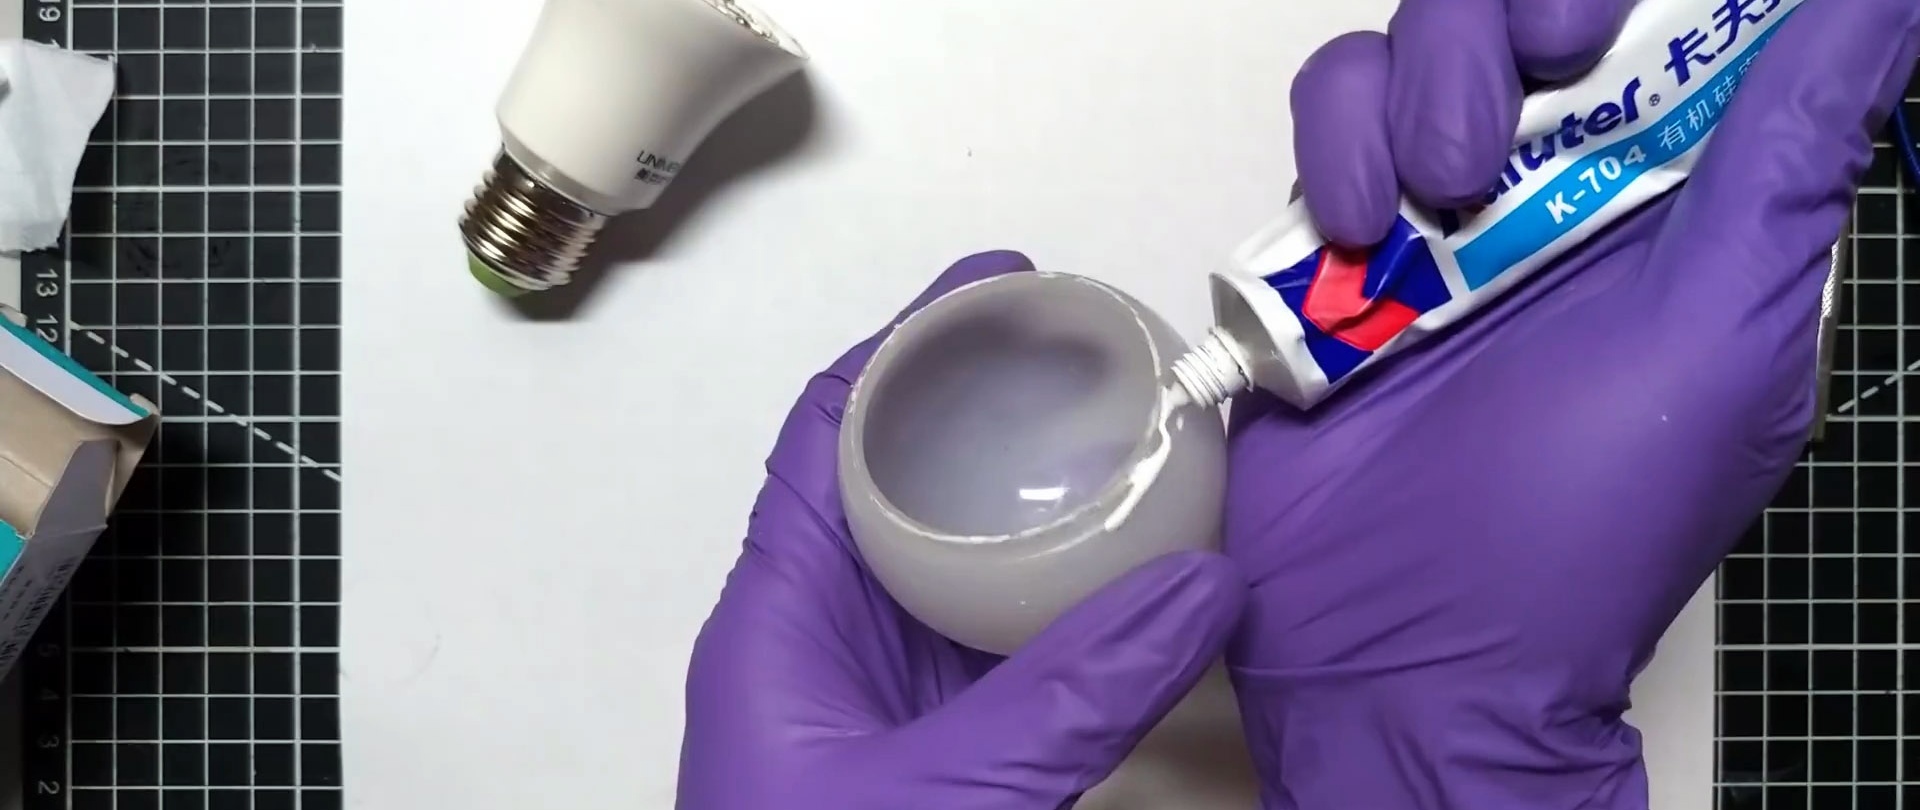
Its flask can be glued with silicone or glue.