How to make a dryer for vegetables and fruits from a leaky pan
Dried fruits and mushrooms can be prepared very quickly using an electric dryer made with your own hands from an old leaky pan. Assembling it is not at all difficult, since the system consists entirely of ready-made elements.

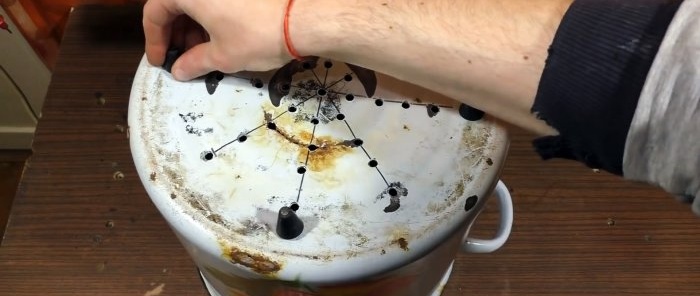
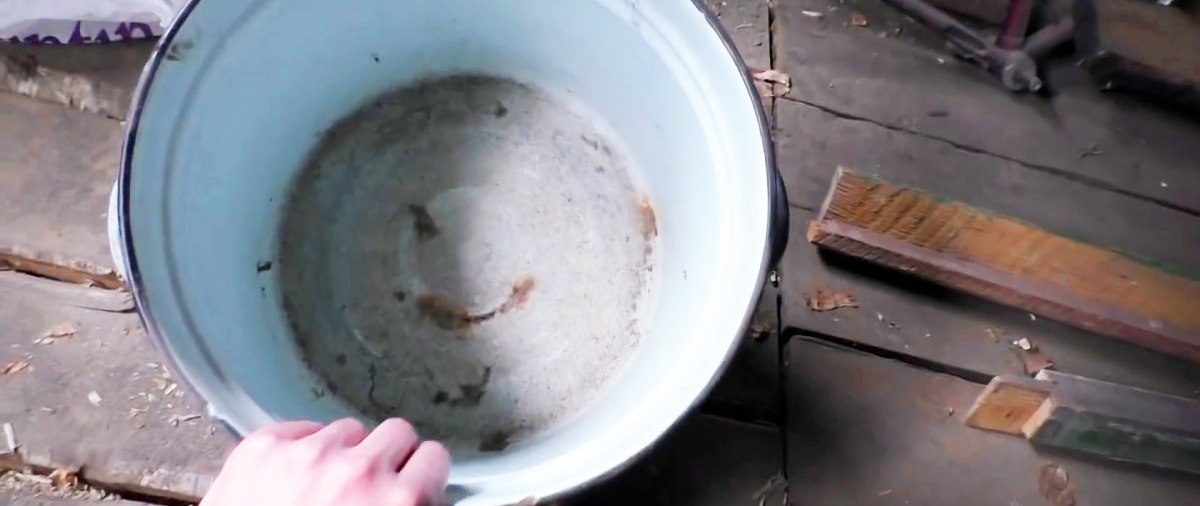
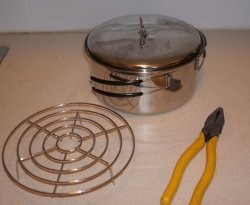
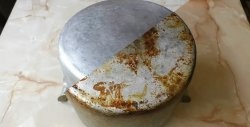
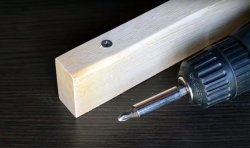
You can use an enamel bucket or a large old pan as the body of the dryer; even one with holes will do. It is necessary to make perforations in its bottom for ventilation. The holes are first drilled with a thin drill, then drilled out to 8 mm.

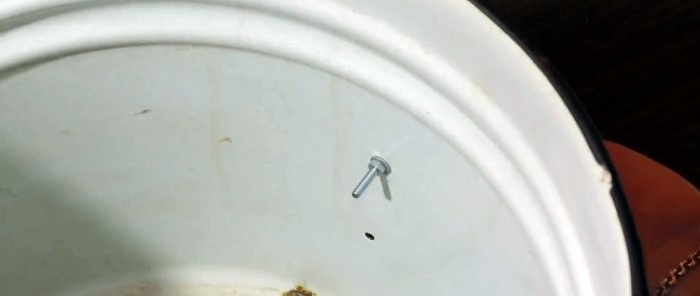
Also, 4 holes are made in the bottom of the pan, approximately 2 cm from the edge, into which rubber furniture legs are screwed.
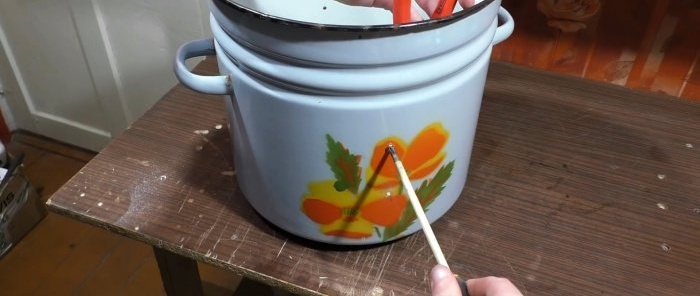
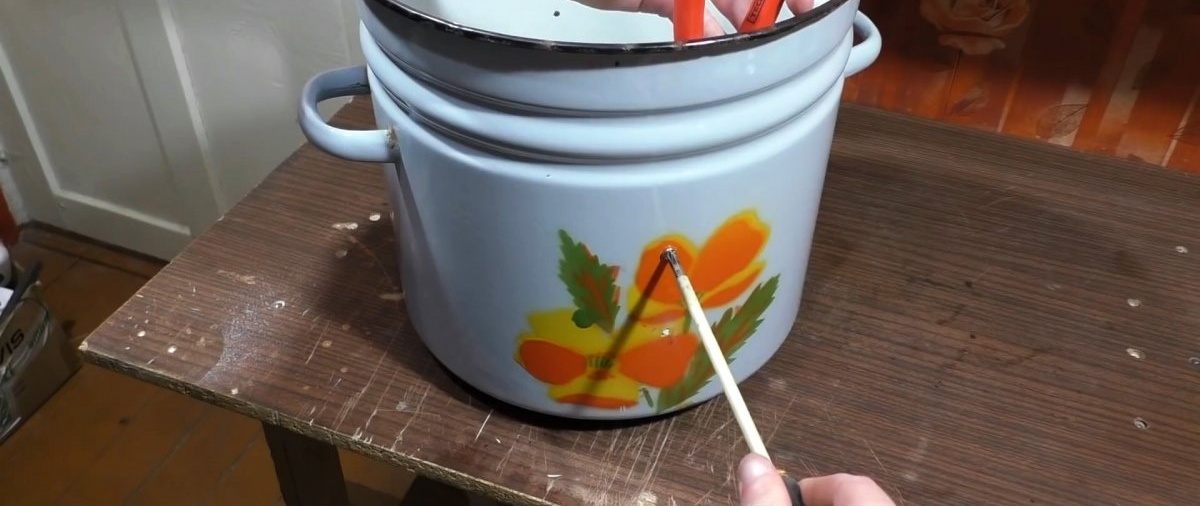
Next, you need to make supports for the shelves in the pan.To do this, 4 holes are drilled crosswise in its walls at the same level, then they are duplicated a little higher. Screws are inserted into the holes with their heads facing outward and tightened with nuts.
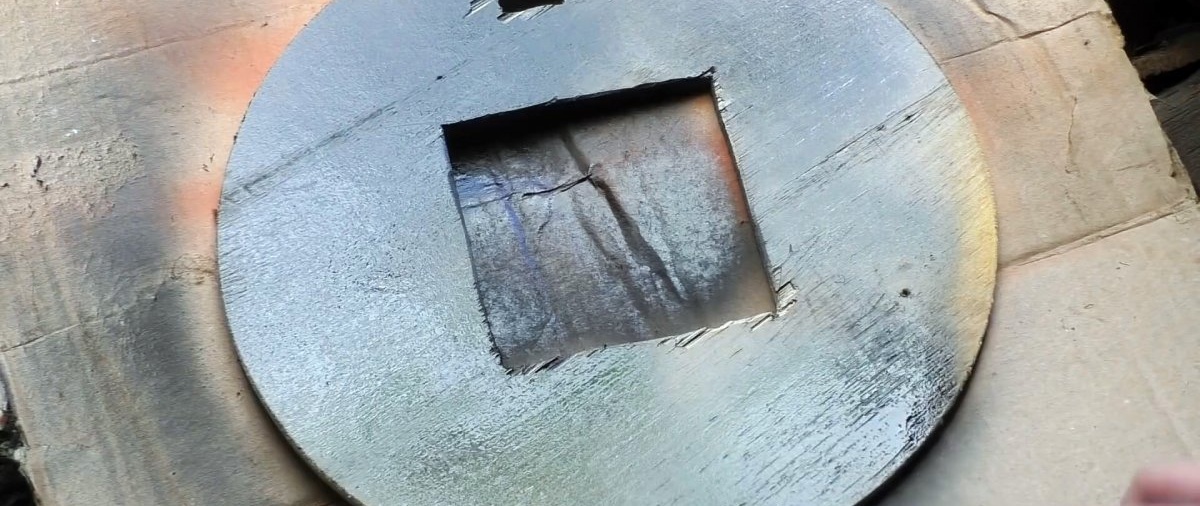
The standard lid of the pan needs to be replaced with a plywood one.
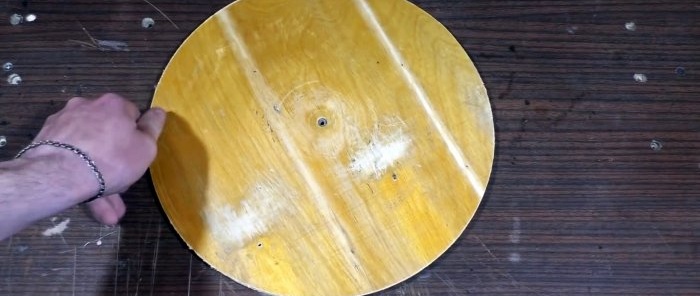
It is necessary to cut a window in the plywood to install a computer fan.

A rectangular hole is cut out on the side for the power connector. Then the lid is painted on the front side.

On the back, foil insulation is pinned to it with push pins.

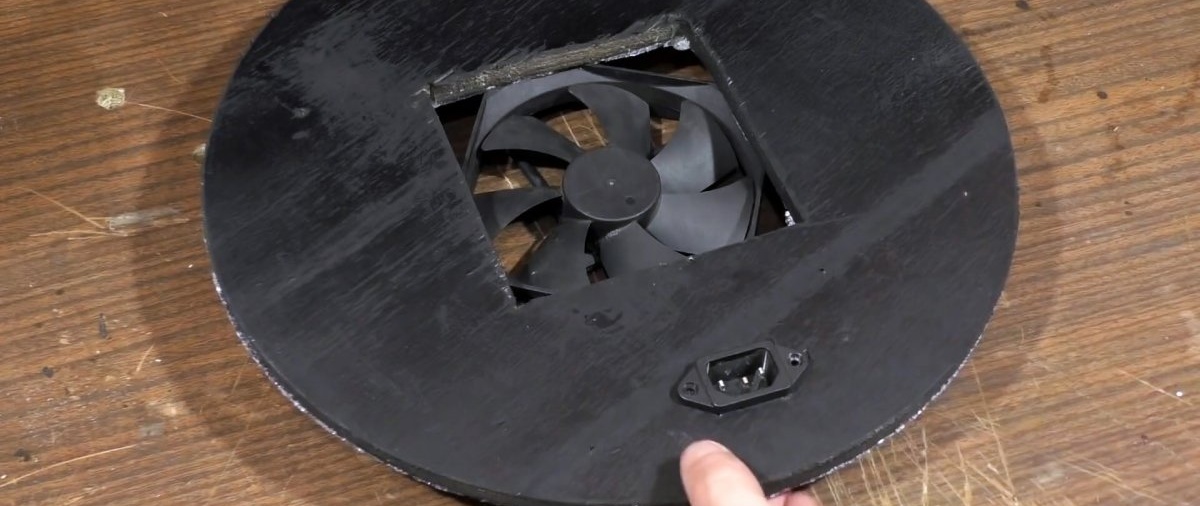
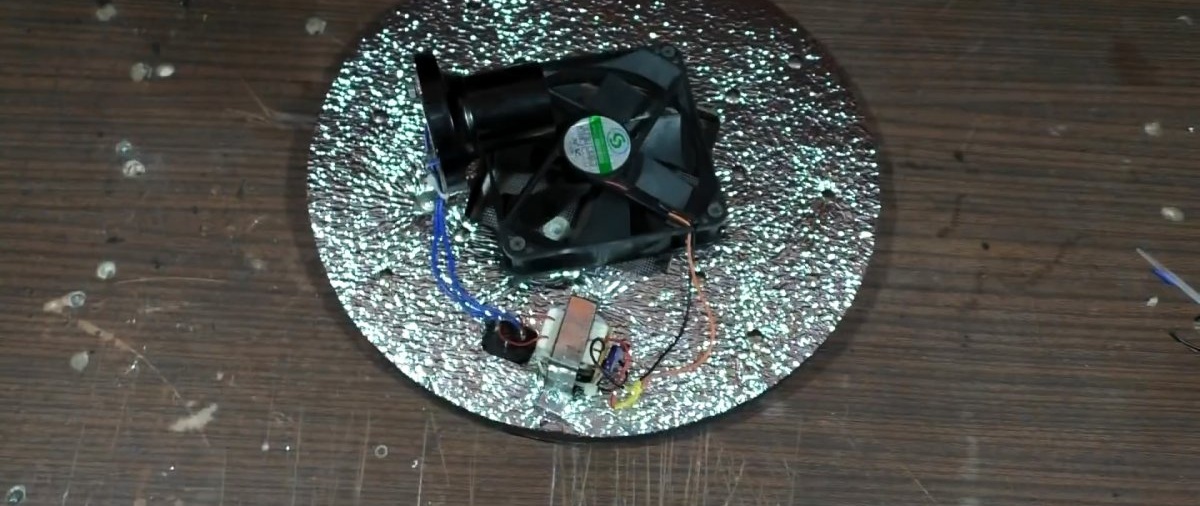
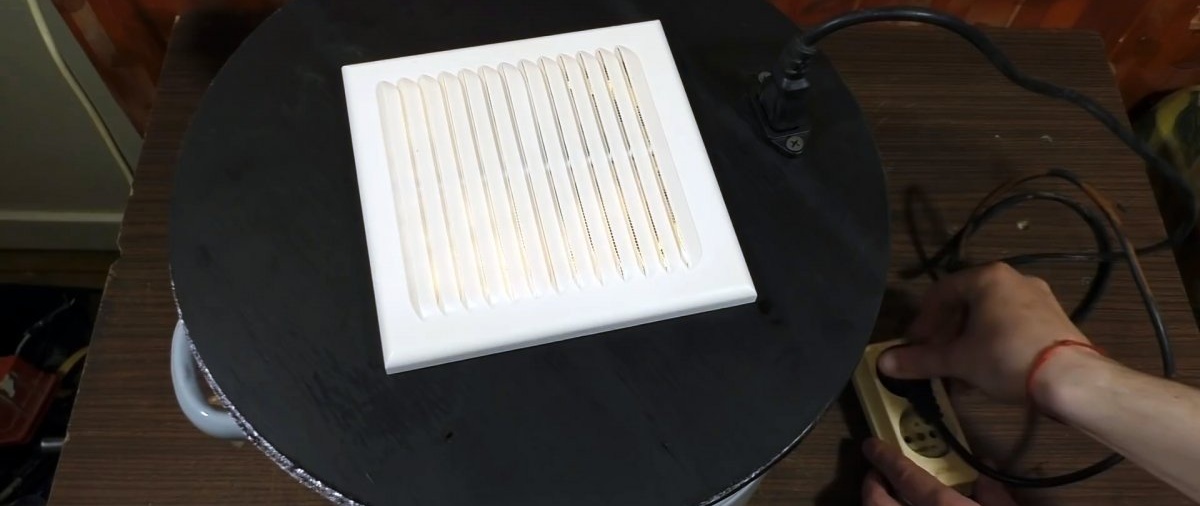
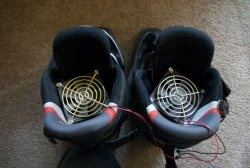
A computer fan is screwed into the lid on the foil side. The power connector is fixed on the reverse side. Then the fan insert is covered with a ventilation grille.

A light bulb socket is fixed above the fan.

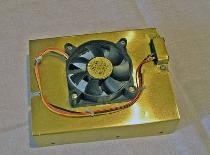
A 12V power supply is attached to the side.

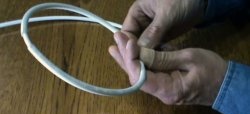
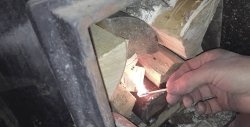
Then soldering is done. 2 lines of wires are laid from the connector.
One to the power supply, the second to the light bulb. A fan is then connected to the unit. All wire connections must be insulated, then close the power supply with a lid. The latter can be made from a tin can.
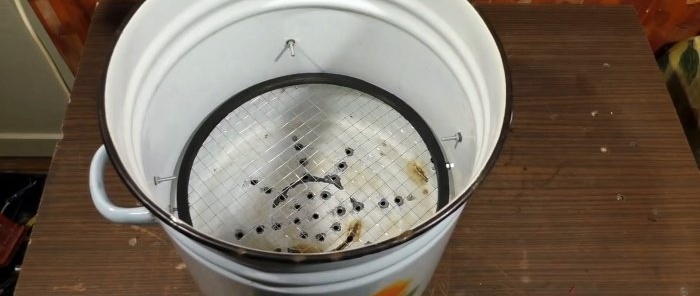
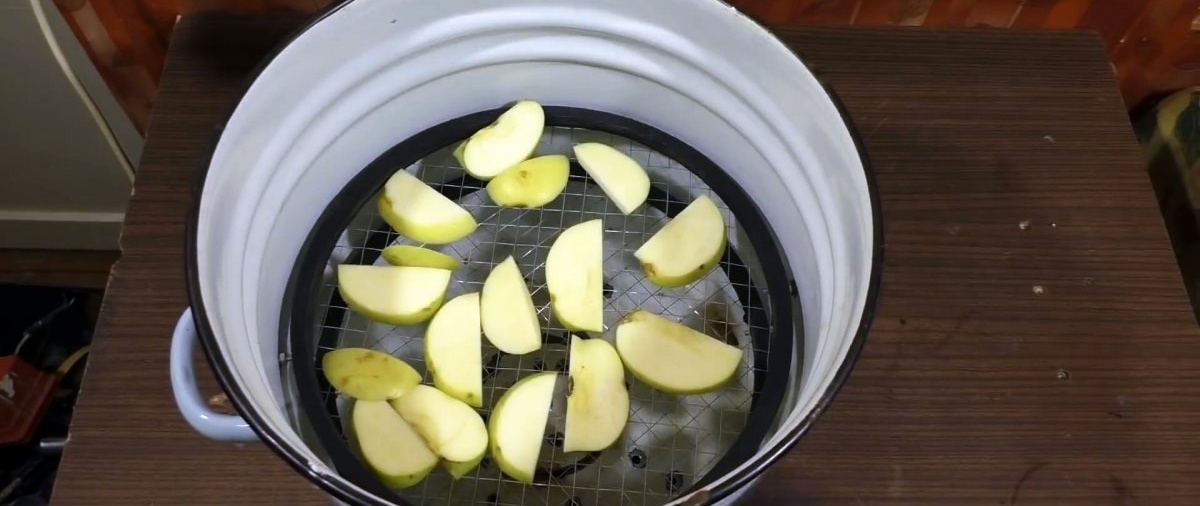
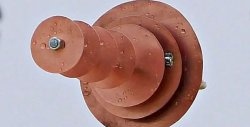
Next you need to tackle the drying shelves. They are made from metal mesh with a fine mesh. It needs to be stretched on round frames cut out of plywood. The resulting pallets are placed in the dryer and supported by screws protruding from its walls.

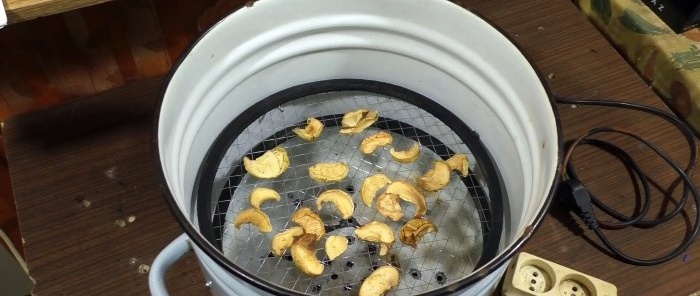
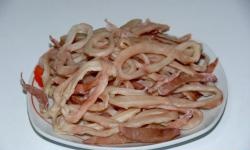
To use the dryer, you need to place chopped fruits or mushrooms on its shelves, then turn on the power.

The incandescent lamp will serve as a heating source, and the fan will accelerate evaporation by blowing air.

As a result, drying is carried out tens of times faster than in the natural way.
Materials:
- old saucepan;
- rubber furniture legs - 4 pcs.;
- M4 25 mm screws with nuts - 8 pcs.;
- plywood;
- computer fan;
- power supply 12 V;
- power cable to computer with connector;
- heat-reflecting foil insulation;
- ventilation grille;
- E27 light bulb socket;
- incandescent light bulb 100W;
- metal mesh with a fine mesh.
Dryer manufacturing process
You can use an enamel bucket or a large old pan as the body of the dryer; even one with holes will do. It is necessary to make perforations in its bottom for ventilation. The holes are first drilled with a thin drill, then drilled out to 8 mm.

Also, 4 holes are made in the bottom of the pan, approximately 2 cm from the edge, into which rubber furniture legs are screwed.

Next, you need to make supports for the shelves in the pan.To do this, 4 holes are drilled crosswise in its walls at the same level, then they are duplicated a little higher. Screws are inserted into the holes with their heads facing outward and tightened with nuts.

The standard lid of the pan needs to be replaced with a plywood one.

It is necessary to cut a window in the plywood to install a computer fan.

A rectangular hole is cut out on the side for the power connector. Then the lid is painted on the front side.
On the back, foil insulation is pinned to it with push pins.


A computer fan is screwed into the lid on the foil side. The power connector is fixed on the reverse side. Then the fan insert is covered with a ventilation grille.

A light bulb socket is fixed above the fan.

A 12V power supply is attached to the side.
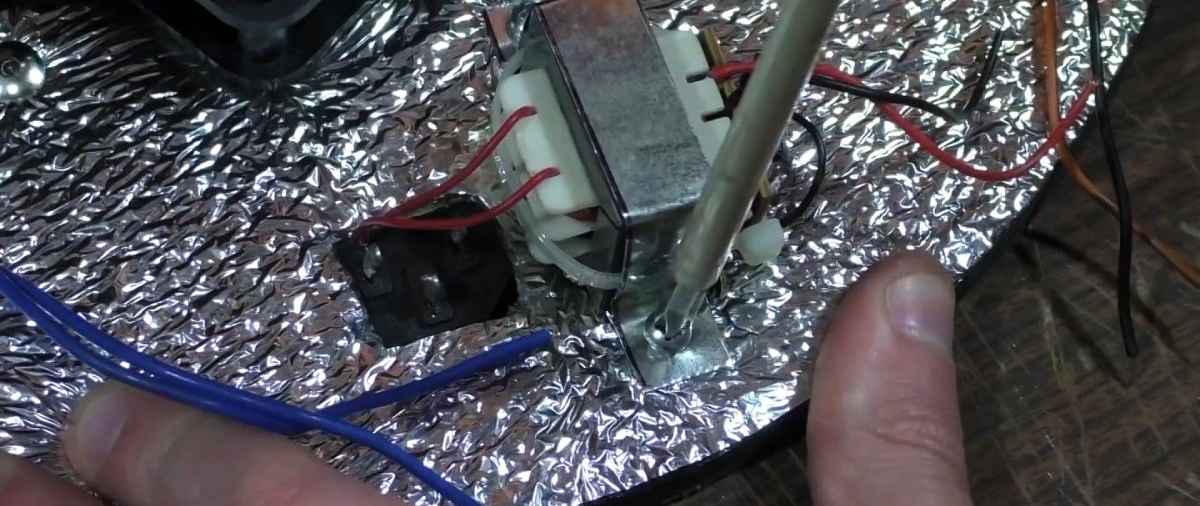
Then soldering is done. 2 lines of wires are laid from the connector.
One to the power supply, the second to the light bulb. A fan is then connected to the unit. All wire connections must be insulated, then close the power supply with a lid. The latter can be made from a tin can.

Next you need to tackle the drying shelves. They are made from metal mesh with a fine mesh. It needs to be stretched on round frames cut out of plywood. The resulting pallets are placed in the dryer and supported by screws protruding from its walls.


To use the dryer, you need to place chopped fruits or mushrooms on its shelves, then turn on the power.
The incandescent lamp will serve as a heating source, and the fan will accelerate evaporation by blowing air.
As a result, drying is carried out tens of times faster than in the natural way.

Watch the video
Similar master classes
Particularly interesting

Comments (0)
