How to quickly update old shoe soles
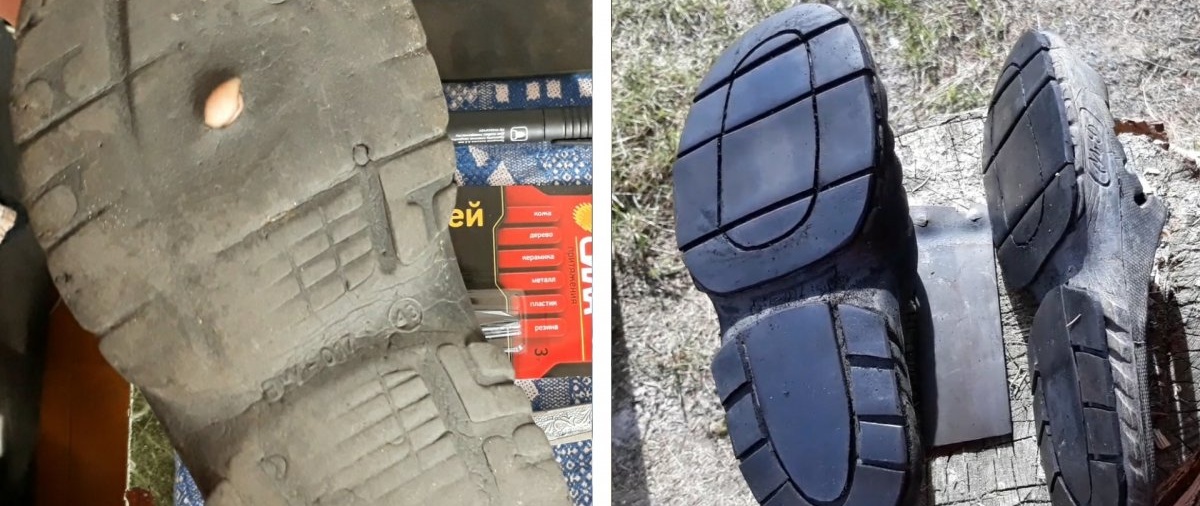
The sole is the part of the shoe that is subject to wear and tear more than other parts. After all, it is what provides traction with the ground, asphalt, or other surfaces. When the sole wears out to holes, we usually throw this pair in the trash, because repairs often cost a little less than the cost of a new, identical pair of shoes. But there is a way to extend the “life” of old, leaky shoes. We are not talking about beautiful shoes or expensive branded shoes, but about ordinary house shoes, such as slippers, sandals, or flip-flops.
Of course, many may say that such a thing costs a penny, and it would be much easier and faster to buy a new pair of slippers. But, in my opinion, it’s not about the money - you feel especially cozy in old slippers, and besides; you don’t need to break them in again to fit your feet. They are very comfortable! So I couldn’t bring myself to throw away such slippers. I repaired them, and now they will last another ten years. The repair process is the simplest and fastest, no more than 20 minutes!
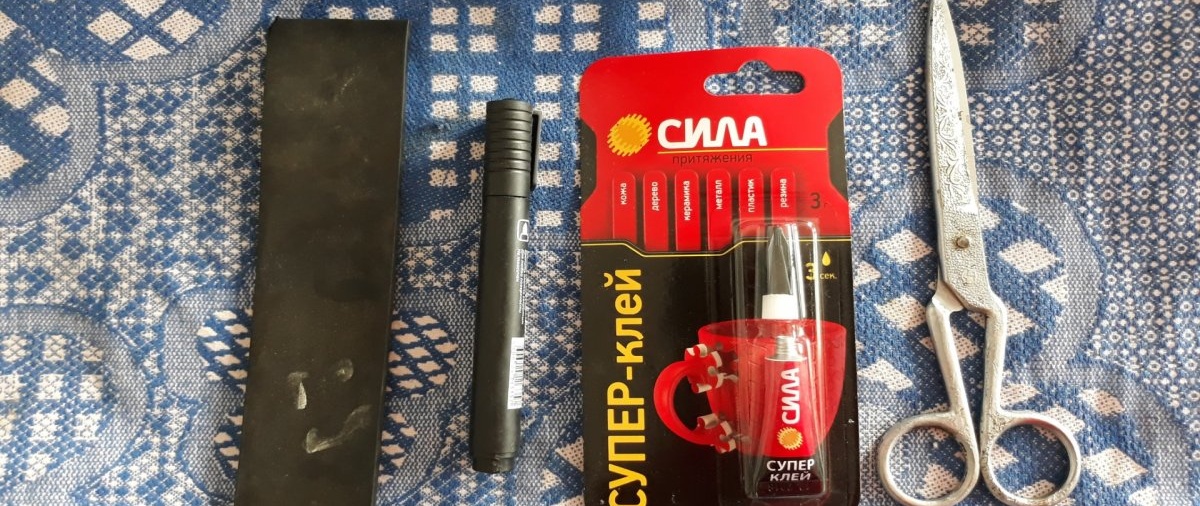
Will need
- Shoe glue.You can use a second one, just check the description to make sure it is suitable for gluing rubber. It is important!
- Rubber, 4-5 mm thick.
- Scissors that can handle thick rubber.
- The marker is permanent.
- Solvent and a piece of cotton wool.
Repairing old soles
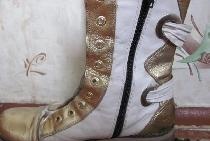
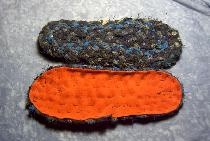
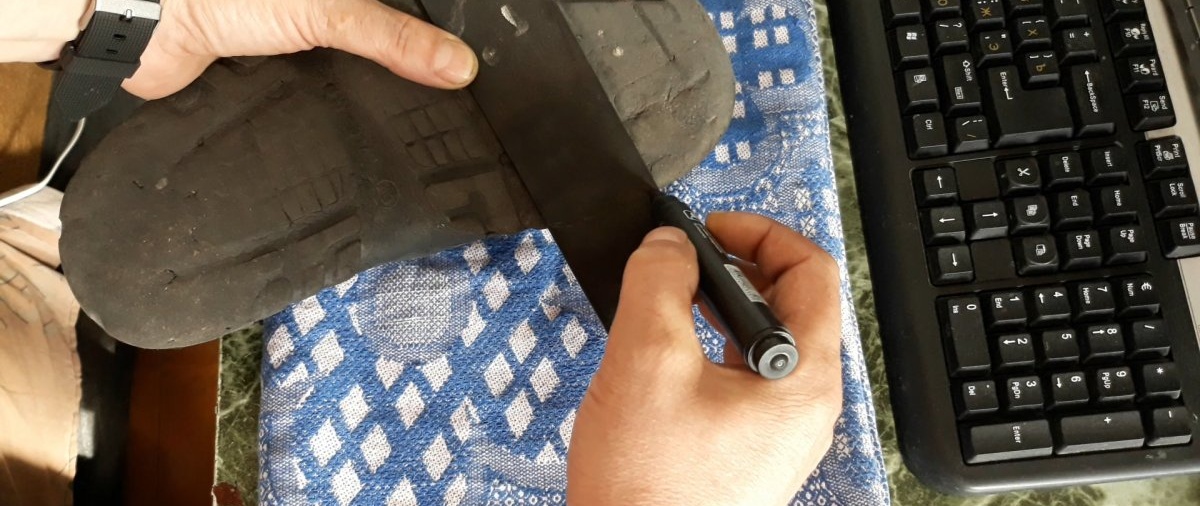
First you need to clean and degrease the part of the sole being repaired. In my case, this is the entire surface. I want to update it completely. So, use a shoe brush to remove particles of sand and small debris from the sole. Next, let's prepare the rubber. It’s easy to get such tires; you can use old mats from the car, or ask an electrician you know for an unnecessary mat. I took these strips of rubber from an old disassembled chair. Using a marker, we make markings on the rubber, following the pattern of the treads on the sole.
If the sole is very worn out, and only the outlines of these protectors are left on it, then you can improvise as you like. We cut out pieces of rubber according to the markings.
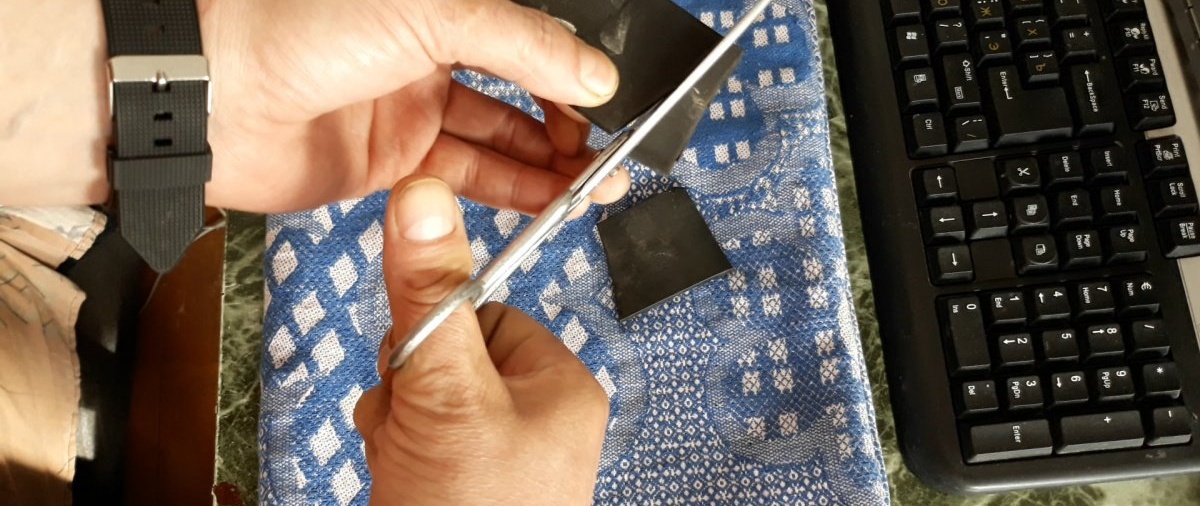
You will get something like heels for each protector. This is necessary for greater flexibility of the sole. The sole, divided in this way, will bend more softly than a monolithic glued piece of rubber, leaving no chance of peeling off. Now let's prepare the surfaces for gluing. Namely, we degrease them using a solvent and cotton wool.

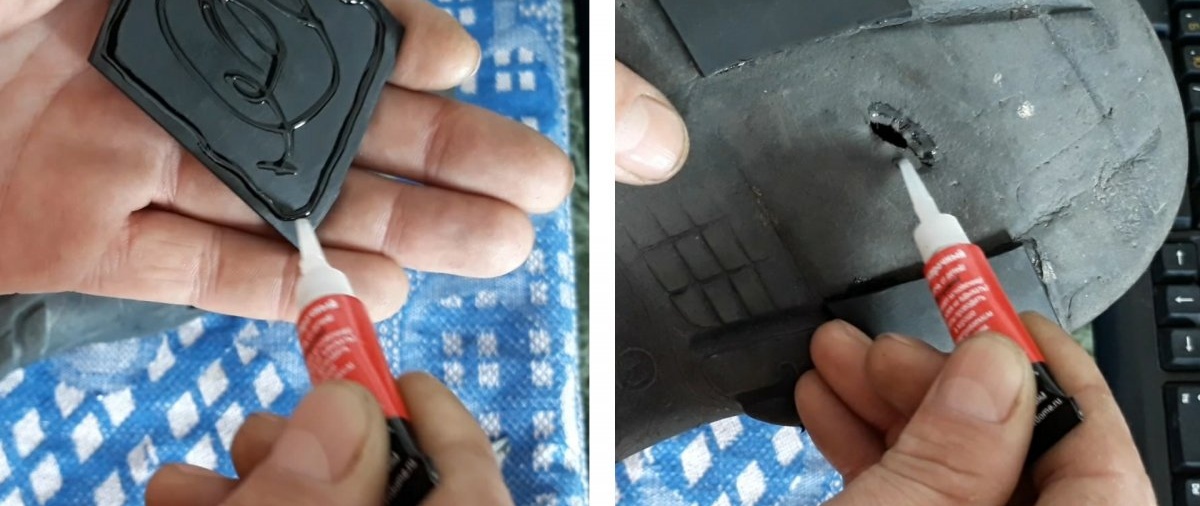
Unpack the glue. You can use any glue that is suitable for gluing rubber.

Apply a thin layer of glue to the rubber blank and apply it to the corresponding area of the sole. If there is a through wear on the sole, then glue must also be applied around it.
We wait the time specified in the glue instructions. We carry out the above procedure with the remaining blanks.
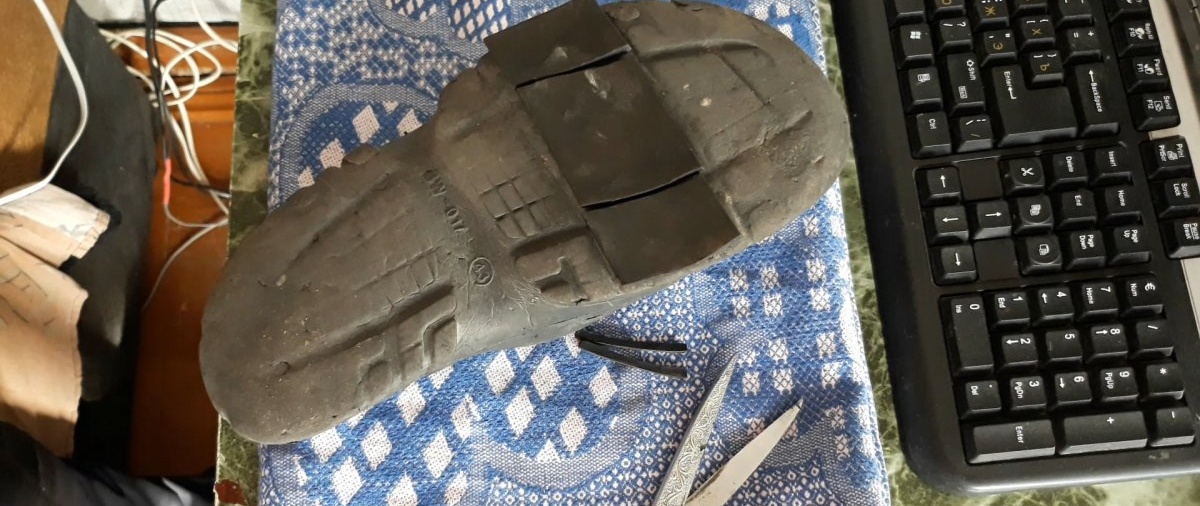

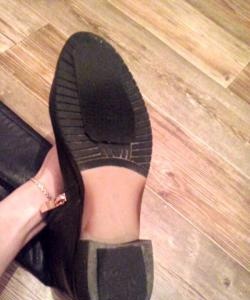
Let the glue finally adhere to the glued parts. In principle, you can already wear it.But I would also advise using sandpaper to remove all sharp and protruding edges and burrs so that they do not cling to anything when walking. In any case, it will not be superfluous.

This sole will last for many more years! The rubber that I took out of the disassembled chair is denser and harder than the rubber from which my slippers are made, so I think you can safely count on 7-10 years!

Well, there you go. The whole job took me a little over 20 minutes, including a smoke break. Although, it all depends on the characteristics of the glue - how quickly it sets. Personally, I used the second one.