How to make a machine for creating stiffeners on sheet metal
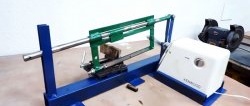
Using thin sheet metal for cladding, or making decorative panels out of it, for reinforcement it is necessary to extrude a relief on its surface, which acts as a stiffener. It prevents the sheet from pressing through when lightly pressed, and will also make it indistinguishable from the factory product. You can make such a relief at home if you assemble a rolling machine.

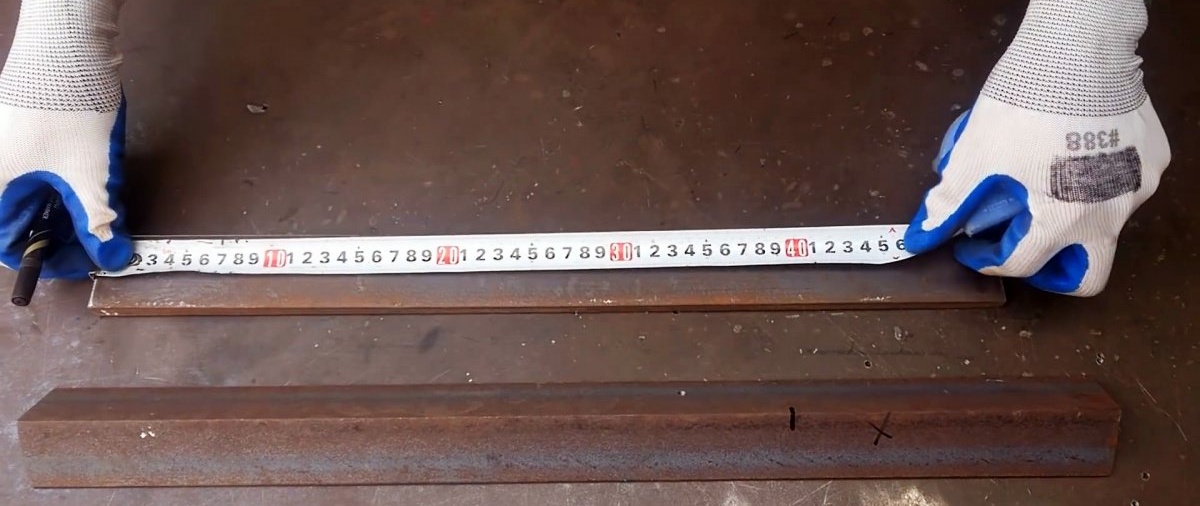
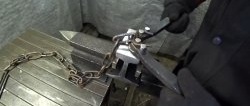
To weld the machine bed, you will need to prepare 2 pieces 40 cm long from a corner and a strip.

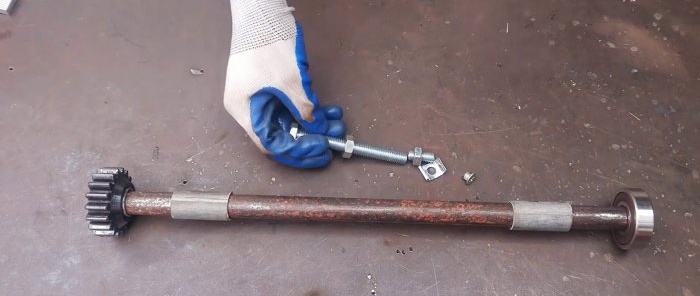
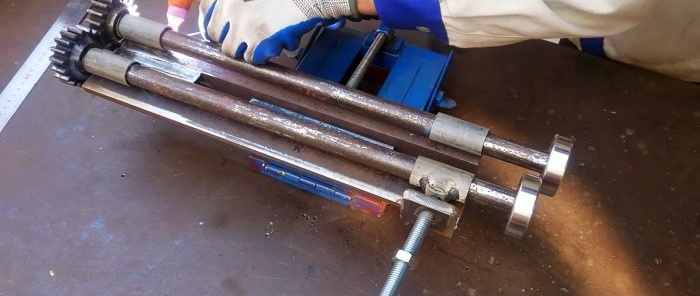
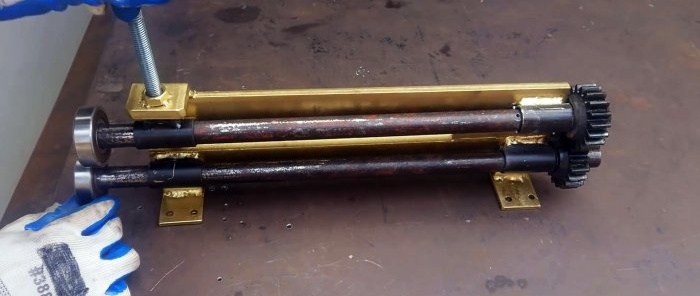
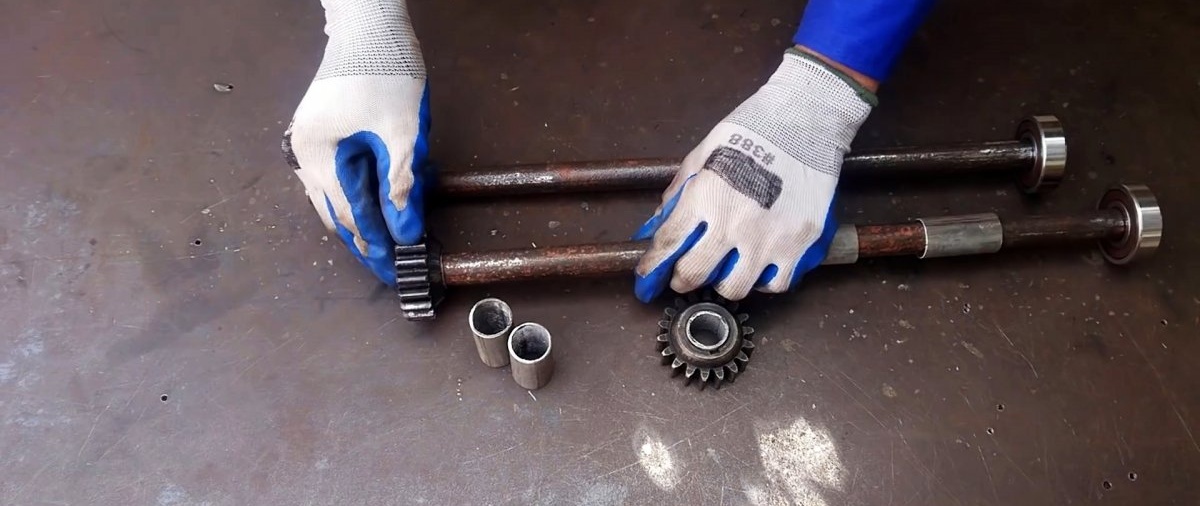
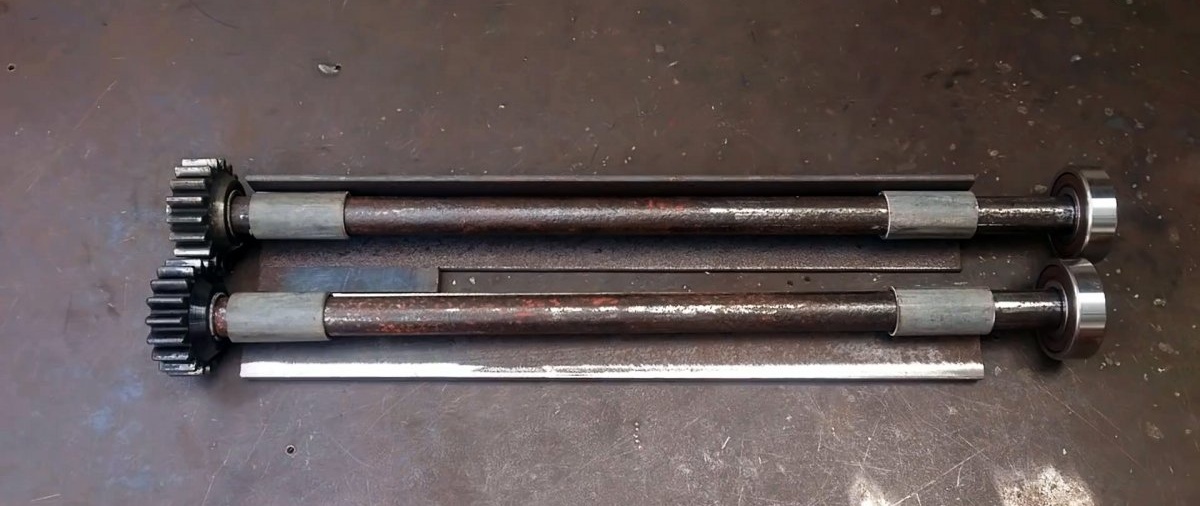
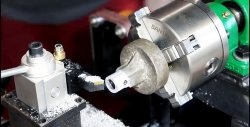
The machine shafts are made from 2 pieces of round timber. One is 50 cm long, and the second should be shorter by the width of the bearing. You also need to prepare 4 tube blanks, each 5 cm long. Their internal diameter should be a couple of millimeters larger than the round timber used.
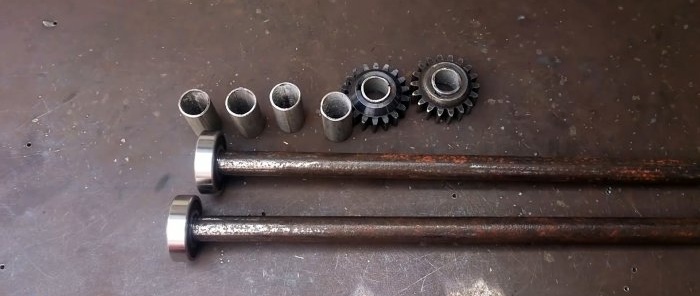
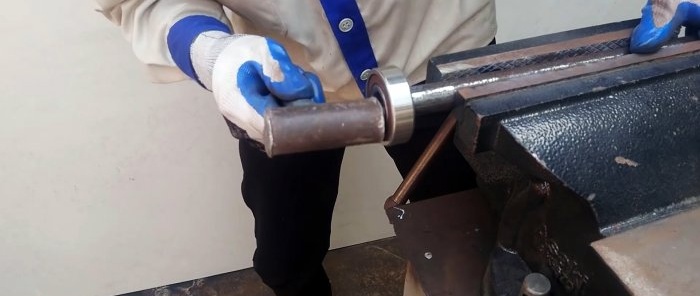
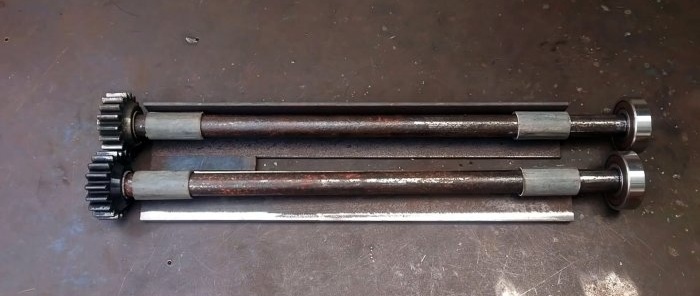
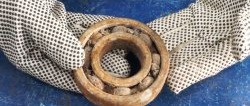
A bearing is packed onto round timber blanks.Then 2 cutting tubes are put on them, after which the gears are installed.

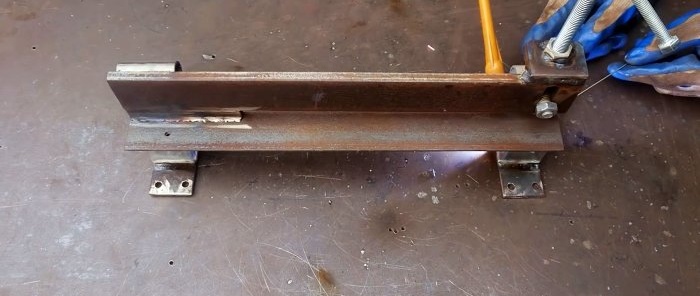
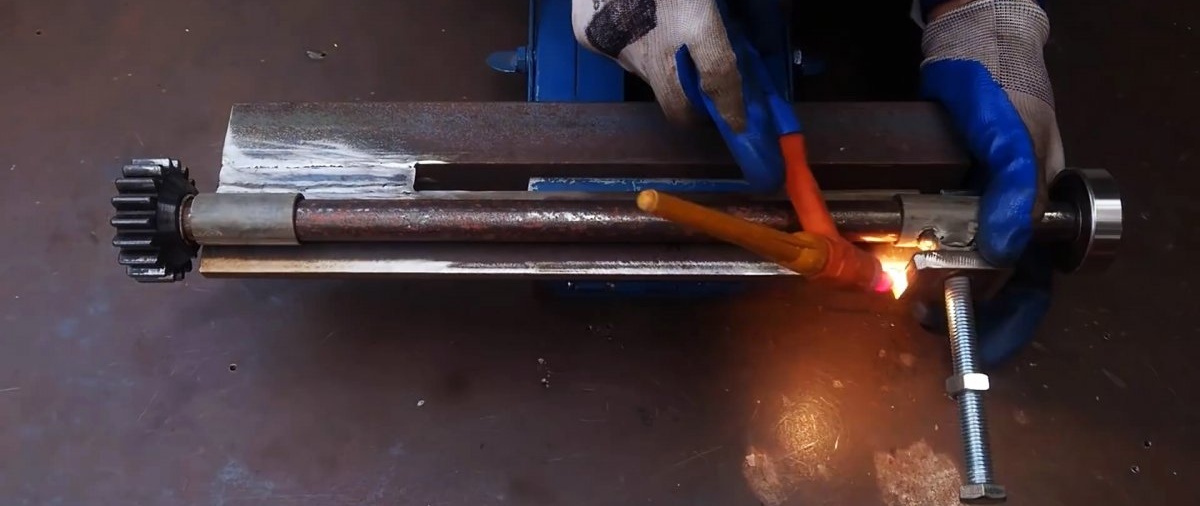
Next, the frame is welded. To do this, you need to lay a corner and a strip to try on the shafts on them.
The frame elements will need to be separated and a short spacer welded between them.
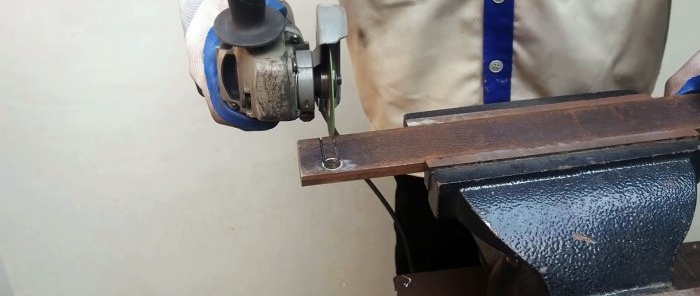
You will also need to cut a groove on the strip for further adjustment of the rollers.

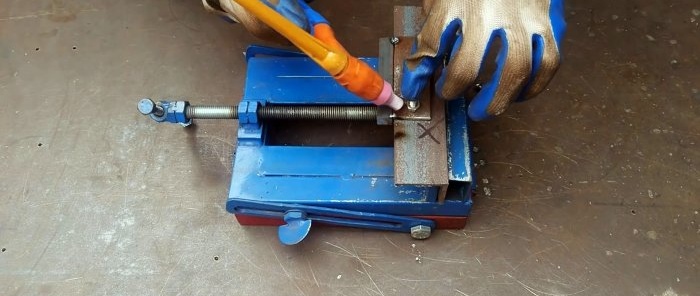
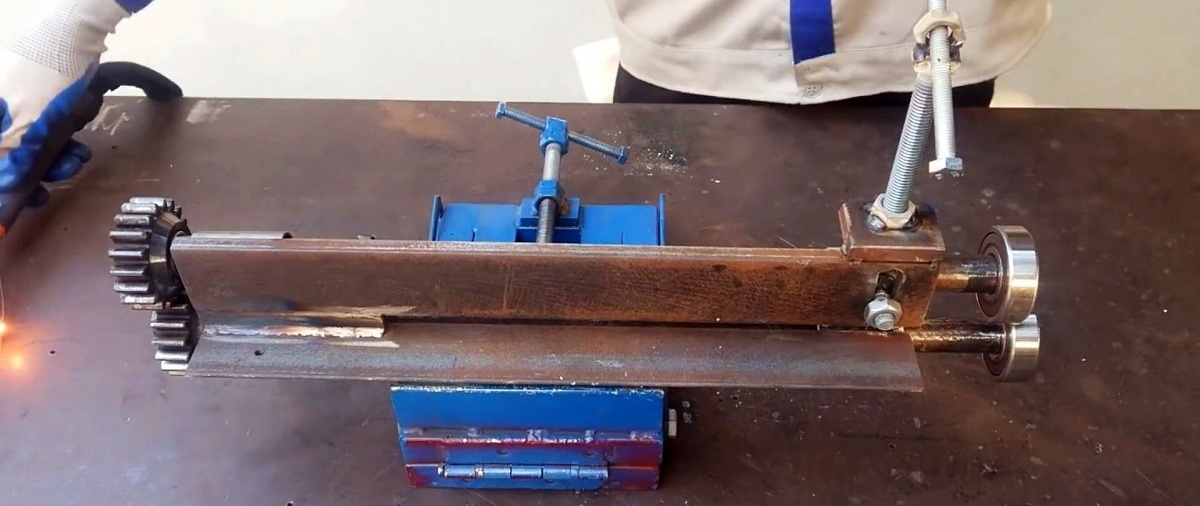
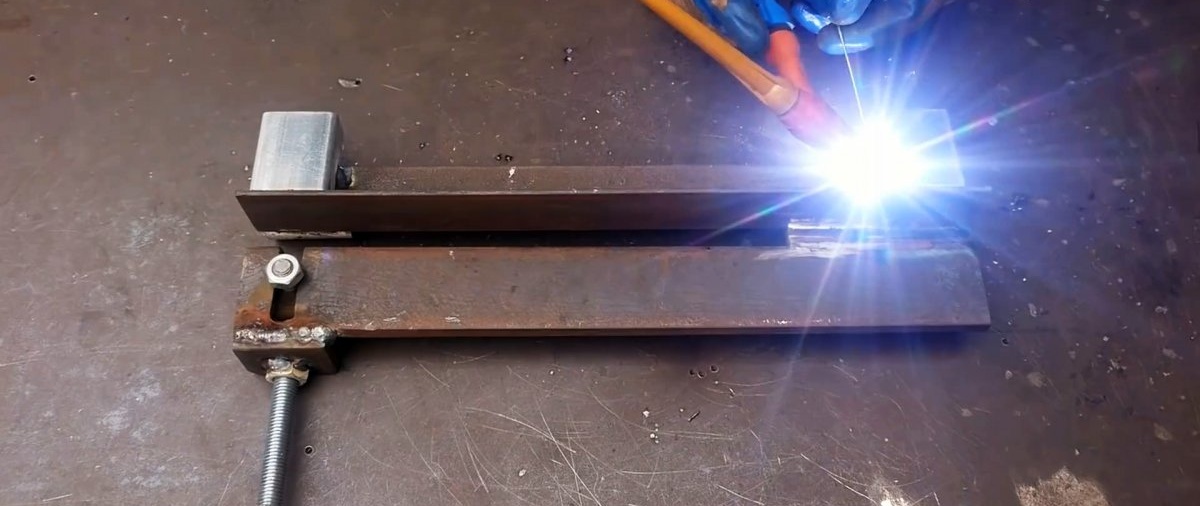
At the next stage, the adjustment mechanism is welded.
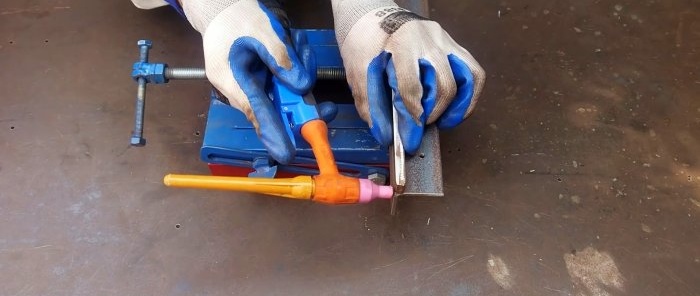
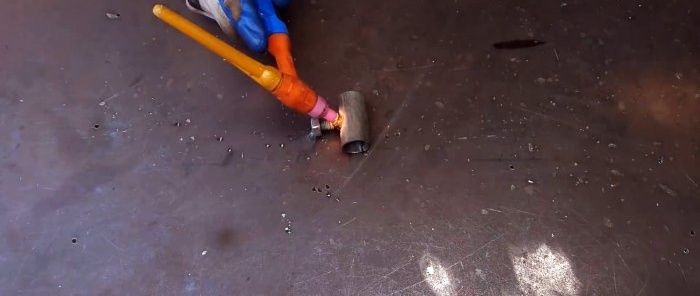
To do this, you will need to remove one tube from the shaft opposite the frame groove. A short bolt is welded to it from below, which will allow it to be screwed to the machine body.

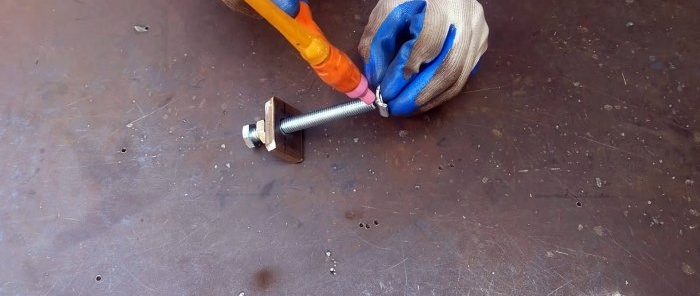
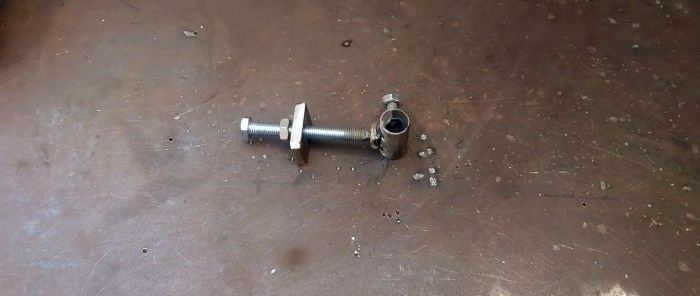
At a right angle to it, you need to weld a long modified bolt with a nut, threaded through a massive plate. Before this, a smaller bolt with a curved arched pressure plate is welded to its end. The long bolt is welded to the tube through this plate, thanks to which it remains mobile.

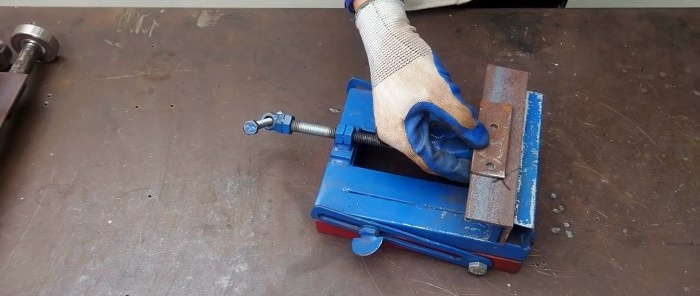
Then the tube is installed back on the shaft and screwed to the frame through the groove with a short bolt. After this, the plate on a long bolt is welded to the body strip.
Next you need to weld 3 tubes on the shafts to the frame. It is important to measure everything carefully so that the gears fit well together. You also need to weld the nut on the long bolt to the plate. A comfortable handle is welded onto its head. After this, you can rotate the adjustment mechanism to change the position of the rollers.

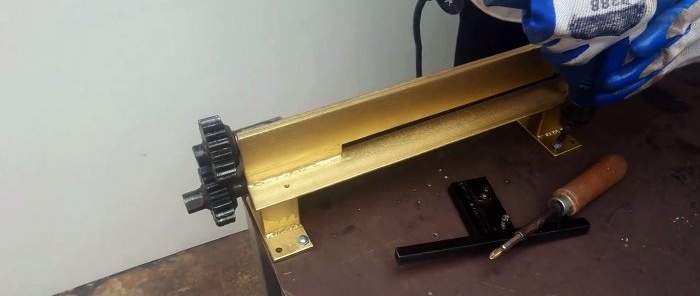
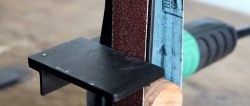
To make it easier to work on the machine, you will need to make a parallel stop. It should slide along part of the bed from the corner. Its carriage can be welded from any sheet metal or strip. There are 2 holes made on it, to which nuts are welded. This will allow you to fix it in position by screwing in the bolts. The parallel stop itself is welded perpendicular to the carriage.This can be a square, profile pipe or other flat metal product.

To secure the machine you need to make 2 T-shaped legs. They are welded to the corner of the frame. Holes are made on their soles so that the machine can be screwed to the tabletop.
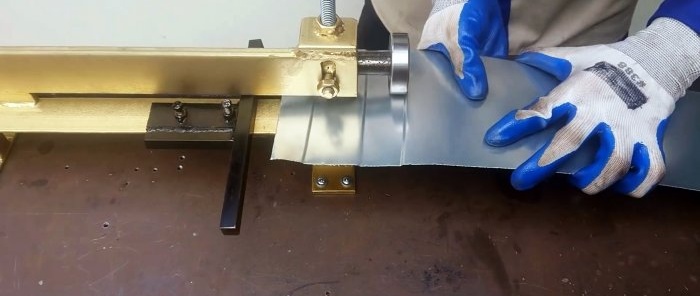
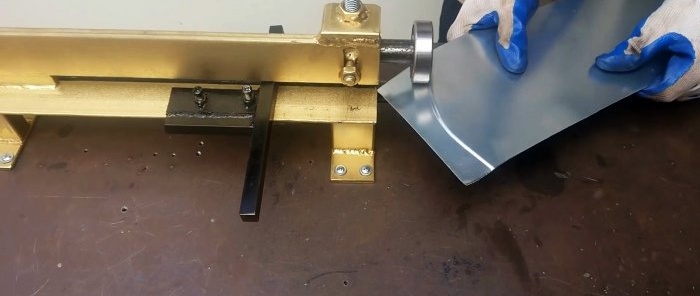
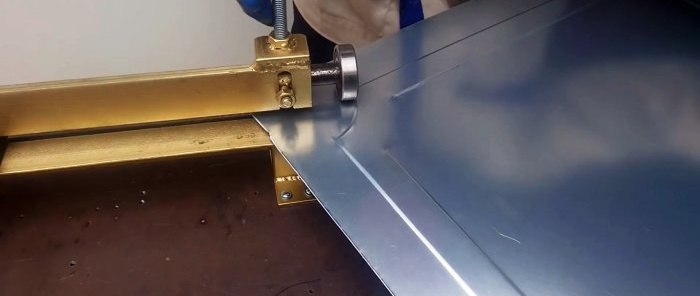
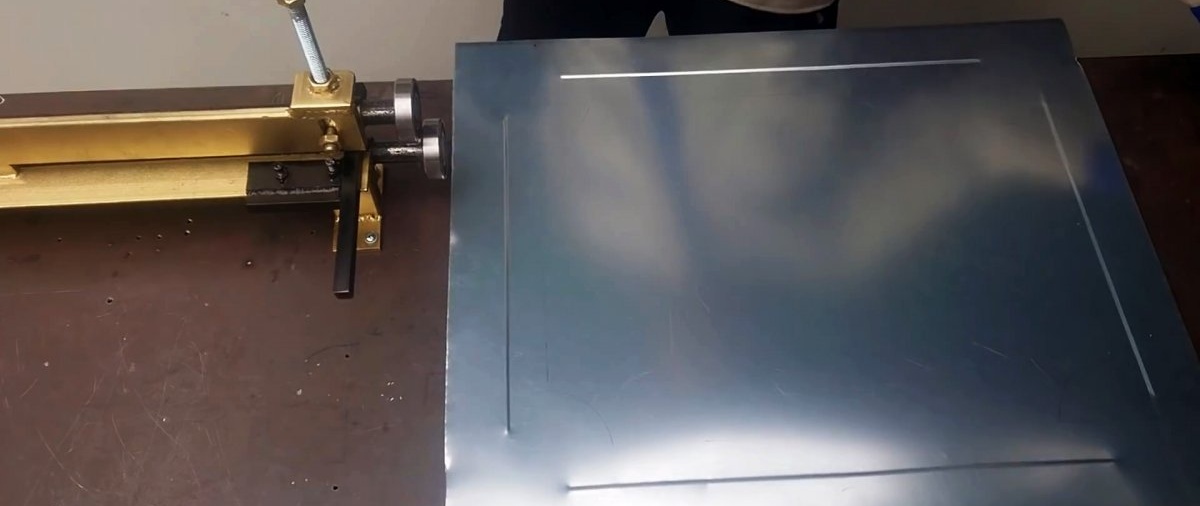
The operation of the machine involves pulling sheet metal between rollers. To do this, it is inserted up to the adjustable rip fence. Then the rollers are pressed by rotating the screw, and the sheet is carefully pulled by hand in a direction away from you.
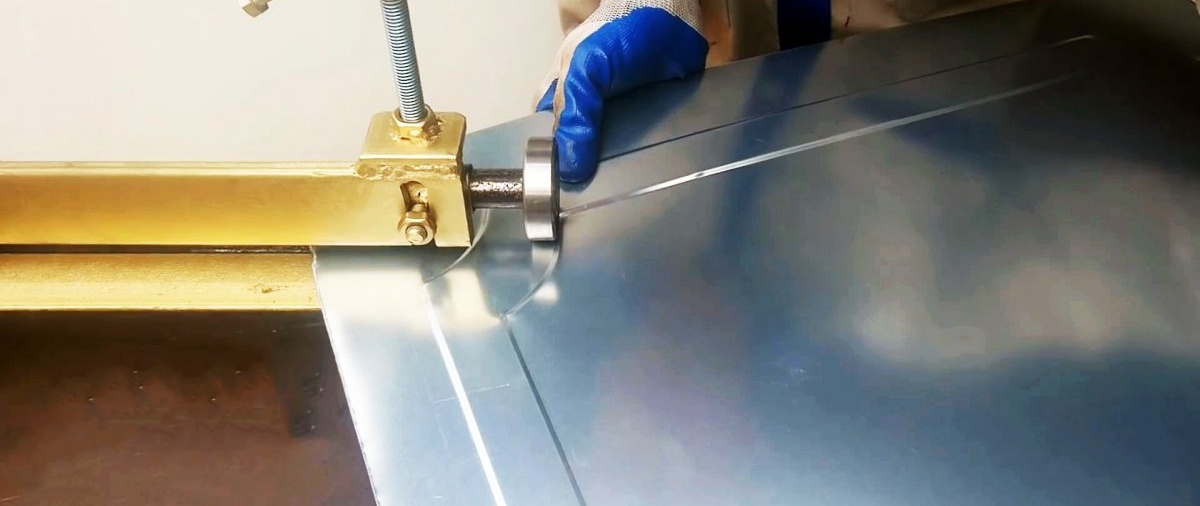
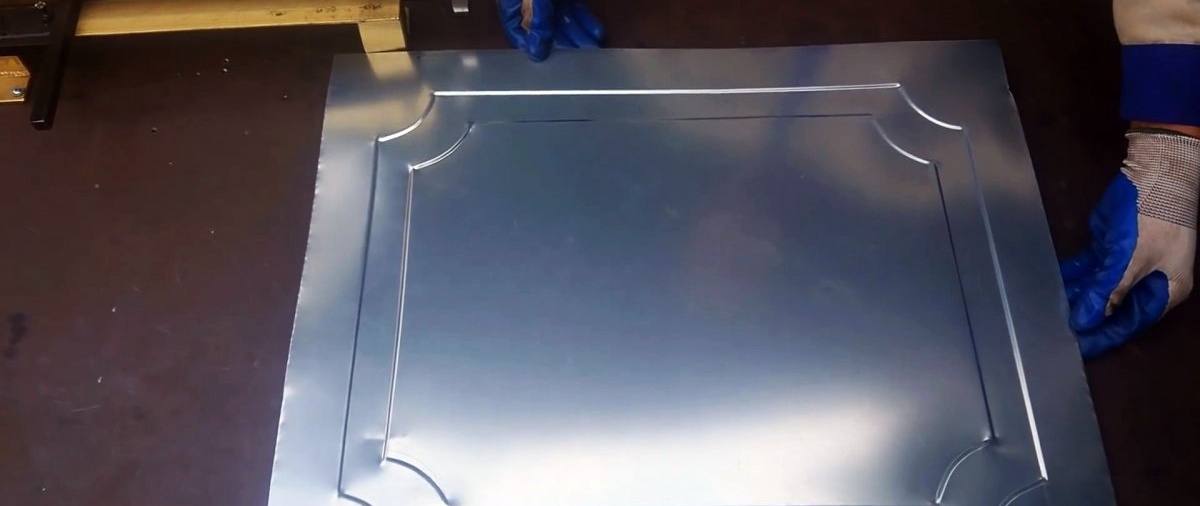
If the corner of the frame of stiffening ribs needs to be rounded, then the parallel stop is removed.


Materials:
- steel corner;
- steel strip;
- powerful gears – 2 pcs.;
- bearings – 2 pcs.;
- steel round timber;
- steel pipe;
- bolts, nuts, studs.
Manufacturing of the machine
To weld the machine bed, you will need to prepare 2 pieces 40 cm long from a corner and a strip.
The machine shafts are made from 2 pieces of round timber. One is 50 cm long, and the second should be shorter by the width of the bearing. You also need to prepare 4 tube blanks, each 5 cm long. Their internal diameter should be a couple of millimeters larger than the round timber used.

A bearing is packed onto round timber blanks.Then 2 cutting tubes are put on them, after which the gears are installed.

Next, the frame is welded. To do this, you need to lay a corner and a strip to try on the shafts on them.
The frame elements will need to be separated and a short spacer welded between them.
You will also need to cut a groove on the strip for further adjustment of the rollers.


At the next stage, the adjustment mechanism is welded.

To do this, you will need to remove one tube from the shaft opposite the frame groove. A short bolt is welded to it from below, which will allow it to be screwed to the machine body.


At a right angle to it, you need to weld a long modified bolt with a nut, threaded through a massive plate. Before this, a smaller bolt with a curved arched pressure plate is welded to its end. The long bolt is welded to the tube through this plate, thanks to which it remains mobile.
Then the tube is installed back on the shaft and screwed to the frame through the groove with a short bolt. After this, the plate on a long bolt is welded to the body strip.

Next you need to weld 3 tubes on the shafts to the frame. It is important to measure everything carefully so that the gears fit well together. You also need to weld the nut on the long bolt to the plate. A comfortable handle is welded onto its head. After this, you can rotate the adjustment mechanism to change the position of the rollers.
To make it easier to work on the machine, you will need to make a parallel stop. It should slide along part of the bed from the corner. Its carriage can be welded from any sheet metal or strip. There are 2 holes made on it, to which nuts are welded. This will allow you to fix it in position by screwing in the bolts. The parallel stop itself is welded perpendicular to the carriage.This can be a square, profile pipe or other flat metal product.


To secure the machine you need to make 2 T-shaped legs. They are welded to the corner of the frame. Holes are made on their soles so that the machine can be screwed to the tabletop.


The operation of the machine involves pulling sheet metal between rollers. To do this, it is inserted up to the adjustable rip fence. Then the rollers are pressed by rotating the screw, and the sheet is carefully pulled by hand in a direction away from you.

If the corner of the frame of stiffening ribs needs to be rounded, then the parallel stop is removed.


Watch the video
Similar master classes
Particularly interesting


Comments (1)
