DIY cordless grinder
High-speed 12V motors can be used to make various power tools, including a homemade lightweight cordless angle grinder. The cost of its assembly is quite low, since many parts can be removed from broken household appliances.

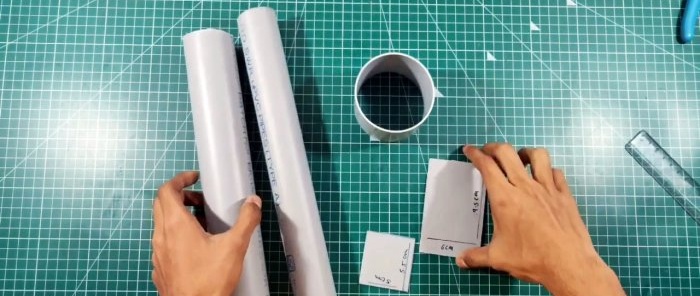
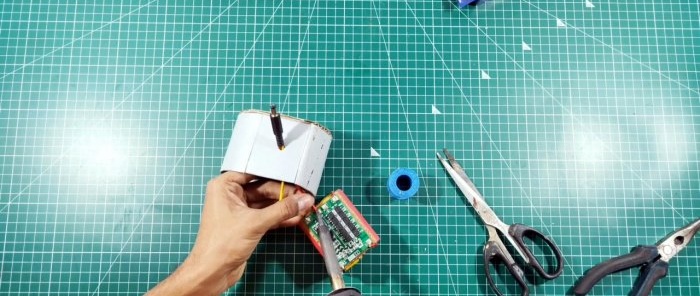
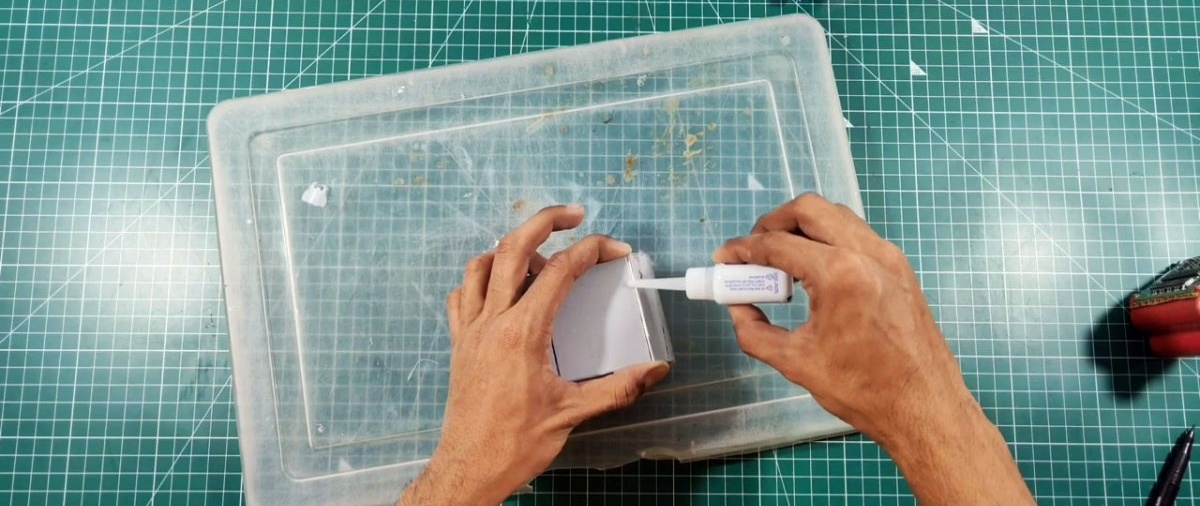
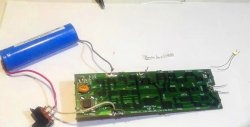
Assembling the grinder should begin by making the battery box. The batteries are connected together and connected to the controller according to its circuit diagram. The resulting block is placed in a homemade box, which is glued together with super glue from sewer pipe scraps smoothed with an iron.


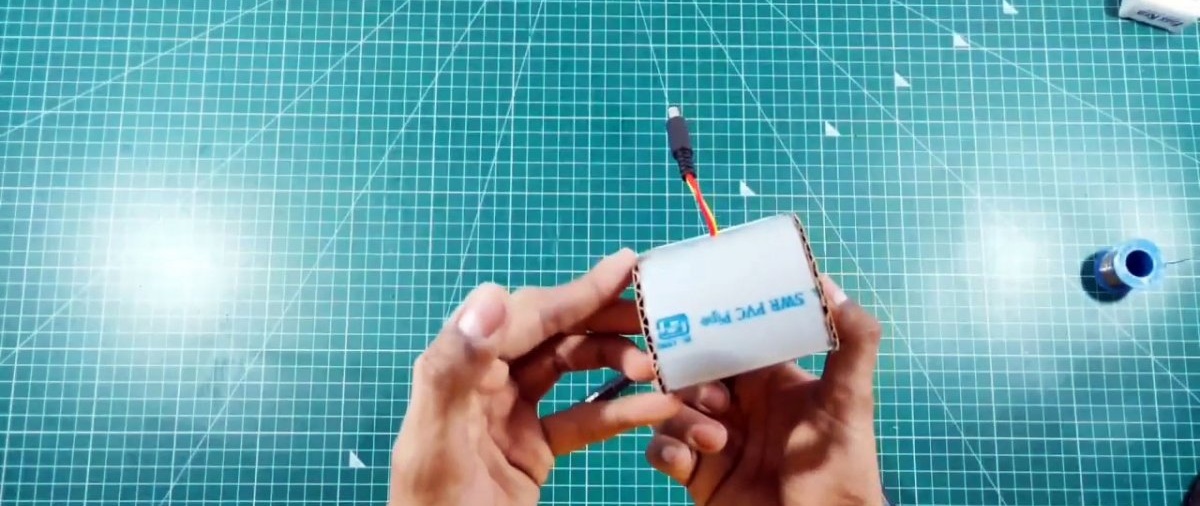
A hole is made in the upper part of the box for the power plug.

After this, the wires from the plug are inserted into the box and soldered to the controller.
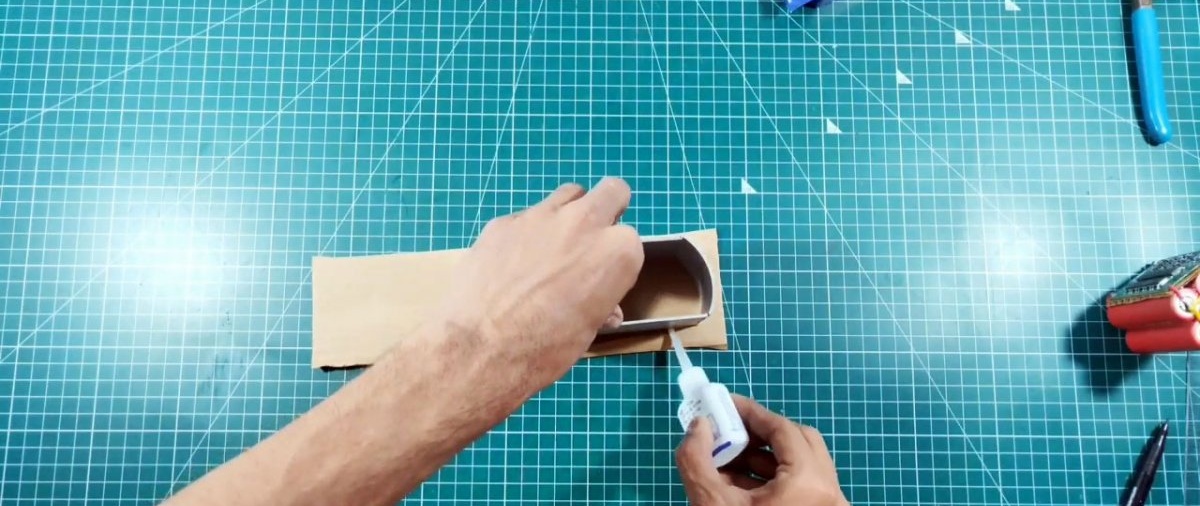
The open sides of the box are sealed with aligned pipe scraps or just cardboard.
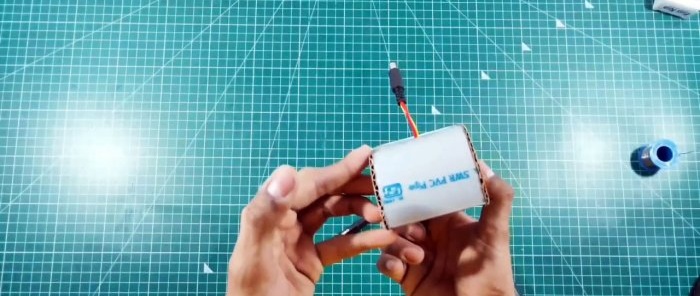
A cut-off plug for a 40 mm sewer pipe is glued onto the top of the box. You need to place it around the outlet of the power wire. The plug will allow you to attach the handle of the grinder to the battery pack.

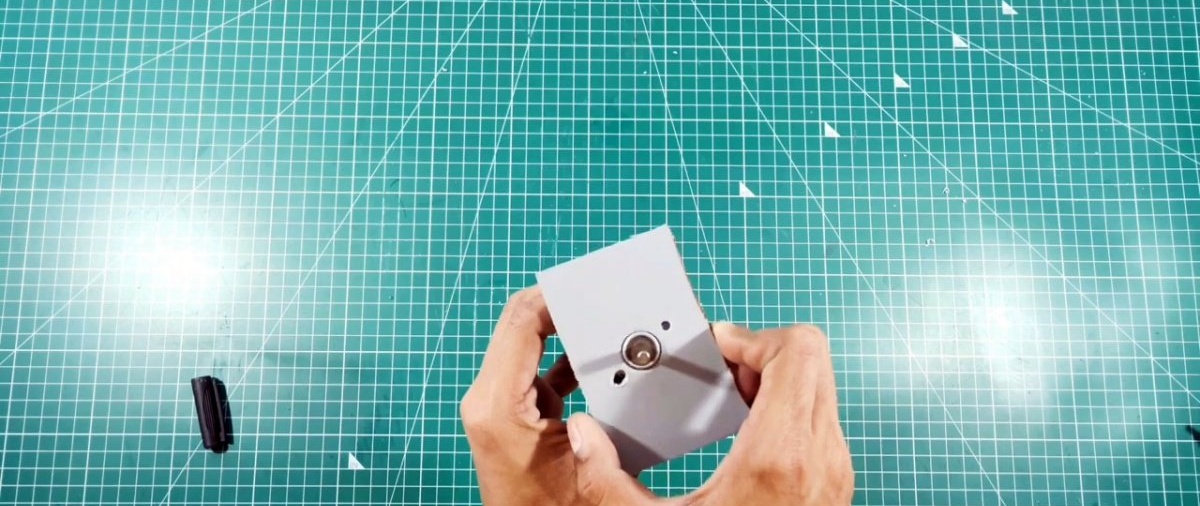
Next, a casing for the engine is made from a piece of pipe with a diameter of 50 mm. A PVC plate made from a aligned pipe is glued into its end, in which holes are drilled for the motor shaft and its mounting screws. The part of the plug protruding around the end is cut off.


Next you need to glue the casing with the engine to the handle made of 40 mm pipe. To do this, its end is ground down to rounding with 50 mm sandpaper applied to the pipe.

Before directly gluing the engine casing and handle, you need to embed a switch with wires into the latter. Then you need to connect them on one side to the electric motor, and on the other to the power socket. Once you're done with the wiring, you can glue the handle to the engine casing.


A piece of 40 mm tube is glued to the motor casing near the shaft, which will allow the spark protection to be attached in the future. After this, the flange is installed and the cutting disc is secured to carry out the first check of the operation of the angle grinder.

If everything is fine, you need to make ventilation holes in the motor casing.

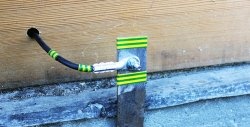
After this, a spark protection for the disk is glued from the cut socket 110 of the sewer pipe and the plate. To secure it, a ground-off plug is glued to the side onto a 40 mm pipe. The protection is installed on the tube around the motor shaft, after which the flange with the disk is screwed on. To be able to tighten the adapter, you need to make an inspection hole opposite the motor shaft in the 40 mm tube and plug.


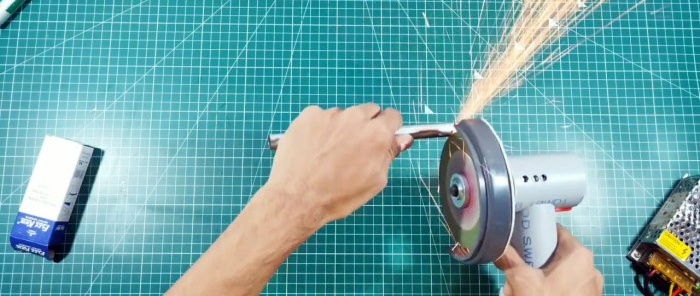
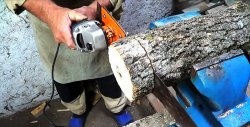
The resulting grinder is quite capable of sawing steel rods, of course within reason. If you plan to use it for complex work, then you need to strengthen the junction of the motor casing with the handle, since it is subject to the highest load.


Materials:
- engine 12V 17600 rpm - ;
- 18650 batteries - 6 pcs. - ;
- controller BMS 3S 40A - ;
- round push-button switch;
- flange attachment for emery under the electric motor shaft with a set of nuts;
- power socket DC-005 5.5x 2.1 mm with plug;
- metal cutting disc for grinder;
- cuttings of sewer pipes 40, 50, 110 mm;
- plug for sewer pipe 40 mm;
- wires;
- Super glue.


Making a cordless grinder
Assembling the grinder should begin by making the battery box. The batteries are connected together and connected to the controller according to its circuit diagram. The resulting block is placed in a homemade box, which is glued together with super glue from sewer pipe scraps smoothed with an iron.
A hole is made in the upper part of the box for the power plug.

After this, the wires from the plug are inserted into the box and soldered to the controller.

The open sides of the box are sealed with aligned pipe scraps or just cardboard.
A cut-off plug for a 40 mm sewer pipe is glued onto the top of the box. You need to place it around the outlet of the power wire. The plug will allow you to attach the handle of the grinder to the battery pack.

Next, a casing for the engine is made from a piece of pipe with a diameter of 50 mm. A PVC plate made from a aligned pipe is glued into its end, in which holes are drilled for the motor shaft and its mounting screws. The part of the plug protruding around the end is cut off.
Next you need to glue the casing with the engine to the handle made of 40 mm pipe. To do this, its end is ground down to rounding with 50 mm sandpaper applied to the pipe.

Before directly gluing the engine casing and handle, you need to embed a switch with wires into the latter. Then you need to connect them on one side to the electric motor, and on the other to the power socket. Once you're done with the wiring, you can glue the handle to the engine casing.


A piece of 40 mm tube is glued to the motor casing near the shaft, which will allow the spark protection to be attached in the future. After this, the flange is installed and the cutting disc is secured to carry out the first check of the operation of the angle grinder.

If everything is fine, you need to make ventilation holes in the motor casing.

After this, a spark protection for the disk is glued from the cut socket 110 of the sewer pipe and the plate. To secure it, a ground-off plug is glued to the side onto a 40 mm pipe. The protection is installed on the tube around the motor shaft, after which the flange with the disk is screwed on. To be able to tighten the adapter, you need to make an inspection hole opposite the motor shaft in the 40 mm tube and plug.


The resulting grinder is quite capable of sawing steel rods, of course within reason. If you plan to use it for complex work, then you need to strengthen the junction of the motor casing with the handle, since it is subject to the highest load.

Watch the video
Similar master classes


Particularly interesting


Comments (7)
