2 simple devices for fast and high-quality twists
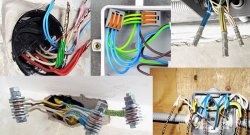
Due to loose twisting and poor tinning, the wires oxidize and the contact between them is disrupted. Over time, the twisted area begins to gradually heat up, which can lead to a fire in the electrical wiring.
To make the connection durable, reliable and safe, we will make simple life hacks with which you can tightly twist the wires and perform high-quality tinning, regardless of your qualifications as an electrician.
Usually a soldering iron is used for this operation, but only a person with experience can do it efficiently. To make a device through which tinning will always be excellent, we will need:

When working on homemade products we use: bench vice, gas torch, pliers, drill with cutting disc and wrench.
We clamp the pin in a vice and heat the protruding part with the flame of a gas burner until the metal softens.

Then, without wasting a second, use pliers to bend the end of the hairpin at 90 degrees.

We shorten the stud using a grinder with a cutting disc. For further use, leave the part with the bent end.
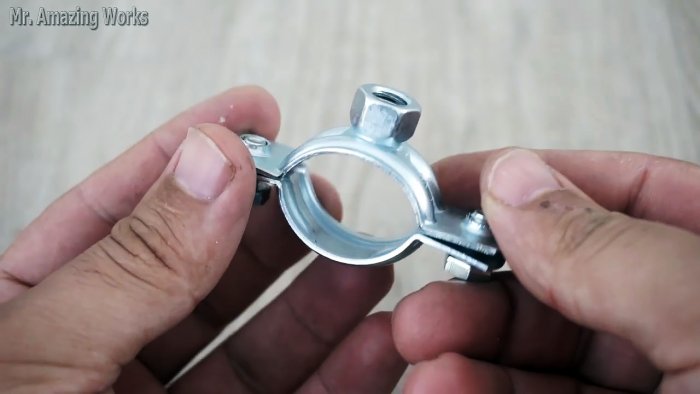
We disassemble the clamp and leave one half ring with the outer nut.
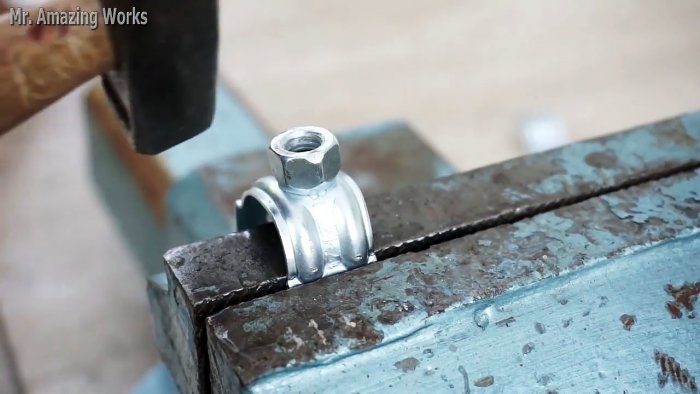
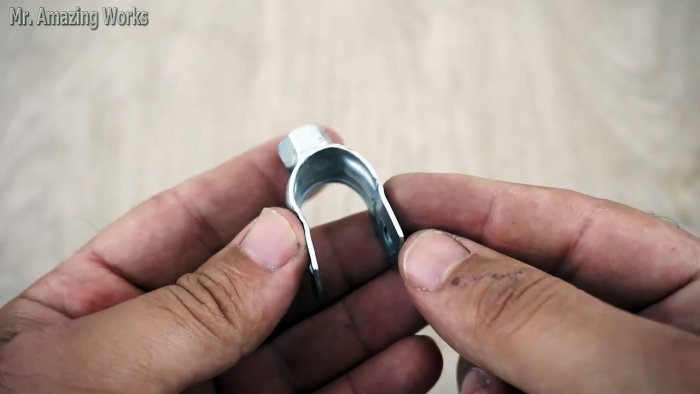
We clamp it by the ears in a vice and straighten them with a hammer, making them a continuation of the ends of the semi-ring and parallel to each other.
We put the modified half-ring with the nut down on the end of the gas burner nozzle and secure it with a bolt connection.

We screw the bent end of the pin into the outer nut of the half-ring and direct its rod along the longitudinal axis of the burner nozzle.

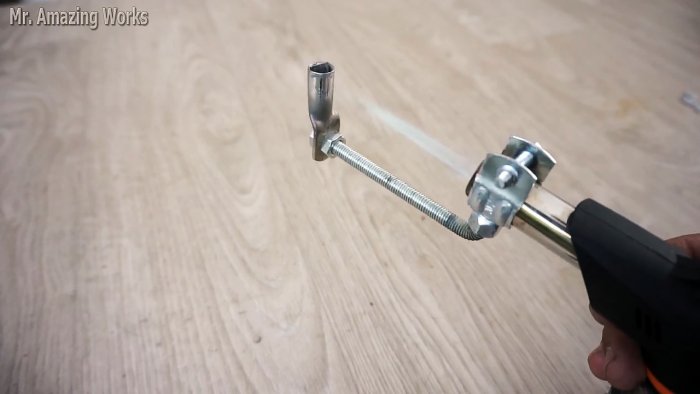
We screw the nut onto the stud, then install the end tip and clamp it with the second nut so that it is positioned vertically, and its cylindrical part is approximately at the level of the center of the gas burner nozzle.

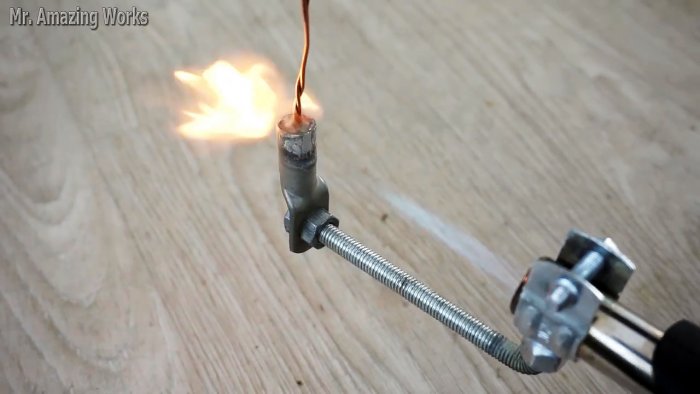
We connect a gas canister to the modernized gas burner and turn it on. When the tip is hot enough, drop pieces of solder into it and wait for them to melt.
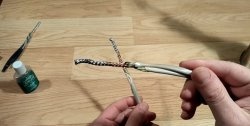
We lower the twisted wire into a jar of rosin and immerse it in the molten solder for a few seconds. The quality of tinning is always excellent.


To assemble it we will need the simplest and most affordable products:
In our work we will use: plastic patterns, center punch and hammer, pliers and drill with drill bit.
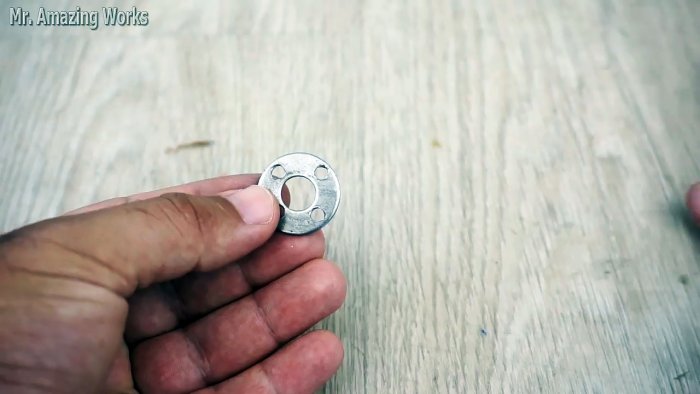
Using a pattern hole of a suitable size, mark a flat washer for drilling four holes, evenly spaced around the circumference.
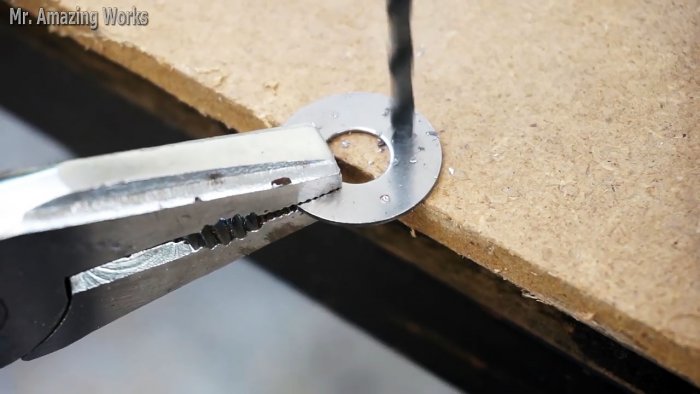
We punch the marked points using a core and a hammer. Then, holding the washer with pliers on the chipboard sheet, we drill four identical through holes with a drill.
Insert a bolt into the central hole of the washer; on the other side, place a locking washer on the washer over the bolt and tighten it with a self-locking nut.

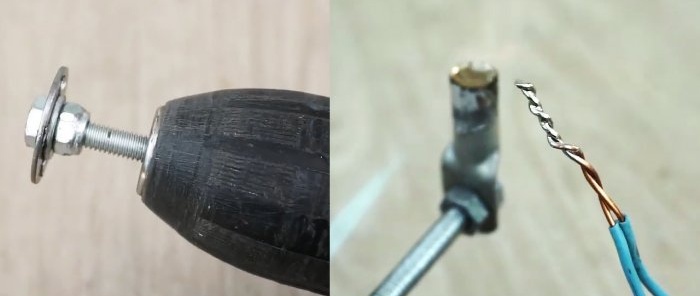
We clamp the free end of the bolt rod in the drill chuck and we can assume that our wire twisting device is ready for use.

We insert the ends of the wire bent in half into the diametrically opposite holes in the washer, holding it by the bend with pliers, and turn on the drill.

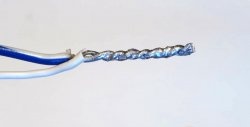
The wires, carried away by the washer, are twisted into a tight “pigtail”.

In exactly this way, you can twist both three and four wires. We bite off the untwisted ends using wire cutters or pliers.


To make the connection durable, reliable and safe, we will make simple life hacks with which you can tightly twist the wires and perform high-quality tinning, regardless of your qualifications as an electrician.

Device for tinning wires
Usually a soldering iron is used for this operation, but only a person with experience can do it efficiently. To make a device through which tinning will always be excellent, we will need:
- steel pin;
- metal clamp with bolts;
- end lug for cable crimping;
- set of nuts;
- pieces of solder;
- rosin.

When working on homemade products we use: bench vice, gas torch, pliers, drill with cutting disc and wrench.
We clamp the pin in a vice and heat the protruding part with the flame of a gas burner until the metal softens.

Then, without wasting a second, use pliers to bend the end of the hairpin at 90 degrees.

We shorten the stud using a grinder with a cutting disc. For further use, leave the part with the bent end.
We disassemble the clamp and leave one half ring with the outer nut.

We clamp it by the ears in a vice and straighten them with a hammer, making them a continuation of the ends of the semi-ring and parallel to each other.


We put the modified half-ring with the nut down on the end of the gas burner nozzle and secure it with a bolt connection.

We screw the bent end of the pin into the outer nut of the half-ring and direct its rod along the longitudinal axis of the burner nozzle.

We screw the nut onto the stud, then install the end tip and clamp it with the second nut so that it is positioned vertically, and its cylindrical part is approximately at the level of the center of the gas burner nozzle.
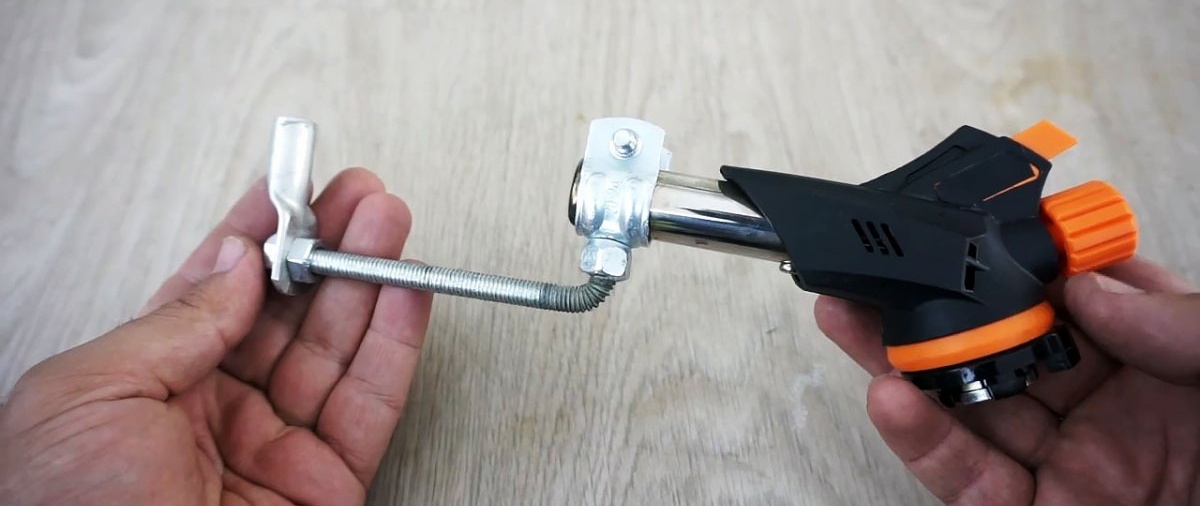
We connect a gas canister to the modernized gas burner and turn it on. When the tip is hot enough, drop pieces of solder into it and wait for them to melt.

We lower the twisted wire into a jar of rosin and immerse it in the molten solder for a few seconds. The quality of tinning is always excellent.


Wire twister
To assemble it we will need the simplest and most affordable products:
- steel bolt;
- large flat washer;
- Grover washer;
- self-locking nut.
In our work we will use: plastic patterns, center punch and hammer, pliers and drill with drill bit.
Using a pattern hole of a suitable size, mark a flat washer for drilling four holes, evenly spaced around the circumference.
We punch the marked points using a core and a hammer. Then, holding the washer with pliers on the chipboard sheet, we drill four identical through holes with a drill.


Insert a bolt into the central hole of the washer; on the other side, place a locking washer on the washer over the bolt and tighten it with a self-locking nut.

We clamp the free end of the bolt rod in the drill chuck and we can assume that our wire twisting device is ready for use.

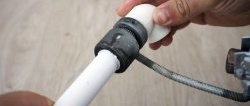
We insert the ends of the wire bent in half into the diametrically opposite holes in the washer, holding it by the bend with pliers, and turn on the drill.

The wires, carried away by the washer, are twisted into a tight “pigtail”.

In exactly this way, you can twist both three and four wires. We bite off the untwisted ends using wire cutters or pliers.


Watch the video
Similar master classes
Particularly interesting


Comments (3)
