How to melt aluminum in a flower pot
The melting point of aluminum is 660 degrees Celsius, meaning it can be melted at home. Of course, not on a gas stove, but with the help of a mini-melting furnace, made with your own hands from the simplest materials and products that are found in almost every home.
You should prepare in advance for the upcoming work and collect the following materials and items:

To make the elements of a mini-melting furnace, control the melting and casting process, we will need a drill with a set of drills, a Dremel with attachments, a screwdriver, pliers and a steel mold for casting.
In both factory-made and home-made melting furnaces, one of the main functions is performed by the lining, which retains thermal energy inside itself and with the help of which the metal is melted in the crucible.
We choose a flower pot as a lining - ceramic or clay. Both of these materials have a low thermal conductivity coefficient and therefore they are able to perform lining functions.
Only in the lower part of the pot on the side it is necessary to make a hole to supply thermal energy to the crucible placed inside. We use the tray that comes with the pot as a lid.
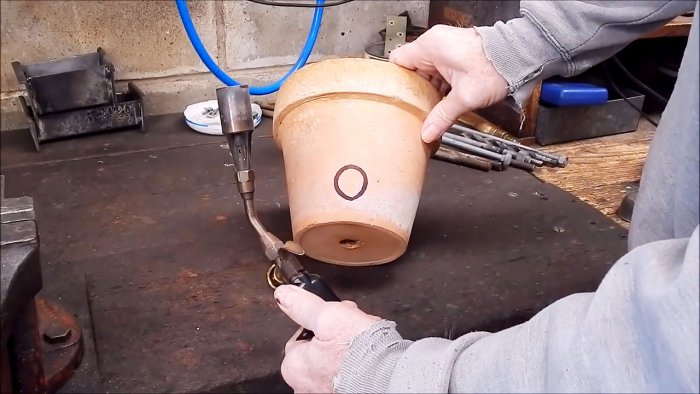
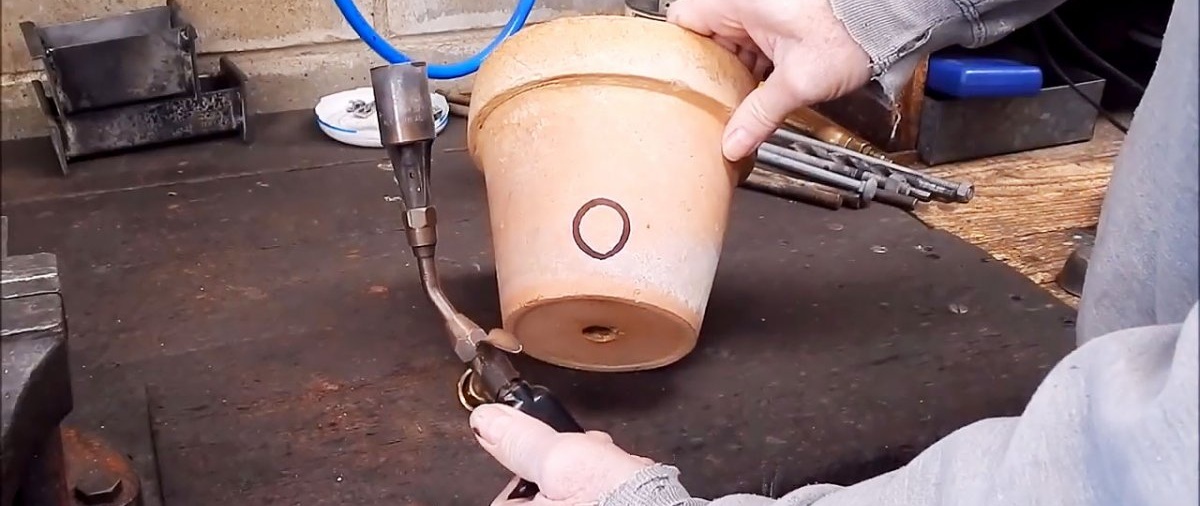
Now let's get down to work. Using a marker, draw the outline of the hole at the bottom of the pot into which the gas burner will be inserted.
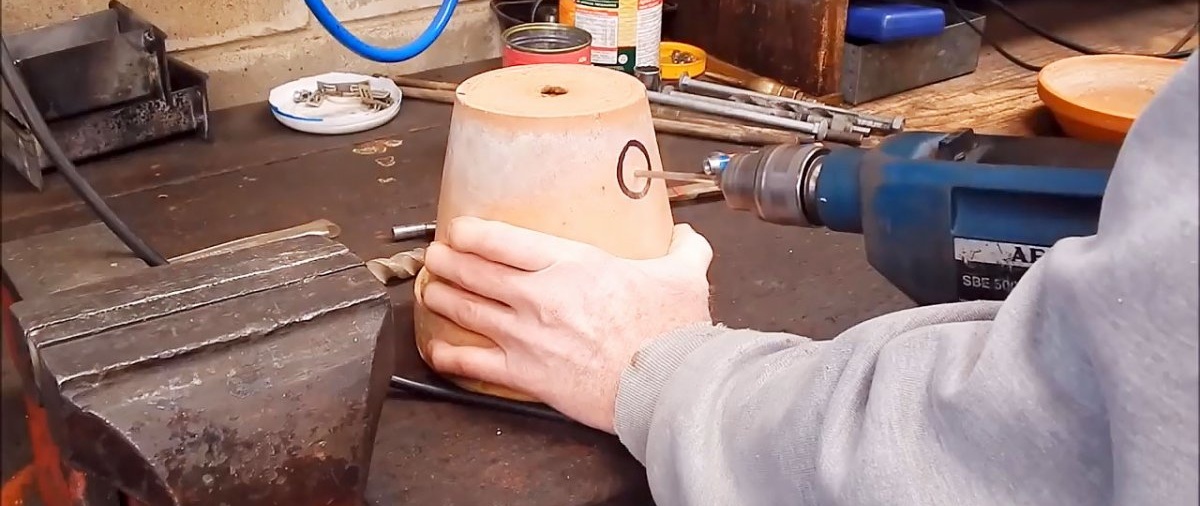
Using a drill, we begin to drill a hole, first with a thin drill to set the direction, then with a medium diameter and, finally, with a large one.

Next, to fine-tune the hole to the desired shape and diameter, we use a pneumatic dremel with a cutter. We suck out fine dust with a vacuum cleaner.

We try on the gas burner head and make sure that the hole is quite suitable for this.

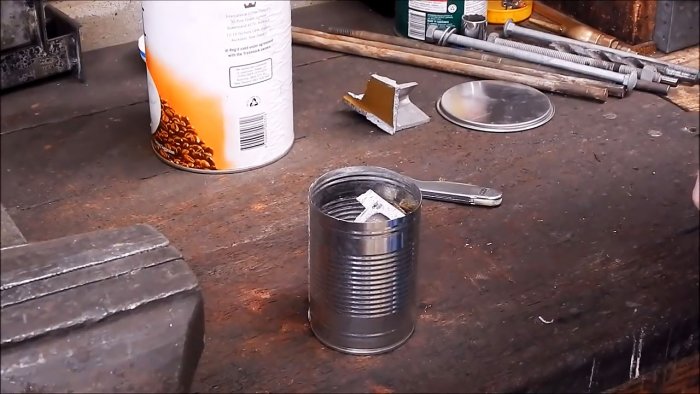
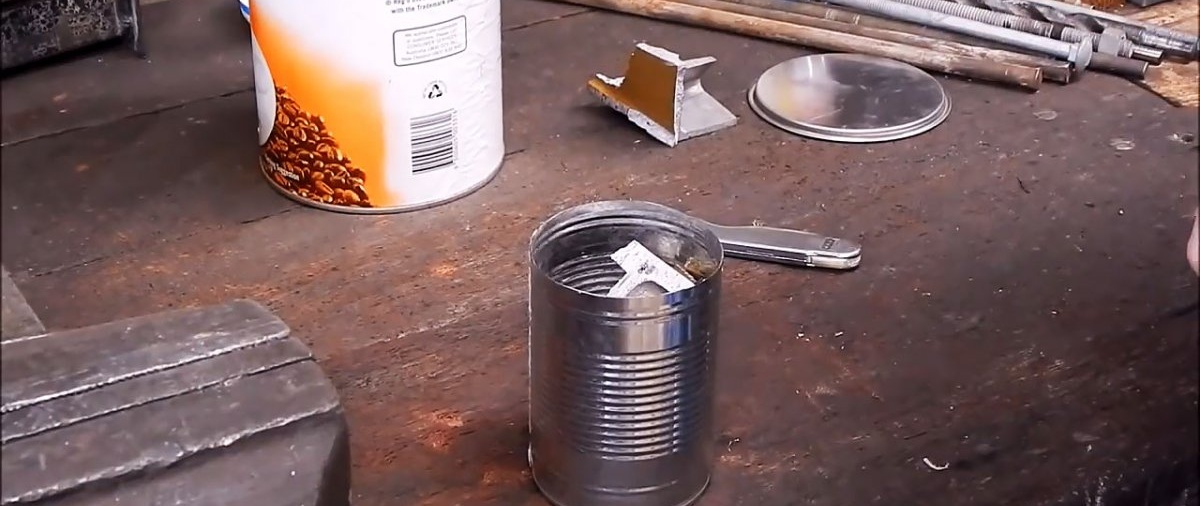
We make a crucible from an ordinary tin can. To do this, use a Dremel with a cutting disc to remove the collar, which will prevent the molten metal from pouring into the mold. We also remove the paper sticker from the jar.

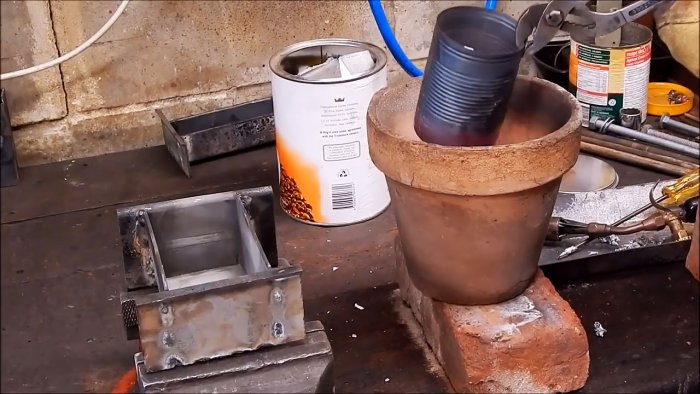
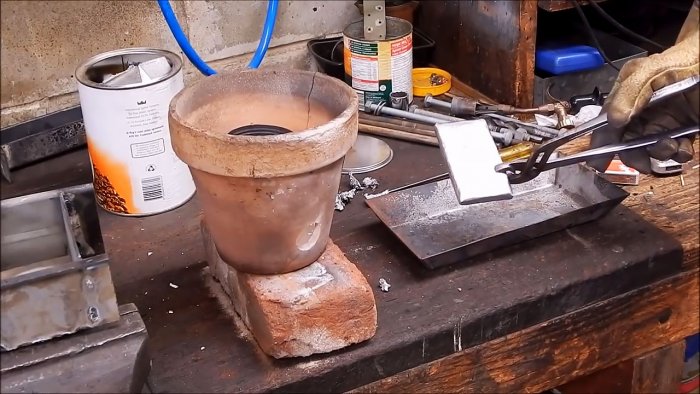
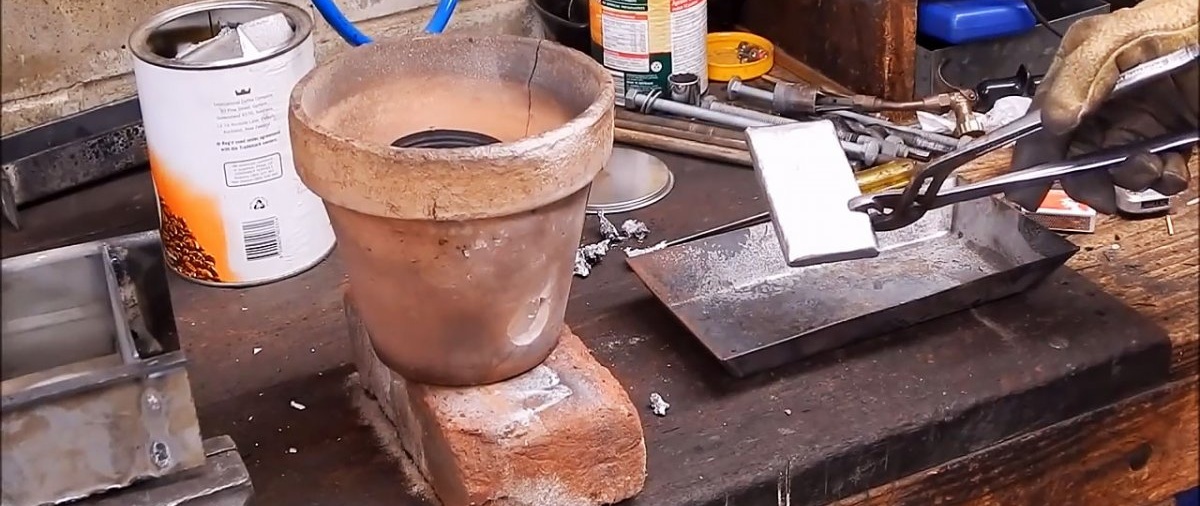
We fill the improvised crucible with aluminum scrap and place it in the center of a flower pot with a hole on the side, which, in turn, is installed on an ordinary red brick.
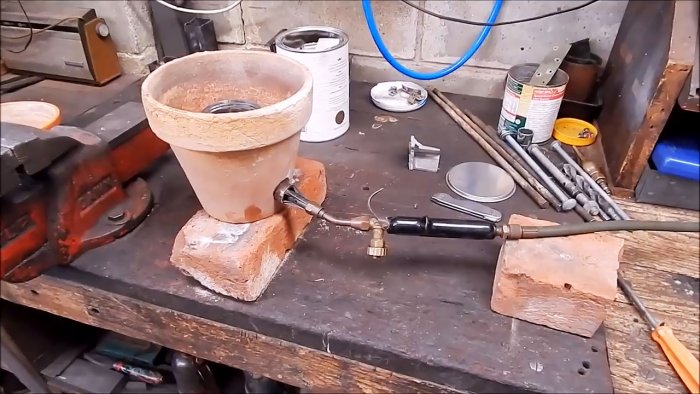
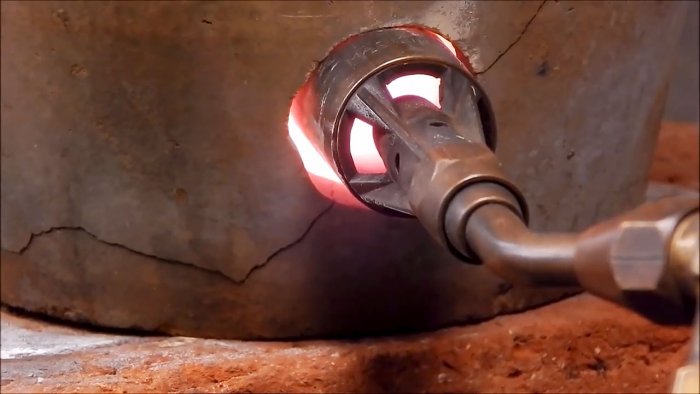
We install the gas burner head into the hole in the pot, under which we also lay an ordinary brick to ensure horizontality.
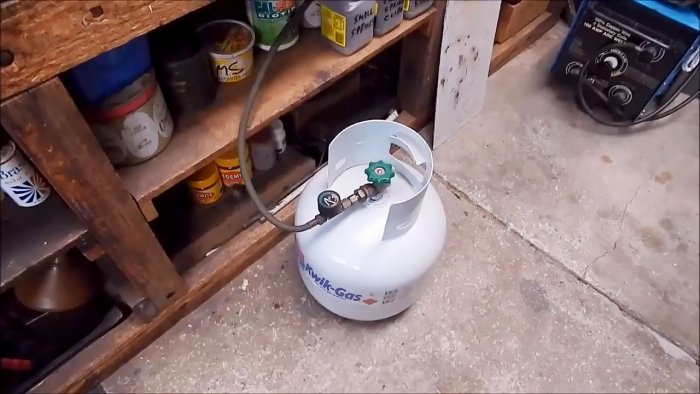
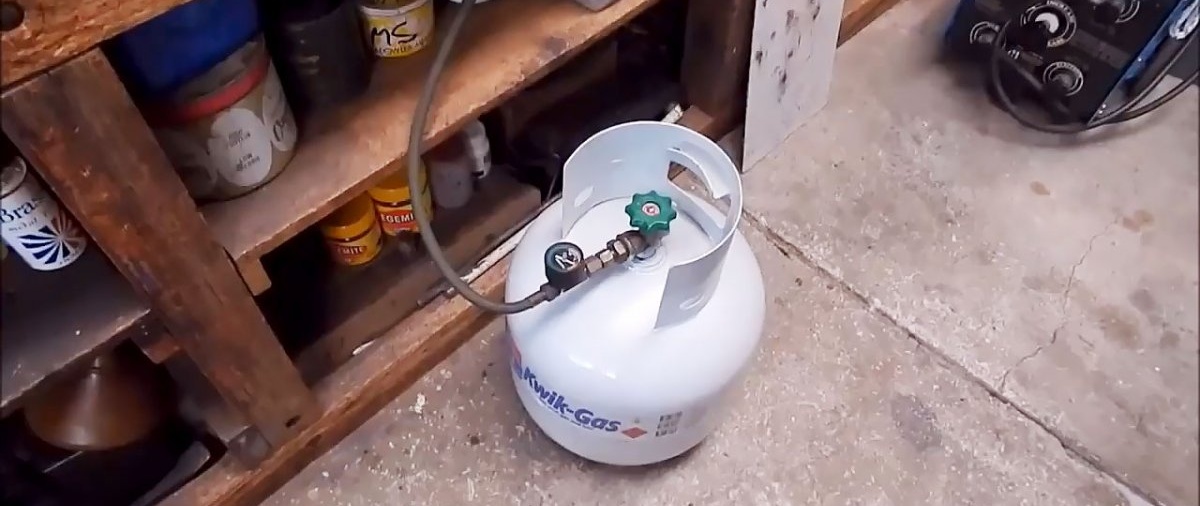
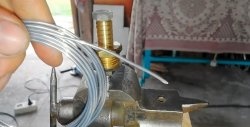
The gas burner is connected via a hose to a cylinder with flammable gas, for example, propane.
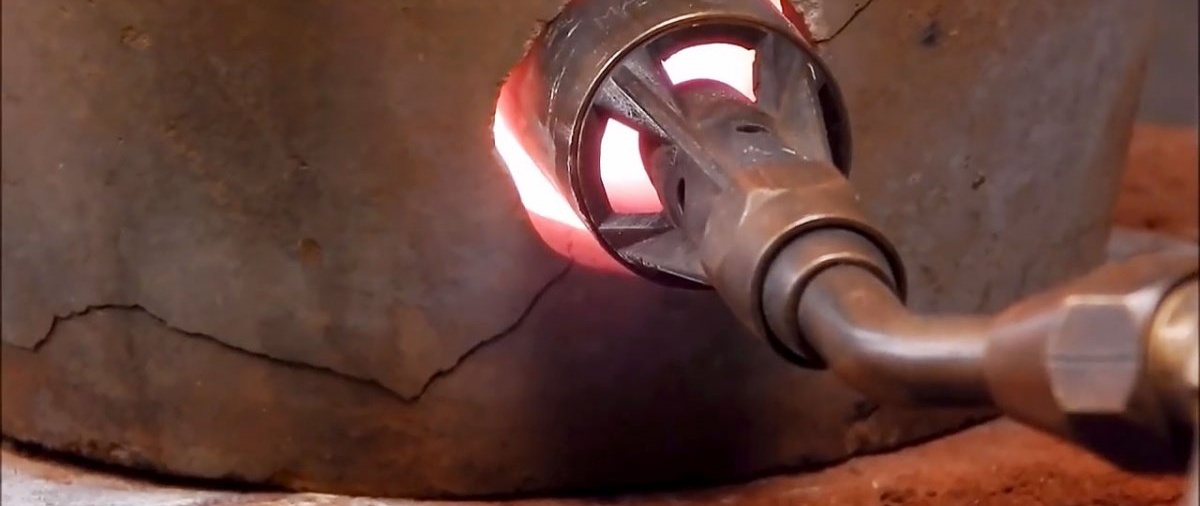
Open the tap on the burner and ignite the gas coming out of the head. We insert the head into the hole of the pot and adjust the flame in direction and intensity.
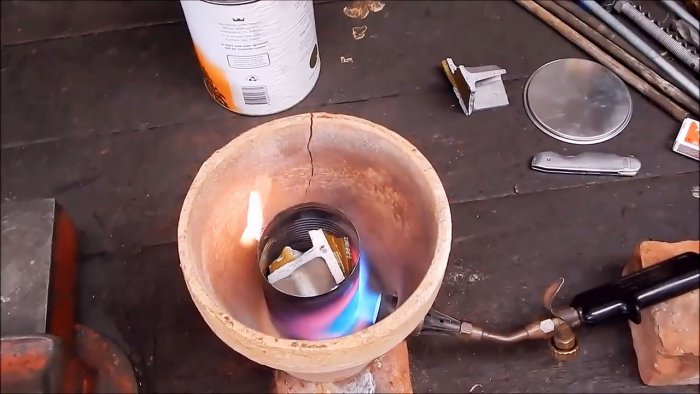
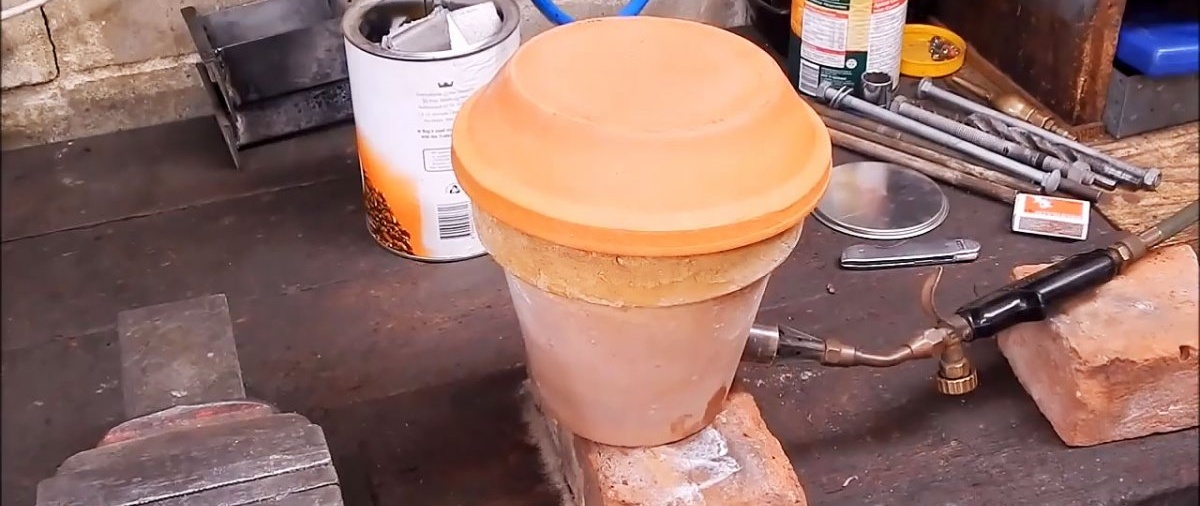
After this, we cover the pot with the crucible filled with aluminum scrap with a tray that serves as a lid.

We continue the melting process until all the scrap turns into a liquid state.Before completing the melting, remove the lid and use a screwdriver to remove slag and impurities from the surface of the molten metal.
Turn off the gas supply and remove the burner from the hole.
In advance, next to the melting furnace, we install a casting mold made of steel on a refractory stand.
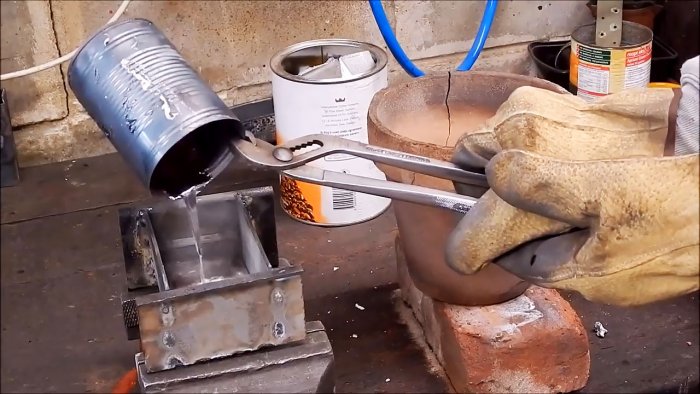
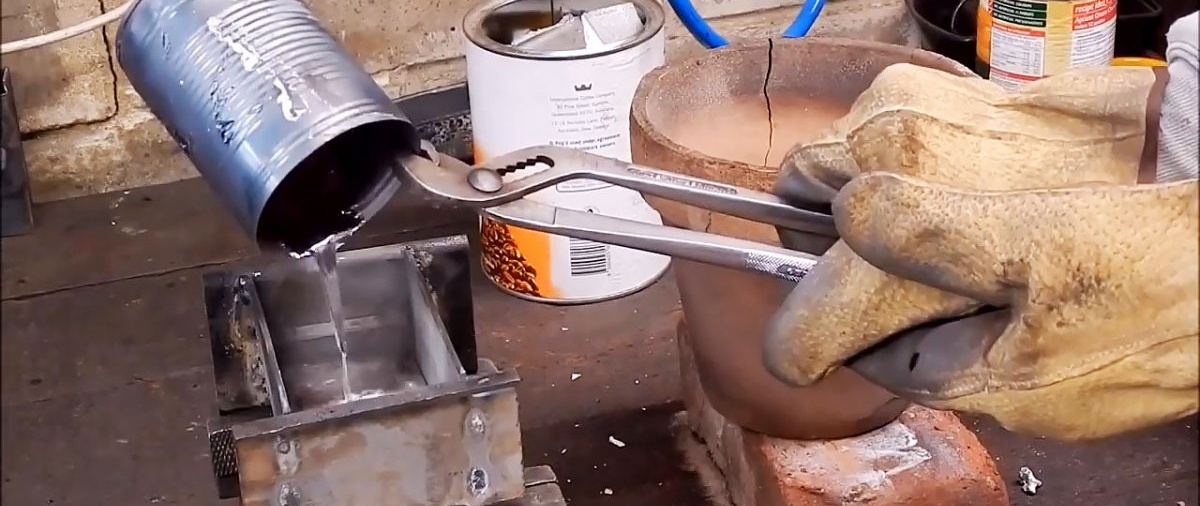
We grab the edge of a tin can with molten aluminum inside with pliers and pour the contents into the mold.
We give the metal some time so that it cools completely and crystallizes in the mold.
After this, we grab the mold with pliers and shake out the casting into a metal trough.
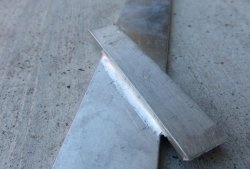
We make sure that the casting has a correct rectangular shape, a dense, uniform surface structure without inclusions or defects.
Our homemade melting furnace is also fine, except for thermal cracks in the pot from the high temperature.
Will need
You should prepare in advance for the upcoming work and collect the following materials and items:
- flower pot with tray;
- tin can;
- gas burner;
- aluminum scrap;
- a couple of bricks.

To make the elements of a mini-melting furnace, control the melting and casting process, we will need a drill with a set of drills, a Dremel with attachments, a screwdriver, pliers and a steel mold for casting.
The process of manufacturing furnace elements
In both factory-made and home-made melting furnaces, one of the main functions is performed by the lining, which retains thermal energy inside itself and with the help of which the metal is melted in the crucible.
We choose a flower pot as a lining - ceramic or clay. Both of these materials have a low thermal conductivity coefficient and therefore they are able to perform lining functions.
Only in the lower part of the pot on the side it is necessary to make a hole to supply thermal energy to the crucible placed inside. We use the tray that comes with the pot as a lid.
Now let's get down to work. Using a marker, draw the outline of the hole at the bottom of the pot into which the gas burner will be inserted.
Using a drill, we begin to drill a hole, first with a thin drill to set the direction, then with a medium diameter and, finally, with a large one.
Next, to fine-tune the hole to the desired shape and diameter, we use a pneumatic dremel with a cutter. We suck out fine dust with a vacuum cleaner.

We try on the gas burner head and make sure that the hole is quite suitable for this.

We make a crucible from an ordinary tin can. To do this, use a Dremel with a cutting disc to remove the collar, which will prevent the molten metal from pouring into the mold. We also remove the paper sticker from the jar.

Oven assembly process
We fill the improvised crucible with aluminum scrap and place it in the center of a flower pot with a hole on the side, which, in turn, is installed on an ordinary red brick.

We install the gas burner head into the hole in the pot, under which we also lay an ordinary brick to ensure horizontality.
The gas burner is connected via a hose to a cylinder with flammable gas, for example, propane.
Metal melting process
Open the tap on the burner and ignite the gas coming out of the head. We insert the head into the hole of the pot and adjust the flame in direction and intensity.

After this, we cover the pot with the crucible filled with aluminum scrap with a tray that serves as a lid.
We continue the melting process until all the scrap turns into a liquid state.Before completing the melting, remove the lid and use a screwdriver to remove slag and impurities from the surface of the molten metal.
Turn off the gas supply and remove the burner from the hole.
Aluminum casting process
In advance, next to the melting furnace, we install a casting mold made of steel on a refractory stand.
We grab the edge of a tin can with molten aluminum inside with pliers and pour the contents into the mold.

We give the metal some time so that it cools completely and crystallizes in the mold.
After this, we grab the mold with pliers and shake out the casting into a metal trough.
We make sure that the casting has a correct rectangular shape, a dense, uniform surface structure without inclusions or defects.
Our homemade melting furnace is also fine, except for thermal cracks in the pot from the high temperature.
Watch the video
Similar master classes


Particularly interesting


Comments (0)
