DIY heated towel rail installation
Having a heated towel rail in the bathroom is very convenient. With its help, you can always dry wet laundry, washed baby diapers, and other things. In addition, a heated towel rail can serve as a heating element for the bathroom.
Almost all old-style apartments have heated towel rails in the bathroom, but they do not have an aesthetic appearance. Therefore, when carrying out renovations in such apartments, the owners either dismantle heated towel rails altogether or replace them with modern, more attractive devices.

Now we will consider the option of installing the simplest heated towel rail in an apartment. As a rule, hot water supply in apartment buildings has the principle of constant water circulation. Therefore, heated towel rails in this case are used in the U-shaped type.
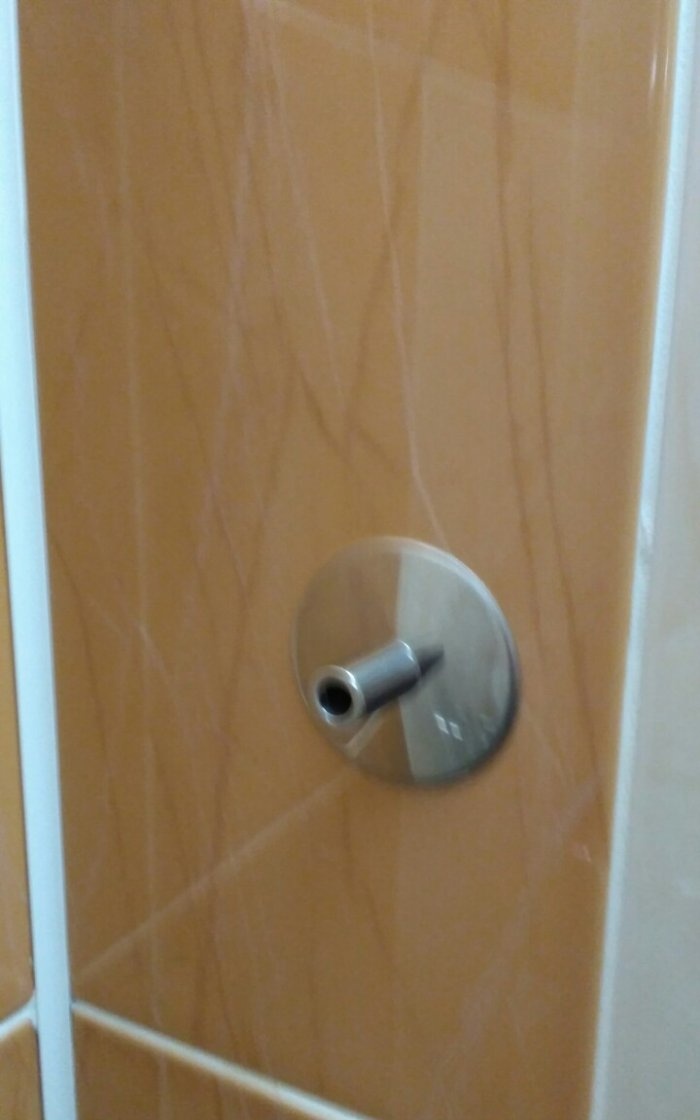
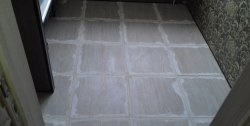
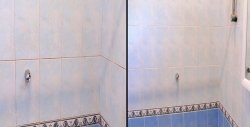
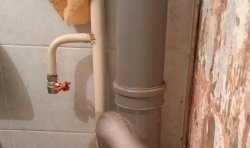
When planning a bathroom renovation, already at the design stage it is important to think about whether you will install a heated towel rail, since plumbing work must be carried out before installing the tiles.It is necessary for the builders to make two water sockets or simply install two pipes at a distance from each other that will correspond to the size of the heated towel rail. In the example shown in the illustration, the builders simply installed two plastic pipes with plugs.
To install this option you will need a soldering iron.
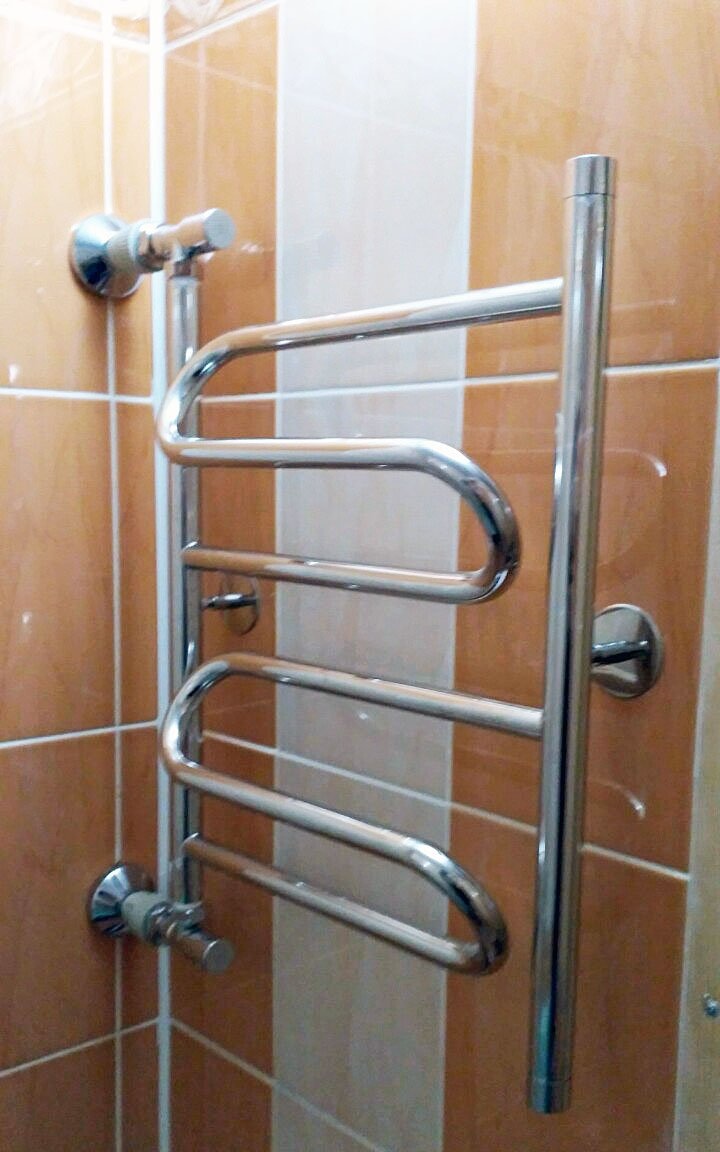
This is the most suitable type of heated towel rail with side connection. Although this option is more difficult to install, it is still the most attractive in appearance.
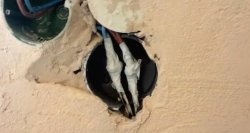
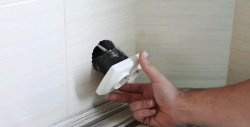
So, first you need to ask the utility company to temporarily turn off the riser. Then the two outlet tubes, which are intended for the heated towel rail, are cut to the size of the metal lining with a small margin.

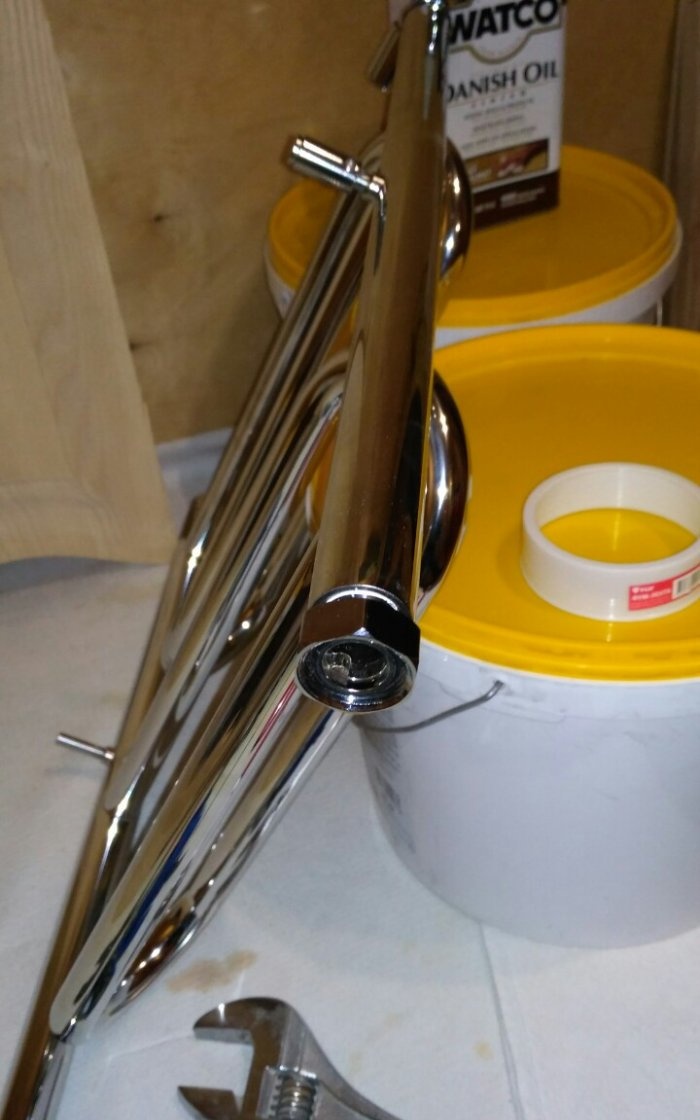
It comes complete with a heated towel rail. If the heated towel rail was purchased disassembled, then it must be assembled according to the instructions included in the packaging.

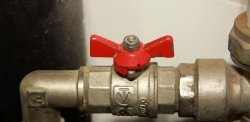
Next, you need to install two jumpers (bypasses) and shut-off valves.


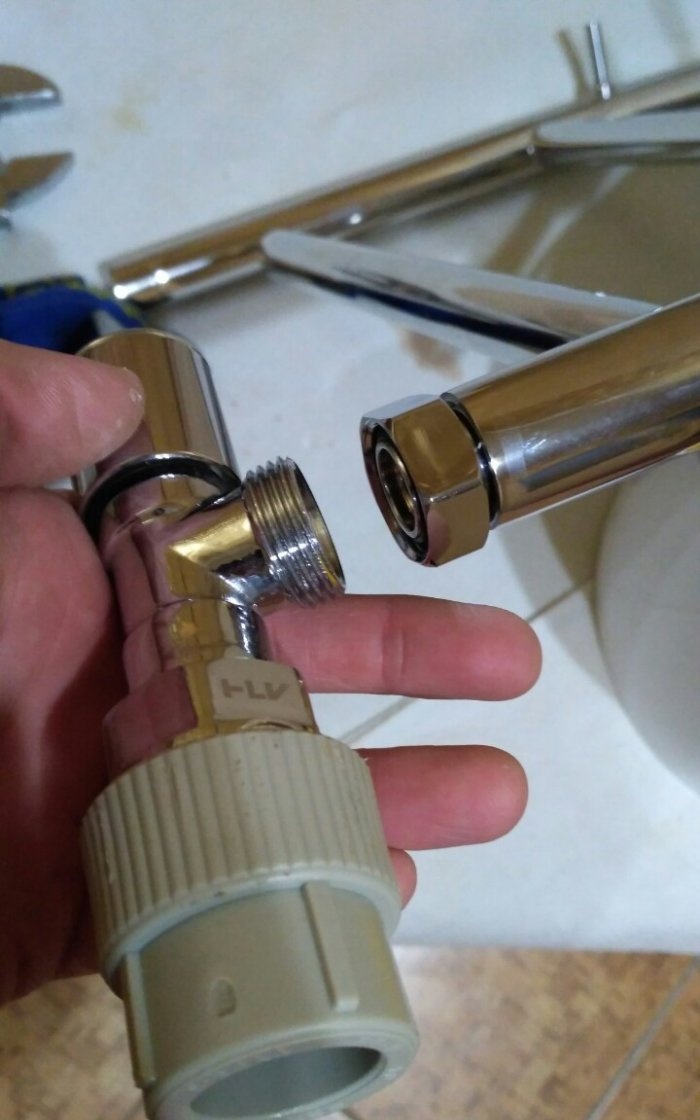

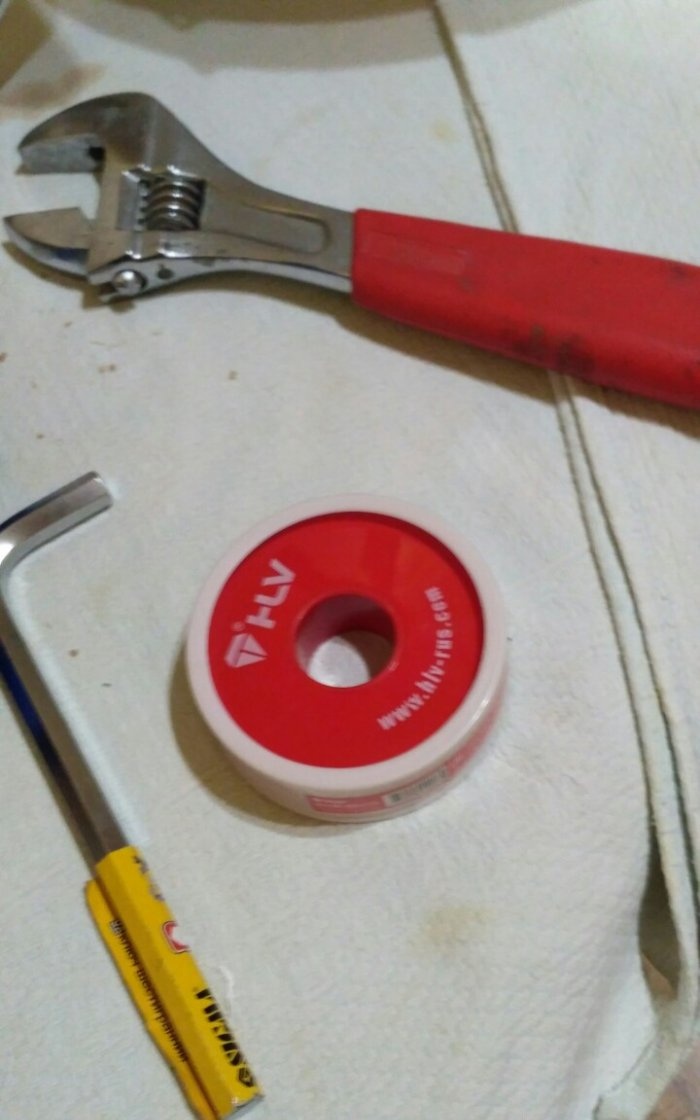
At this stage, it is important to properly seal all connections with tow to avoid water leakage. To connect, you will need an adjustable wrench.
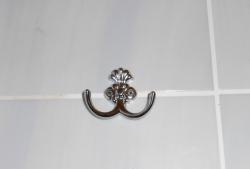
After you have assembled the heated towel rail with bypasses, you need to carefully measure the locations for installing the wall mount. To do this, you need to drill holes along the diameter of the fastening, insert a dowel into it, and then secure two fastenings for the heated towel rail.
To do this you will need a drill with a pobedit tile drill bit.
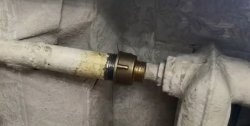
The final stage of installation is the installation of the entire structure of the heated towel rail. In this case, adapters for plastic pipes were connected to the bypasses so that they could be fixed to the two output pipes using a soldering iron.On the other wall, the equipment is attached to the wall using installed fasteners, which are also screwed to the heated towel rail.

When installation is completed, you can open the common riser valve again. If there is water pressure in the system, it is necessary to check the installed equipment for leaks. In case of water leaks, it is necessary to disconnect the riser again and reconnect the fastenings.
In order to install this equipment yourself, without the help of a specialist, you must have a tool. This will allow you to reduce repair costs, as well as gain practice in this work yourself.
Almost all old-style apartments have heated towel rails in the bathroom, but they do not have an aesthetic appearance. Therefore, when carrying out renovations in such apartments, the owners either dismantle heated towel rails altogether or replace them with modern, more attractive devices.
Installing a heated towel rail in an apartment
Now we will consider the option of installing the simplest heated towel rail in an apartment. As a rule, hot water supply in apartment buildings has the principle of constant water circulation. Therefore, heated towel rails in this case are used in the U-shaped type.
When planning a bathroom renovation, already at the design stage it is important to think about whether you will install a heated towel rail, since plumbing work must be carried out before installing the tiles.It is necessary for the builders to make two water sockets or simply install two pipes at a distance from each other that will correspond to the size of the heated towel rail. In the example shown in the illustration, the builders simply installed two plastic pipes with plugs.

To install this option you will need a soldering iron.

This is the most suitable type of heated towel rail with side connection. Although this option is more difficult to install, it is still the most attractive in appearance.
So, first you need to ask the utility company to temporarily turn off the riser. Then the two outlet tubes, which are intended for the heated towel rail, are cut to the size of the metal lining with a small margin.

It comes complete with a heated towel rail. If the heated towel rail was purchased disassembled, then it must be assembled according to the instructions included in the packaging.

Next, you need to install two jumpers (bypasses) and shut-off valves.


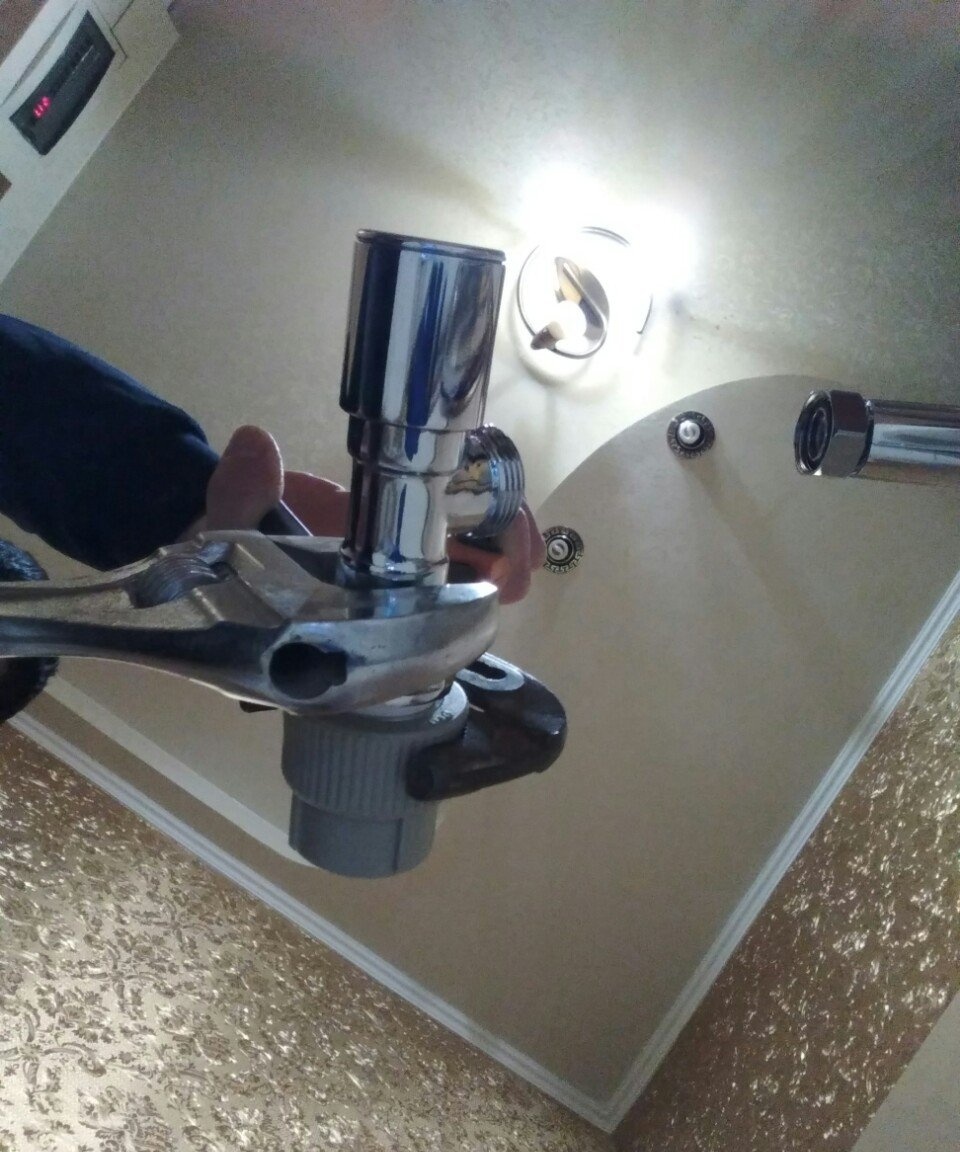


At this stage, it is important to properly seal all connections with tow to avoid water leakage. To connect, you will need an adjustable wrench.

After you have assembled the heated towel rail with bypasses, you need to carefully measure the locations for installing the wall mount. To do this, you need to drill holes along the diameter of the fastening, insert a dowel into it, and then secure two fastenings for the heated towel rail.

To do this you will need a drill with a pobedit tile drill bit.
The final stage of installation is the installation of the entire structure of the heated towel rail. In this case, adapters for plastic pipes were connected to the bypasses so that they could be fixed to the two output pipes using a soldering iron.On the other wall, the equipment is attached to the wall using installed fasteners, which are also screwed to the heated towel rail.

When installation is completed, you can open the common riser valve again. If there is water pressure in the system, it is necessary to check the installed equipment for leaks. In case of water leaks, it is necessary to disconnect the riser again and reconnect the fastenings.
In order to install this equipment yourself, without the help of a specialist, you must have a tool. This will allow you to reduce repair costs, as well as gain practice in this work yourself.
Similar master classes

Particularly interesting

Comments (1)
