How to make an air compressor
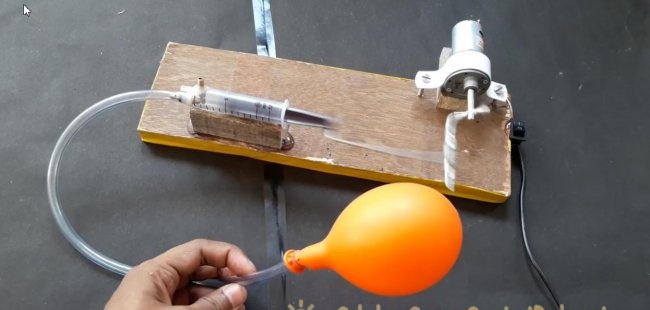
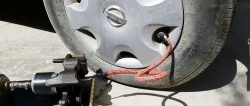
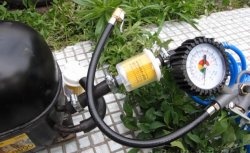
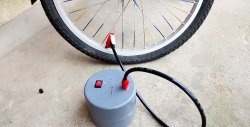
This air piston compressor is very easy to manufacture and anyone can repeat it if desired. The compressor can be used to inflate balloons, for some chemical experiments where it is necessary to create air bubbles in a liquid, as a compressor for aquarium fish, etc.

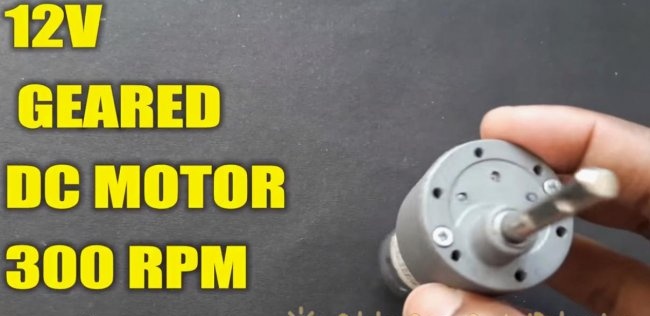
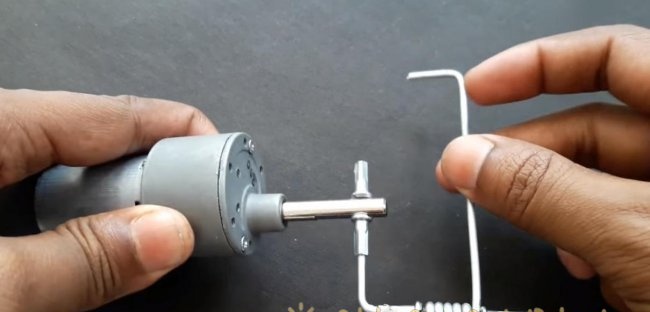
Geared motor 12 volt DC, with a rotation speed of 300 rpm.
Bicycle spoke.

So, if you have collected all the components, we can start making our compressor.
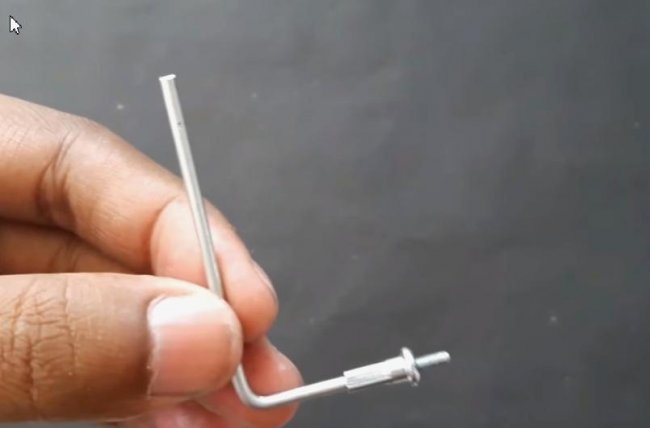
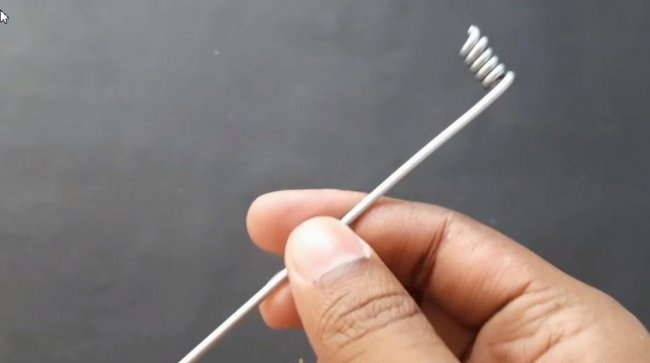
Bend the knitting needle at the end at a right angle.
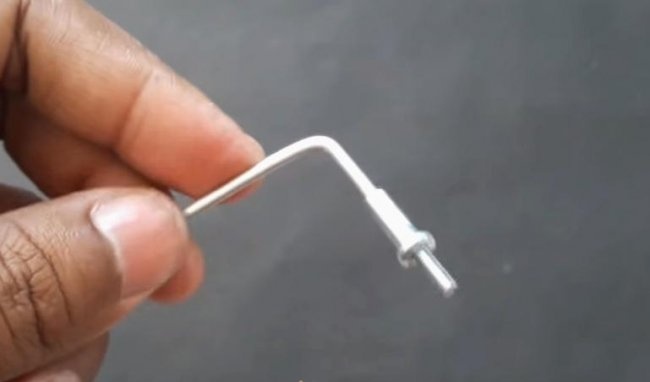
Using wire cutters, we’ll bite off the knitting needle on the other side so that we get an L-shape like this.
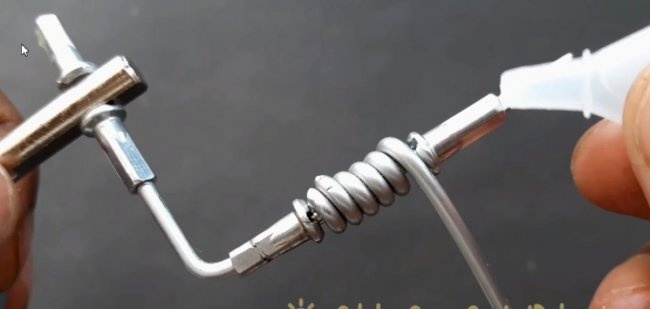
We insert the threaded part of the spoke into the hole in the gear motor shaft. The hole was there originally. We fix it with a second locking nut from another spoke, tightening it with pliers.
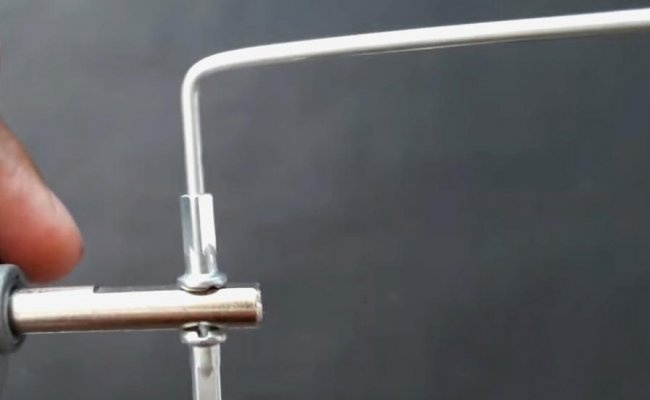
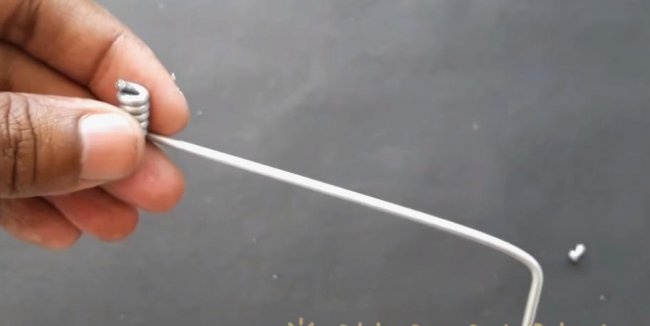
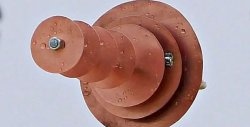
Then we take two knitting needles and wind one on the other.We take out the inner knitting needle and bite off part of the wound knitting needle. This is what should happen.
We bite off at a distance of about 10 cm and make a bend.
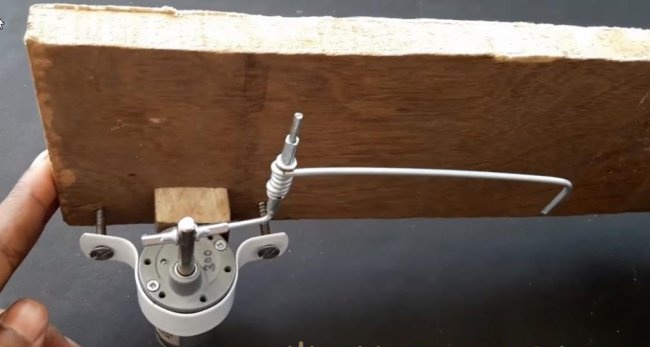
Next, we put this curl on the part that we made earlier for the gear motor. The limiters were made from locking nuts from the spokes. We fix the nuts with super glue. We have a moving unit. This is the piston arm that will push the compressor piston.
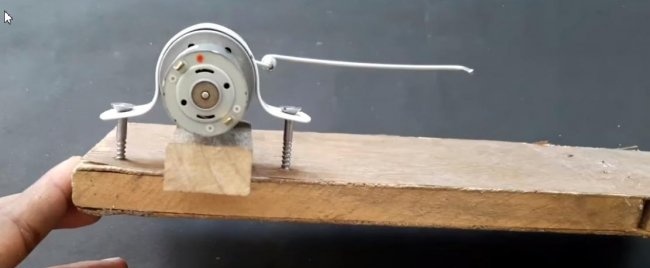
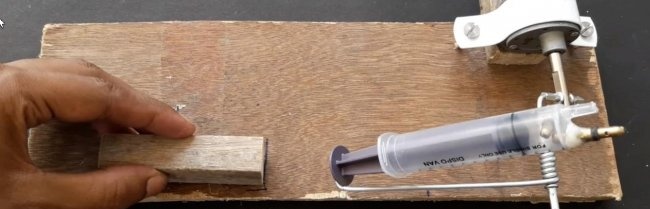
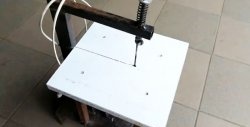
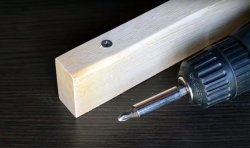
Let's take a piece of wood and attach the motor with the gearbox and our crank system using a bracket, screws, and a wooden block for elevation.
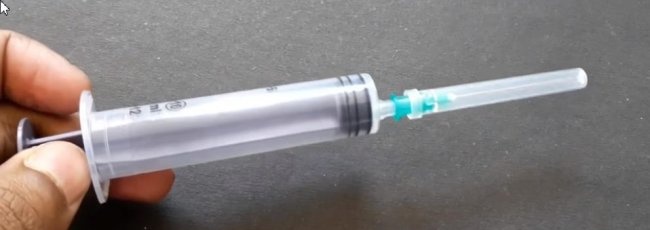
Let's take out the syringe, separate the needle - you won't need it.
We take out the syringe piston and cut the lower edges into a cone to ensure greater ease of movement of the piston, removing excess pressure.

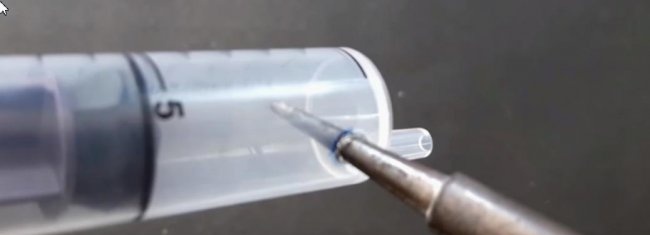
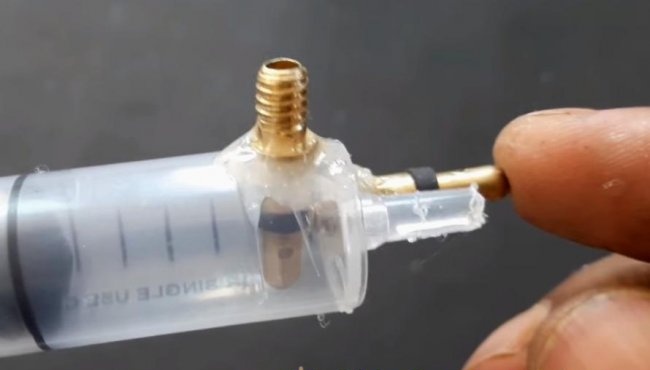
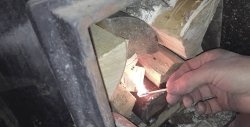
Using a hot soldering iron, on the side closer to the beginning of the syringe, we will make a hole for the nipple valve.
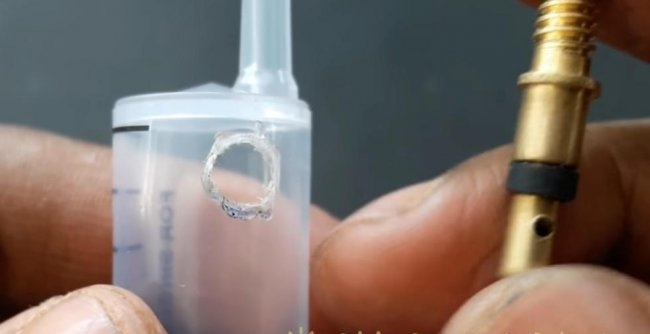
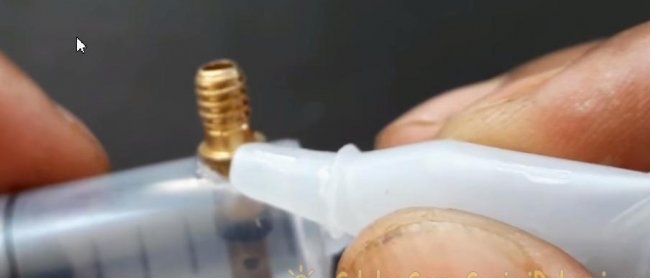
Insert the nipple and secure it with super glue. This will be the intake valve.
Fill the hole for the needle with hot glue - we won't need it.
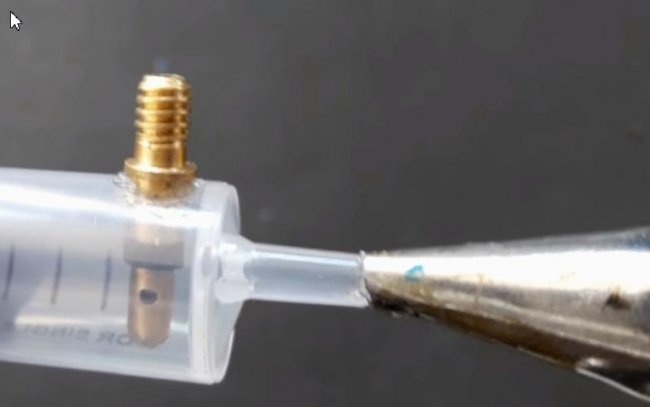
We make another hole with a soldering iron and insert the exhaust valve, and also fix it with super glue.

For greater reliability and to prevent leaks, we fill the valve connections with epoxy resin.
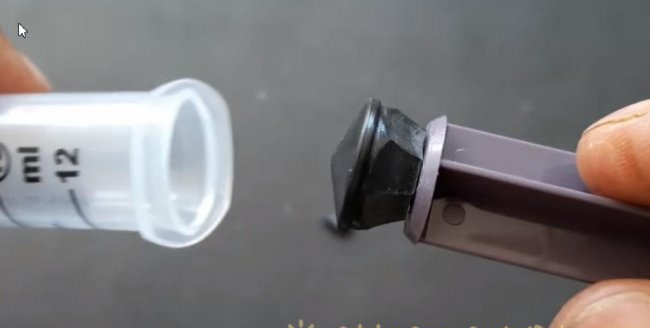
Let's take the paste from a gel ballpoint pen. Cut a small piece about 1 cm. Glue this piece to the end of the piston with super glue.
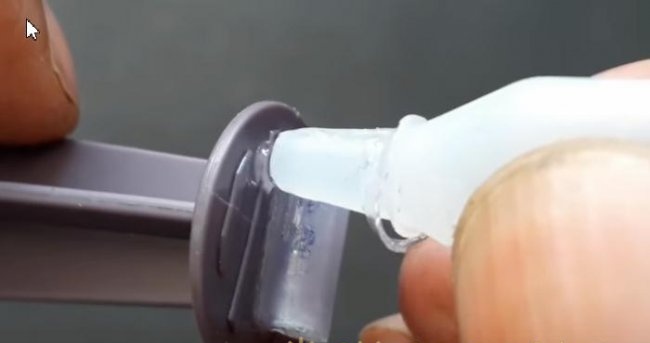
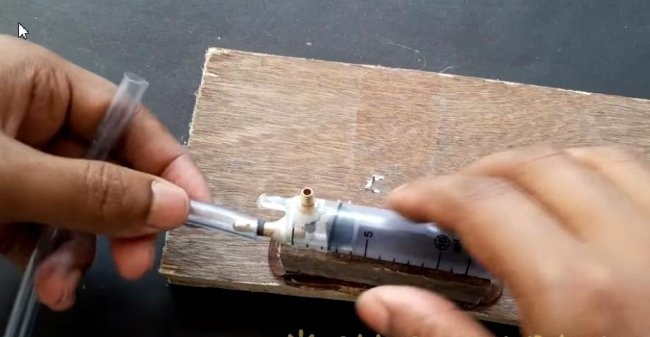
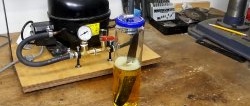
Let's insert the end from the spoke of our mechanism into it. And we will install the modified syringe on a wooden stand. Everything is fixed with hot glue.

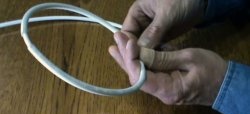
We put on a silicone tube. We glue the joint of the super terminals, since my tube has a slightly larger diameter and you can’t fit it tightly onto the valve.
We take a 12 volt adapter.
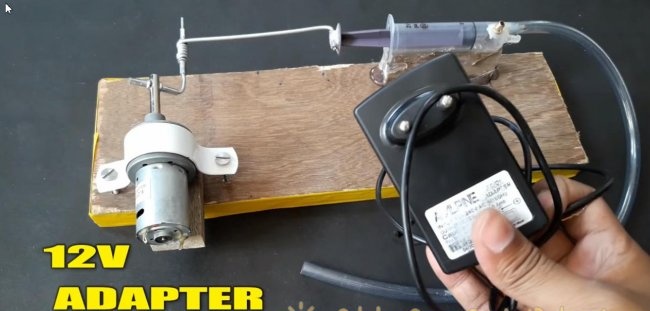
We connect it to the motor. And solder the switch into the circuit.


The piston type air compressor is ready. The power is more than enough for my needs.

What is required to make a compressor?
- The motor with a 12 V gearbox is the most scarce part, you can buy it here - aliexpress
- Several bicycle spokes.
- Two valve nipples from a bicycle.
- The power supply is 12 V, you can buy it here if you don’t have it - aliexpress
Geared motor 12 volt DC, with a rotation speed of 300 rpm.

Bicycle spoke.

Manufacturing
So, if you have collected all the components, we can start making our compressor.
Bend the knitting needle at the end at a right angle.
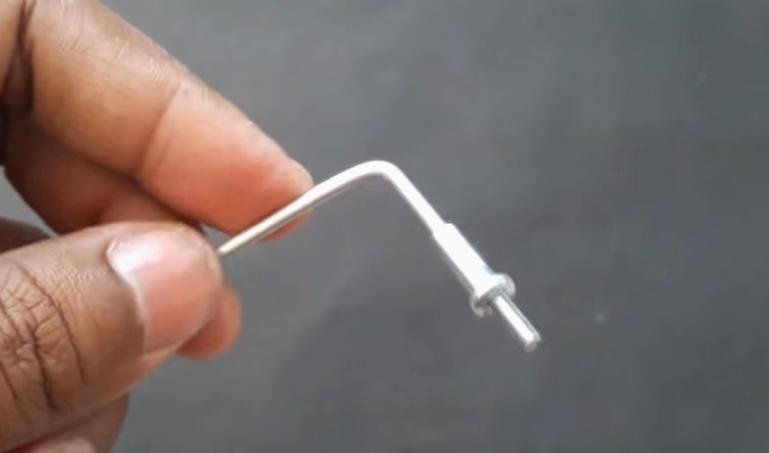
Using wire cutters, we’ll bite off the knitting needle on the other side so that we get an L-shape like this.

We insert the threaded part of the spoke into the hole in the gear motor shaft. The hole was there originally. We fix it with a second locking nut from another spoke, tightening it with pliers.

Then we take two knitting needles and wind one on the other.We take out the inner knitting needle and bite off part of the wound knitting needle. This is what should happen.

We bite off at a distance of about 10 cm and make a bend.

Next, we put this curl on the part that we made earlier for the gear motor. The limiters were made from locking nuts from the spokes. We fix the nuts with super glue. We have a moving unit. This is the piston arm that will push the compressor piston.


Let's take a piece of wood and attach the motor with the gearbox and our crank system using a bracket, screws, and a wooden block for elevation.


Let's take out the syringe, separate the needle - you won't need it.

We take out the syringe piston and cut the lower edges into a cone to ensure greater ease of movement of the piston, removing excess pressure.


Using a hot soldering iron, on the side closer to the beginning of the syringe, we will make a hole for the nipple valve.


Insert the nipple and secure it with super glue. This will be the intake valve.

Fill the hole for the needle with hot glue - we won't need it.

We make another hole with a soldering iron and insert the exhaust valve, and also fix it with super glue.
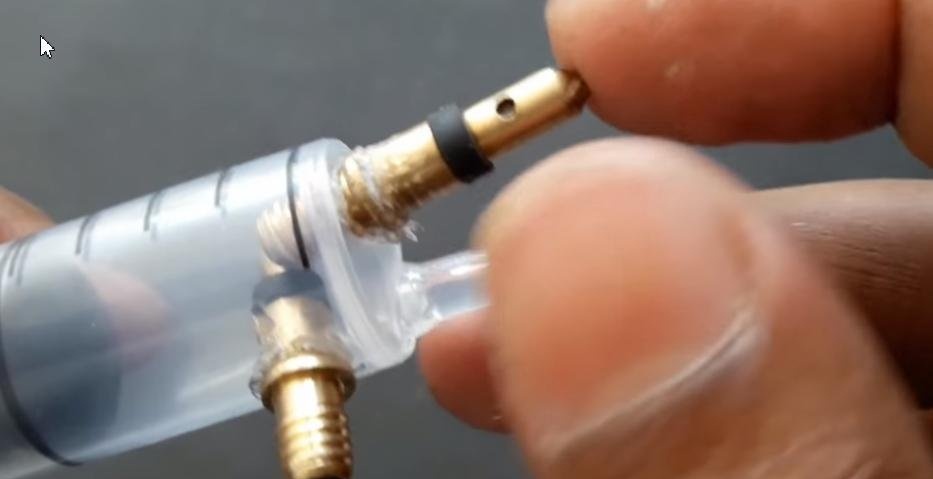
For greater reliability and to prevent leaks, we fill the valve connections with epoxy resin.

Let's take the paste from a gel ballpoint pen. Cut a small piece about 1 cm. Glue this piece to the end of the piston with super glue.
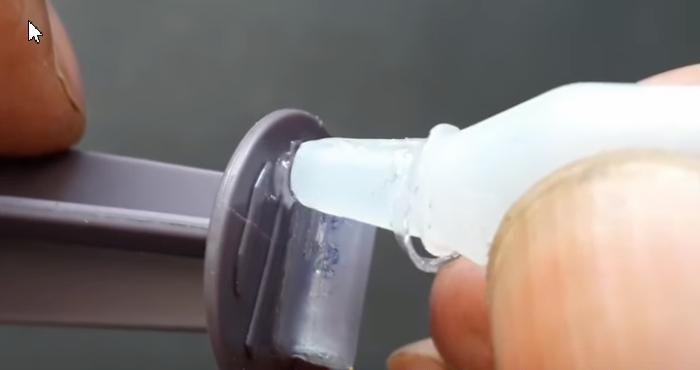
Let's insert the end from the spoke of our mechanism into it. And we will install the modified syringe on a wooden stand. Everything is fixed with hot glue.

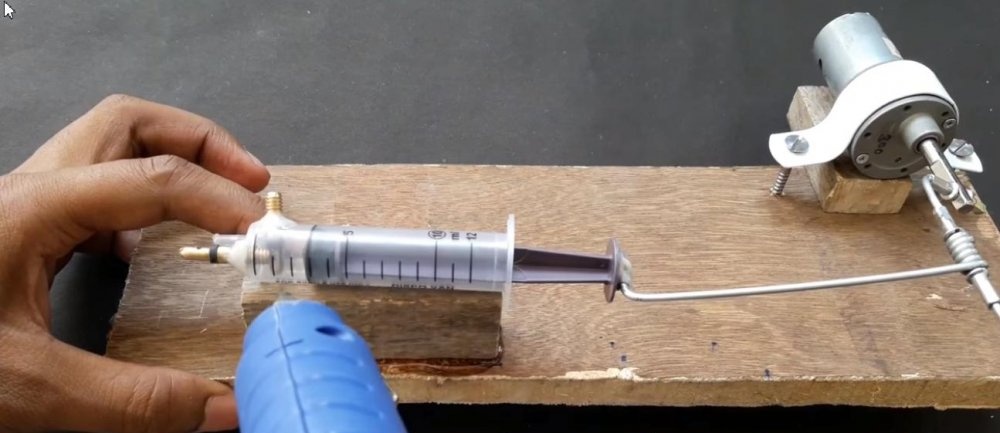
We put on a silicone tube. We glue the joint of the super terminals, since my tube has a slightly larger diameter and you can’t fit it tightly onto the valve.

We take a 12 volt adapter.

We connect it to the motor. And solder the switch into the circuit.


The piston type air compressor is ready. The power is more than enough for my needs.

Video manufacturing instructions
Similar master classes
Particularly interesting

Comments (3)
