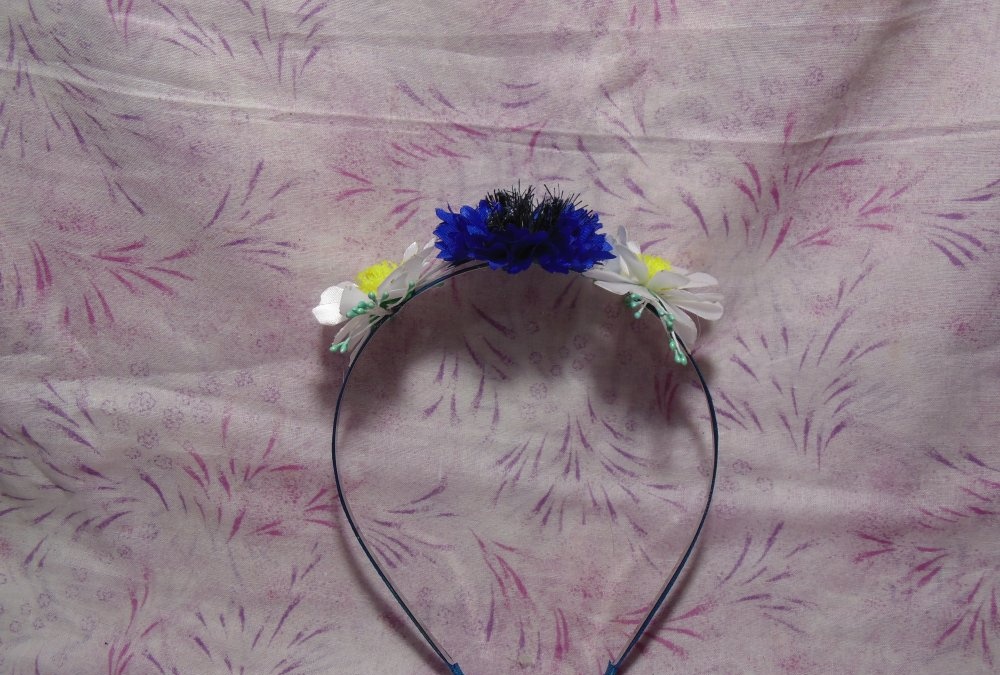
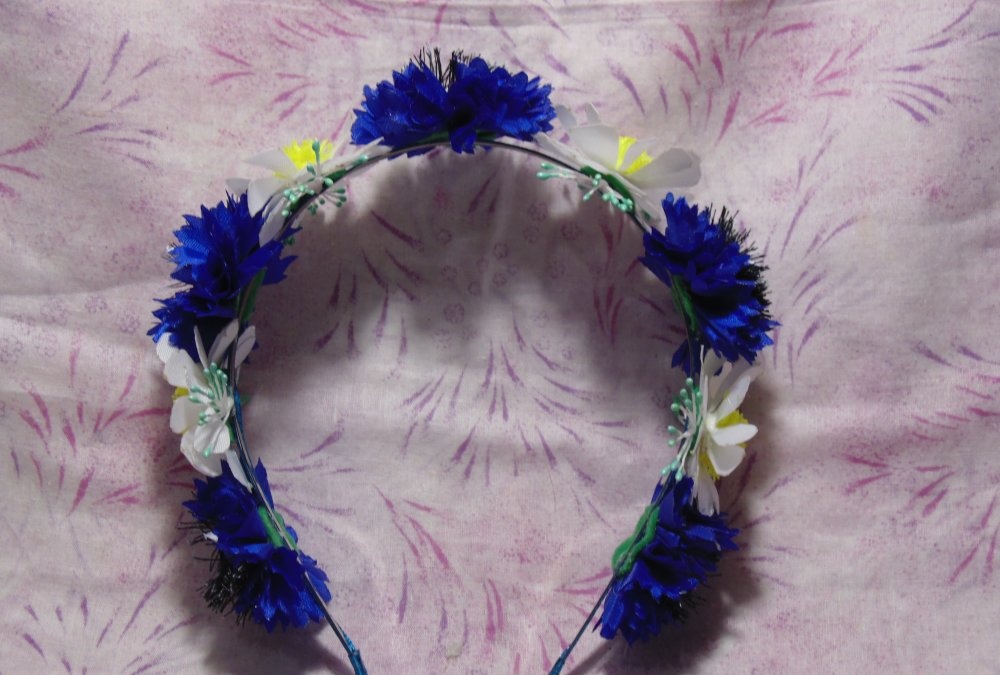
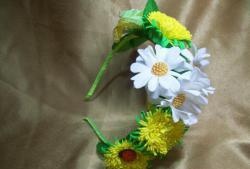
Headband with wildflowers
Headband with daisies and cornflowers made of fabric using the guilloche technique.

And for this you will need the following materials and tools:
We've got everything ready and let's get to work. Let's start with the rim. Since glue does not adhere well to metal, we will use double-sided tape.
We glue a strip of tape to the top side and along the entire length of the rim. If it goes beyond the edges, it should be cut strictly according to the width of our base. Then you need to attach a thin ribbon on top of the tape. At the very beginning of the rim, we glue several turns of tape, going to the top and bottom sides of the base. So that when using the product there is no pressure behind the ears.And then we attach the tape only on top of the tape, lifting the protective film.

And we finish processing the rim with curls on the second edge of the base.
Now we can move on to the colors. We will make it from ribbons or synthetic fabric of the desired color. The composition itself will contain 5 cornflowers and 4 daisies. And for this we cut 16 white squares, and there will be 40 blue ones. All measure 4.5 cm.
And we will cut it with a heated soldering iron on the prepared surface. We use two tin templates. One circle should be modified by making teeth along the entire edge.
Using the template, cut out curly blue petals. And the white circle needs additional processing. First we put a point in the center. Next, using a ruler and a soldering iron, we first divide the circle into 4 equal parts, then we further divide each quarter into 3 petals with two lines. Just don’t forget to leave an untouched circle of 1 cm in diameter in the middle of the workpiece. It turns out a chamomile with 12 petals. All that remains is to carefully round off the sharp corners of each petal using a lighter.

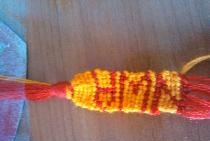
You can now move on to assembling the daisies. Only additionally you need to make blanks for the centers. We cut out strips 18 cm long and 1 cm high from yellow ribbon or fabric. We make small fringes on them. We will also need 4 circles of felt with a diameter of about 2 cm. And for the base of the centers we will use the trimmed half of an ear stick.
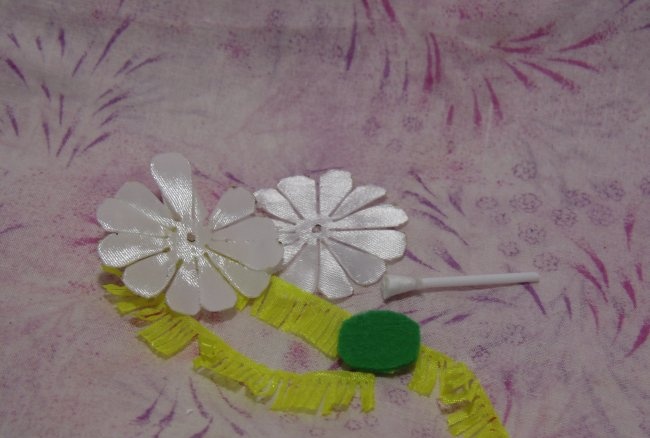
Naturally, we’ll start gluing the middle of the chamomile first. First, we seal the cotton wool with fringe, and then we place the remaining strip around the stick at the same level. We apply glue only to the lower edge of the fringe blank.

Then we straighten the middle and alternately glue two petal circles from below, threading them through the intended center.
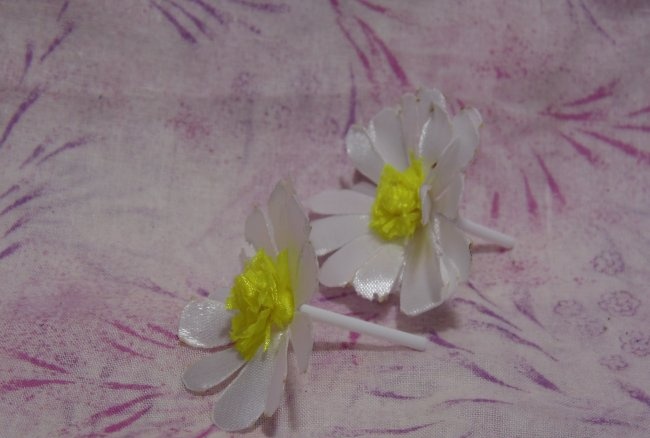
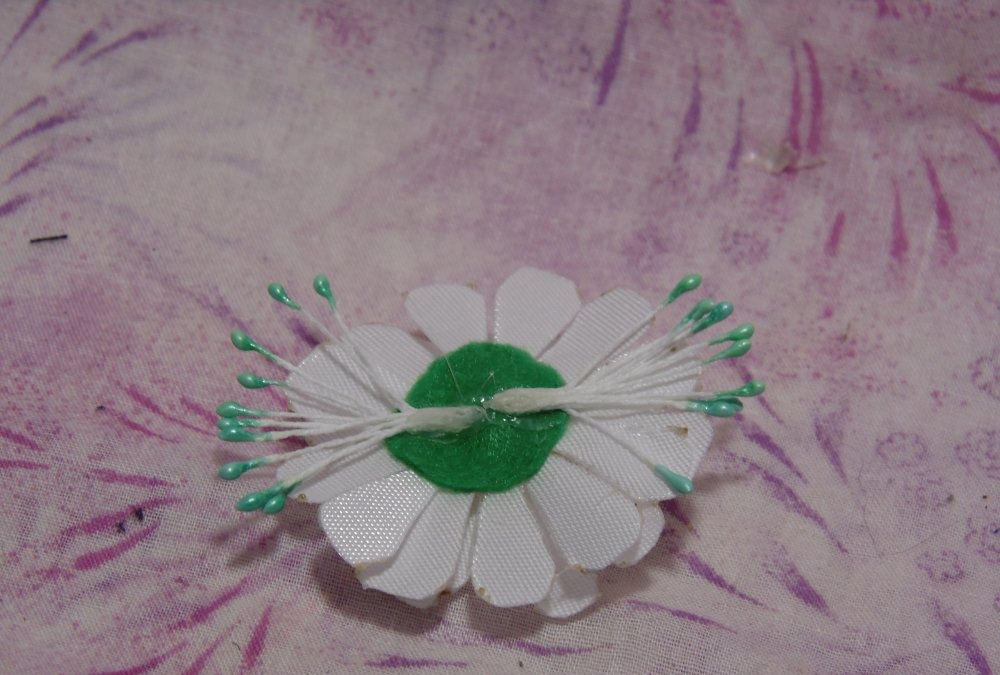
And when the glue is well fixed, we cut the stick at the level of the last petals. And on top of the cut we attach a green felt circle.
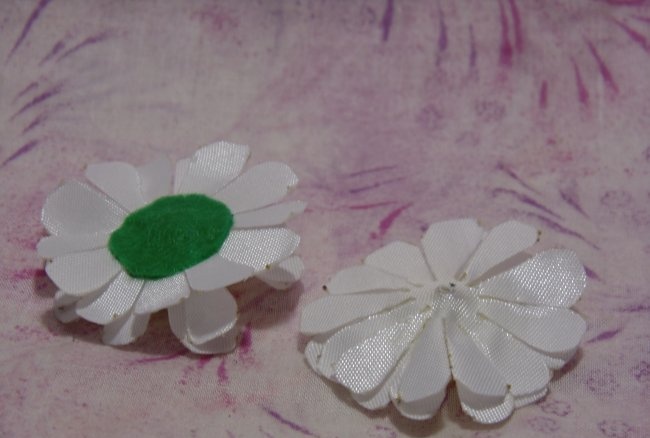
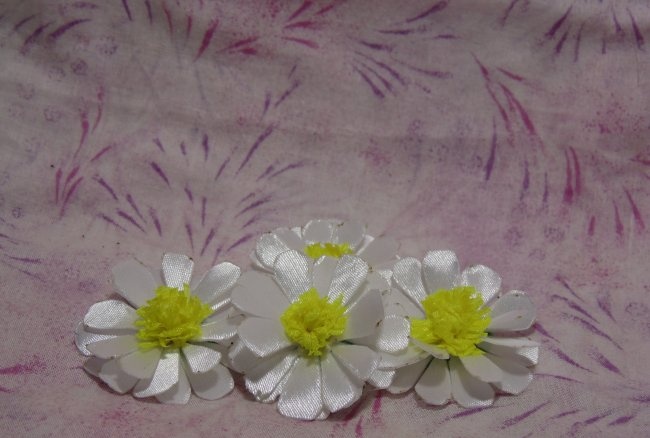
We do all 4 daisies in the same way.
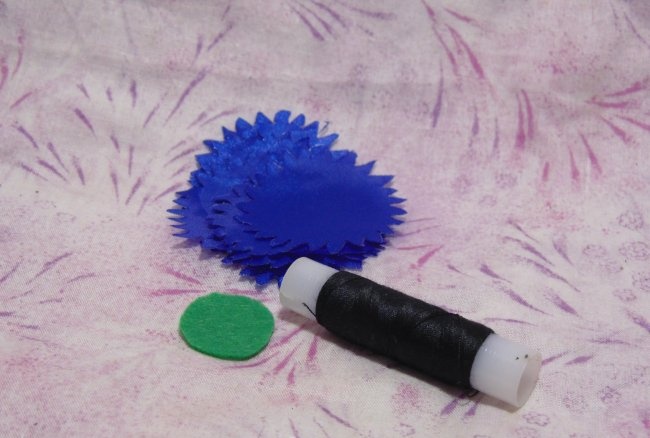
Now let's move on to cornflowers. For one flower you will need 8 blue petal circles, a piece of felt with a diameter of 2 cm, and a spool of thread.
First, let's process the prepared circles. Fold the workpiece in half horizontally, holding the fold upward. Then we fold it in half again, but tilt it to the side. Then we hold the workpiece by the folded middle and fold the resulting two folds in half again. We lower the corners down separately, only in different directions, we get a common folded triangle. We use a lighter to secure the middle so that the assembly does not open completely. We make 8 petals.

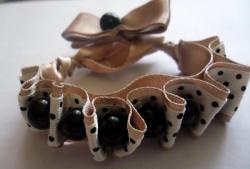
Now we will attach them to the green circle. First we glue in opposite directions. Top, bottom, opposite sides.
Only 4 blanks turned out to be used. And the rest need to be placed one at a time between the first ones attached.
We collect all 5 cornflowers, the center of the flower remains free for now.
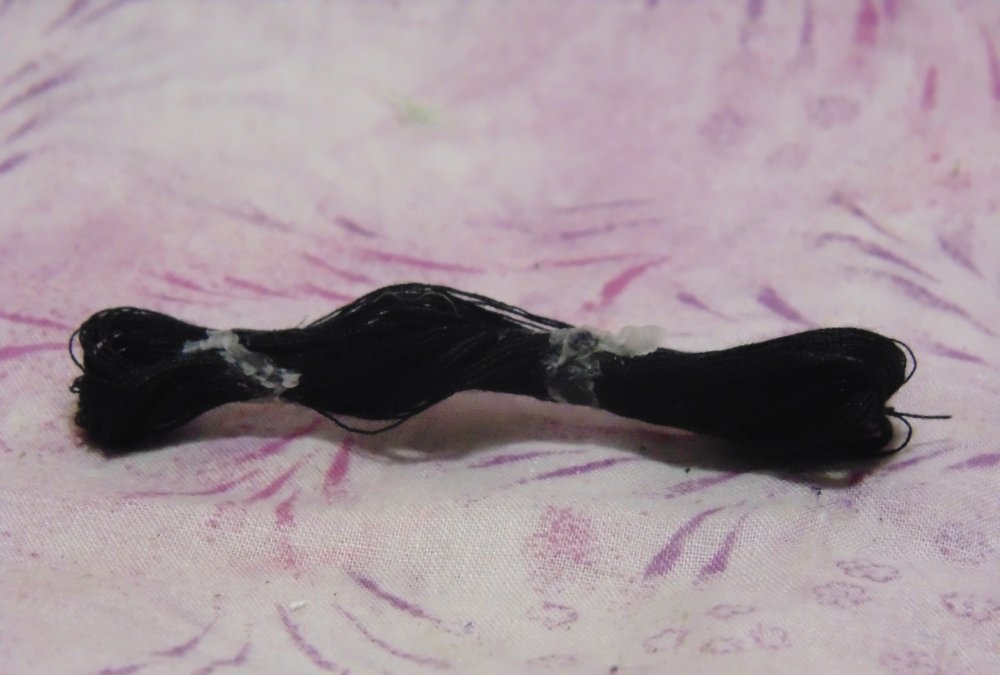
Now we need stamens, which we will make from black threads. We wind threads around 4 fingers of our hand, about a hundred turns. Then mentally divide the folded threads into 3 parts. And we glue it in two places, giving time for the glue to set.
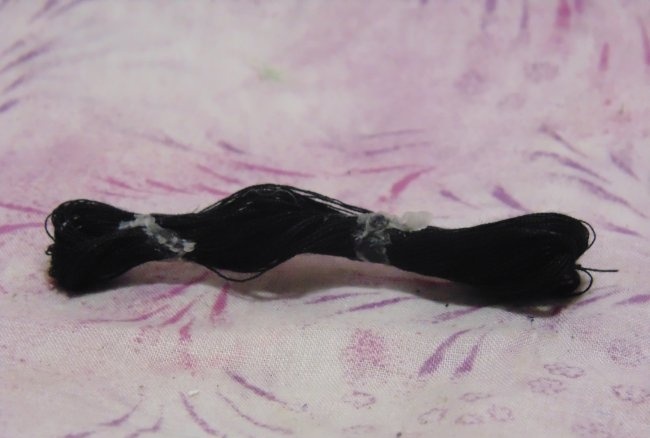
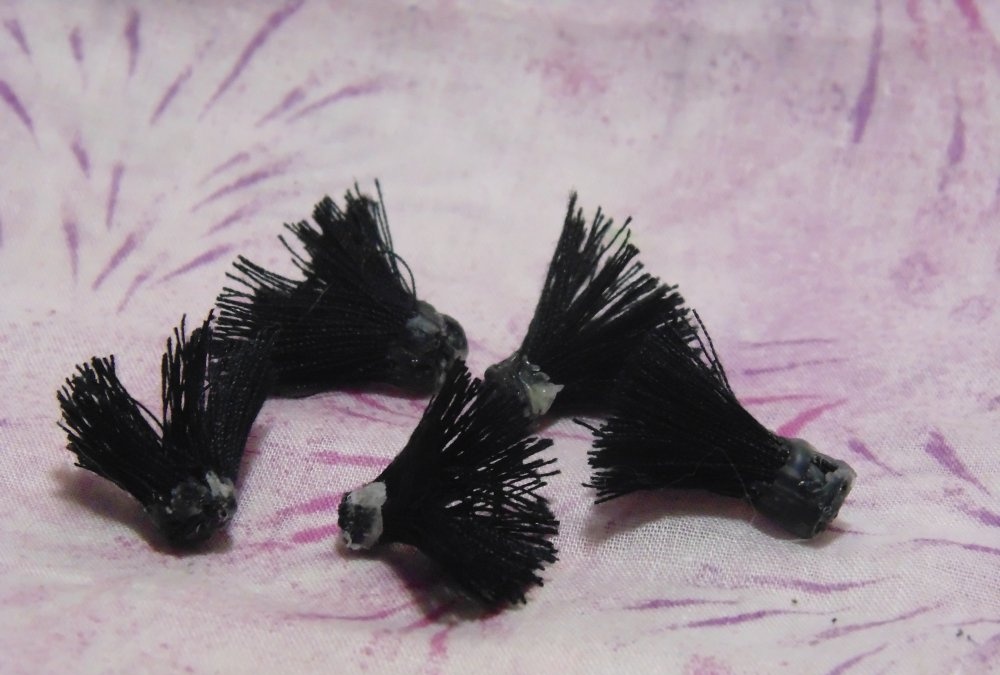
Then use scissors to cut each strip of glue in half. Immediately you need to additionally treat the sections with glue so that the threads do not jump out. We equalize the height of the resulting stamens and straighten them.

And we attach them well to the center of each cornflower. We distribute it so that there is no empty space.

To complete the flower, all that remains is to paint it with white paint and walk a little along the upper edges of the stamens.Let it dry thoroughly, because different paints have their own drying time.
Well, the time has come to assemble the entire composition on the prepared base. Additionally, we will prepare 8 bunches of ready-made stamens for flowers. Each workpiece contains 5 threads, folded in half and glued at the bottom.

We will attach these bunches to daisies, placing them from the center on the same line. Just turn it in different directions and glue it onto the felt.

Now we attach all the finished flowers to the headband. First we glue the cornflower strictly in the middle of the base. We place a chamomile on both sides of it. We place the stamens to the sides of the cornflower.

Then we simply follow the order of the blanks and glue them, alternating flowers. Finishing the composition with cornflowers.

Don't forget about the other side of the work. We cut out 9 more green blanks and use them to cover all the places where the flowers join the rim. If there is a ribbon that says handmade, you can attach that as well.

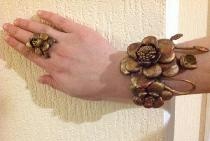
Now the work is completed. A beautiful headband with wildflowers is ready.

Good luck to all!

And for this you will need the following materials and tools:
- - iron rim.
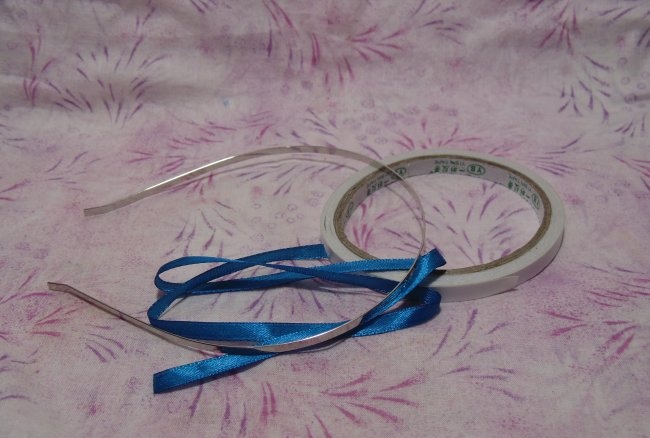
- - double-sided thin tape.
- - blue thin ribbon for the headband.
- - scissors.
- - lighter.
- - soldering iron with a fine tip.
- - a small piece of glass or tile.
- - two circles from a tin can with a diameter of 4.5 cm.
- - 5 cm ribbon in white, yellow and blue (synthetic fabric can be used).
- - iron ruler.
- - glue gun.
- - cotton ear buds.
- - green felt.
- - blue stamens for flowers.
- - regular black thread.
- - a little bit of any white paint.
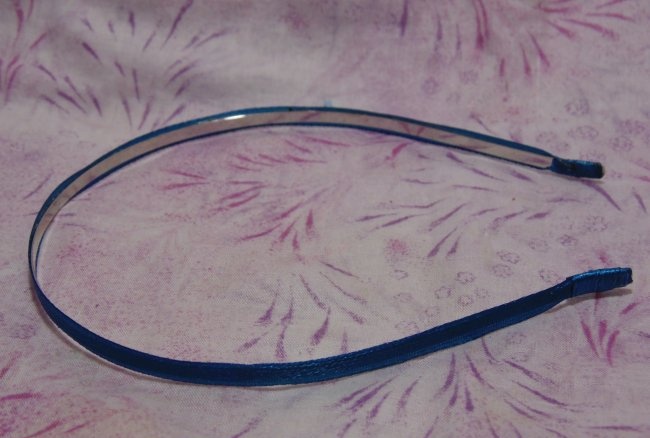
We've got everything ready and let's get to work. Let's start with the rim. Since glue does not adhere well to metal, we will use double-sided tape.

We glue a strip of tape to the top side and along the entire length of the rim. If it goes beyond the edges, it should be cut strictly according to the width of our base. Then you need to attach a thin ribbon on top of the tape. At the very beginning of the rim, we glue several turns of tape, going to the top and bottom sides of the base. So that when using the product there is no pressure behind the ears.And then we attach the tape only on top of the tape, lifting the protective film.
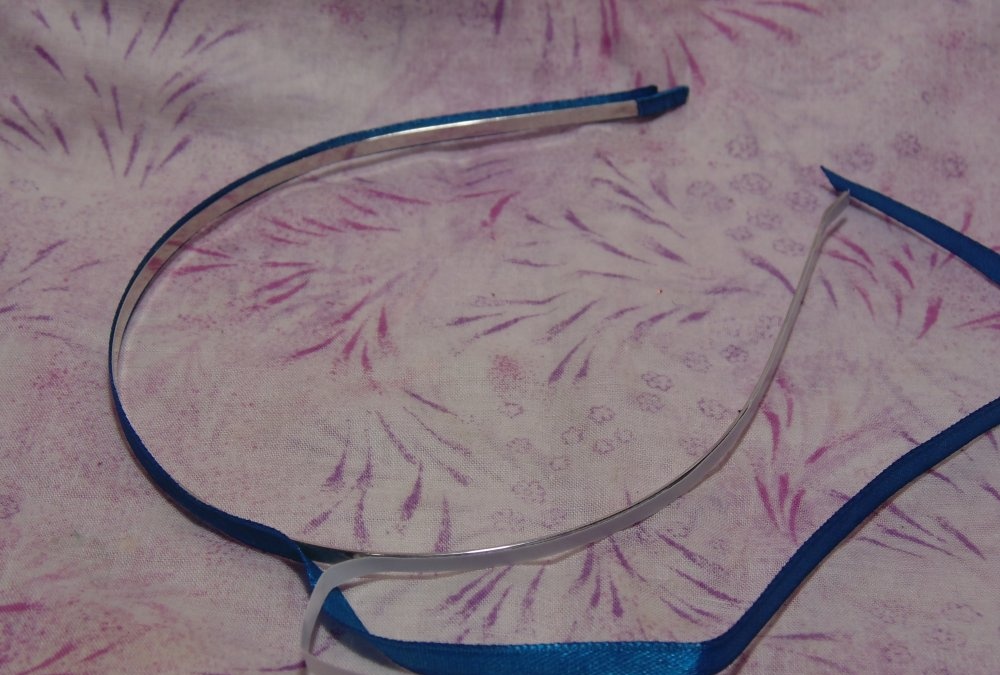
And we finish processing the rim with curls on the second edge of the base.

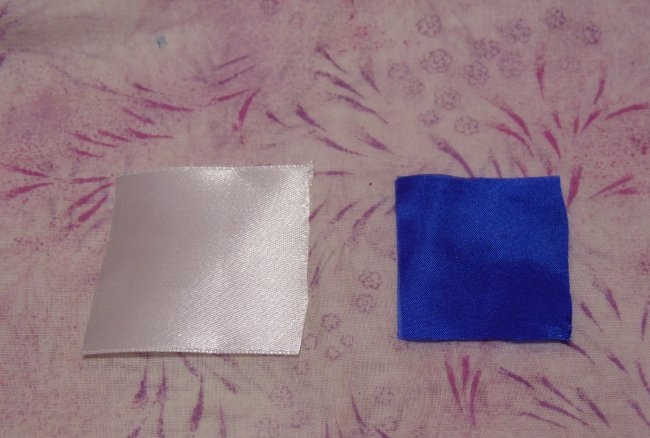
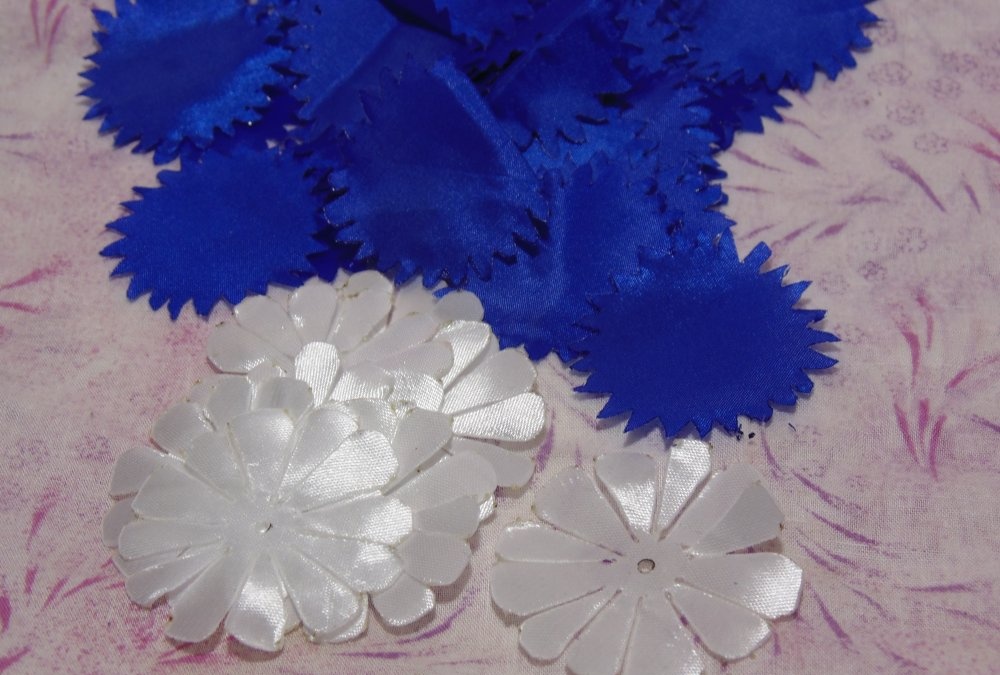
Now we can move on to the colors. We will make it from ribbons or synthetic fabric of the desired color. The composition itself will contain 5 cornflowers and 4 daisies. And for this we cut 16 white squares, and there will be 40 blue ones. All measure 4.5 cm.

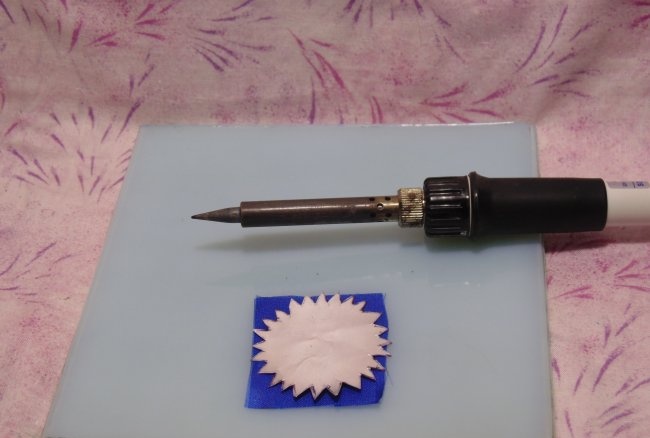
And we will cut it with a heated soldering iron on the prepared surface. We use two tin templates. One circle should be modified by making teeth along the entire edge.
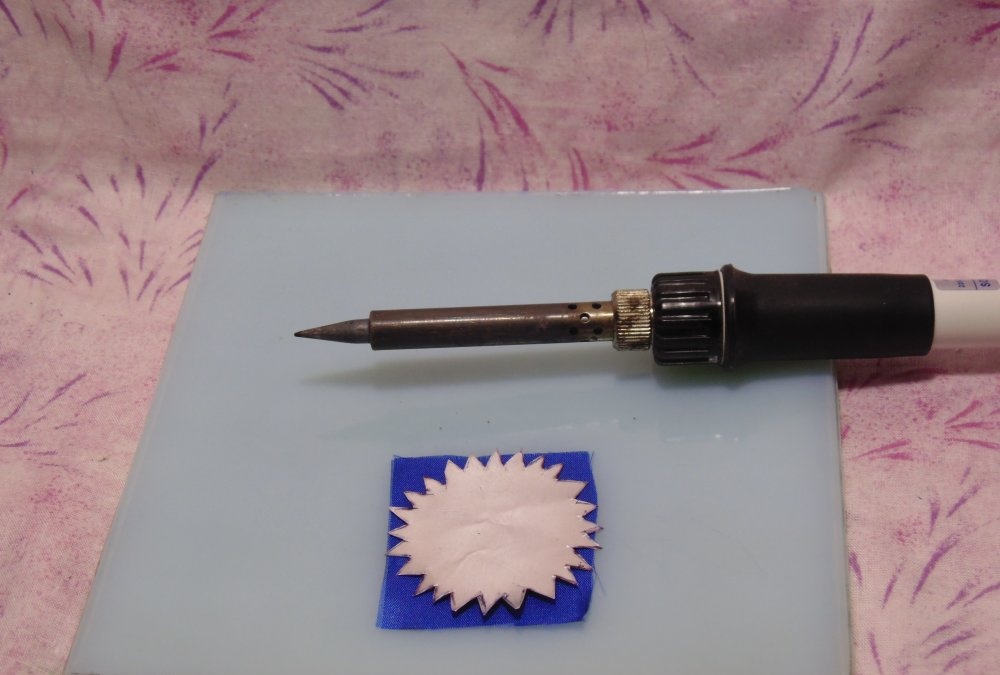
Using the template, cut out curly blue petals. And the white circle needs additional processing. First we put a point in the center. Next, using a ruler and a soldering iron, we first divide the circle into 4 equal parts, then we further divide each quarter into 3 petals with two lines. Just don’t forget to leave an untouched circle of 1 cm in diameter in the middle of the workpiece. It turns out a chamomile with 12 petals. All that remains is to carefully round off the sharp corners of each petal using a lighter.
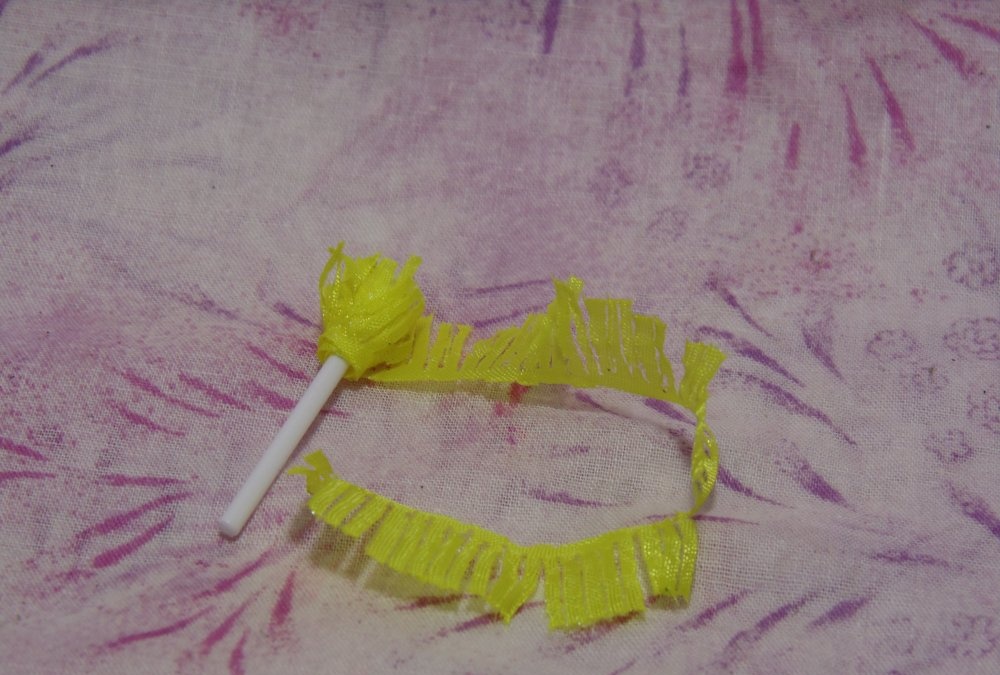
You can now move on to assembling the daisies. Only additionally you need to make blanks for the centers. We cut out strips 18 cm long and 1 cm high from yellow ribbon or fabric. We make small fringes on them. We will also need 4 circles of felt with a diameter of about 2 cm. And for the base of the centers we will use the trimmed half of an ear stick.

Naturally, we’ll start gluing the middle of the chamomile first. First, we seal the cotton wool with fringe, and then we place the remaining strip around the stick at the same level. We apply glue only to the lower edge of the fringe blank.
Then we straighten the middle and alternately glue two petal circles from below, threading them through the intended center.

And when the glue is well fixed, we cut the stick at the level of the last petals. And on top of the cut we attach a green felt circle.

We do all 4 daisies in the same way.

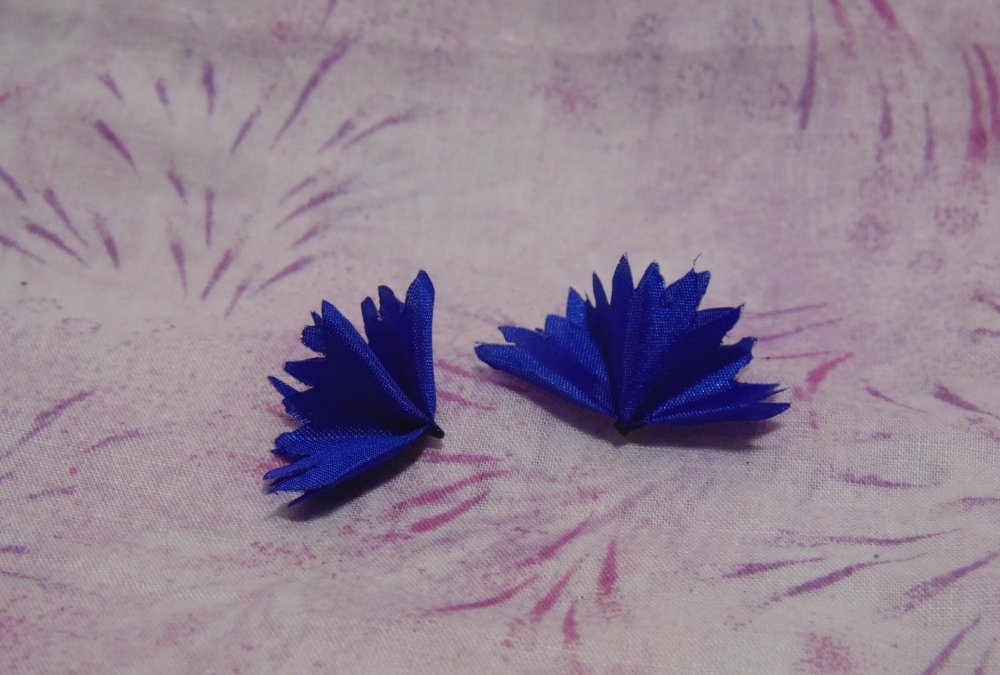
Now let's move on to cornflowers. For one flower you will need 8 blue petal circles, a piece of felt with a diameter of 2 cm, and a spool of thread.

First, let's process the prepared circles. Fold the workpiece in half horizontally, holding the fold upward. Then we fold it in half again, but tilt it to the side. Then we hold the workpiece by the folded middle and fold the resulting two folds in half again. We lower the corners down separately, only in different directions, we get a common folded triangle. We use a lighter to secure the middle so that the assembly does not open completely. We make 8 petals.
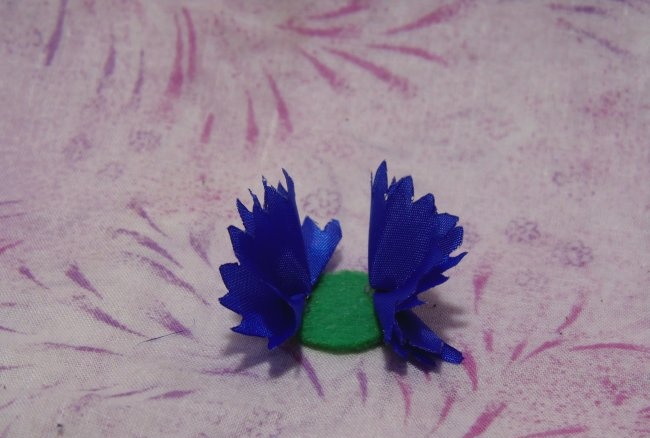
Now we will attach them to the green circle. First we glue in opposite directions. Top, bottom, opposite sides.
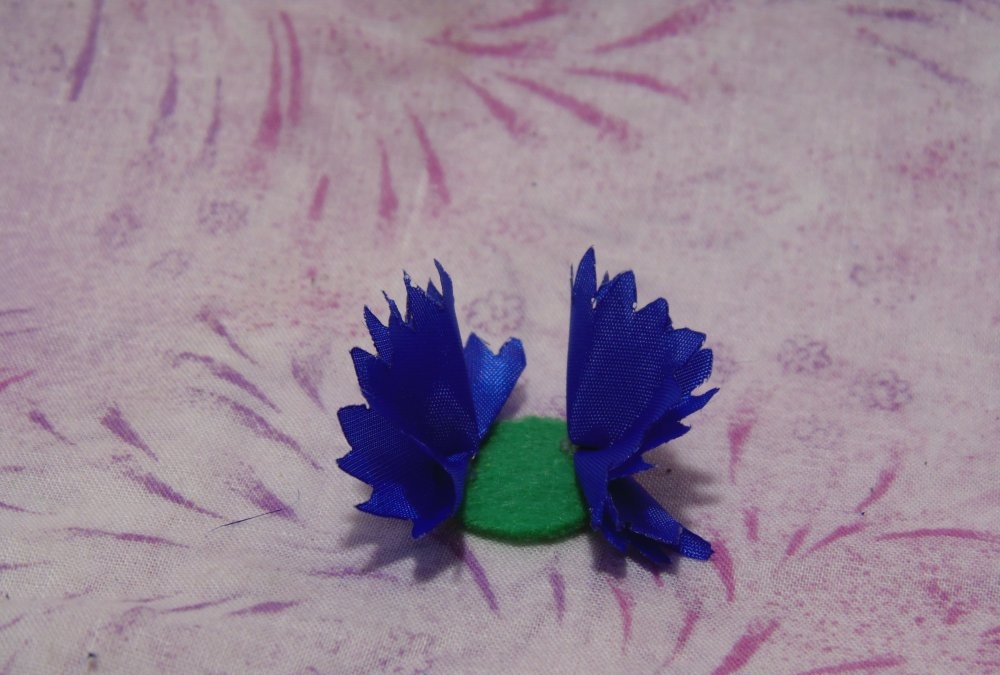
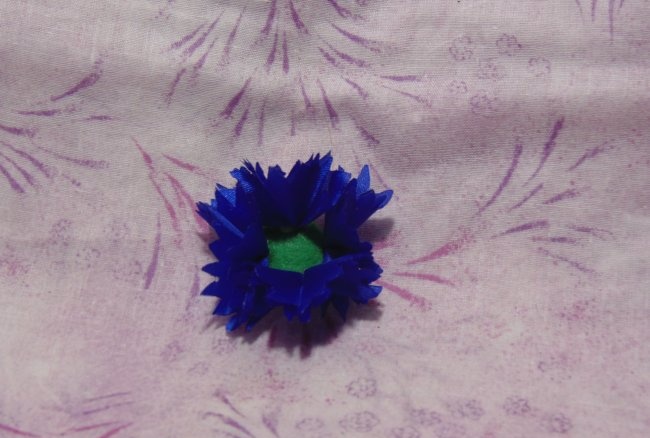
Only 4 blanks turned out to be used. And the rest need to be placed one at a time between the first ones attached.

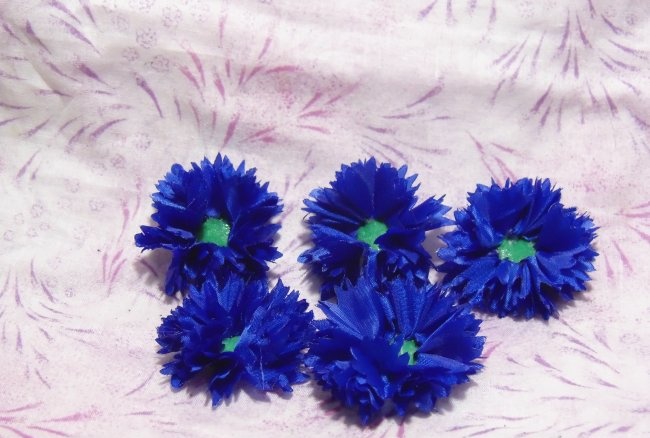
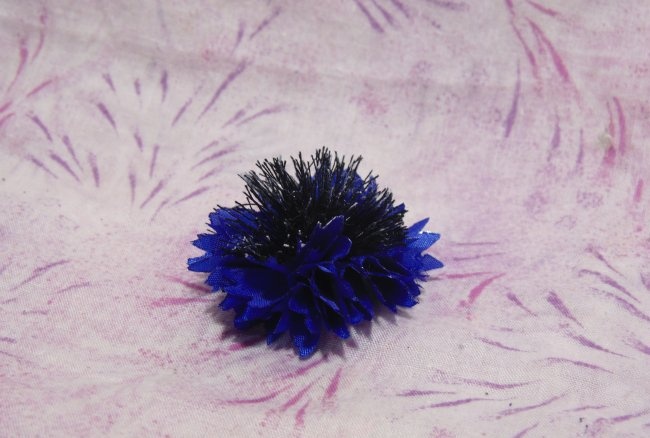
We collect all 5 cornflowers, the center of the flower remains free for now.

Now we need stamens, which we will make from black threads. We wind threads around 4 fingers of our hand, about a hundred turns. Then mentally divide the folded threads into 3 parts. And we glue it in two places, giving time for the glue to set.
Then use scissors to cut each strip of glue in half. Immediately you need to additionally treat the sections with glue so that the threads do not jump out. We equalize the height of the resulting stamens and straighten them.
And we attach them well to the center of each cornflower. We distribute it so that there is no empty space.

To complete the flower, all that remains is to paint it with white paint and walk a little along the upper edges of the stamens.Let it dry thoroughly, because different paints have their own drying time.

Well, the time has come to assemble the entire composition on the prepared base. Additionally, we will prepare 8 bunches of ready-made stamens for flowers. Each workpiece contains 5 threads, folded in half and glued at the bottom.

We will attach these bunches to daisies, placing them from the center on the same line. Just turn it in different directions and glue it onto the felt.
Now we attach all the finished flowers to the headband. First we glue the cornflower strictly in the middle of the base. We place a chamomile on both sides of it. We place the stamens to the sides of the cornflower.
Then we simply follow the order of the blanks and glue them, alternating flowers. Finishing the composition with cornflowers.
Don't forget about the other side of the work. We cut out 9 more green blanks and use them to cover all the places where the flowers join the rim. If there is a ribbon that says handmade, you can attach that as well.

Now the work is completed. A beautiful headband with wildflowers is ready.

Good luck to all!
Similar master classes
Particularly interesting
Comments (1)
