Picture from ordinary napkins
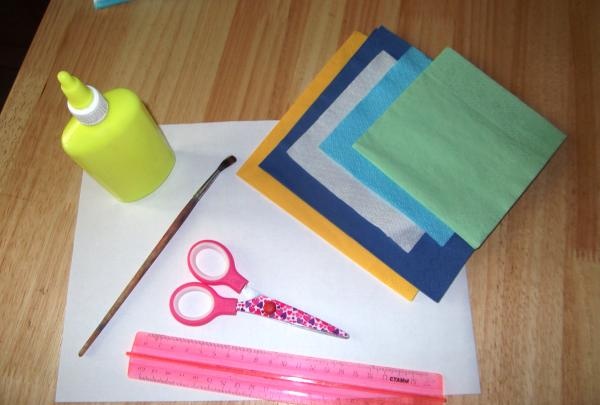
Trimming is a fascinating form of creativity. An original work is created from ordinary paper napkins, which looks very impressive in the interior. Trimming requires the simplest materials that can be found in any home. To work, you will need napkins of different colors, a landscape sheet, PVA glue, an unsharpened pencil (a brush or a pen without a rod), scissors, and a ruler. And a lot of patience.
Trimming is a painstaking job that requires a lot of patience, but it is not at all difficult. You can safely involve the kids in the work, because these are excellent exercises for developing fine motor skills, accuracy and attention.
Draw a sketch of the future work on a landscape sheet.
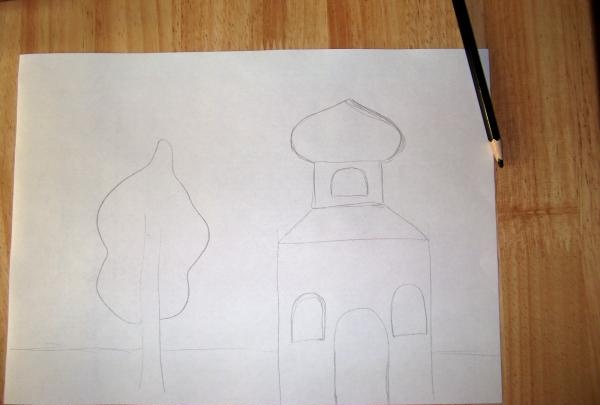
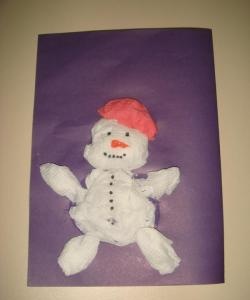
If there are any flaws, you don’t have to erase them, because the base will not be visible in the finished work. The drawing must contain large details, because small ones cannot be laid out by trimming. Paintings using this technique are perfect for decorating a child’s room, and you can use pictures from children’s coloring books as a basis. If you plan to insert the work into a finished frame, then it is better to do this immediately after the sketch is drawn. In this case, the napkins will not crumple, because the finished work is quite delicate.
First you need to prepare napkins. They must be cut into squares with a side of 2 cm.
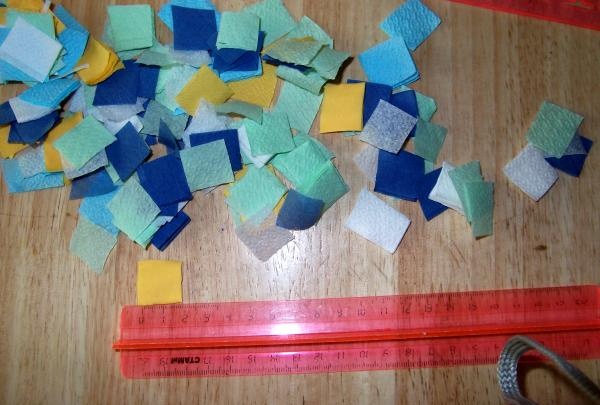
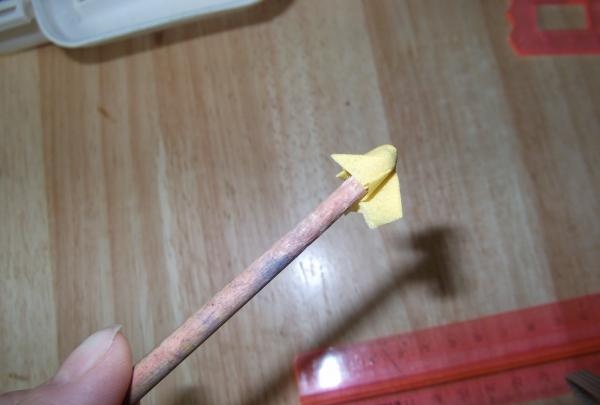
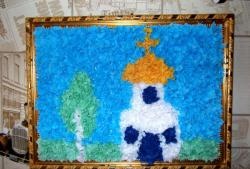
You don't need to cut a lot of napkins to get the job done. This A4 painting required 3 white, 4 green, 6 blue and one napkin each in blue and yellow. For ease of storage and use, you can put all the squares in a small box. This way they won’t get wrinkled and won’t fly around the room like moths. Place 2 squares of the same color together. Place a sharpened pencil or pen without a rod in the center of the square and lightly wrap a napkin around its tip, like a little bag.
Apply PVA glue to a small area of the painting and apply the “bags” to the glue. The next piece of napkin is glued as close as possible, and so on until the end of the work. The tighter the napkin squares are glued, the more beautiful the picture turns out.
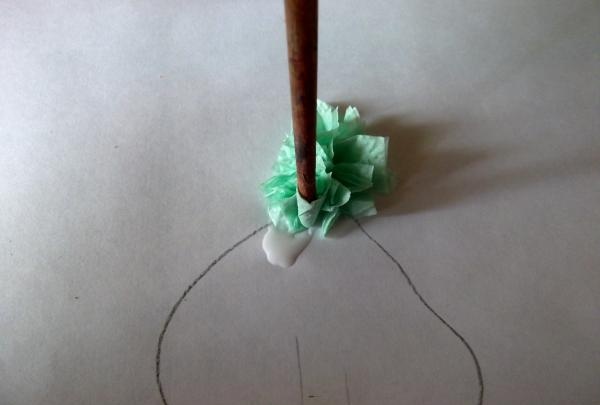
Do not immediately apply glue to a large area - it may dry out and will have to be applied again. It is better to start work from the upper left corner, so that contact with the pasted area is minimal. When the painting is finished, it is worth examining it carefully. In some places there may be gaps into which you can paste bags of napkins. The glue is applied directly to the tip of the bag.
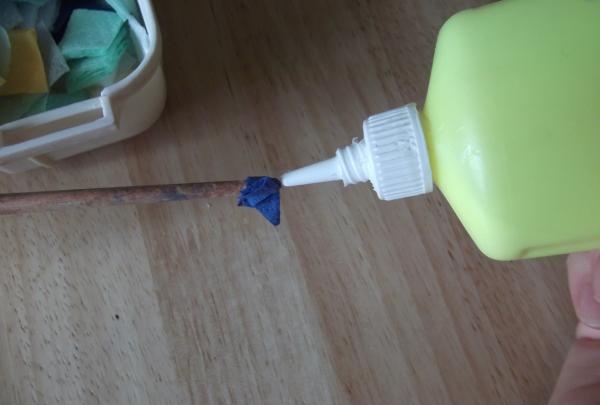
This way, the painting will not be stained with glue, and its consumption will be small.
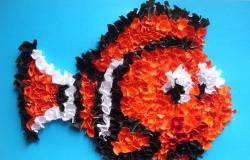
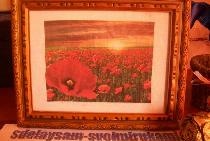
If the napkins are glued unevenly, it can be easily corrected using sharp scissors, cutting off the protruding corners. The painting, made using the cutting technique, looks three-dimensional and very unusual. Delicate colors and airy lightness of the napkins give the work mystery and weightlessness.

Such work can become not only an interior decoration, but also a wonderful gift for family and friends for any occasion.
Trimming is a painstaking job that requires a lot of patience, but it is not at all difficult. You can safely involve the kids in the work, because these are excellent exercises for developing fine motor skills, accuracy and attention.
Draw a sketch of the future work on a landscape sheet.
If there are any flaws, you don’t have to erase them, because the base will not be visible in the finished work. The drawing must contain large details, because small ones cannot be laid out by trimming. Paintings using this technique are perfect for decorating a child’s room, and you can use pictures from children’s coloring books as a basis. If you plan to insert the work into a finished frame, then it is better to do this immediately after the sketch is drawn. In this case, the napkins will not crumple, because the finished work is quite delicate.
First you need to prepare napkins. They must be cut into squares with a side of 2 cm.
You don't need to cut a lot of napkins to get the job done. This A4 painting required 3 white, 4 green, 6 blue and one napkin each in blue and yellow. For ease of storage and use, you can put all the squares in a small box. This way they won’t get wrinkled and won’t fly around the room like moths. Place 2 squares of the same color together. Place a sharpened pencil or pen without a rod in the center of the square and lightly wrap a napkin around its tip, like a little bag.
Apply PVA glue to a small area of the painting and apply the “bags” to the glue. The next piece of napkin is glued as close as possible, and so on until the end of the work. The tighter the napkin squares are glued, the more beautiful the picture turns out.
Do not immediately apply glue to a large area - it may dry out and will have to be applied again. It is better to start work from the upper left corner, so that contact with the pasted area is minimal. When the painting is finished, it is worth examining it carefully. In some places there may be gaps into which you can paste bags of napkins. The glue is applied directly to the tip of the bag.
This way, the painting will not be stained with glue, and its consumption will be small.
If the napkins are glued unevenly, it can be easily corrected using sharp scissors, cutting off the protruding corners. The painting, made using the cutting technique, looks three-dimensional and very unusual. Delicate colors and airy lightness of the napkins give the work mystery and weightlessness.
Such work can become not only an interior decoration, but also a wonderful gift for family and friends for any occasion.
Similar master classes


Particularly interesting
Comments (0)
