How to make a modern LED chandelier from PVC pipe
The more elaborate and modern a chandelier looks, the more expensive it is. Designer lighting fixtures sometimes cost tens or hundreds of times more than the actual price of the material spent on their production. Therefore, if you have free time and desire, then you can make a chandelier no worse than a store-bought one for relatively little money.
Materials:
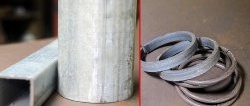
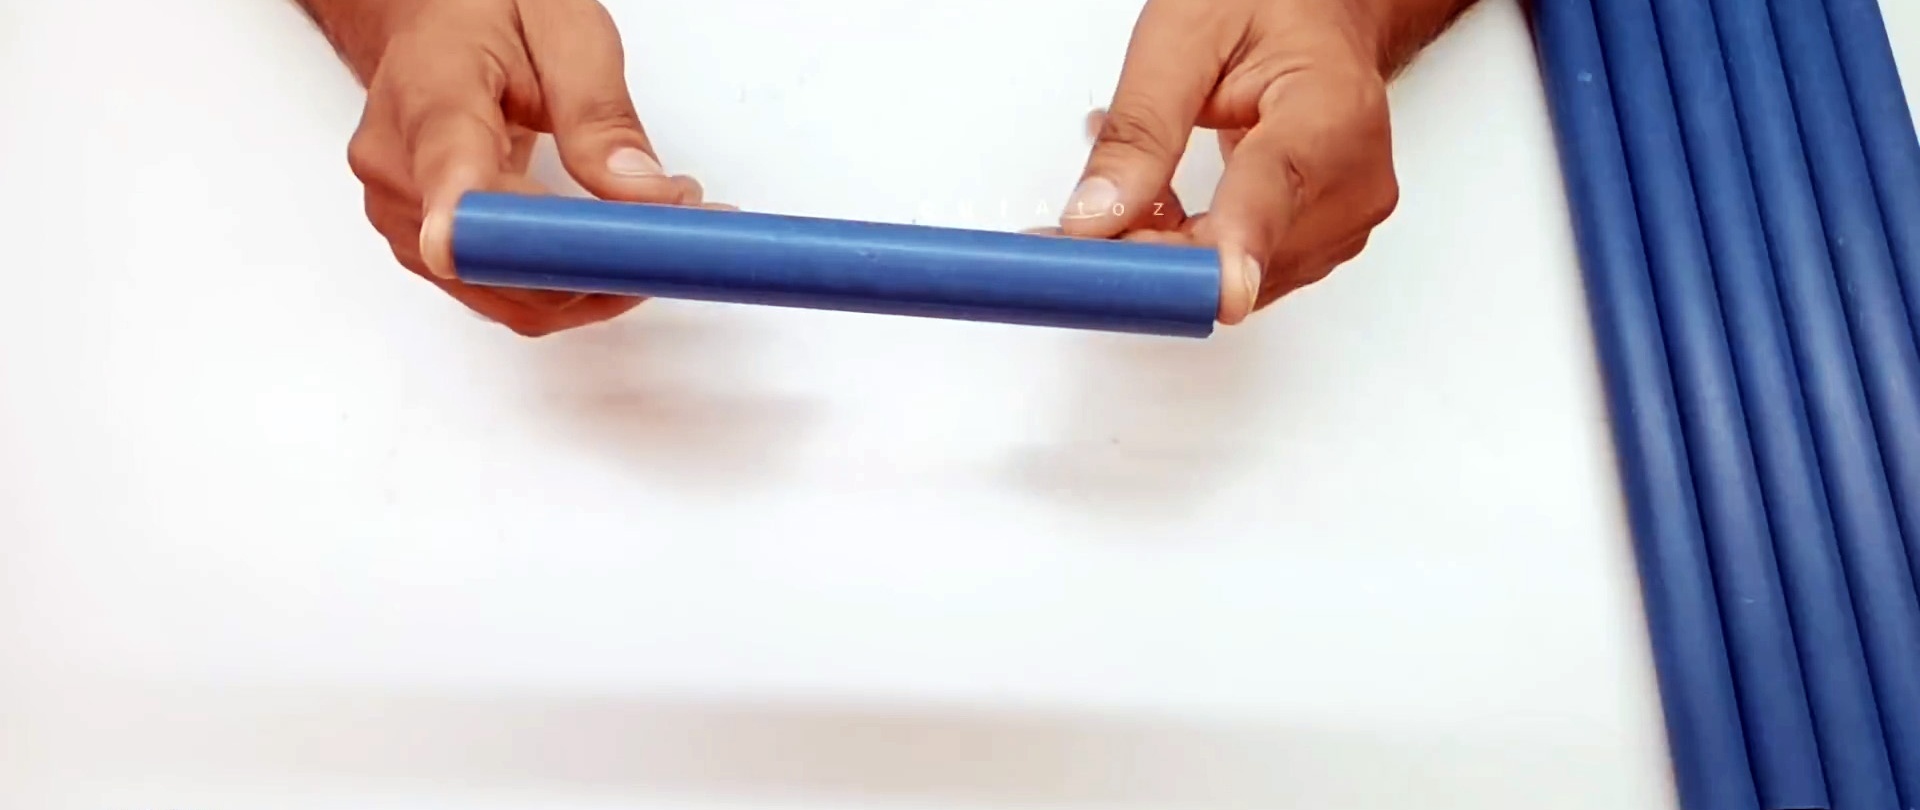
- PVC pipes 100 mm, 60 mm, 19 mm or PP 110 and 50 mm, 20 mm;
- transparent matte sheet plastic;
- wires;
- LED Strip Light - http://alii.pub/66vxiq
- Super glue;
- LED driver - http://alii.pub/66vxko
- spray paint.
Chandelier making process
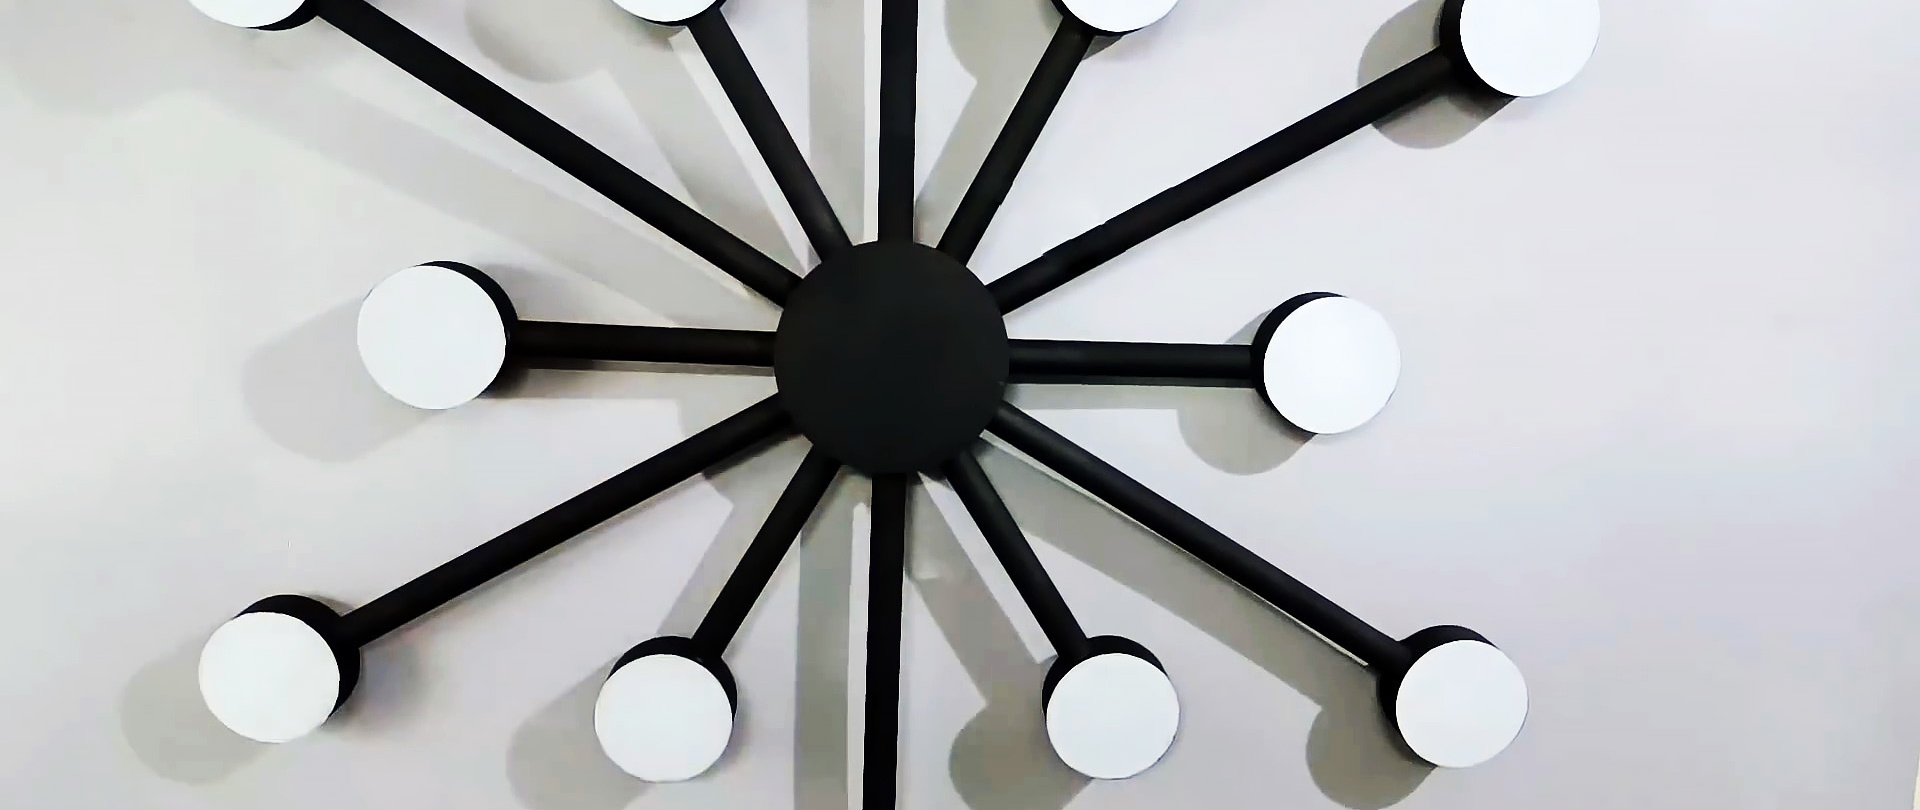
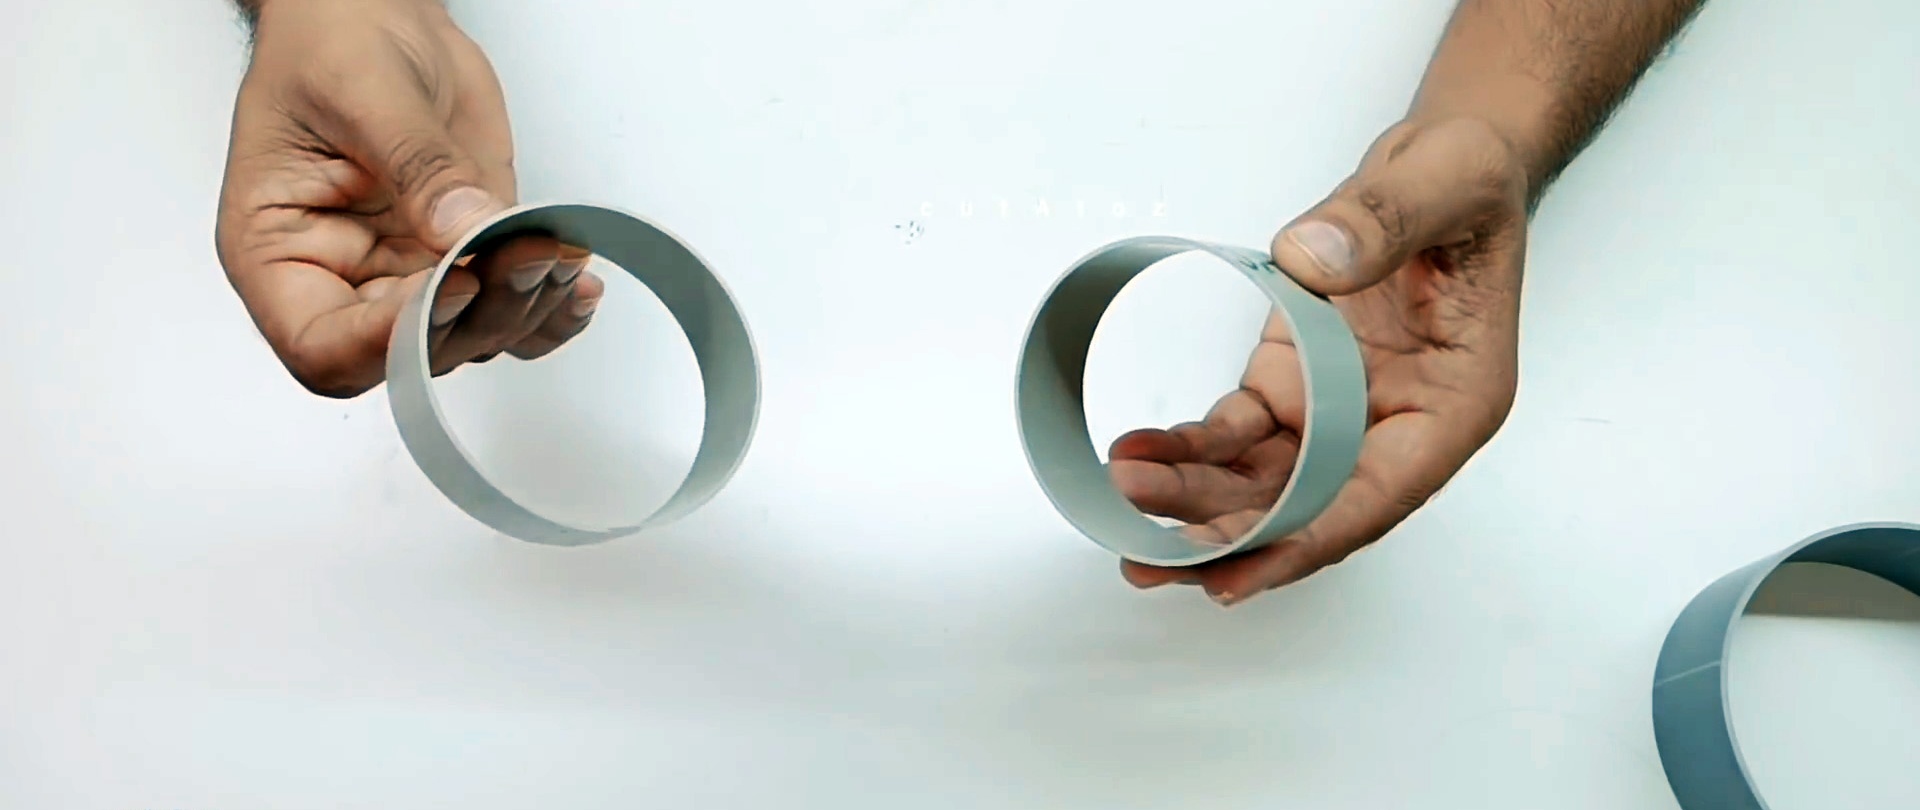
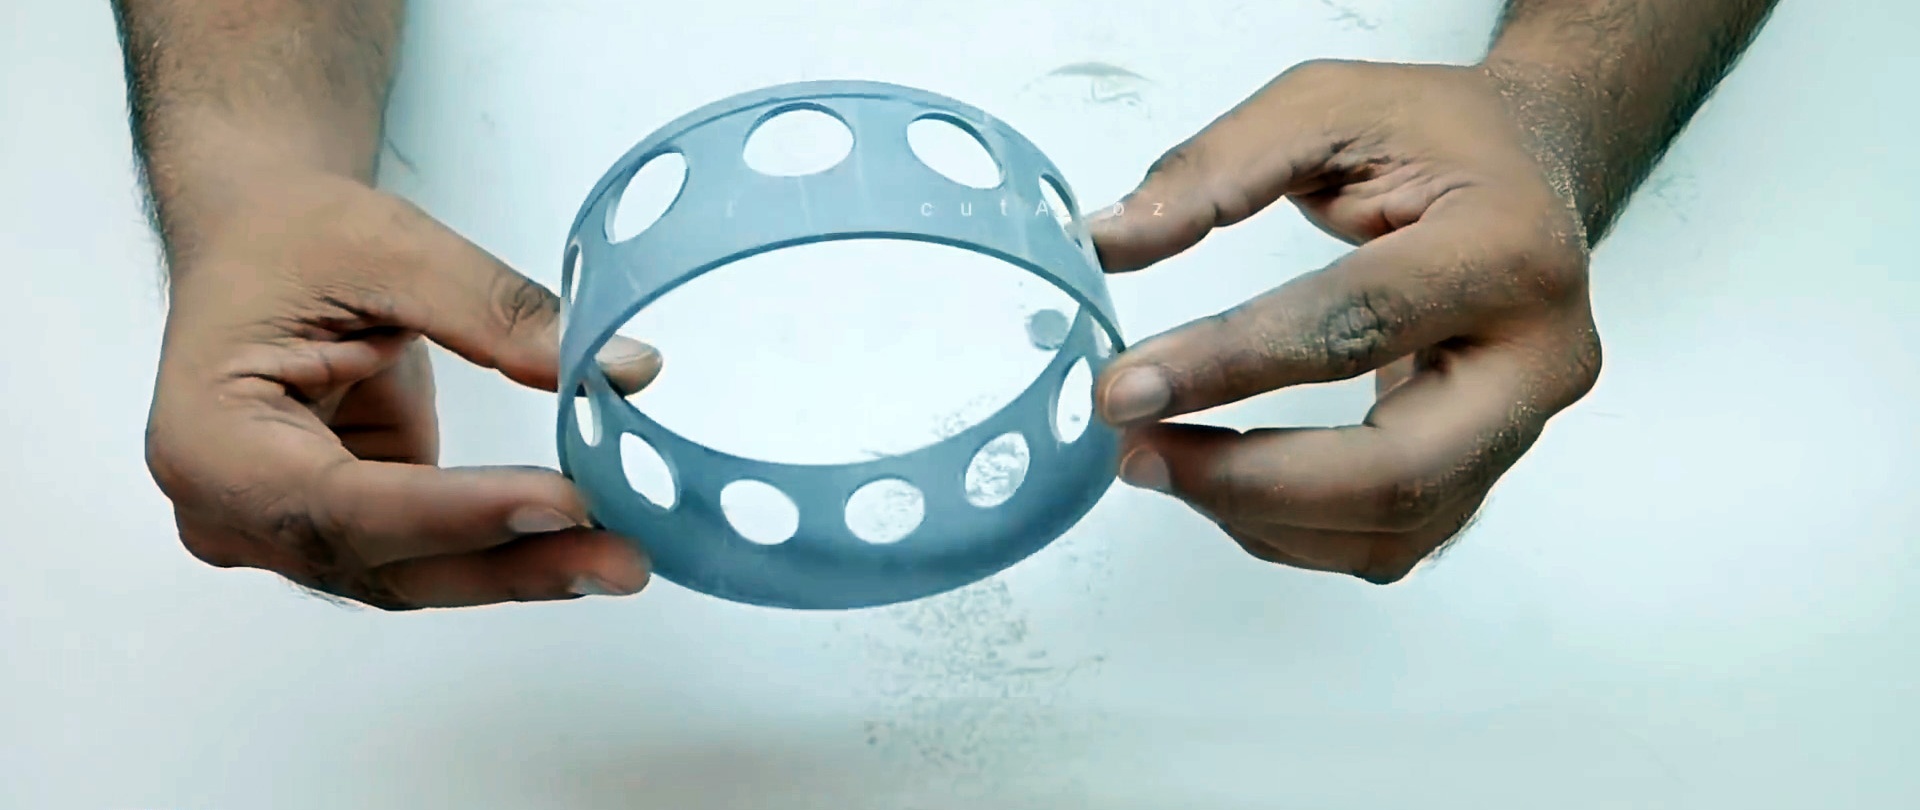
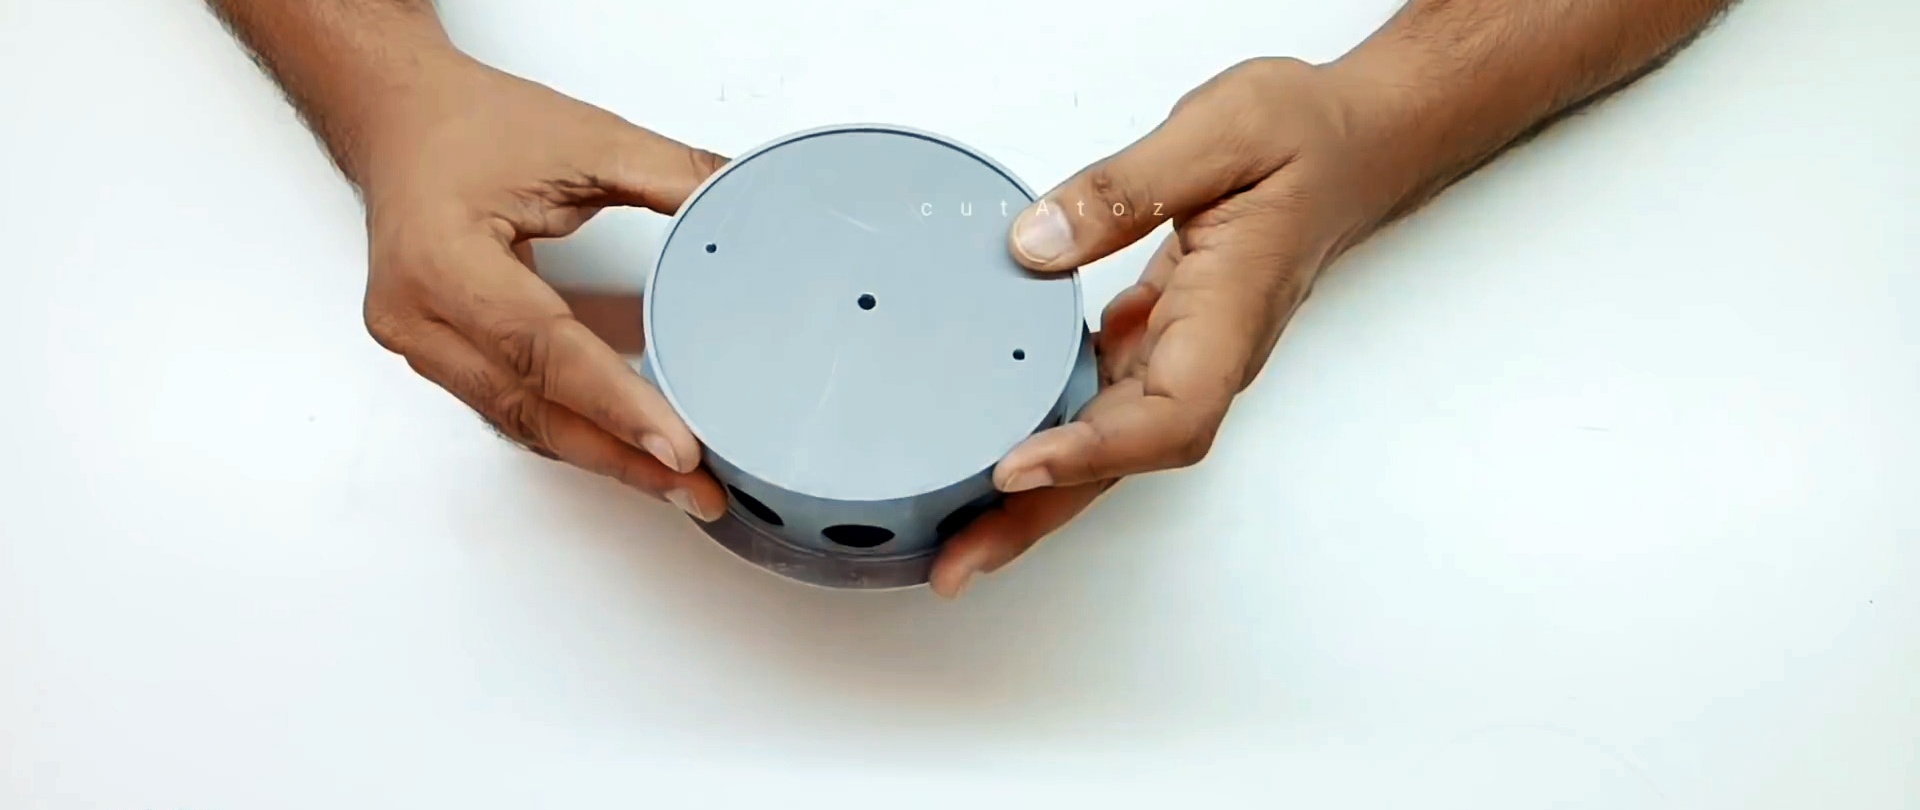
From a large pipe we cut a ring 38 mm wide for the base of the chandelier. After this, we cut 12 rings of 28 mm width from a 60 mm tube. It is important that the cuts are even.

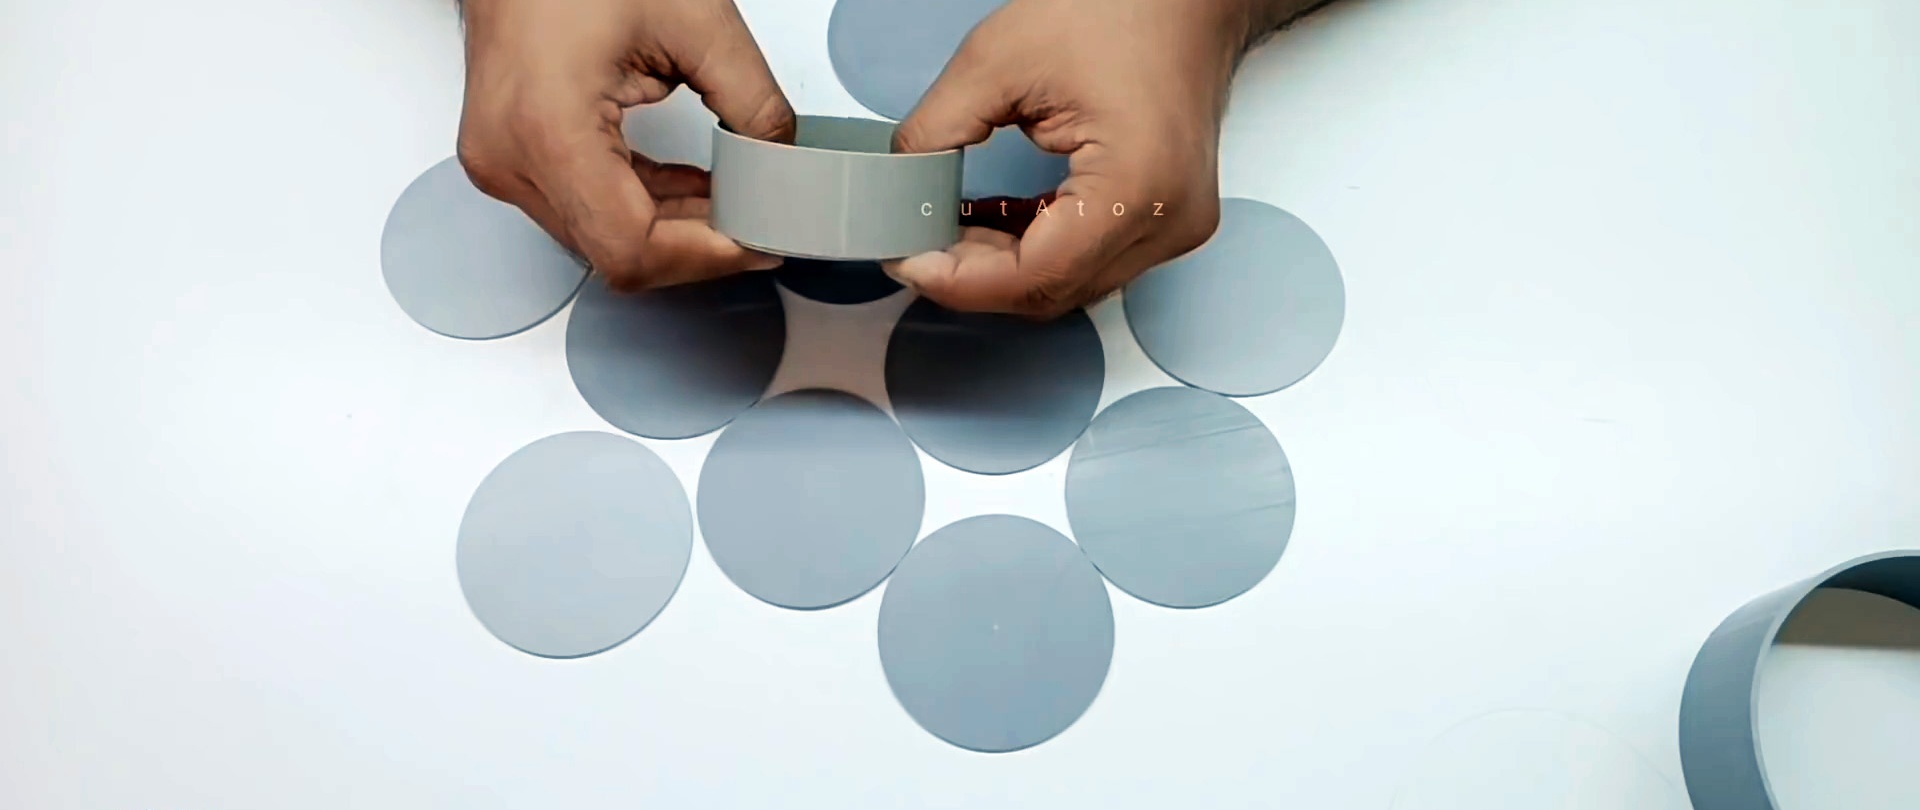
Plugs for 12 rings are cut out of sheet plastic.
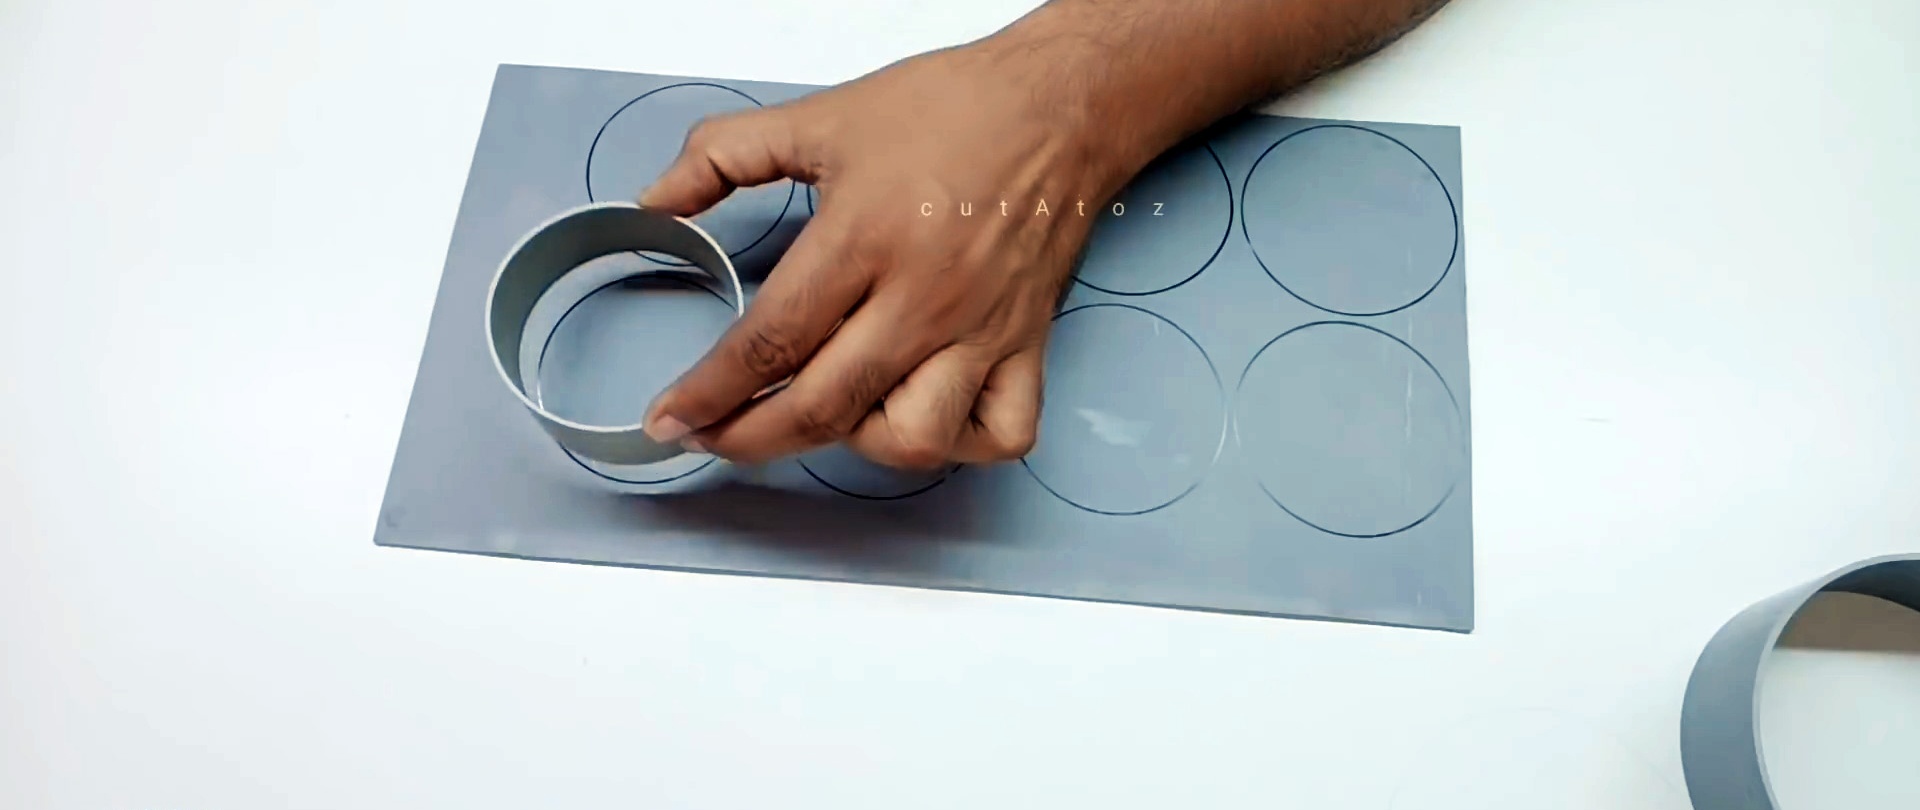
The latter can be done simply by heating and leveling an unnecessary section of a large pipe. You also need to cut out a plug for the large ring, and another round trim with a diameter of 125 mm.
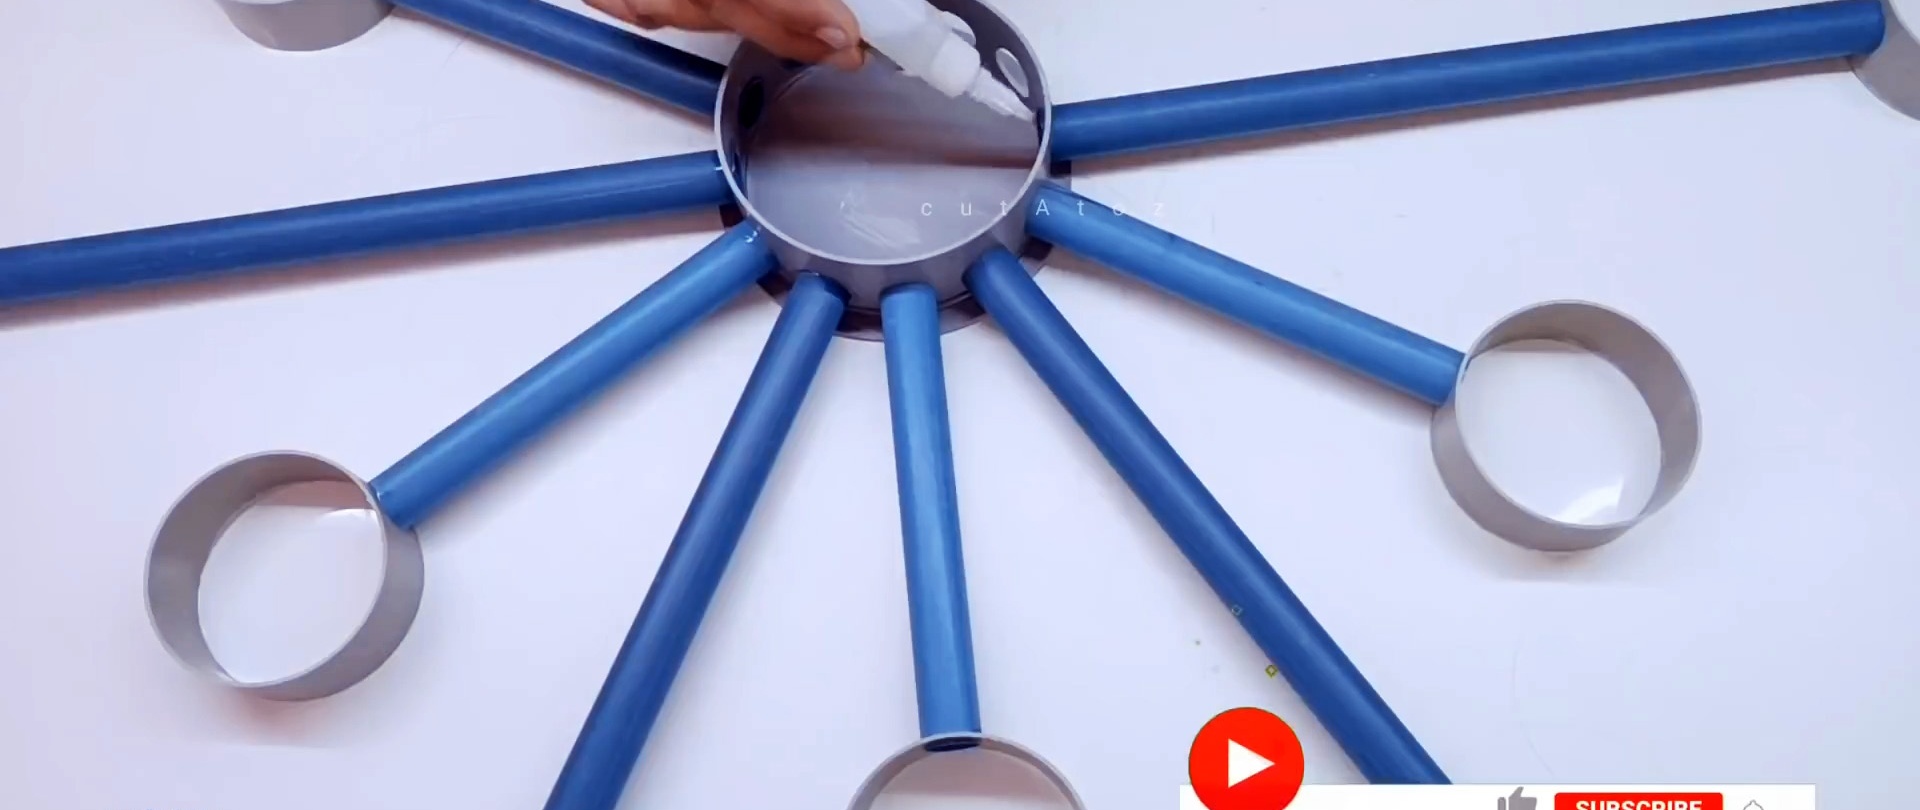
To make beams from a thin tube, we cut 6 blanks of 290 mm each and 6 of 150 mm each.It is important that they are smooth without bending.
Now you need to make markings for the mounting holes of the beams. To do this, prepare a template from a strip of paper. Marks are applied to it in alternating steps of 9 mm and 20 mm.
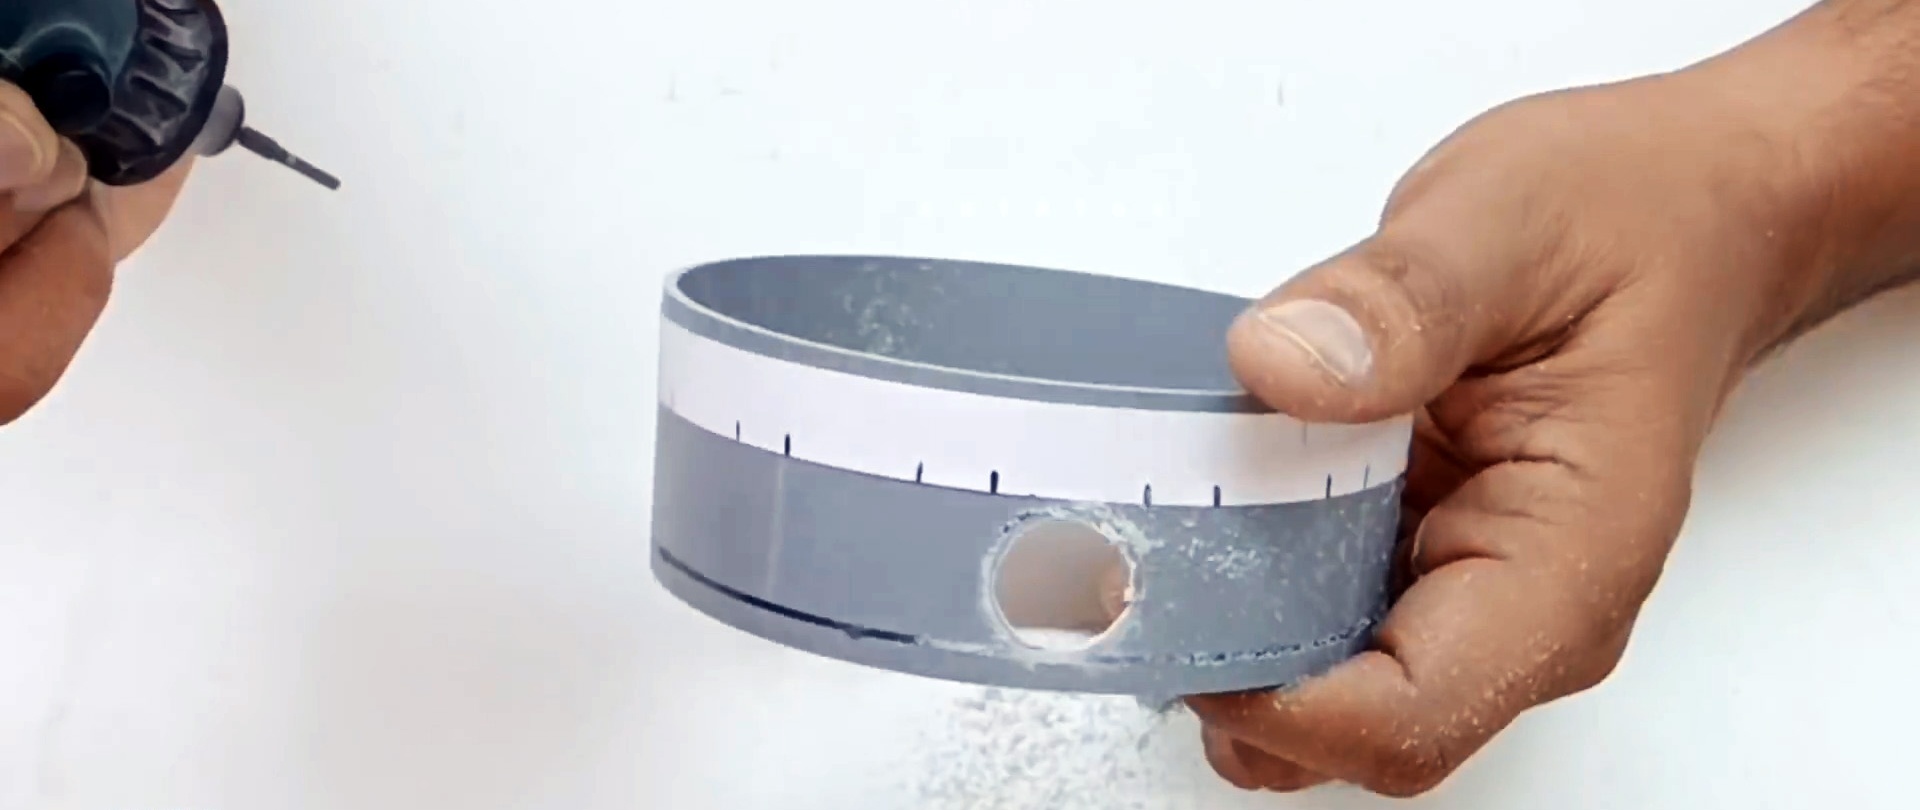
Glue the strip onto the large ring, then draw a circle on it 5 mm from the edge. We draw circles according to the marks, applying a short piece of 19 mm tube. You also need to circle one circle on each of the small rings.
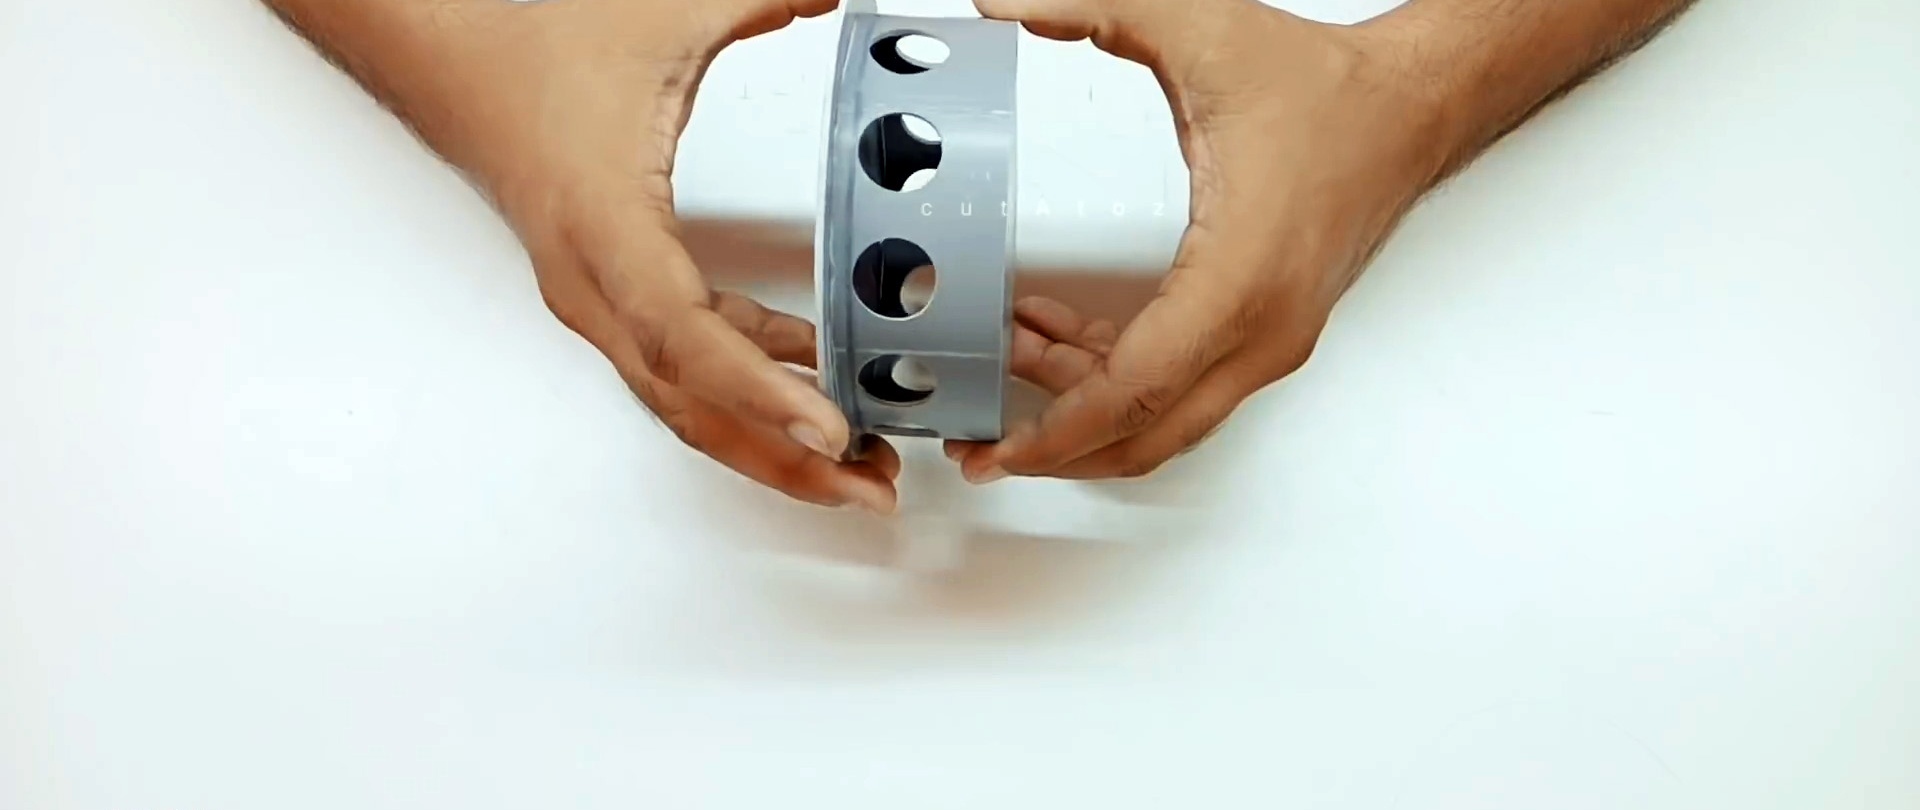
It is necessary to make holes for the rays along the drawn circles. It is most convenient to use a drill.
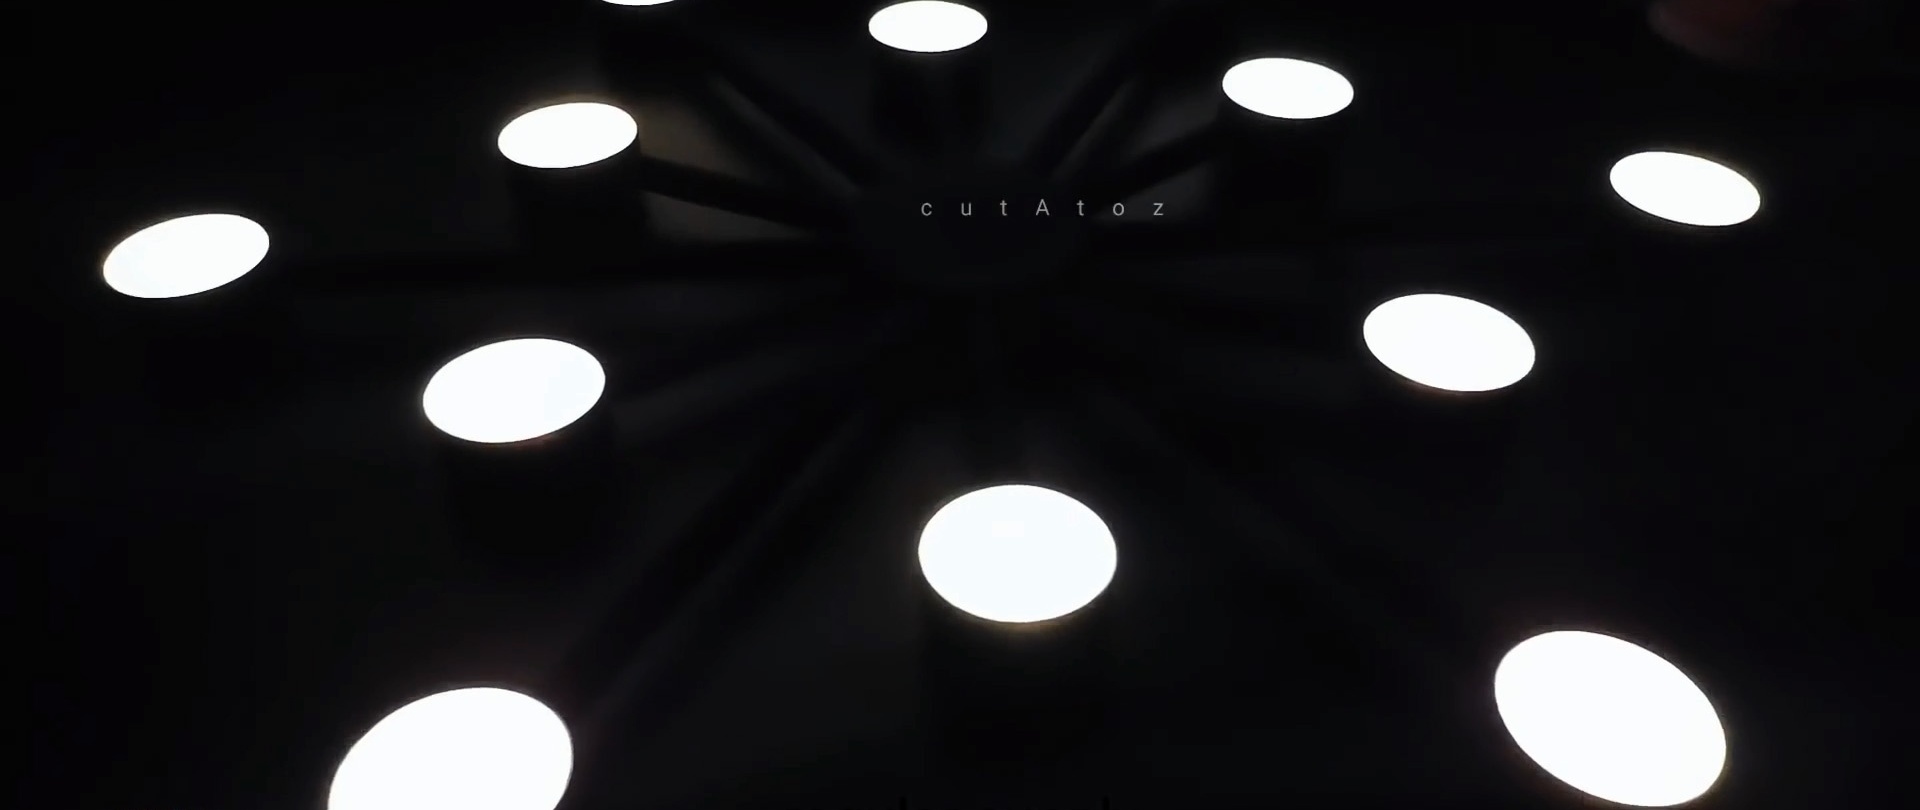
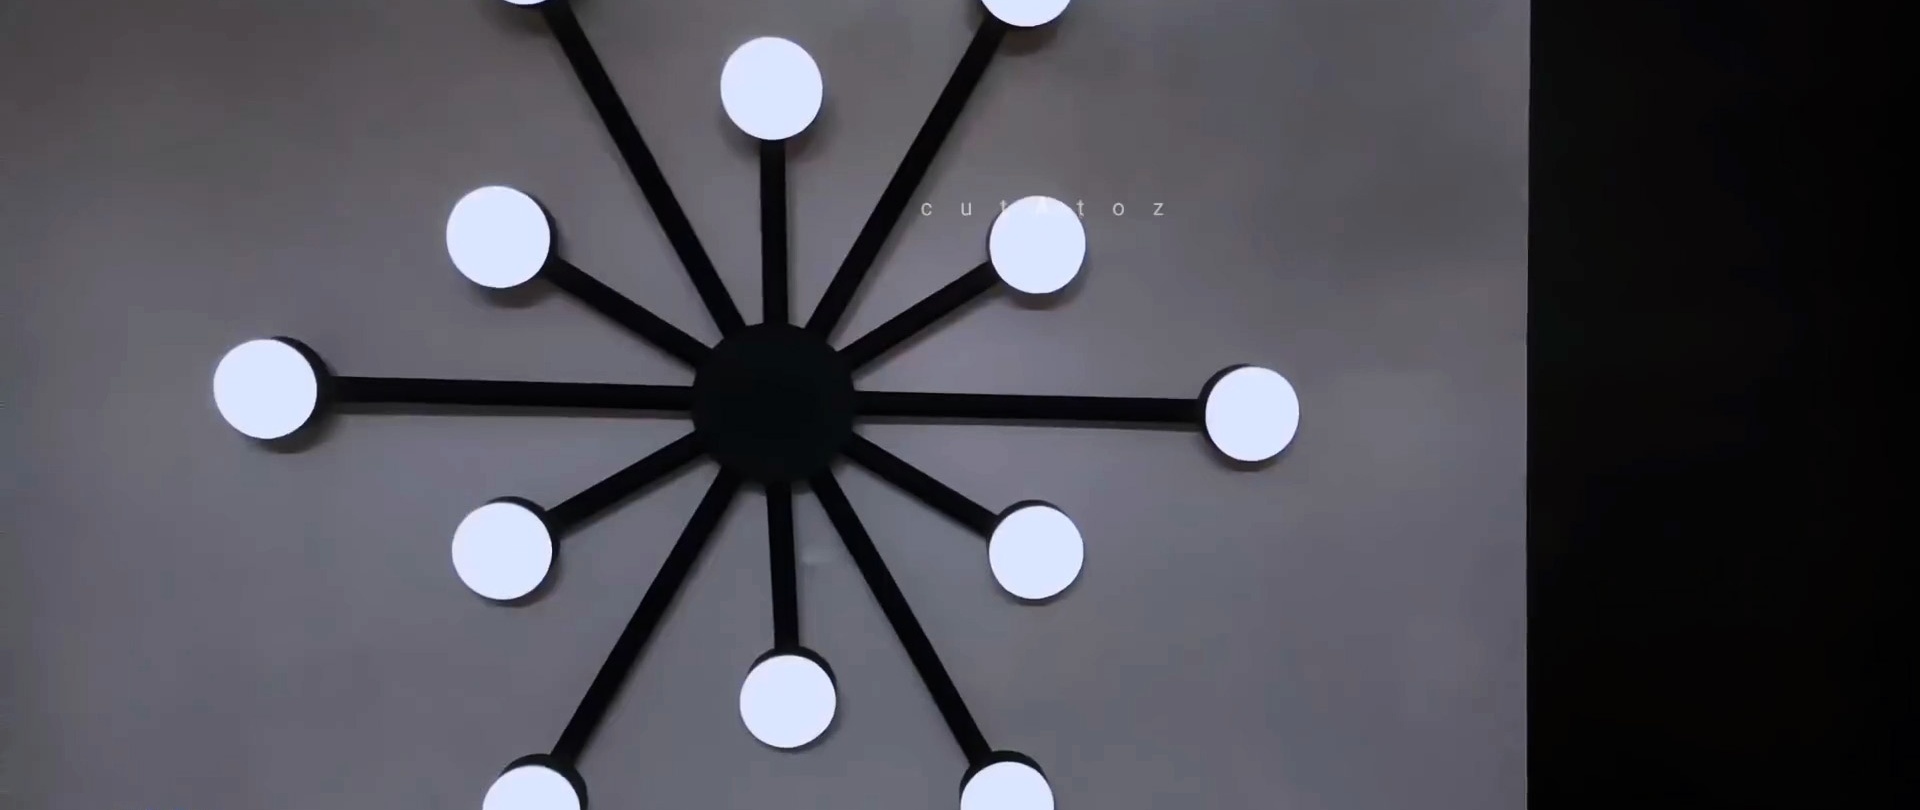
Glue a 125 mm disc onto a large ring. On the small ones we glue matte plastic, which will serve as a diffuser.

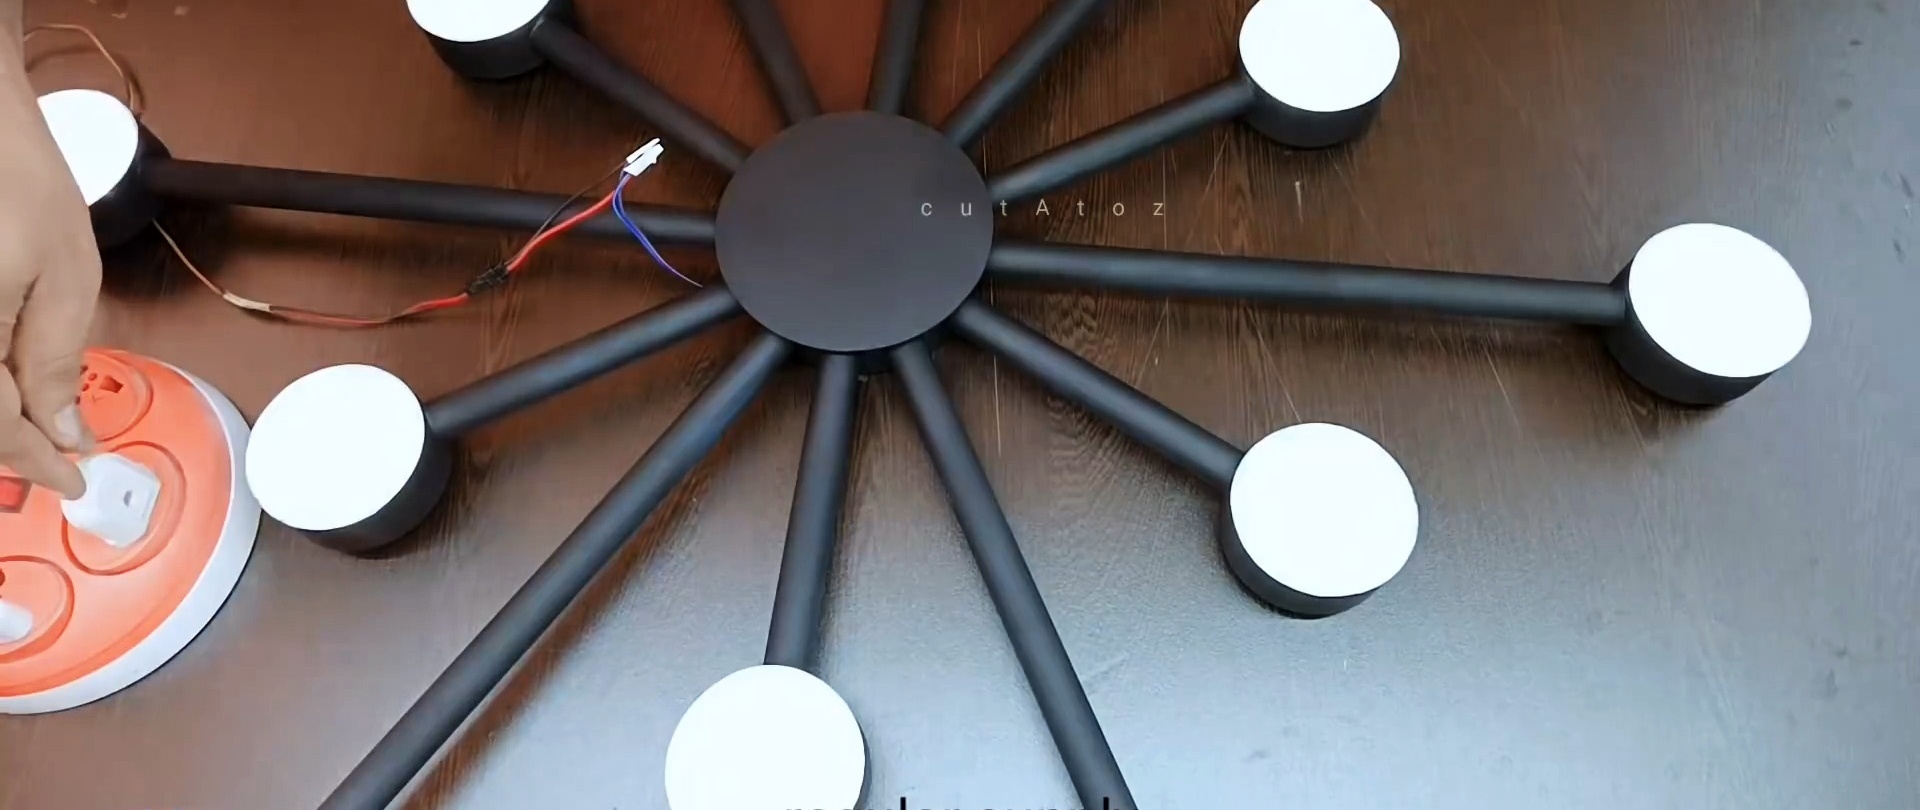
Now you need to glue the rays, alternating them along the length. It is important that the diffusers are located on the side of the glued trim on the central base of the chandelier.
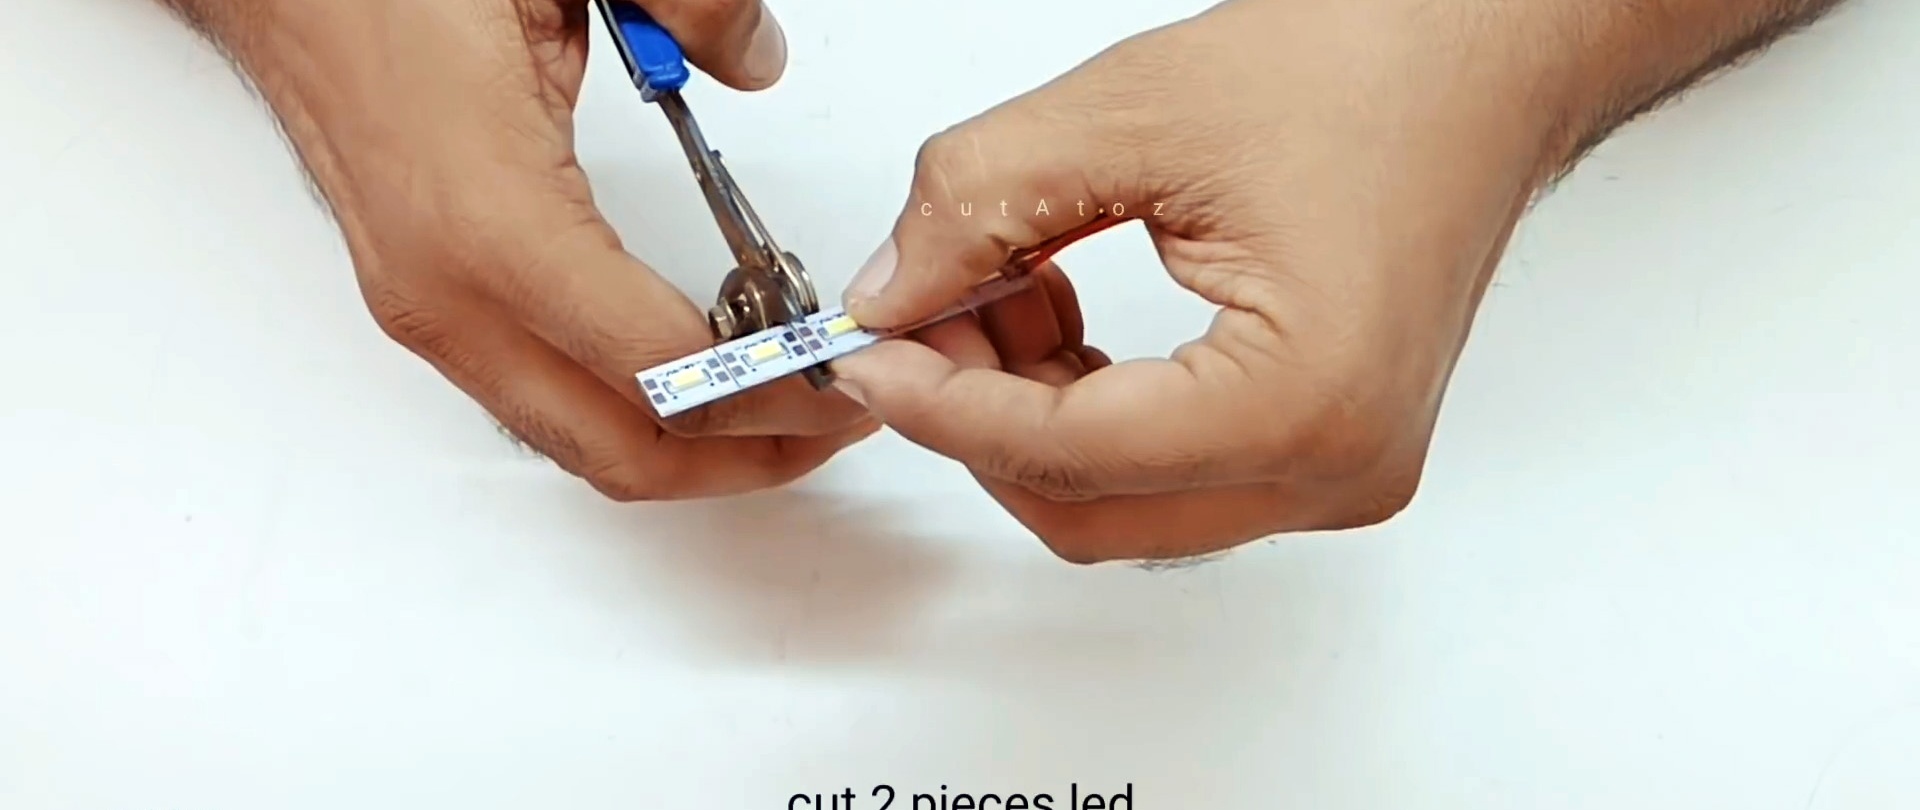
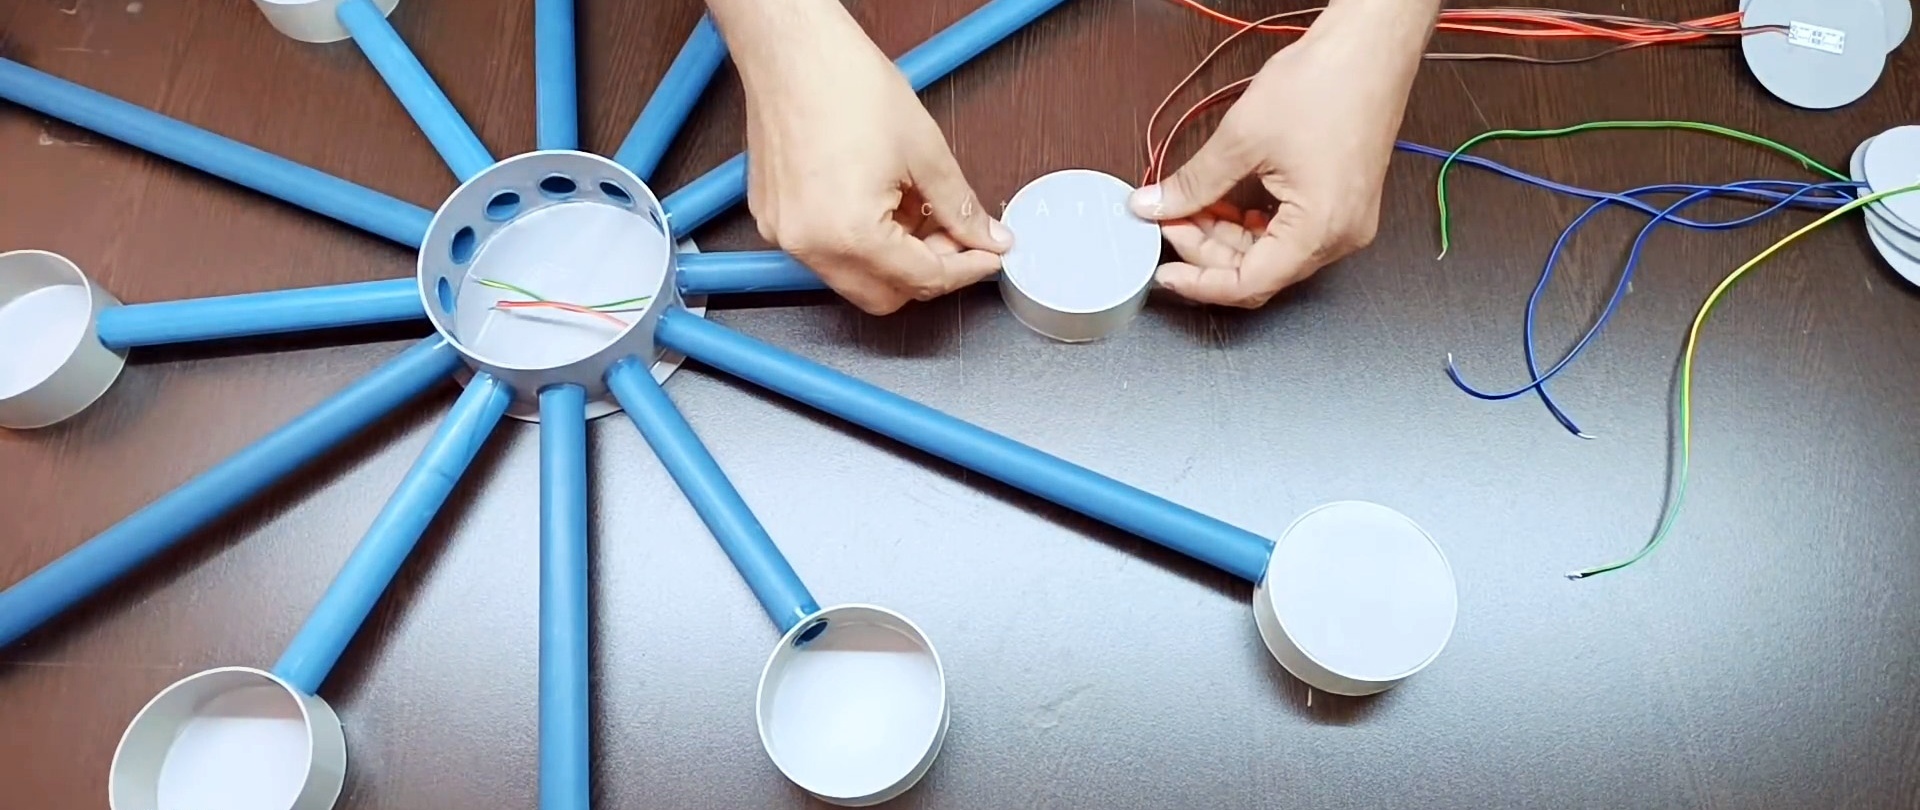
Next, take the LED strip and cut it into pieces. Wires are soldered to them. Then the tapes are glued to the plugs.
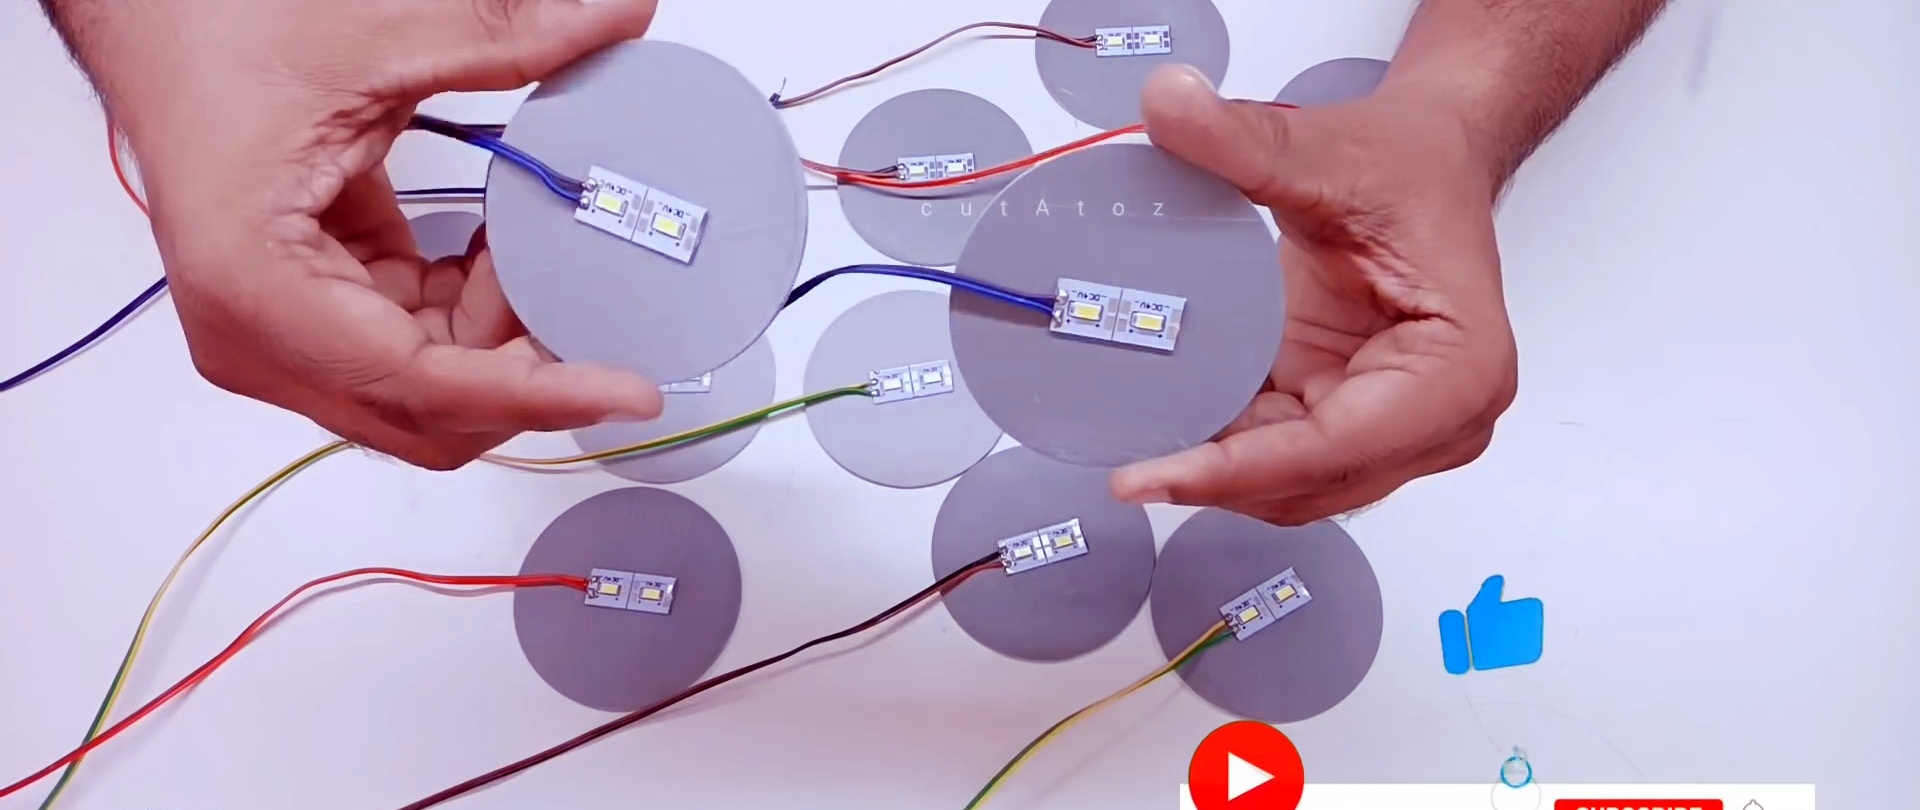
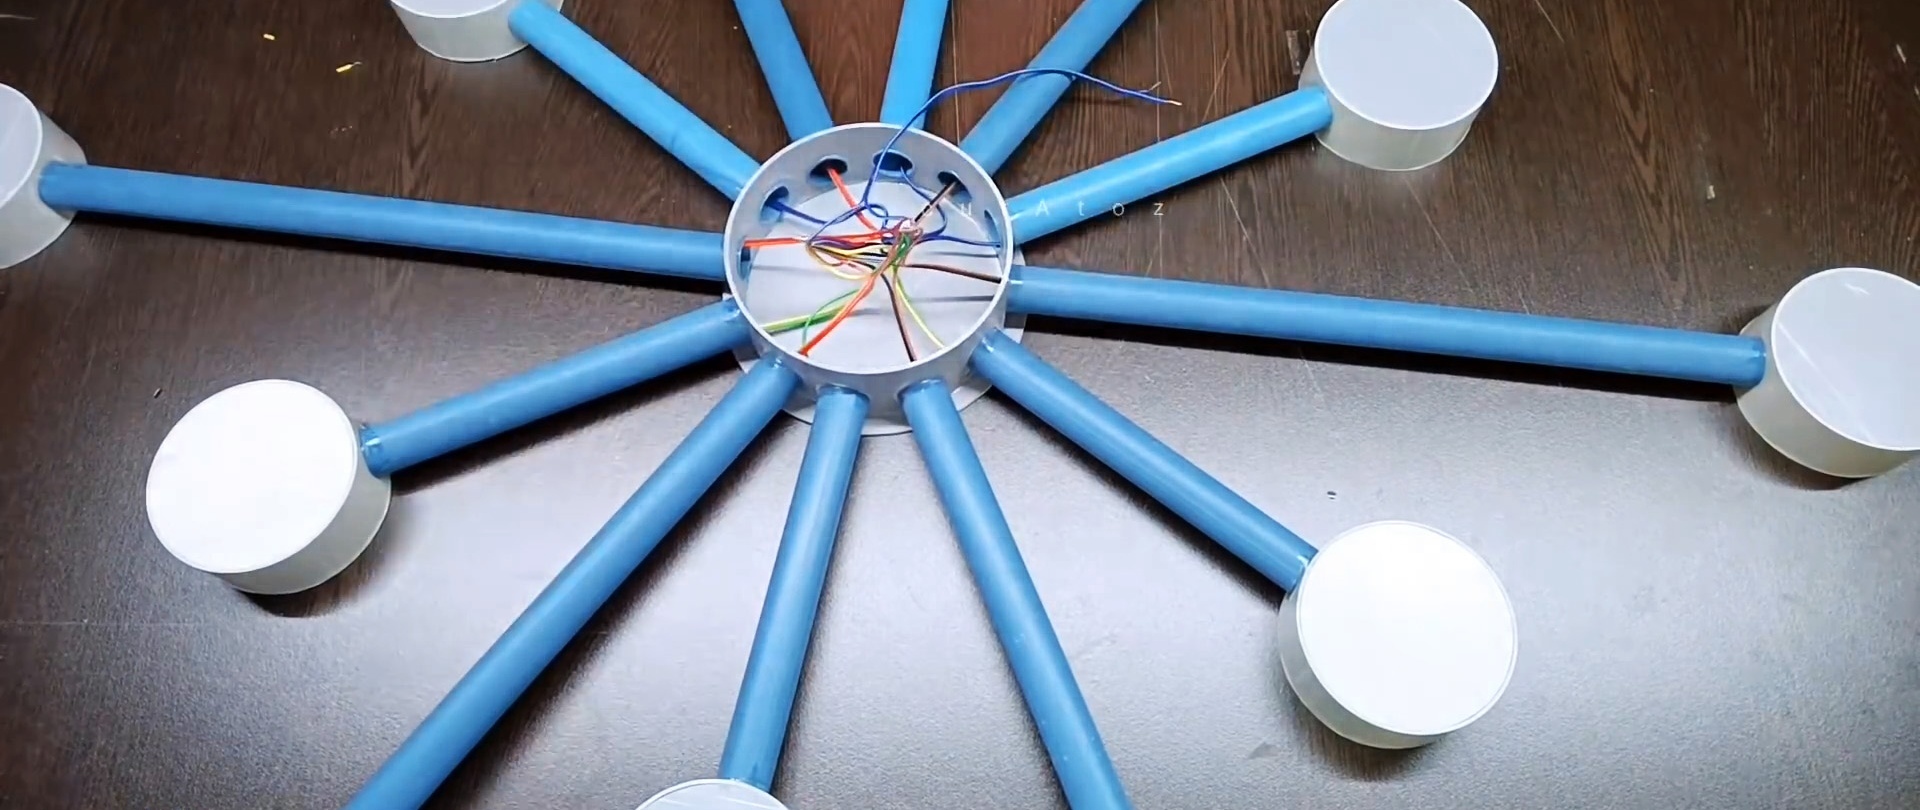
The wires are passed through the beams into the center of the chandelier. You don’t have to glue the plugs in, but simply put them in if they fit tightly. This will make the chandelier more repairable. The bundles of wires in the center are twisted and exited through a plug.
After this, the chandelier can be painted.
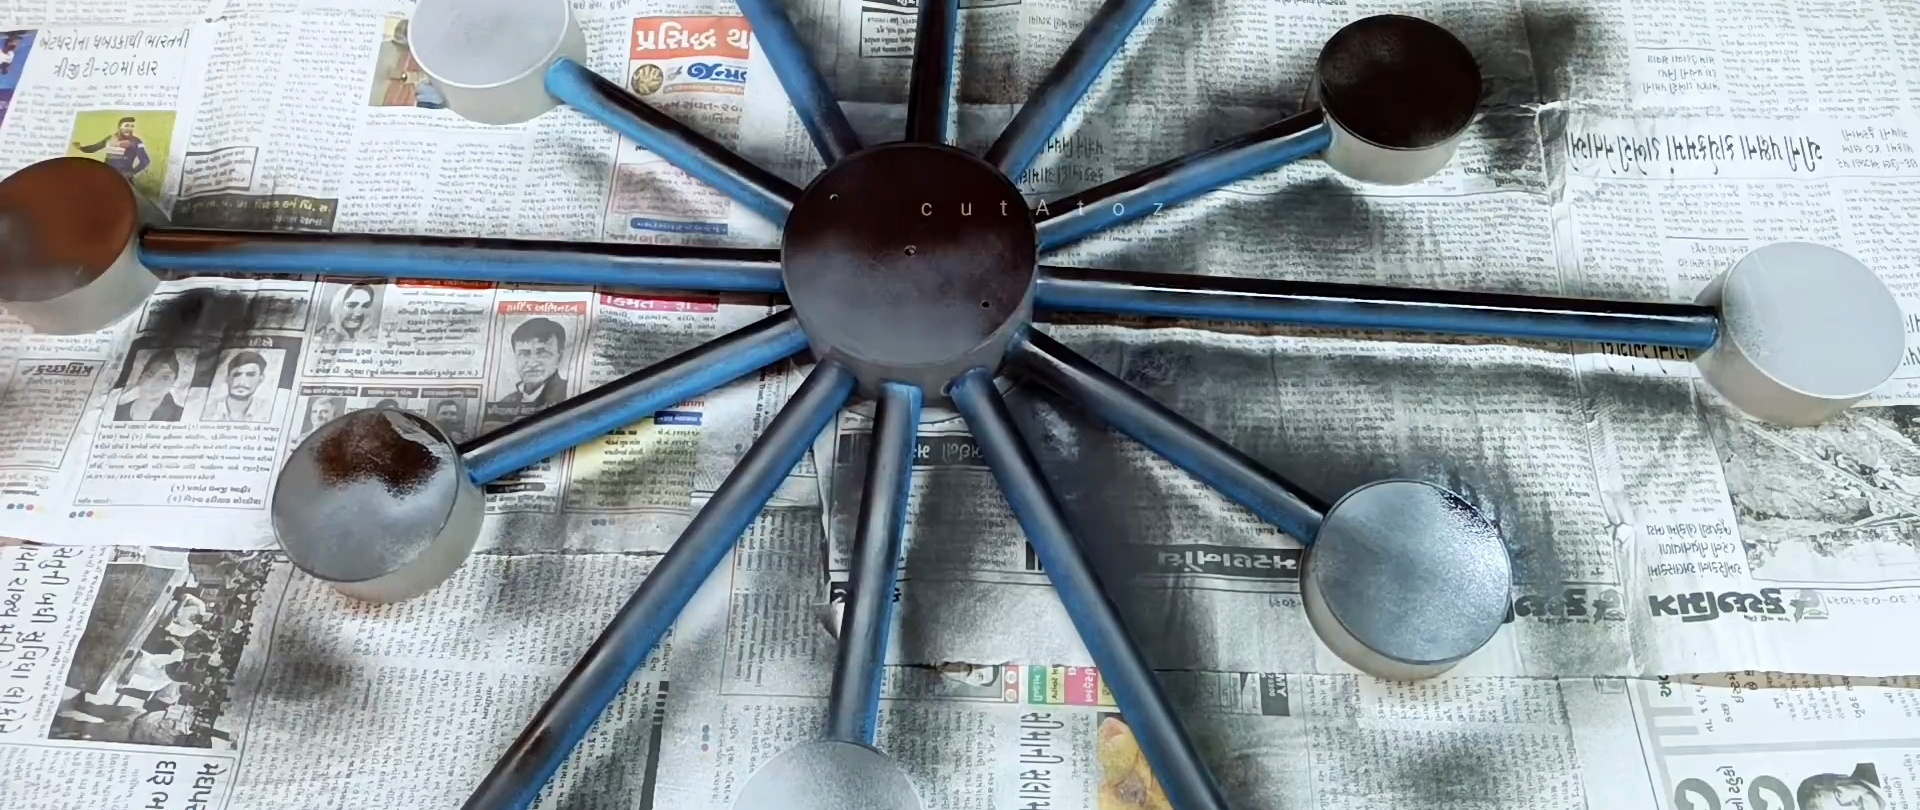
To make the paint stick better, you should make the plastic matte by rubbing it a little with fine sandpaper. To connect the chandelier you will need a small LED driver.
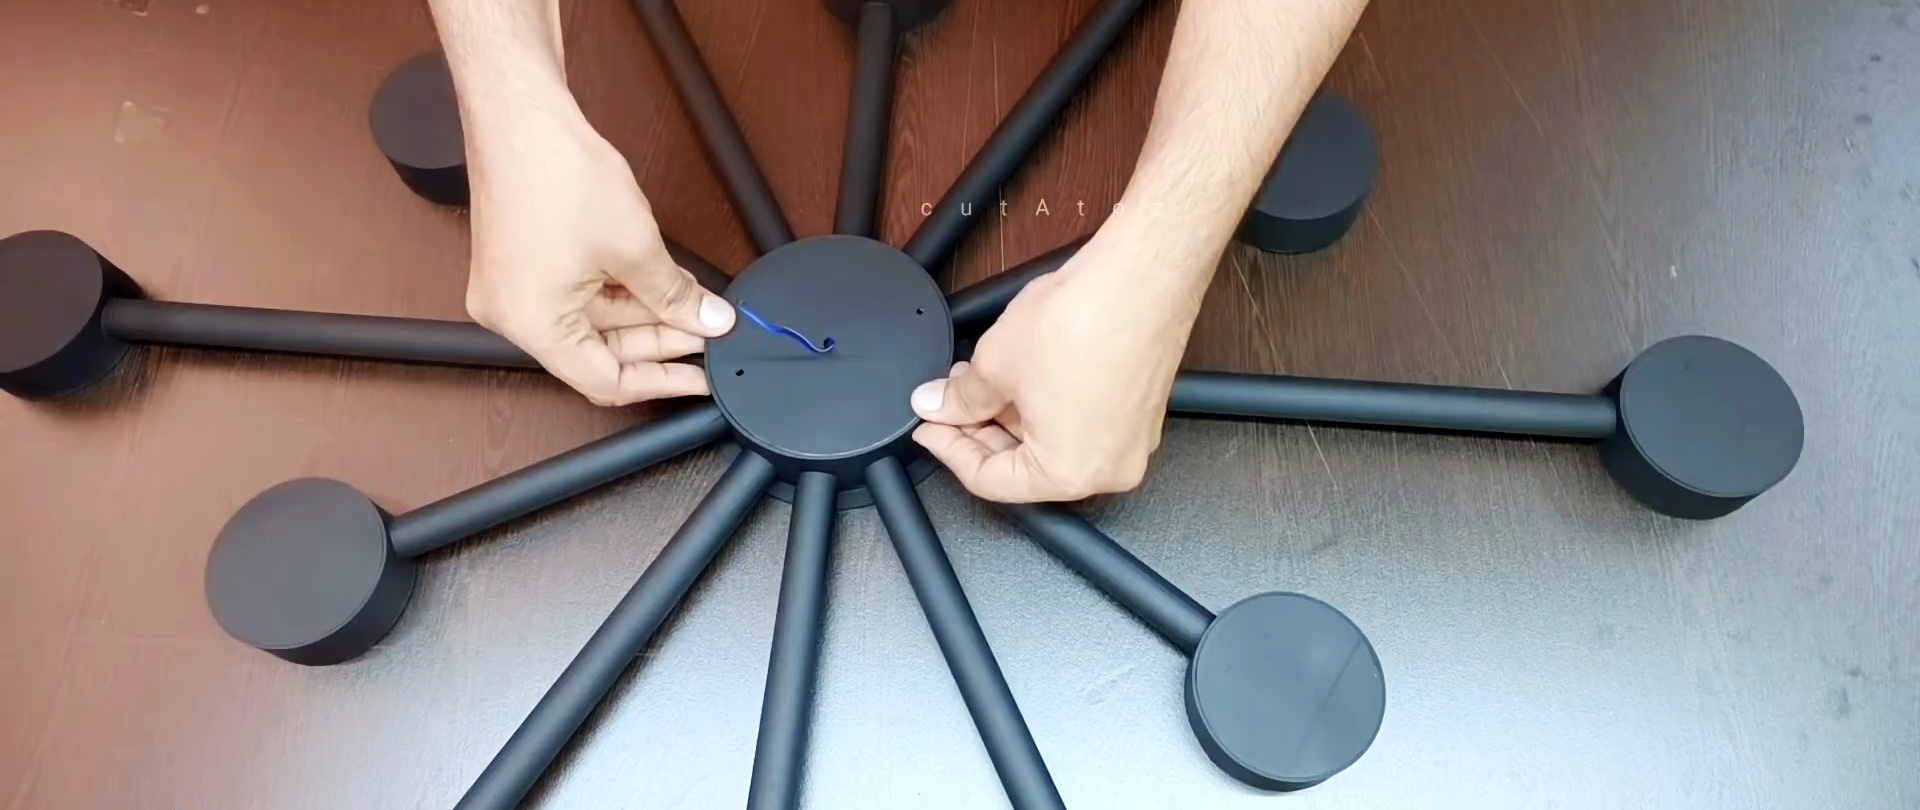
It can easily be hidden in a housing with a bundle of wires.