The simplest "lightbox"
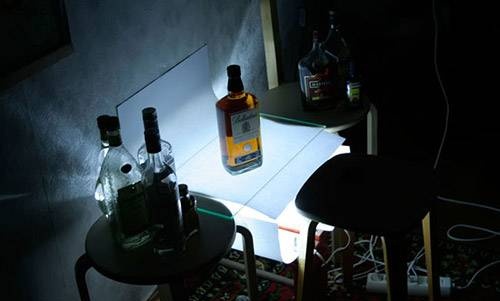
If you want to create something creative, then this article about making such a lightbox is especially for you. Go to the store and buy two fluorescent lamps (for those interested - 150 rubles each). The rest can be found at home - two stools, a bench, sheets of A3 paper, a piece of wood, an extension cord, glass from a shelf with books and an inordinate amount of creativity. Next are several photographic results and photos of the incident scene.

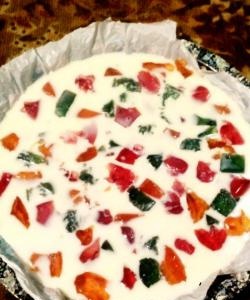
and it’s clear how it works. Lighting from below, through the glass. On the glass there is plain paper as a diffuser. About the shortcomings - a little later.

These are some nice results. In Photoshop, we straighten it a little, removing the ripples that arose from the heterogeneity of the paper. It turns out well.

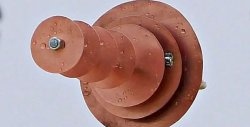
Glass would also look good here. In principle, one more problem can be seen - the paper is heterogeneous, it scatters light unevenly, with dark and light veins. In some places you can avoid this by adjusting your camera (or Photoshop, whatever), but still, you need to look for better material. You should also try a thin fabric, such as silk.

Illuminated from below, expensive whiskey - it looks quite good.If we ignore the fact that the whole bottle would have looked better. But it doesn’t work anymore, the background size didn’t allow it. Hence the next conclusion - the dimensions of the lightbox need to be larger. Somewhere around 70x70 cm, maybe more.


Similar master classes

Particularly interesting

Comments (0)
