Attachment made from trash to sandpaper for perfect sharpening of drills
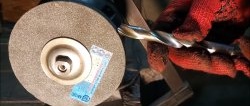
To sharpen drills on an emery machine while maintaining a consistent angle, you can make a special attachment template for this. With it, sharpening will take 1-2 minutes, and after that the drill will be able to cut into the steel like butter.

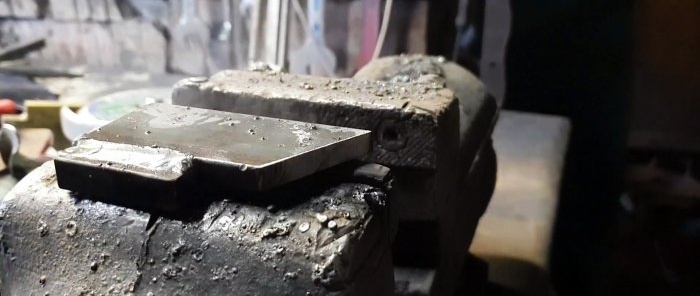
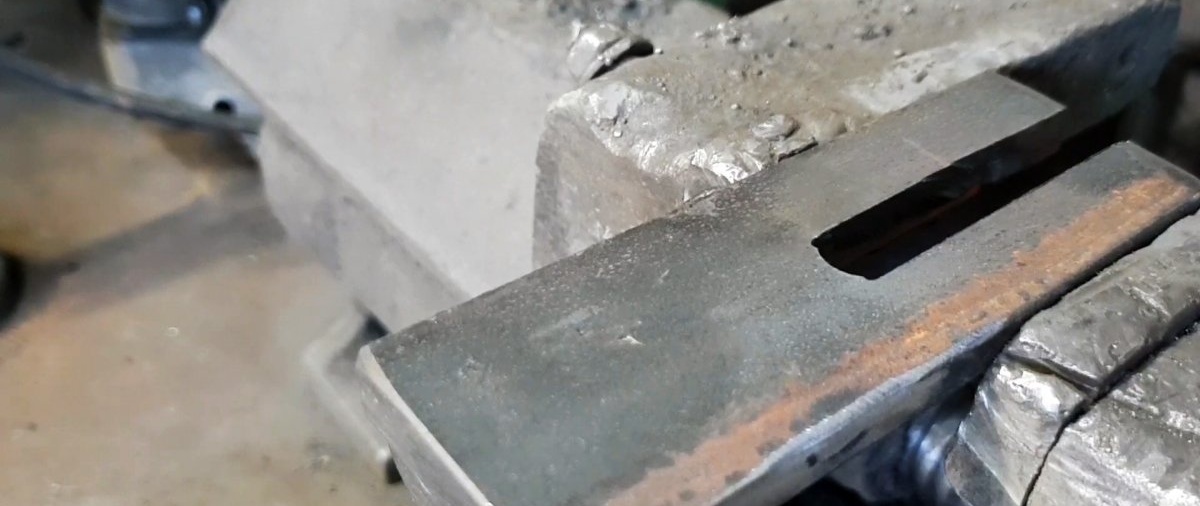
2 blanks with a length of 100 and 50 mm are cut from the strip.
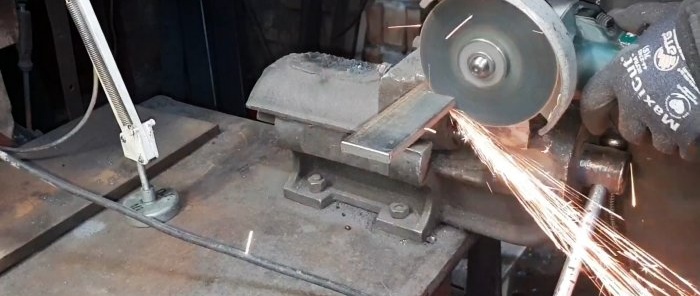
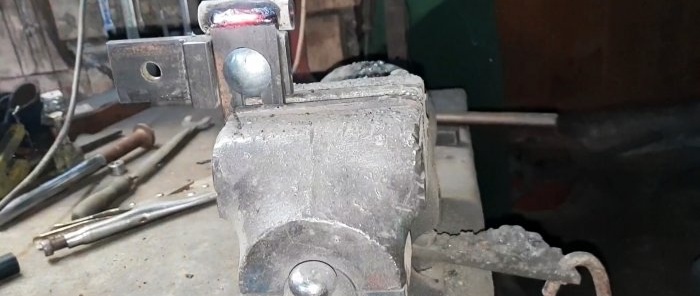
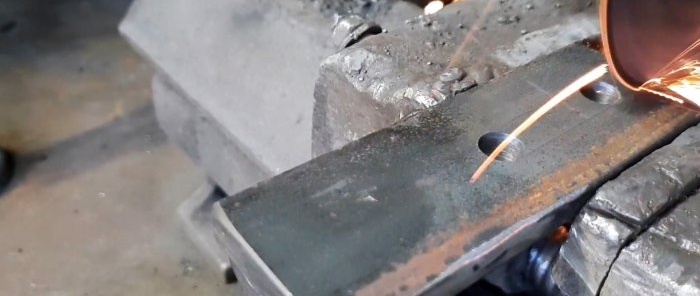
A hole is drilled from the edge of the long one to screw it to the emery leg.
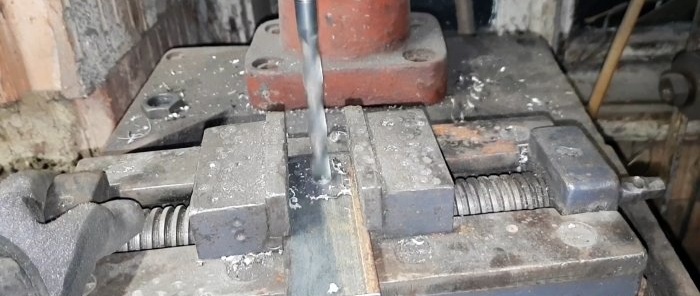
A short piece is applied to it at a right angle in place so that it does not rest against the engine housing. A hole is drilled on the long piece to screw on the smaller strip. A longitudinal slot 10 mm wide is made on the latter.
The blanks are twisted together with an M10 bolt. Then a square section is welded across the long one. His task is to support the short strip so that it is located strictly at a right angle.

A sleeve is welded to the end of the short strip. Another bushing is screwed to it using a long bolt. It should look like a door hinge.
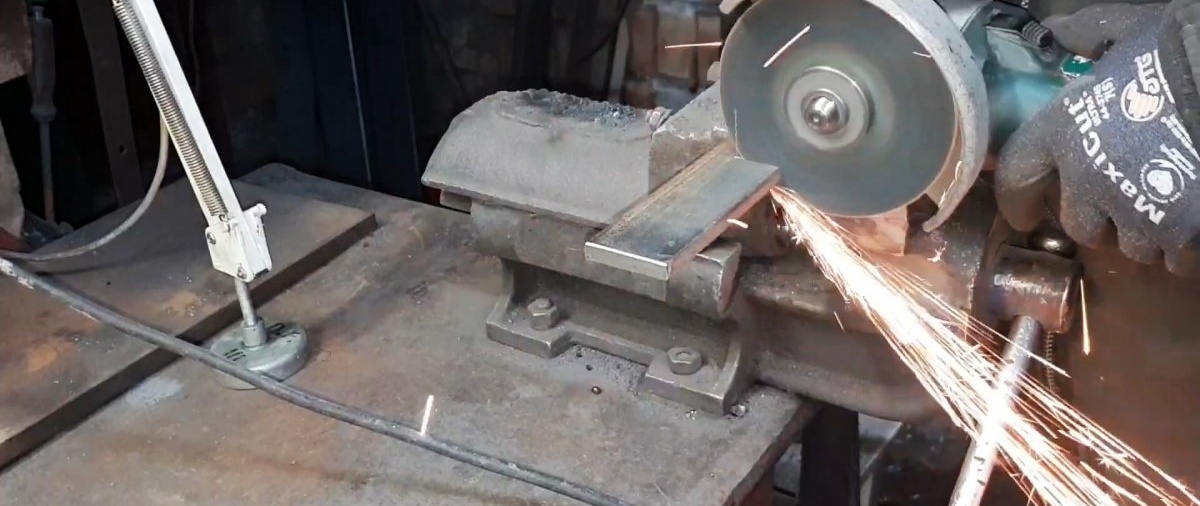
A piece of strip about 100 mm long is welded to the last bushing.
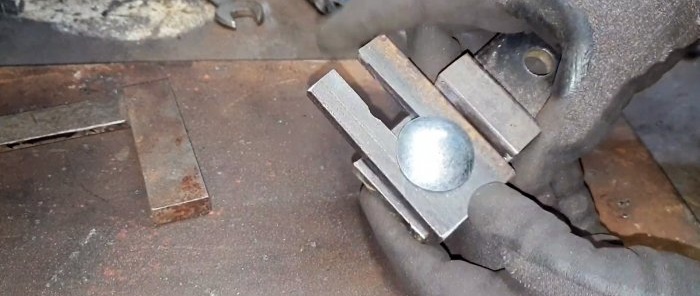
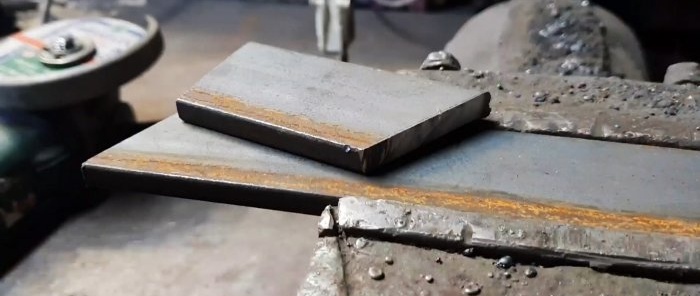
The resulting part is removed, and a piece of strip 40-50 mm cut at 125° is applied to it. This will be a support for guiding the sharpening angle of the drill. It must remain sliding, so a square hook is welded to it so that it does not warp relative to the lower platform.

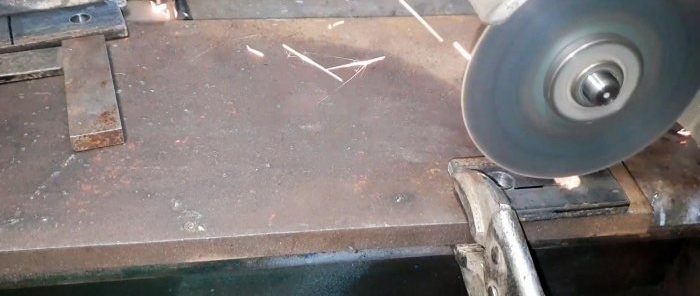
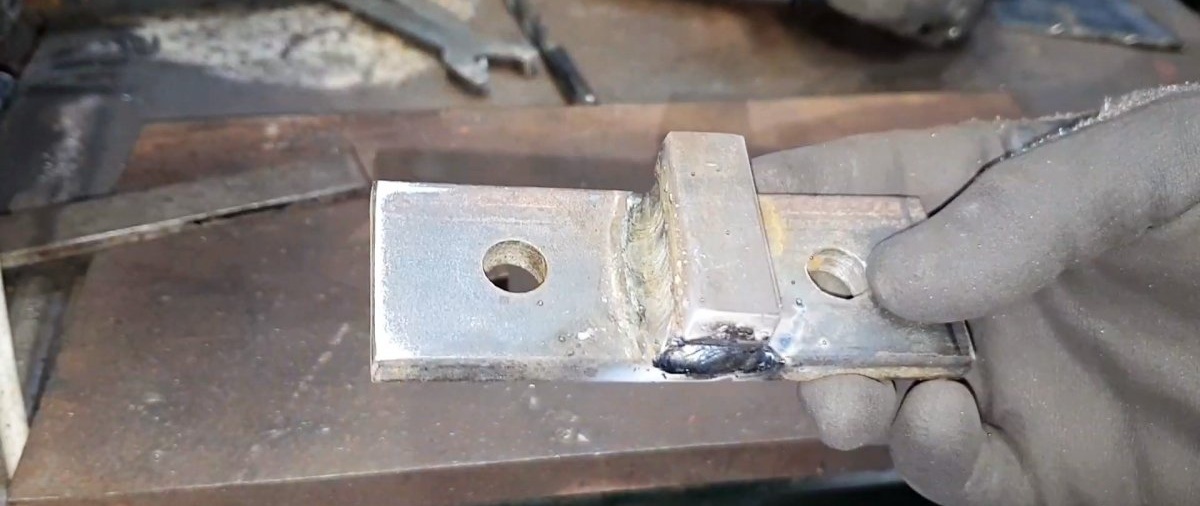
A longitudinal cutout is made in the center on the bottom platform. Then 2 holes are drilled in the beveled guide into which the bolts are inserted. With their help, she will slide around the platform on a loop.


The attachment is assembled using sandpaper. First, the first part with the crossbar on the hinge is screwed on. It is joined by a counter half with an oblique sliding guide.

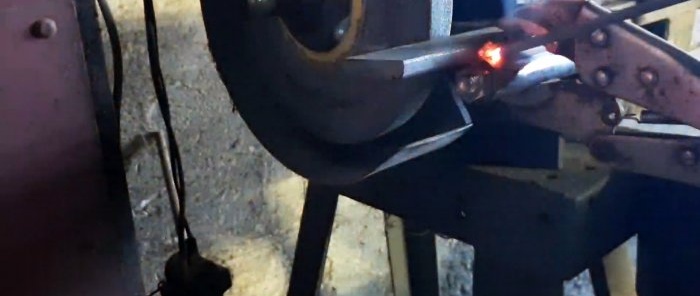
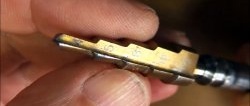
For sharpening, an angle of approximately 13° is set on the rotary loop. After this, the drill rests on a holder with a non-adjustable 125° bevel, and its edges are sharpened. In this case, this part of the attachment should slide, so the bolts are not tightened.

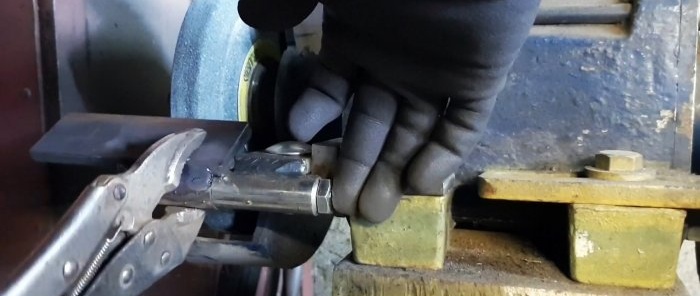
Afterwards, the angle on the hinge is increased to 20-25º and sharpening is repeated to remove metal from the back of the edge to reduce friction.


Materials:
- strip 30x4 mm;
- thin steel thick-walled tube;
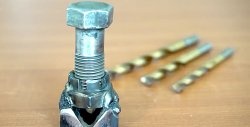
- square 10 mm;
- M10 bolts and nuts.
The console manufacturing process
2 blanks with a length of 100 and 50 mm are cut from the strip.
A hole is drilled from the edge of the long one to screw it to the emery leg.

A short piece is applied to it at a right angle in place so that it does not rest against the engine housing. A hole is drilled on the long piece to screw on the smaller strip. A longitudinal slot 10 mm wide is made on the latter.

The blanks are twisted together with an M10 bolt. Then a square section is welded across the long one. His task is to support the short strip so that it is located strictly at a right angle.

A sleeve is welded to the end of the short strip. Another bushing is screwed to it using a long bolt. It should look like a door hinge.

A piece of strip about 100 mm long is welded to the last bushing.


The resulting part is removed, and a piece of strip 40-50 mm cut at 125° is applied to it. This will be a support for guiding the sharpening angle of the drill. It must remain sliding, so a square hook is welded to it so that it does not warp relative to the lower platform.


A longitudinal cutout is made in the center on the bottom platform. Then 2 holes are drilled in the beveled guide into which the bolts are inserted. With their help, she will slide around the platform on a loop.


The attachment is assembled using sandpaper. First, the first part with the crossbar on the hinge is screwed on. It is joined by a counter half with an oblique sliding guide.

For sharpening, an angle of approximately 13° is set on the rotary loop. After this, the drill rests on a holder with a non-adjustable 125° bevel, and its edges are sharpened. In this case, this part of the attachment should slide, so the bolts are not tightened.

Afterwards, the angle on the hinge is increased to 20-25º and sharpening is repeated to remove metal from the back of the edge to reduce friction.


Watch the video
Similar master classes

Particularly interesting


Comments (2)
