How to make a reliable drill with overhead blades from a saw blade
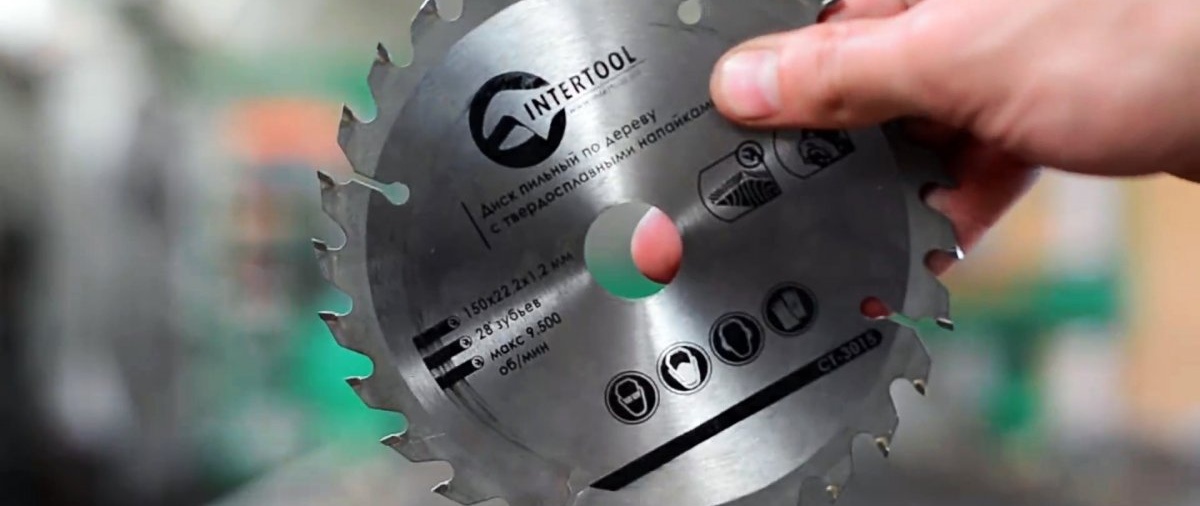
If you don’t have a garden auger, you don’t have to go to a hardware store to buy one; you can weld this tool yourself. To do this, all you need is an old circular blade and a couple of worn-out reciprocating saw blades. A homemade tool drills no worse than a purchased one, and most importantly, it costs nothing. We offer the design of a universal collapsible drill, which can be easily made in the garage.
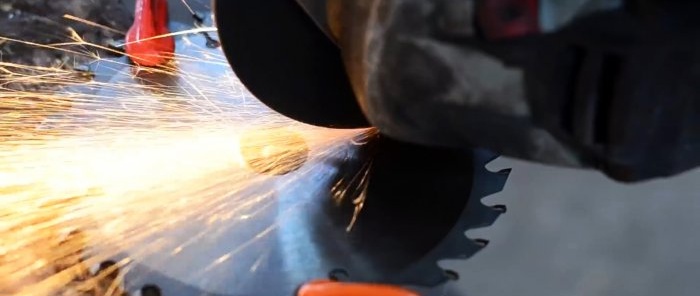
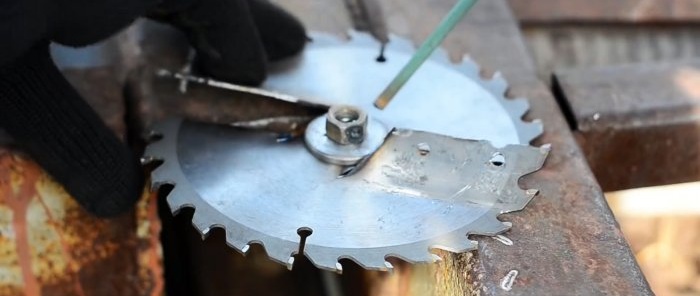
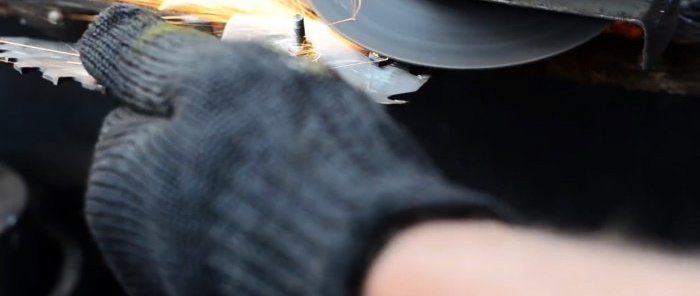
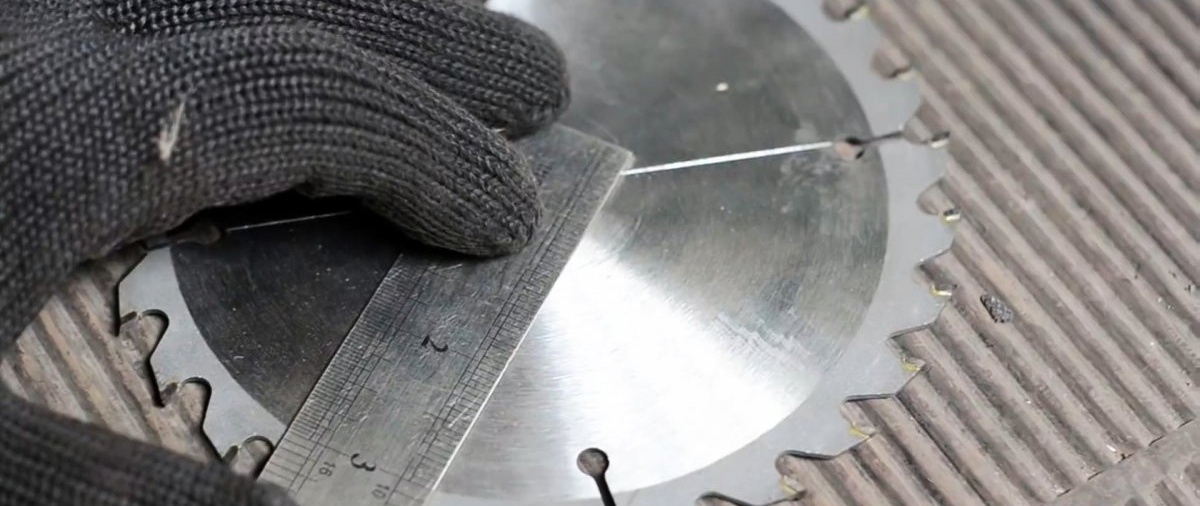
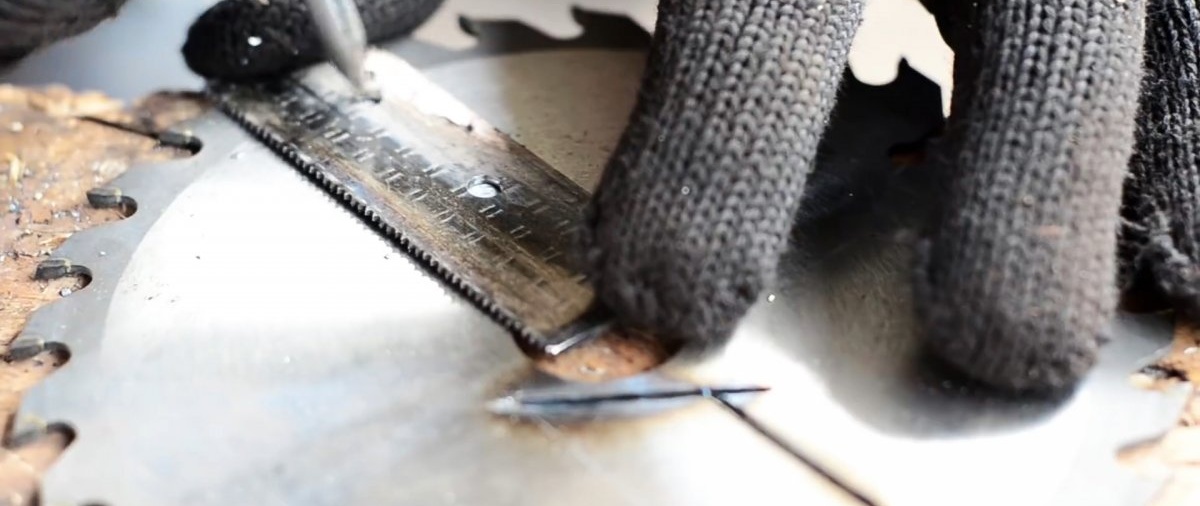
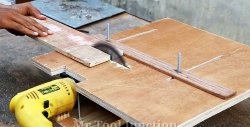
Markings are made on the saw blade for the knives, as in the photo. Then it is cut along the marks with a grinder. This can be done conveniently by pressing it to the table with clamps.

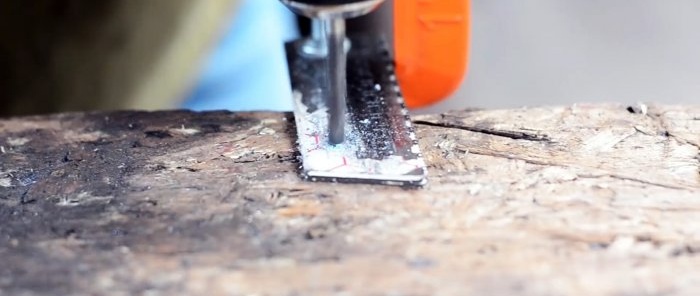
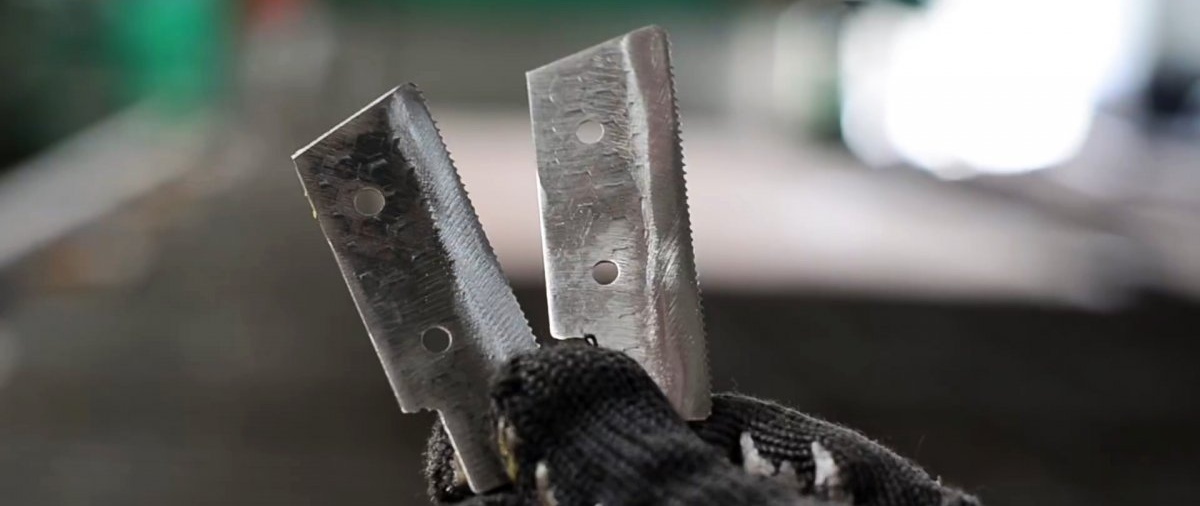
Next, drill knives are made from a pair of worn-out reciprocating saw blades. To do this, they are shortened to fit the long cuts on the disc.
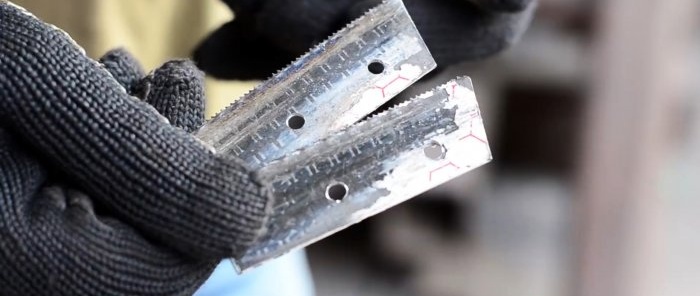
In the resulting blanks, 2 holes are drilled for installation.
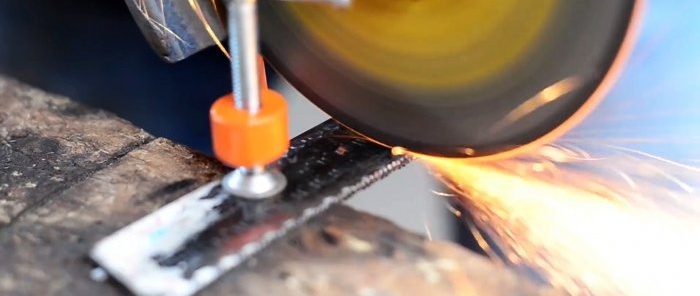
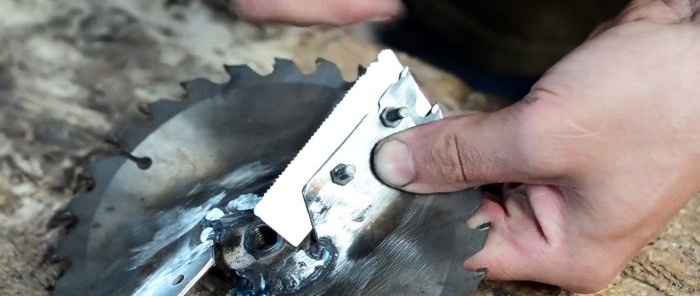
The knives are applied to the disk, aligned, and marks are placed on it opposite the holes. The disc is then drilled.


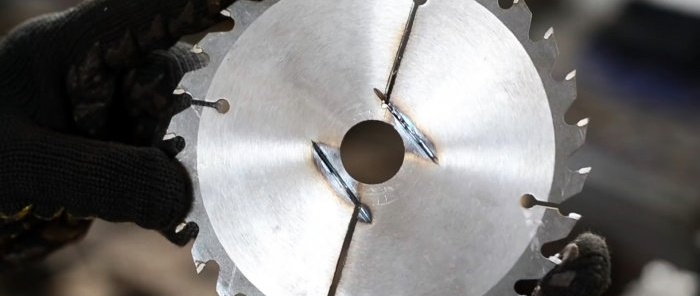
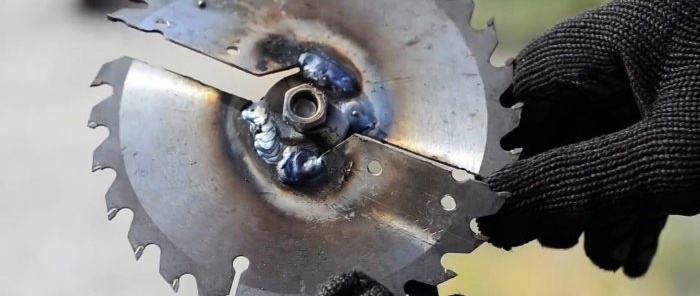
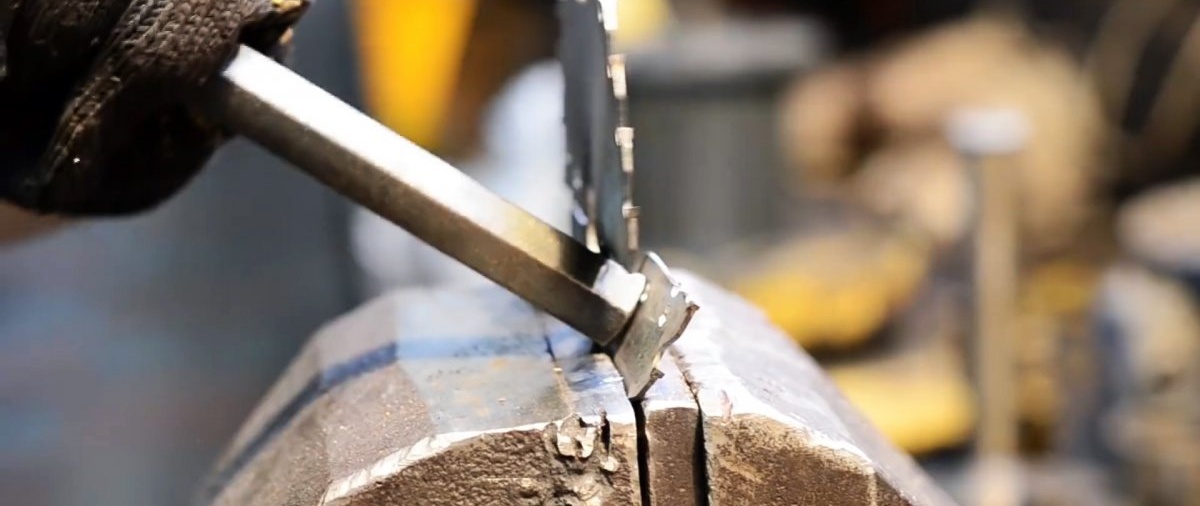
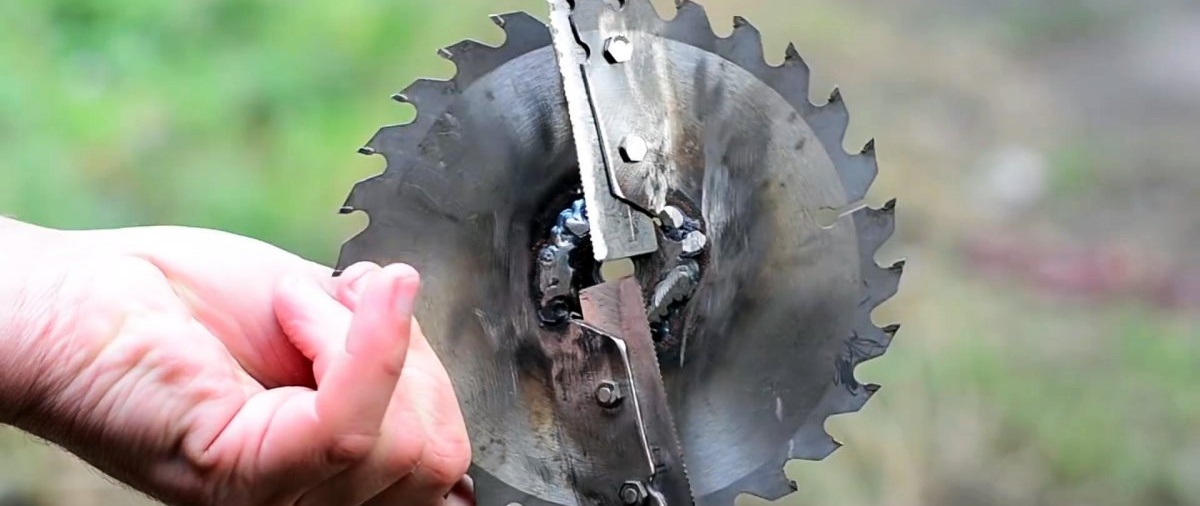
Now you need to bend the disk at the place where the knives are installed. To do this, it is clamped in a vice. Both bends are made on the same side. After this, a nut is welded into the center of the disk. It will serve as the basis for installing the barbell, and in addition it will strengthen it at the site of the incisions.


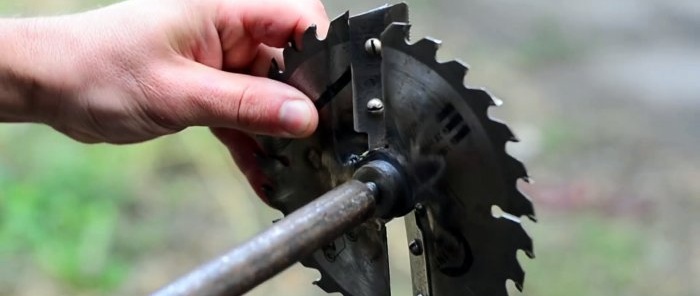
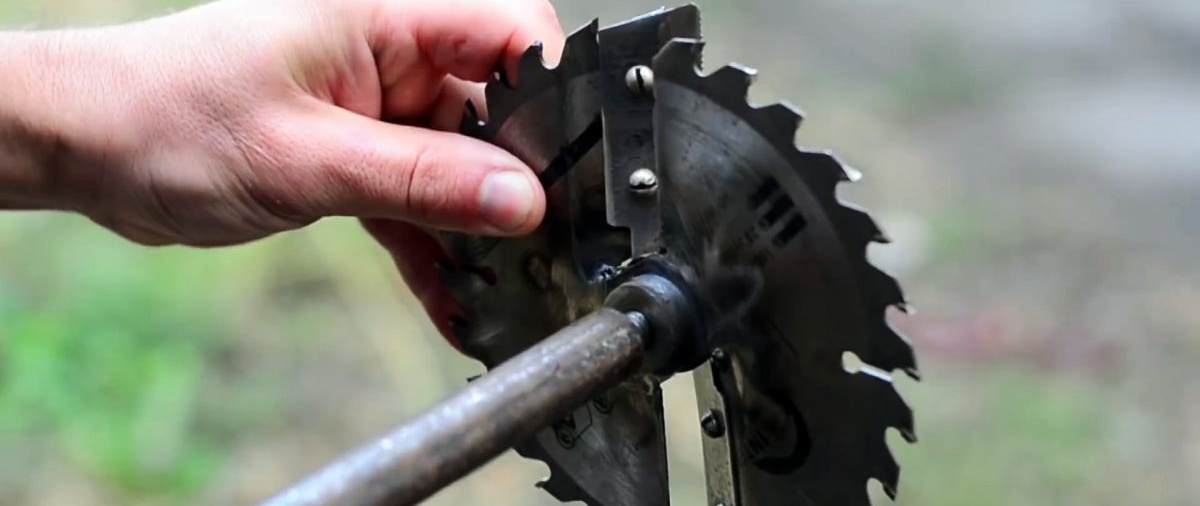
The knives are sharpened and installed on the disk.

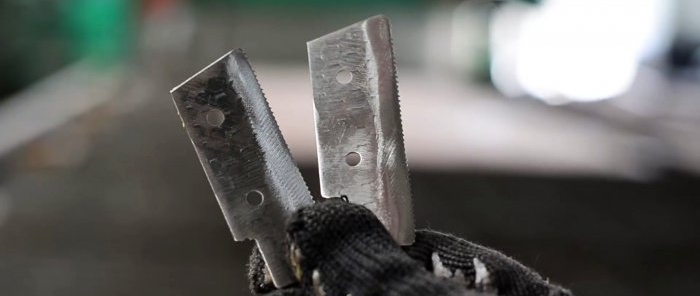
They can be bolted or secured with rivets. On the knife side, it is advisable to weld a centering tip to the nut so that when deepening the drill does not move to the side. You can use a regular pin or an old drill as it.
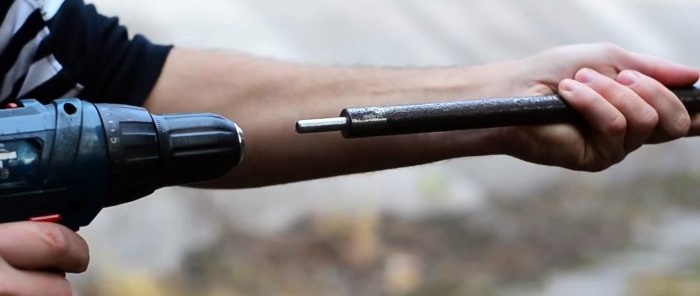
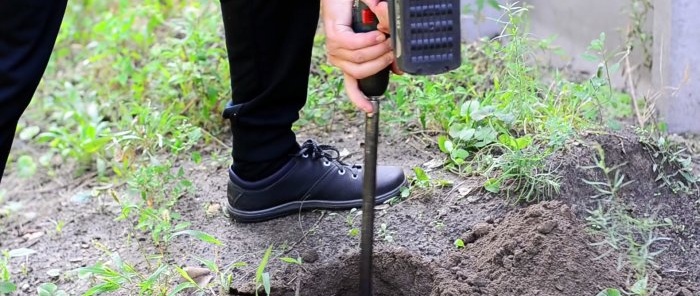
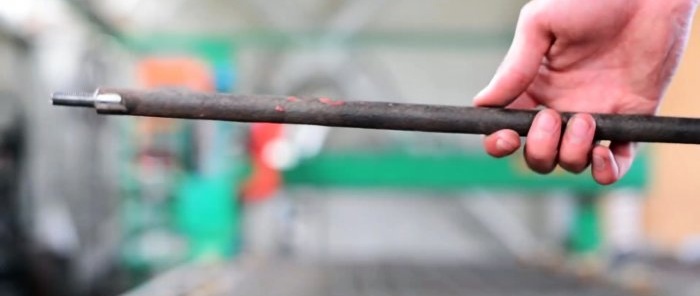
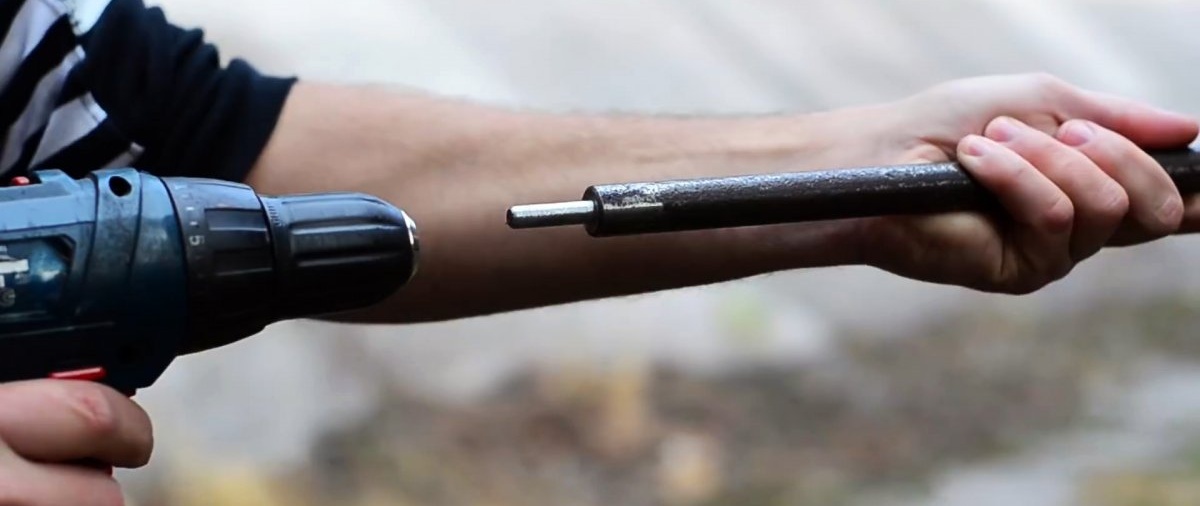
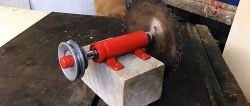
Next you need to start making the collar. You can use a round timber or pipe as a rod. Ideally, cut a thread on it or weld a stud. This way the rod will be removed from the drill tip. In this version, the tool can be clamped in a screwdriver chuck. If it is necessary to drill deep holes, then naturally a long rod with a classic T-shaped handle is made. You can make a collapsible rod for the drill. This way it will be convenient for them to make deep wells of 2 m or more. As soon as the first segment of the rod goes into the ground, the extension cord clings to it.


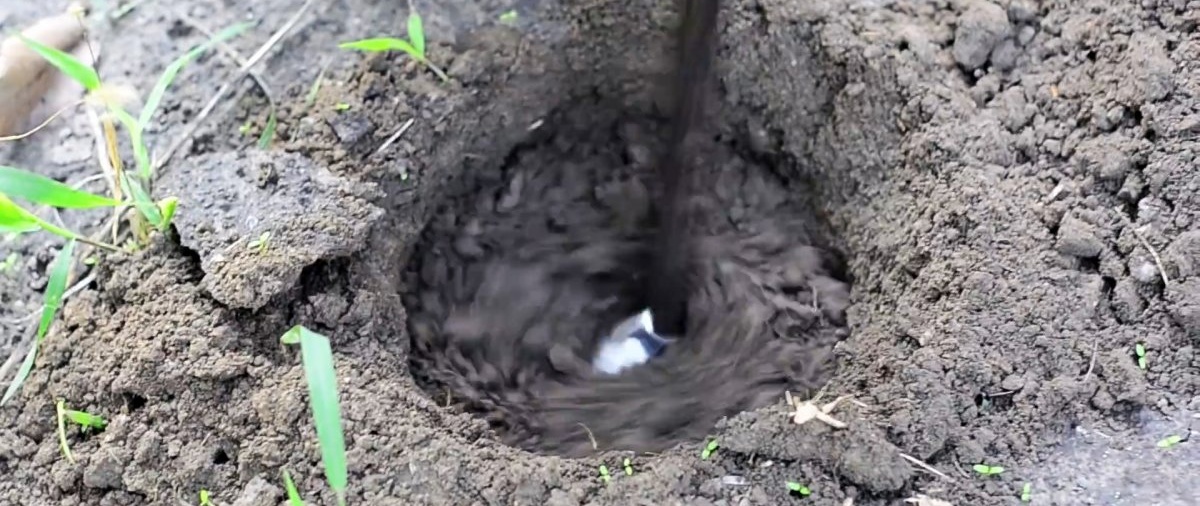
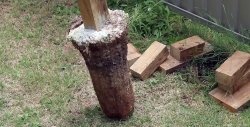
The resulting tool can be used to drill holes for installing pillars and pouring a pile foundation. It also cuts ice perfectly, so it’s also suitable for winter fishing. Since its tip is removable, it can be stored and transported compactly.


Materials:
- saw blade;

- reciprocating saw blades – 2 pcs.;
- screw;
- rod or pipe.

Drill manufacturing process
Markings are made on the saw blade for the knives, as in the photo. Then it is cut along the marks with a grinder. This can be done conveniently by pressing it to the table with clamps.


Next, drill knives are made from a pair of worn-out reciprocating saw blades. To do this, they are shortened to fit the long cuts on the disc.

In the resulting blanks, 2 holes are drilled for installation.


The knives are applied to the disk, aligned, and marks are placed on it opposite the holes. The disc is then drilled.

Now you need to bend the disk at the place where the knives are installed. To do this, it is clamped in a vice. Both bends are made on the same side. After this, a nut is welded into the center of the disk. It will serve as the basis for installing the barbell, and in addition it will strengthen it at the site of the incisions.

The knives are sharpened and installed on the disk.
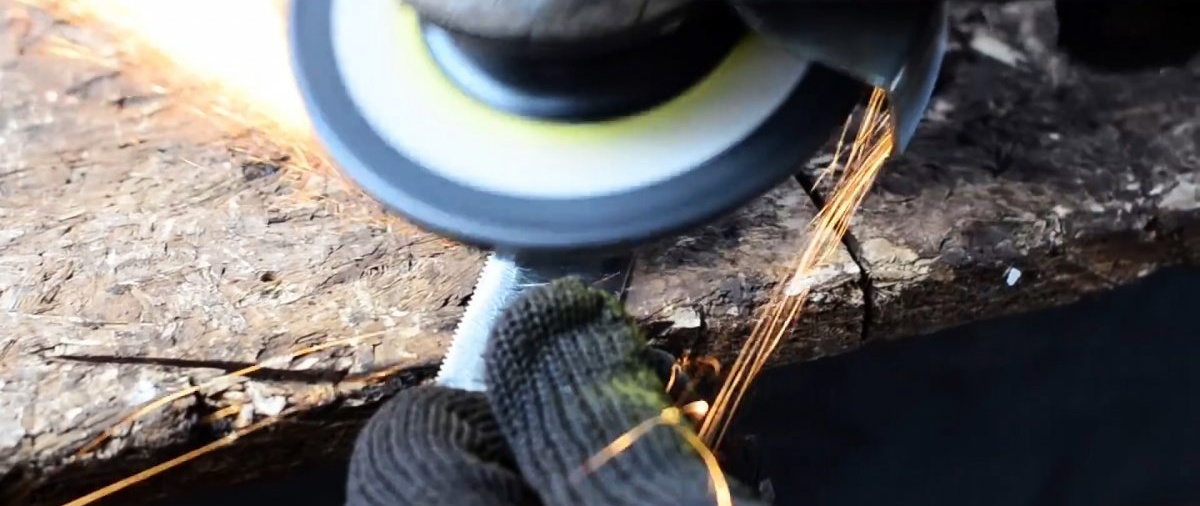
They can be bolted or secured with rivets. On the knife side, it is advisable to weld a centering tip to the nut so that when deepening the drill does not move to the side. You can use a regular pin or an old drill as it.


Next you need to start making the collar. You can use a round timber or pipe as a rod. Ideally, cut a thread on it or weld a stud. This way the rod will be removed from the drill tip. In this version, the tool can be clamped in a screwdriver chuck. If it is necessary to drill deep holes, then naturally a long rod with a classic T-shaped handle is made. You can make a collapsible rod for the drill. This way it will be convenient for them to make deep wells of 2 m or more. As soon as the first segment of the rod goes into the ground, the extension cord clings to it.

The resulting tool can be used to drill holes for installing pillars and pouring a pile foundation. It also cuts ice perfectly, so it’s also suitable for winter fishing. Since its tip is removable, it can be stored and transported compactly.


Watch the video
Similar master classes


Particularly interesting


Comments (0)
