A handmade product you need in the summer from an unnecessary canister: Thermal container
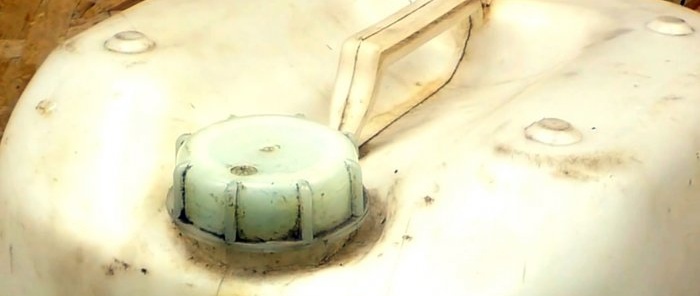
A large plastic canister can be converted into a thermal container for storing cold drinks, ice cream and other products. It is very simple and cheap, much more profitable than buying a ready-made thermal box. A homemade thermal container is useful for going on a picnic or fishing trip, so that your supplies of cold drinks and food do not heat up longer.

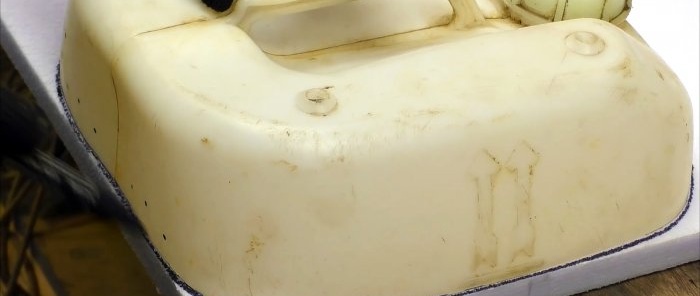
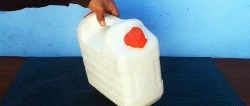
The canister must be cut along the upper transverse factory seam into 2 parts. The edges on the resulting halves are cleaned with a knife to remove burrs.

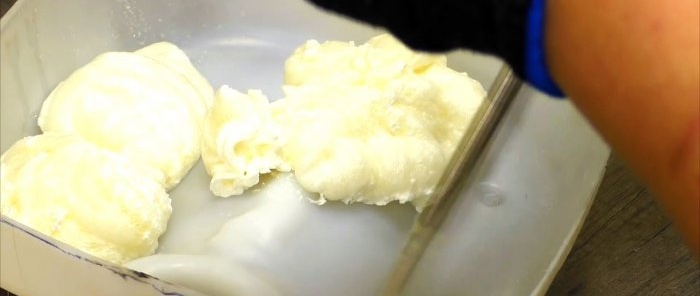
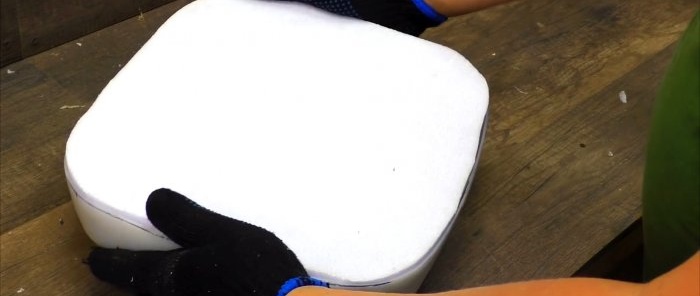
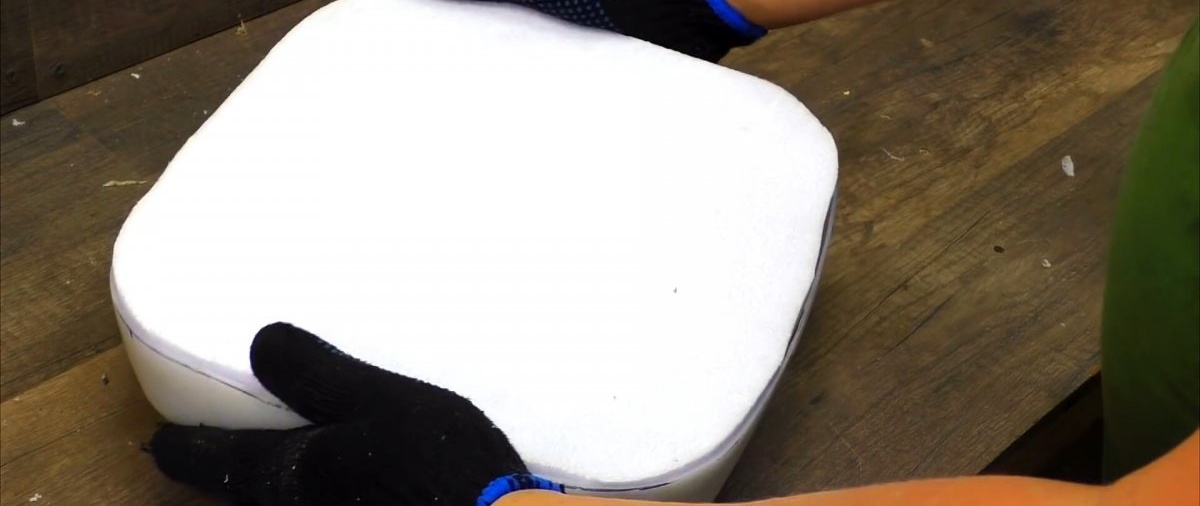
2 inserts are cut out of polystyrene foam into the bottom and top of the canister.
They are glued onto the mounting foam. In order for the insert to fit tightly into the bottom of the canister, you should first cut off the corners along the bottom side.
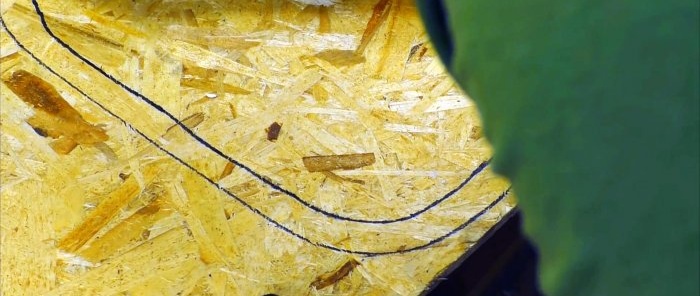
To increase the rigidity of the thermal box, it is necessary to make 2 reinforcing inserts in the form of rings from plywood.To do this, the halves of the canister are outlined on the plywood along the cut, then their outline is duplicated with an indentation of 2-3 cm inward. After this, the blanks are cut along the lines. The result is 2 rings.

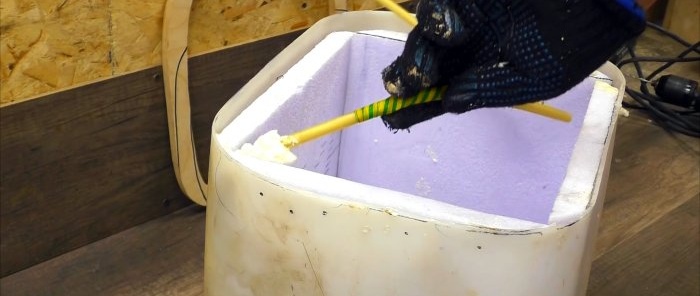
Next, you need to insulate the inner walls of the canister with polystyrene foam. To do this, 4 blanks are cut out.

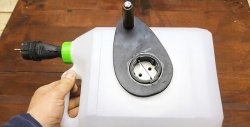
They need to cut the corners along the long side. This will allow them to fit tightly into the canister. Before installing them, you should foam the seam between the insert on the bottom and the walls. Immediately after this, the blanks are inserted onto fresh foam, and additionally foamed in the corners. If there is empty space between the vertical inserts and the walls of the canister, it also needs to be foamed.
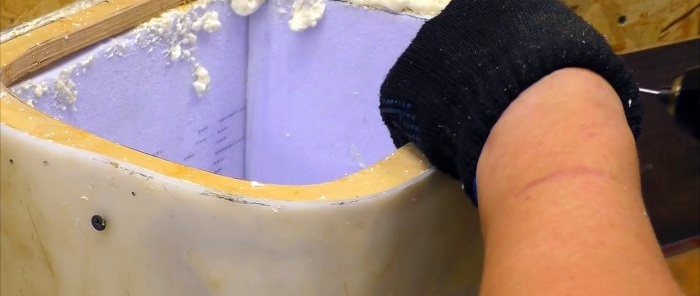
Then a plywood ring is placed on the edges of the insulation and screwed to the walls of the canister with self-tapping screws. In a similar way, the second ring is fixed on the upper half of the thermal box.
Using plywood inserts as a base, it is necessary to secure the upper and lower halves of the thermal box with hinges. For this, self-tapping screws or blind rivets are used.

Another insert should be cut out of polystyrene foam for installation between the walls of the lower ring of the thermal box. It should serve as an inner cover.

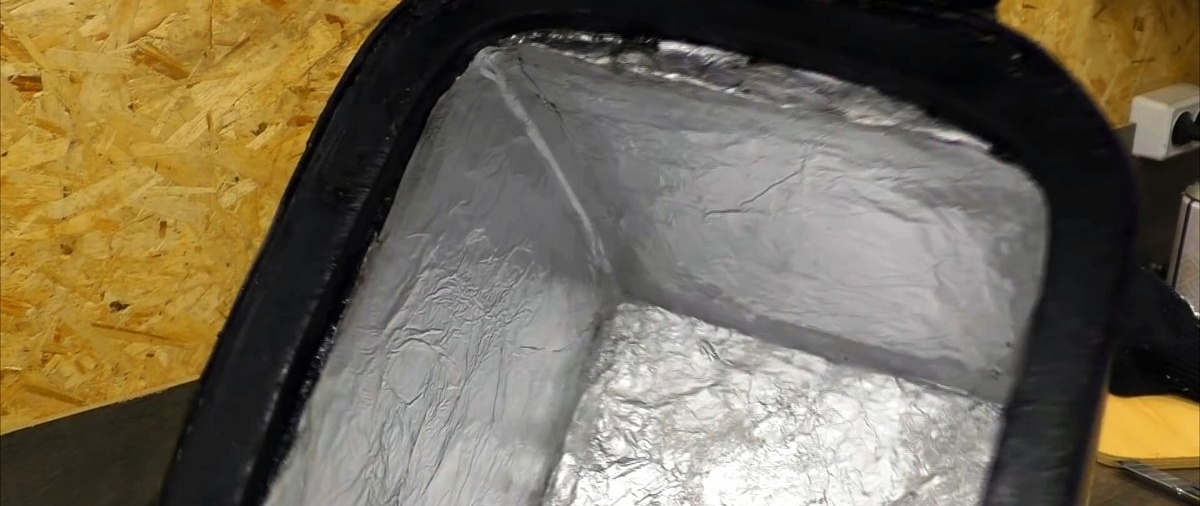
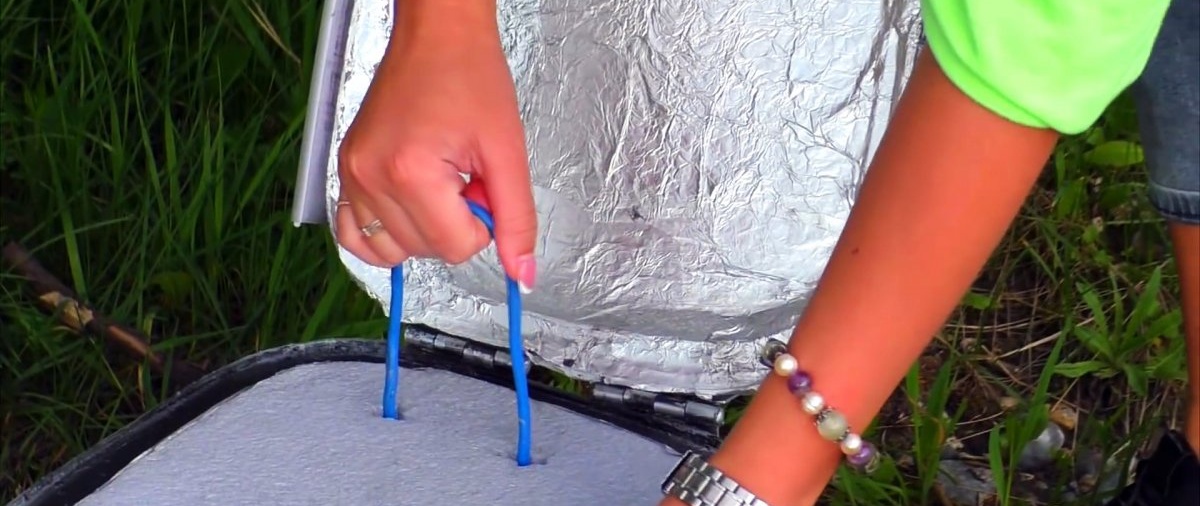
Before installation, you should cover it with food foil, drill 2 holes and put a loop in them to be able to remove the insert. The bottom, walls and upper folding part of the thermal box are also covered with foil.


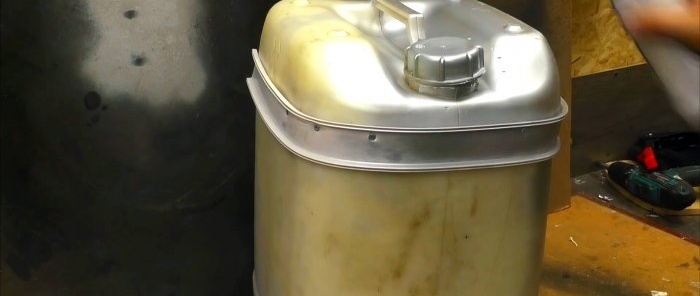
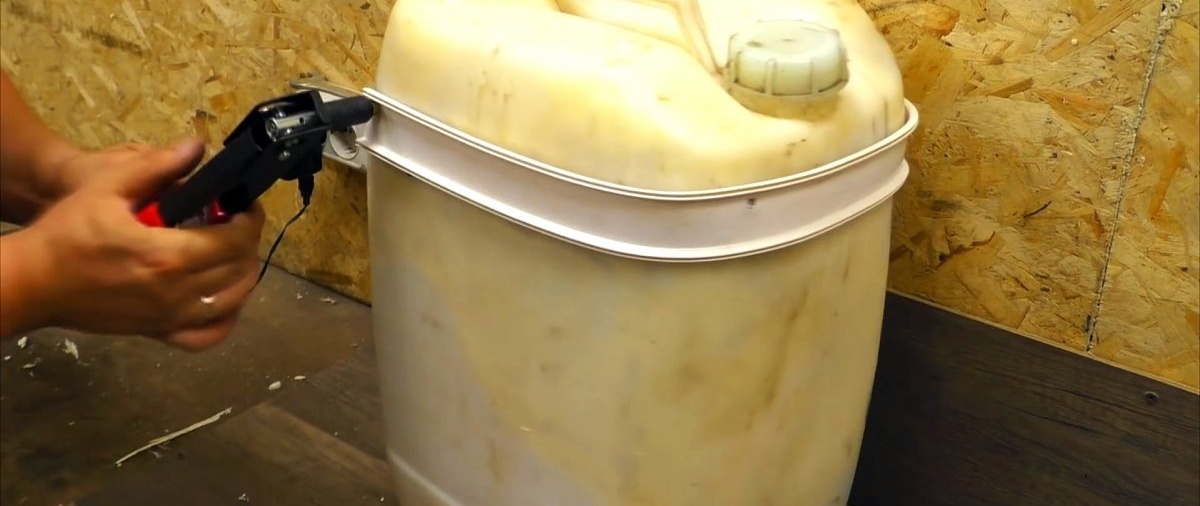
Using the lid from the plastic cable channel, you need to close the joint between the halves of the canister. It is secured to the top ring using rivets. The cable channel bends in an arc. It should cover the sides and front of the thermal box, while the side with the hinges will remain open.


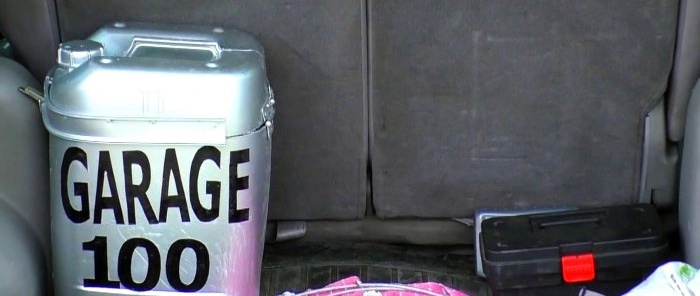
To make the appearance of the thermal box more presentable, it can be painted.After this, a fastening latch is installed in its front part. Now, by placing ice or a cold accumulator in a thermal container, you can maintain a low temperature in it for hours or days, depending on the season.


Materials:
- plastic canister 20 l;
- expanded polystyrene 20 mm;
- plywood 12 mm;
- door hinges - 2 pcs.;
- food foil;
- polyurethane foam;
- spray paint;
- clamp latch;
- plastic cable channel.
Thermal container manufacturing process

The canister must be cut along the upper transverse factory seam into 2 parts. The edges on the resulting halves are cleaned with a knife to remove burrs.

2 inserts are cut out of polystyrene foam into the bottom and top of the canister.

They are glued onto the mounting foam. In order for the insert to fit tightly into the bottom of the canister, you should first cut off the corners along the bottom side.

To increase the rigidity of the thermal box, it is necessary to make 2 reinforcing inserts in the form of rings from plywood.To do this, the halves of the canister are outlined on the plywood along the cut, then their outline is duplicated with an indentation of 2-3 cm inward. After this, the blanks are cut along the lines. The result is 2 rings.


Next, you need to insulate the inner walls of the canister with polystyrene foam. To do this, 4 blanks are cut out.

They need to cut the corners along the long side. This will allow them to fit tightly into the canister. Before installing them, you should foam the seam between the insert on the bottom and the walls. Immediately after this, the blanks are inserted onto fresh foam, and additionally foamed in the corners. If there is empty space between the vertical inserts and the walls of the canister, it also needs to be foamed.

Then a plywood ring is placed on the edges of the insulation and screwed to the walls of the canister with self-tapping screws. In a similar way, the second ring is fixed on the upper half of the thermal box.

Using plywood inserts as a base, it is necessary to secure the upper and lower halves of the thermal box with hinges. For this, self-tapping screws or blind rivets are used.

Another insert should be cut out of polystyrene foam for installation between the walls of the lower ring of the thermal box. It should serve as an inner cover.

Before installation, you should cover it with food foil, drill 2 holes and put a loop in them to be able to remove the insert. The bottom, walls and upper folding part of the thermal box are also covered with foil.

Using the lid from the plastic cable channel, you need to close the joint between the halves of the canister. It is secured to the top ring using rivets. The cable channel bends in an arc. It should cover the sides and front of the thermal box, while the side with the hinges will remain open.

To make the appearance of the thermal box more presentable, it can be painted.After this, a fastening latch is installed in its front part. Now, by placing ice or a cold accumulator in a thermal container, you can maintain a low temperature in it for hours or days, depending on the season.


Watch the video
Similar master classes


Particularly interesting


Comments (3)
