How to make an AK-47 lamp
Hello, friends! I decided to make it for a friend present for a birthday. As you know, all men remain children at heart. The boy turned 35 years old, he is interested in airsoft, and I decided that a table lamp in the shape of an AK-47 would be perfect as a gift.

To make the lamp I needed:
I ordered the lampshade and base for the lamp from Ikea. I bought the machine gun at a toy store.
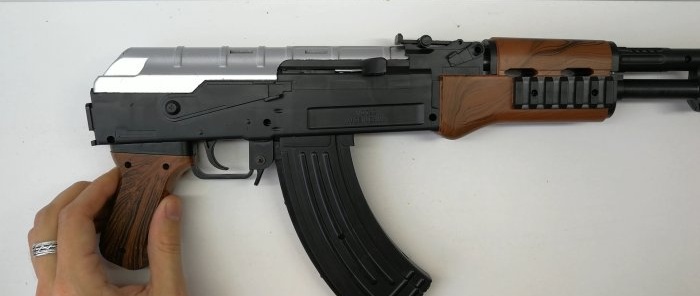
Didn't use the stock. I decided to make a shortened version of the machine.
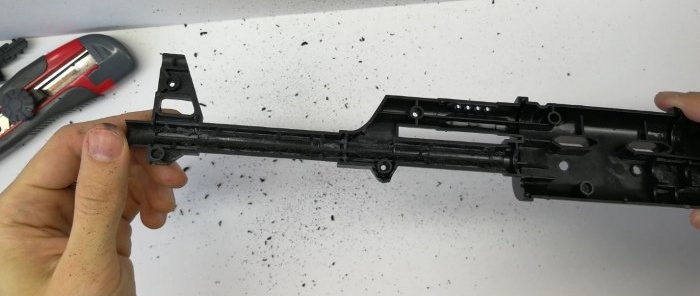
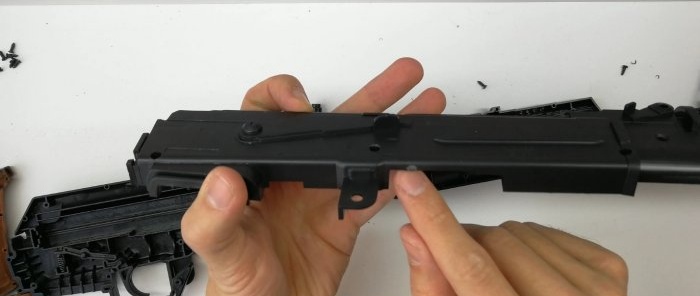
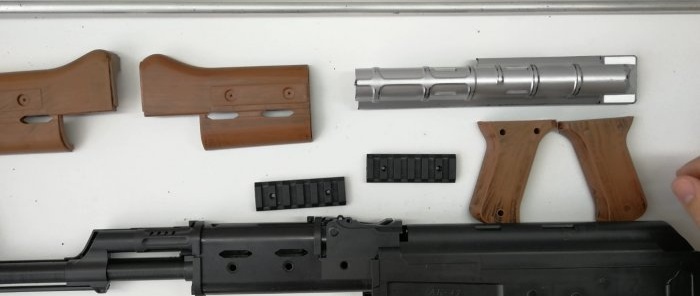
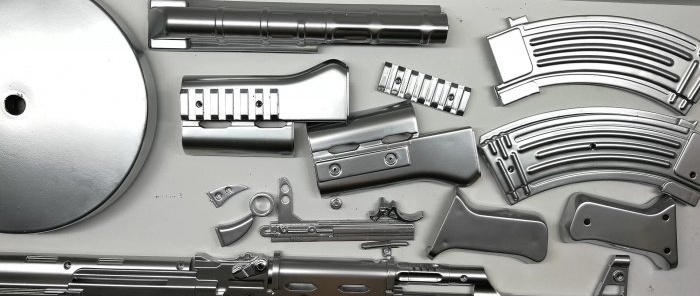
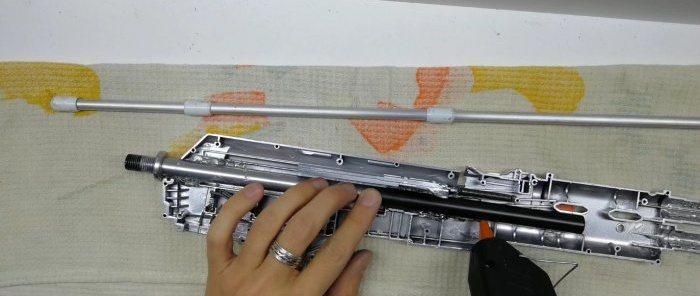
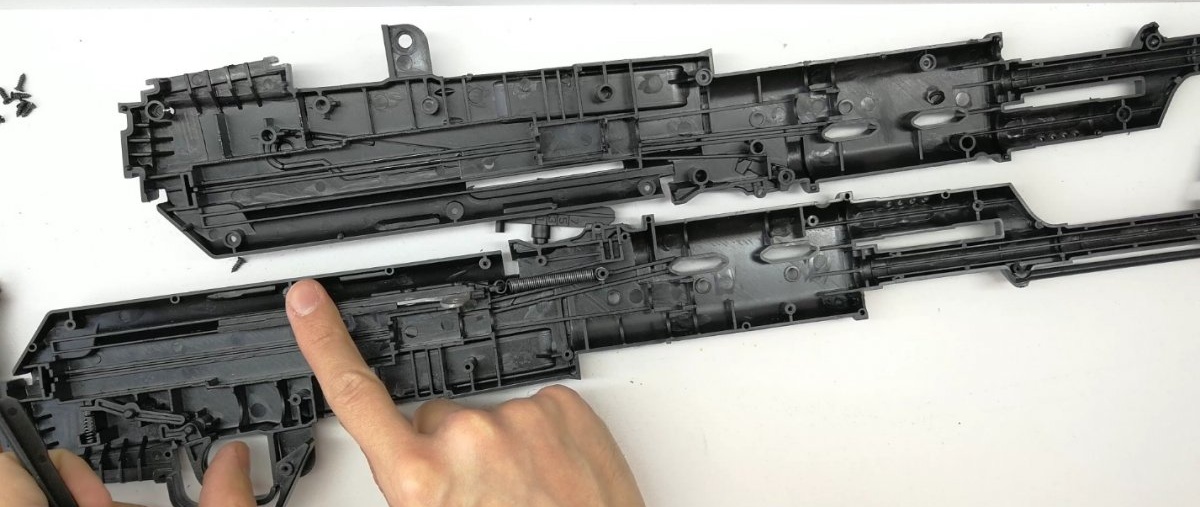
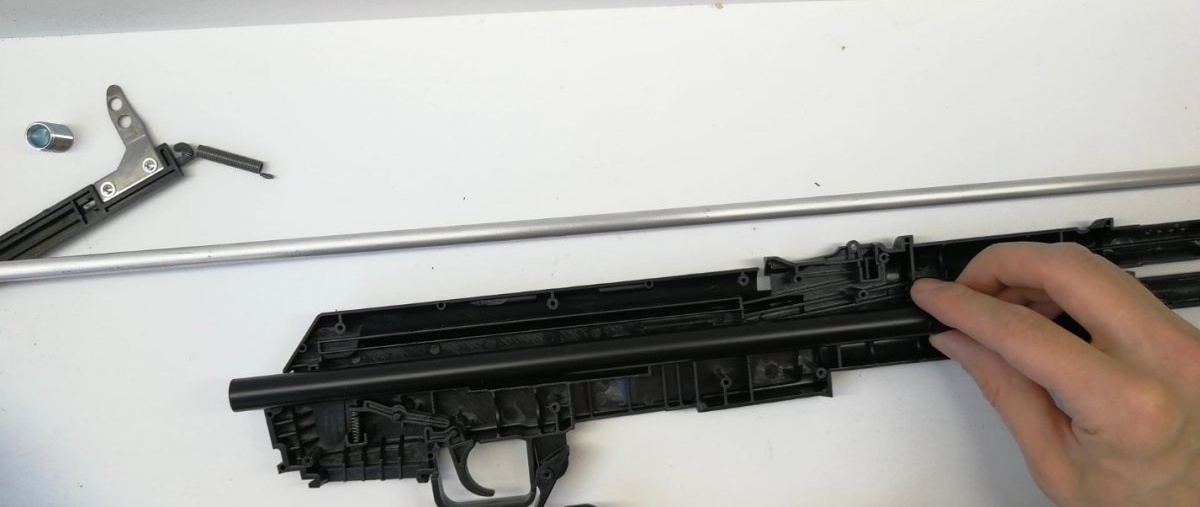
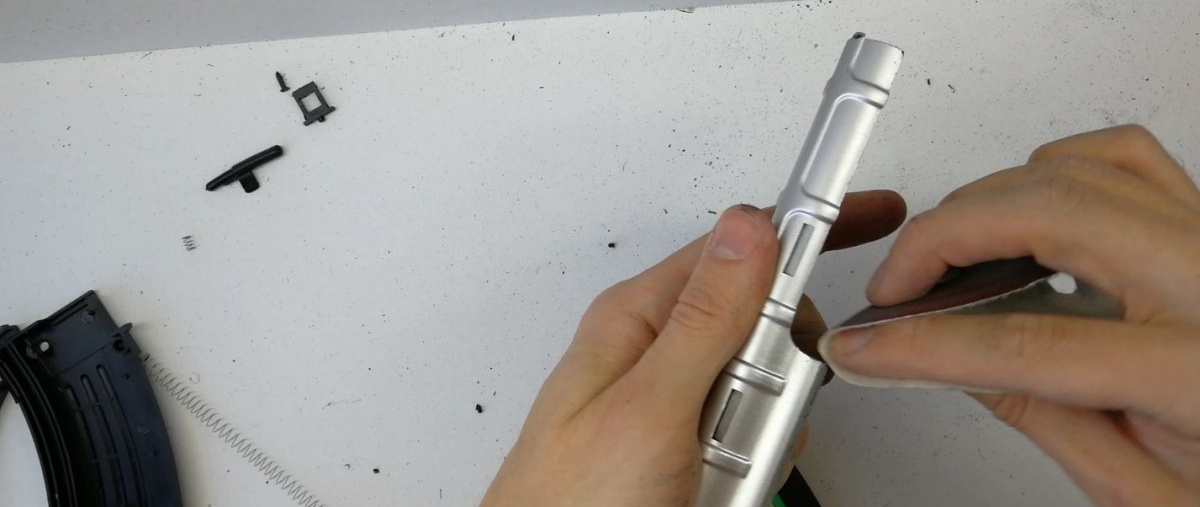
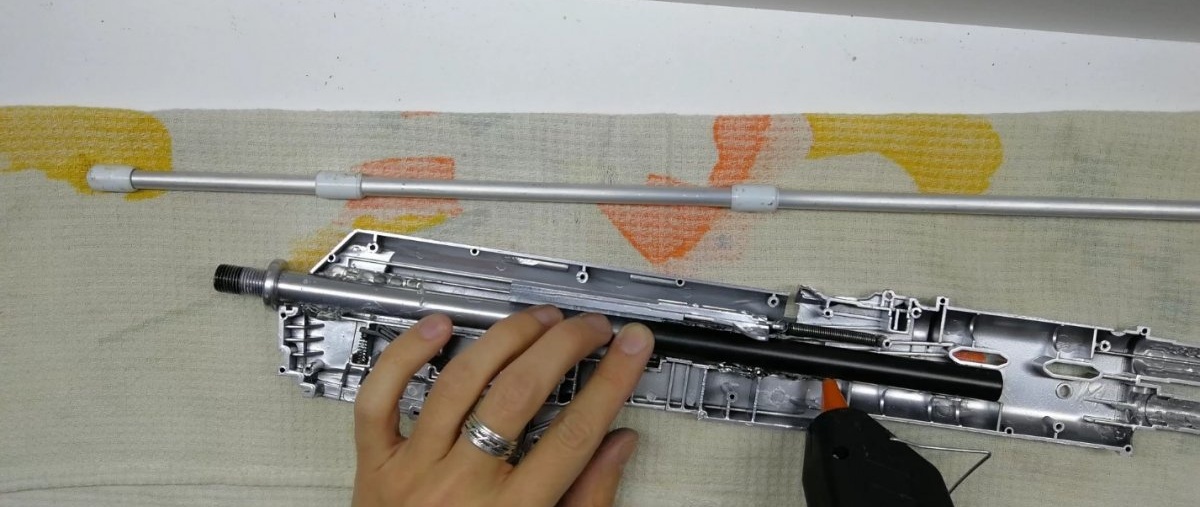
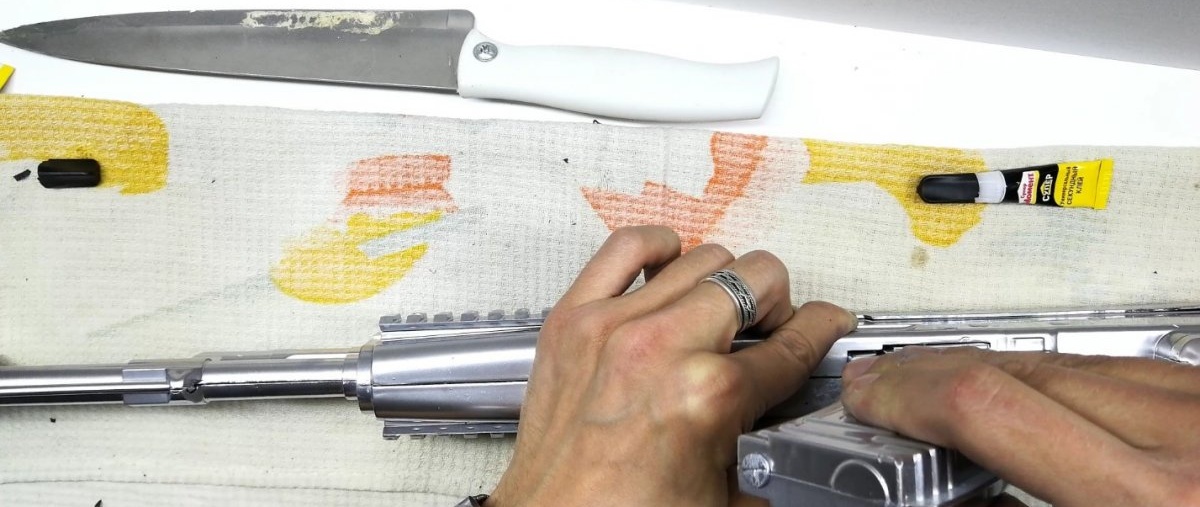
The first step was to disassemble the machine and throw away everything unnecessary. All that was left was the reloading mechanism and the trigger.

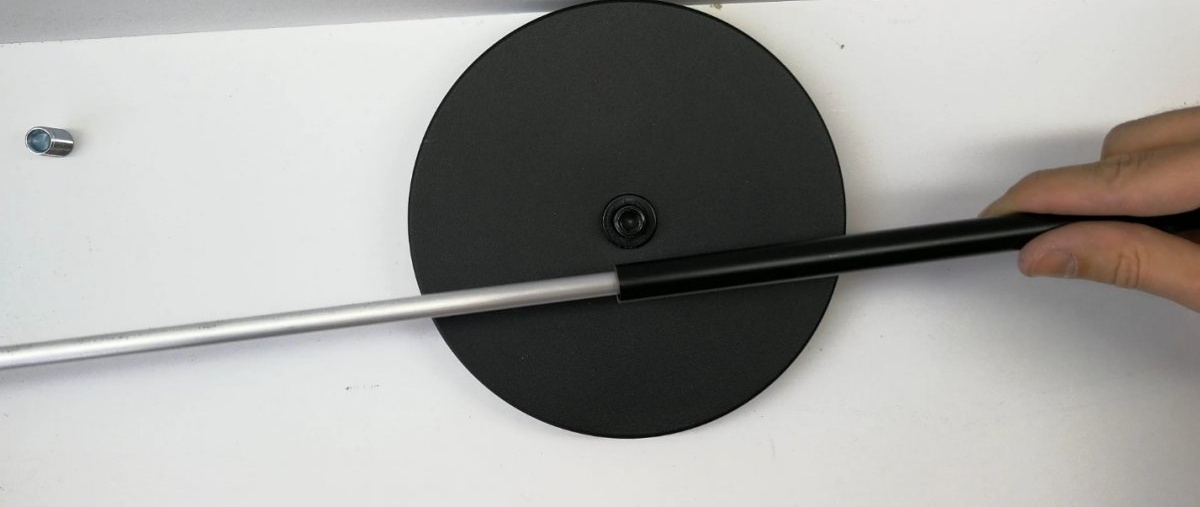
Base tube with a diameter of 12 mm.
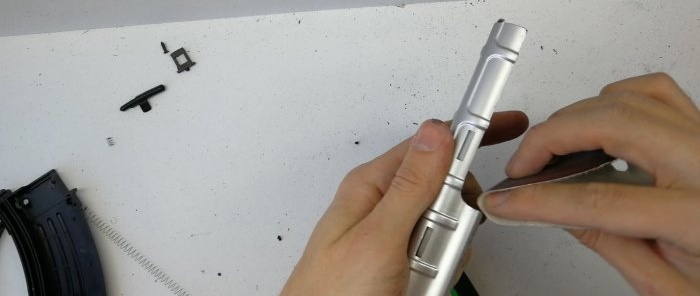
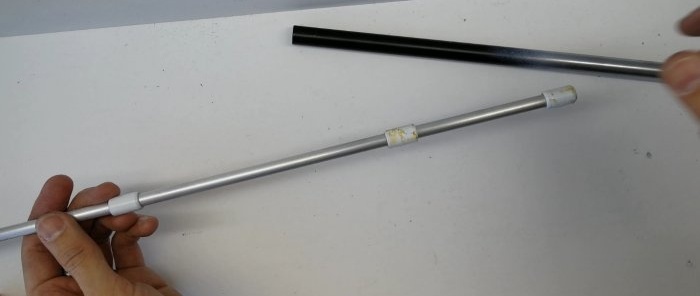
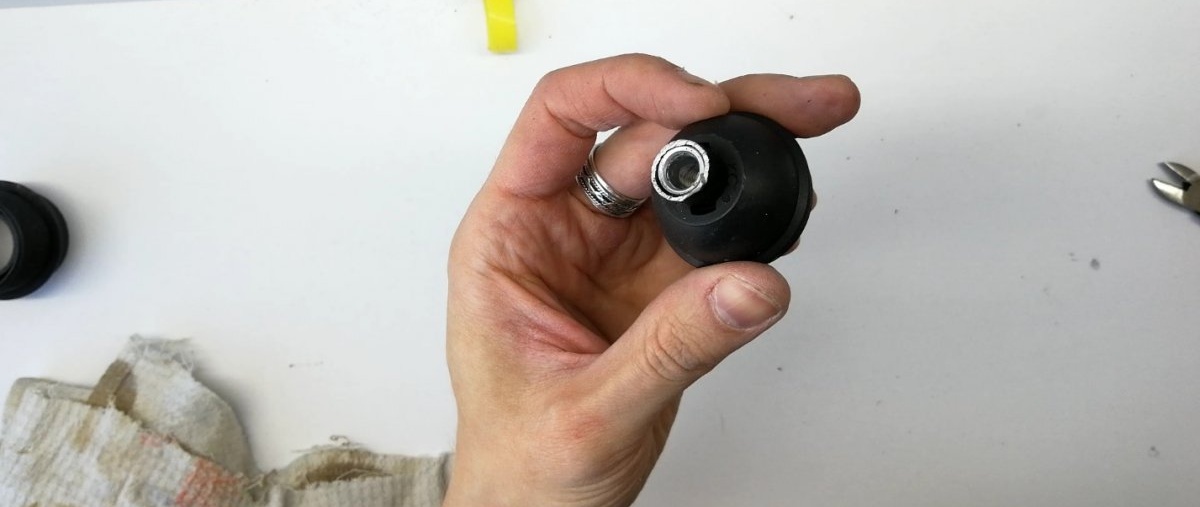
It's too thick for the muzzle, so I made an adapter. I used an aluminum tube with a diameter of 8 mm.
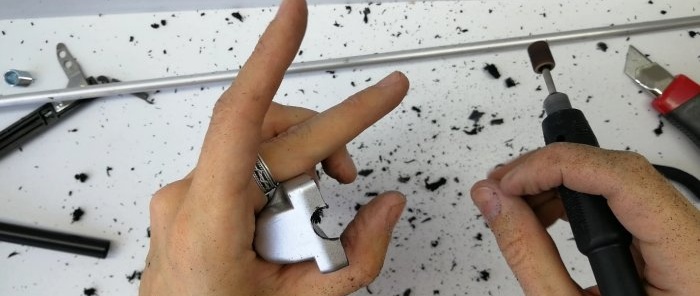
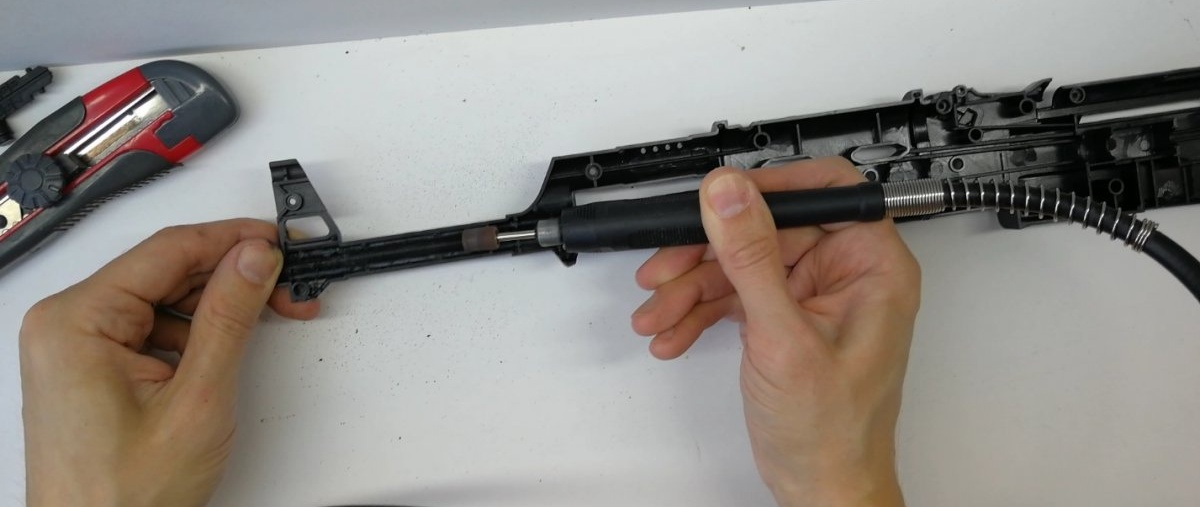
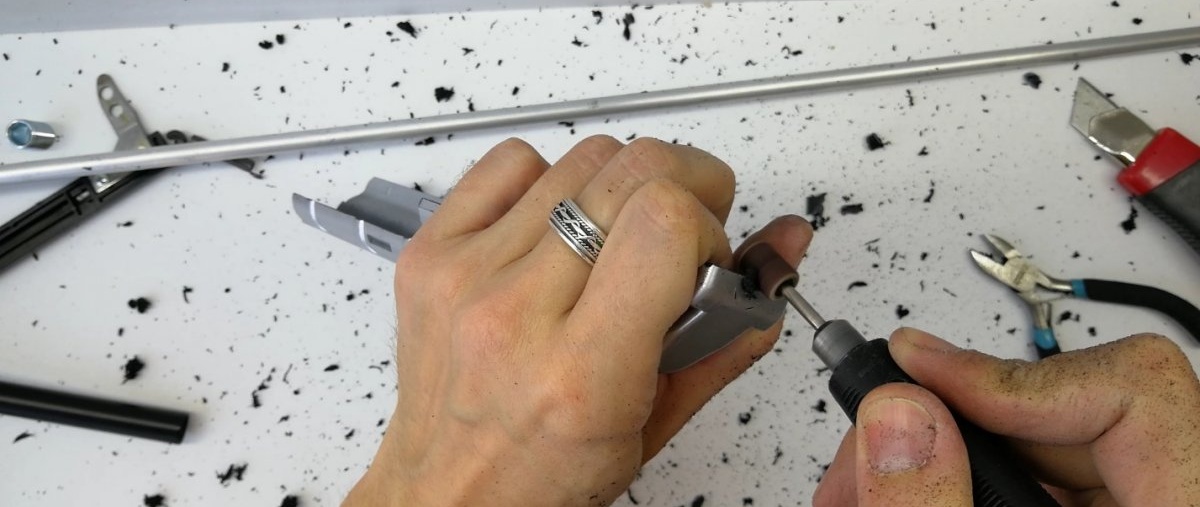
In order for the 8 mm tube to fit into the barrel, it had to be bored out.
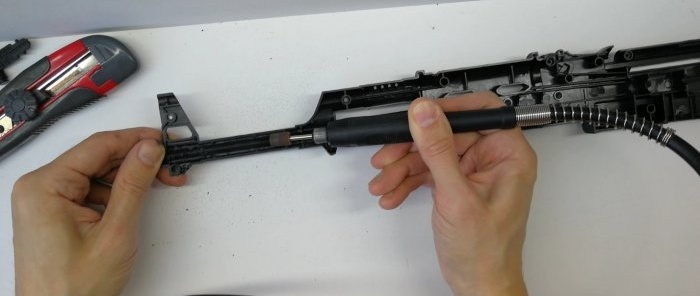
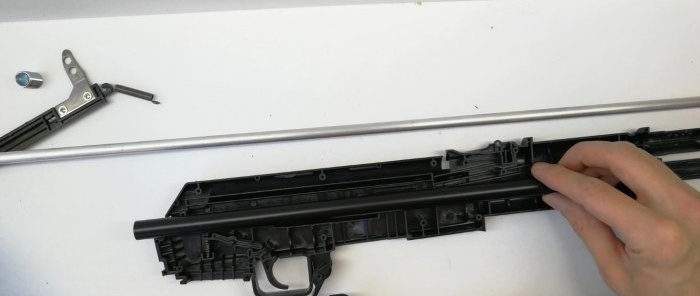
Next I made a hole for the base tube.

I also made a hole in the decorative cover.

Made a preliminary assembly
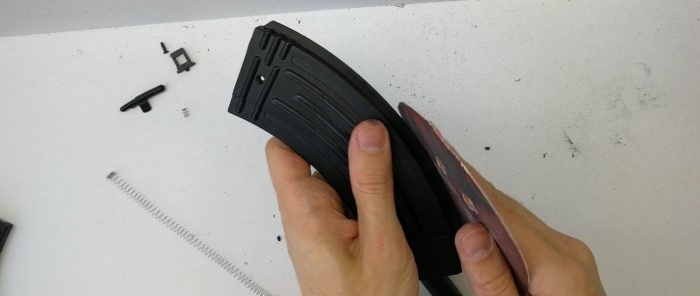
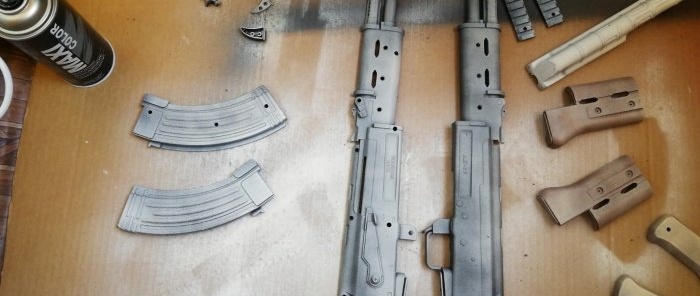
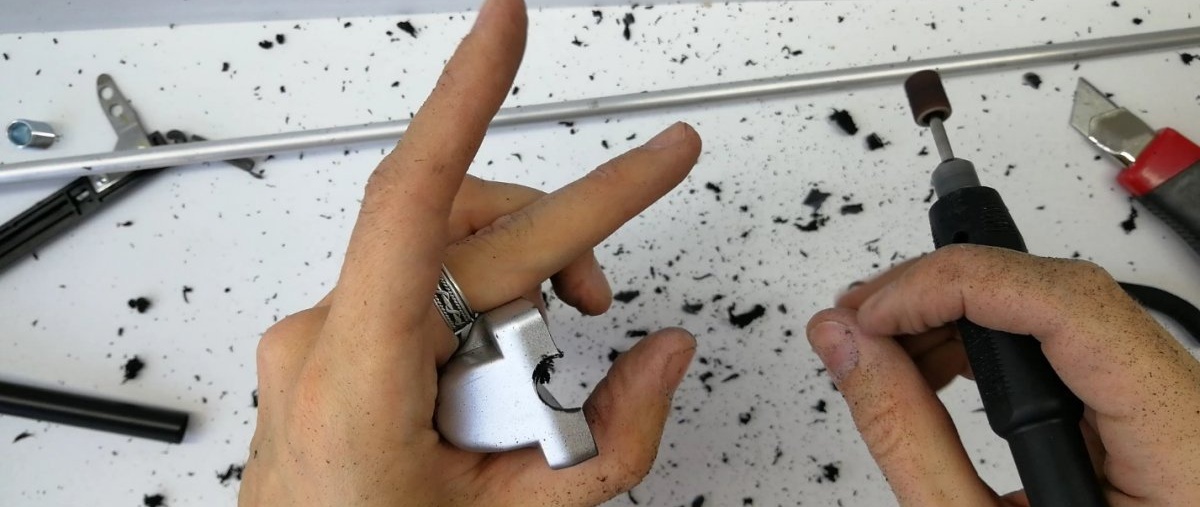
Next, I decided to remove traces of plastic injection.
I took 180 grit sandpaper and cleaned up the marks.
Before applying the primer, I took fine sandpaper and processed everything automatically.
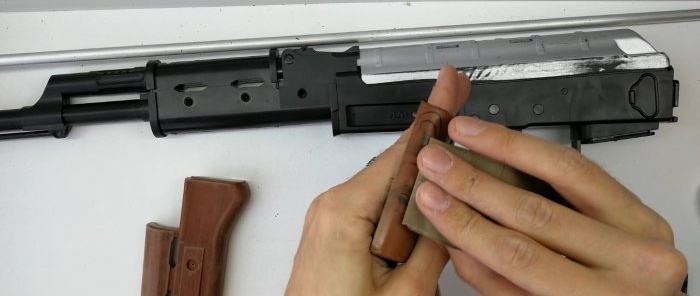
No special fanaticism is needed. The surface needs to be made a little rough. For better grip on the ground.
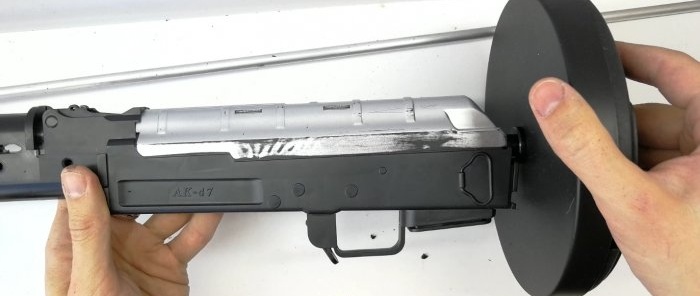
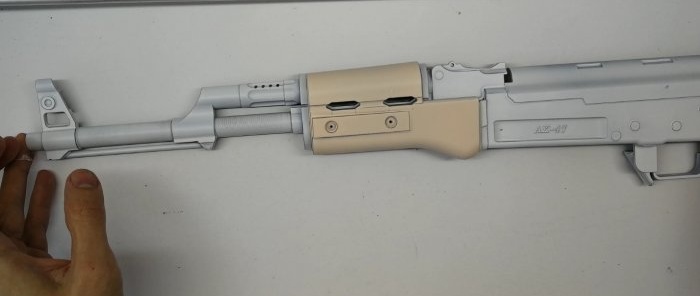
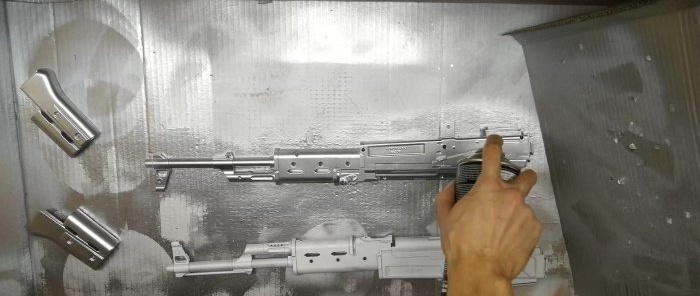
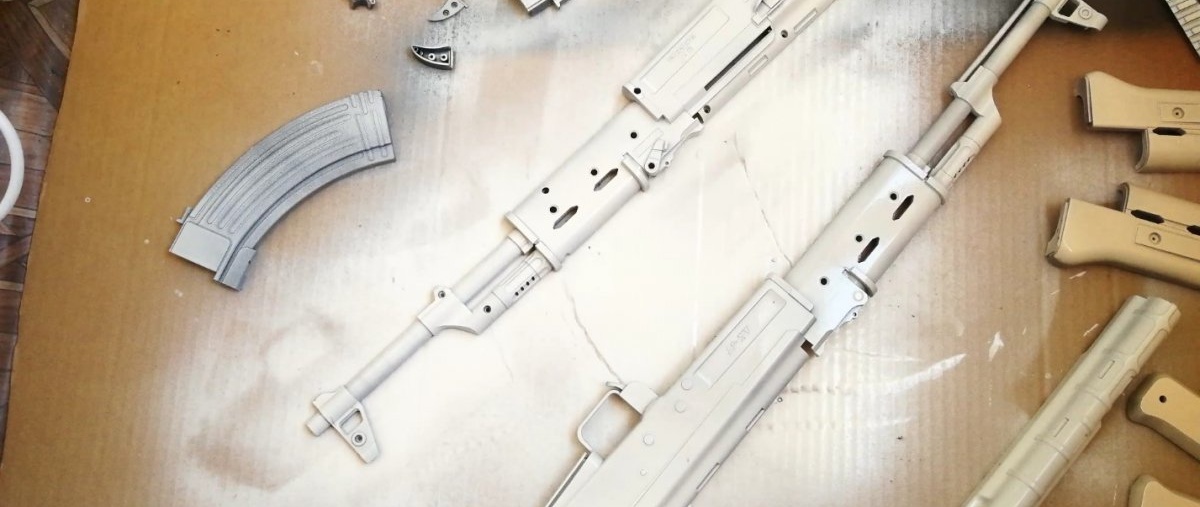
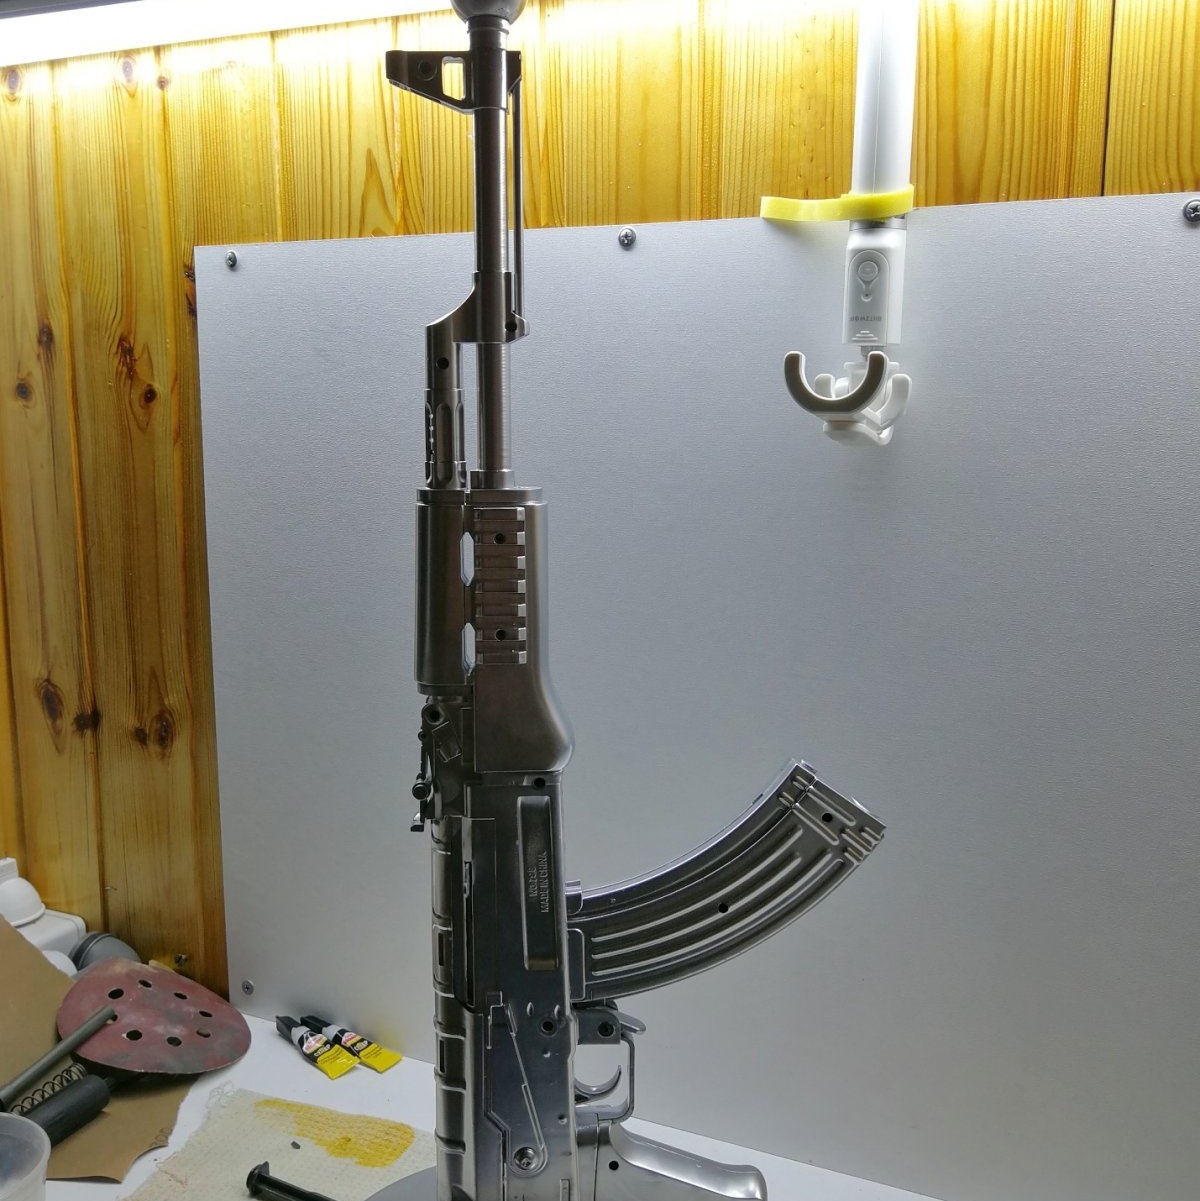
Everything was provided and degreased. I'm starting to paint. The primer was applied in 2 layers.
First layer.
Second layer.

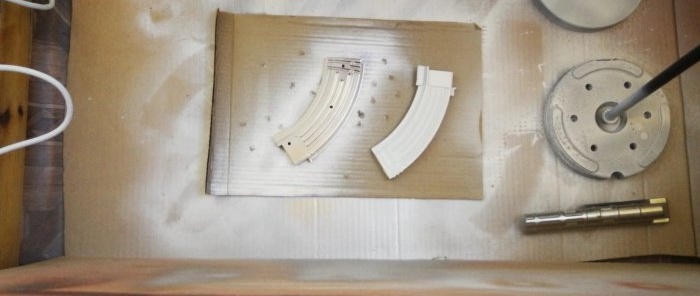
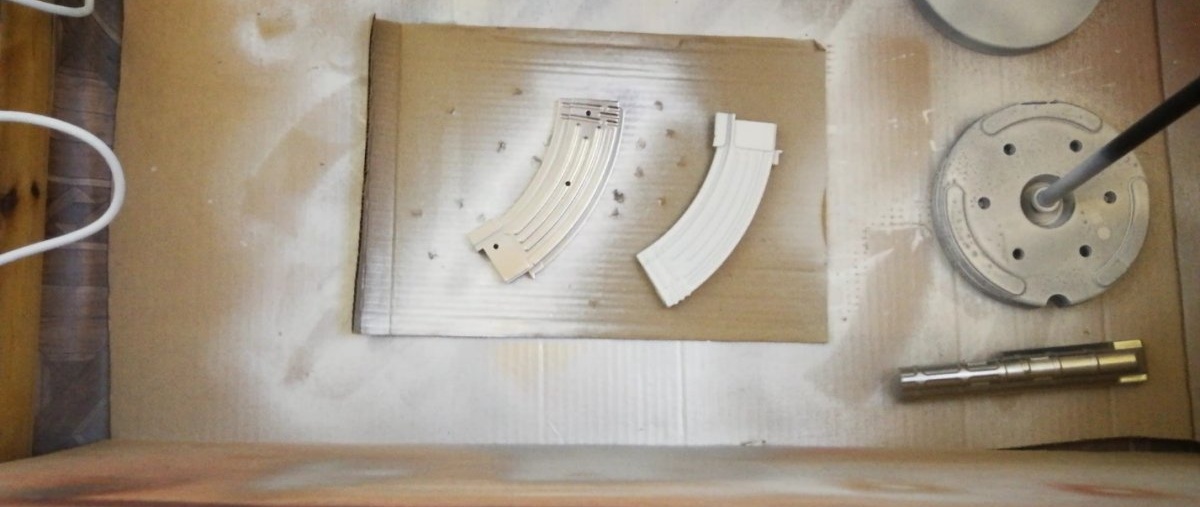
In the white version the machine looks great. It would have been possible to do so, but after the soil had dried, paint appeared on the “wooden” parts of the machine gun.
The paint was applied in 3 layers. Each layer was dried for at least an hour.
After painting I waited 2 days before starting the final assembly.
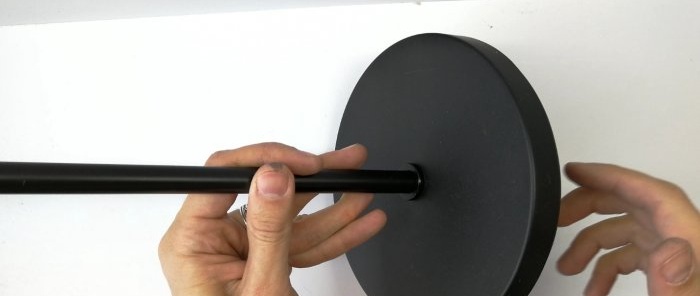
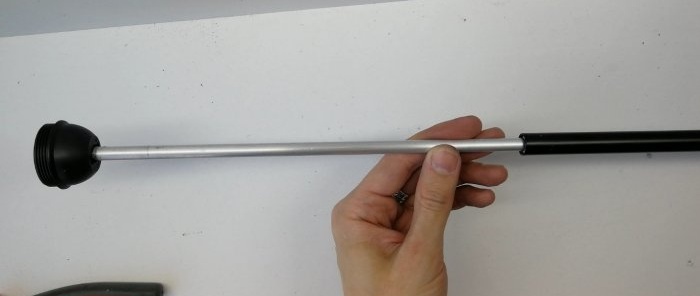
While the paint was drying, I started making a stand for the machine gun. I cut off the base and wire.
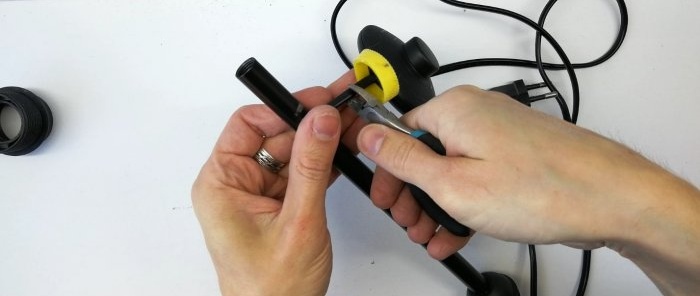

In order to get the rest of the tube out of the base without damaging it, I took a soldering iron and heated the tube.
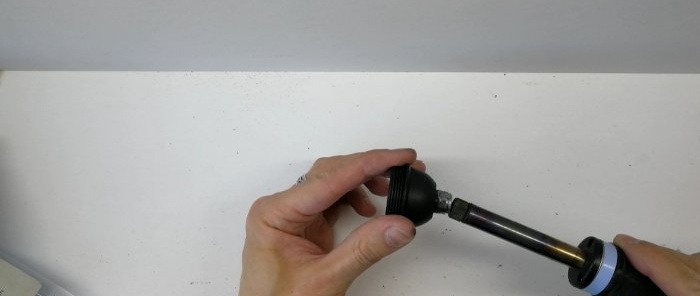
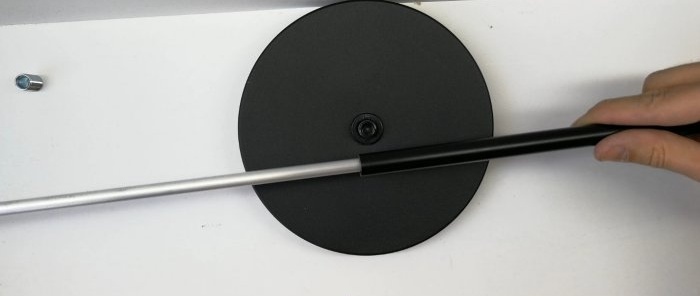
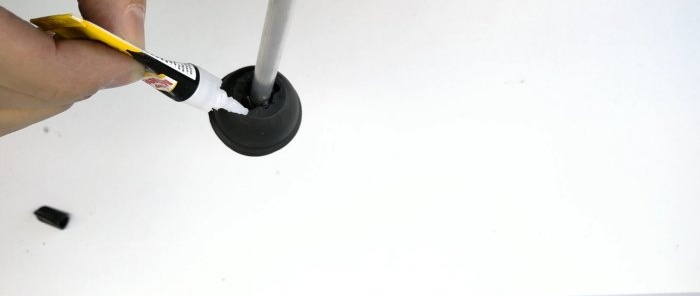
I took an 8 mm tube, inserted it into the base and filled it with superglue.
To prevent the aluminum tube from dangling, I screwed on a little electrical tape. I inserted it into the black tube and secured it with superglue.
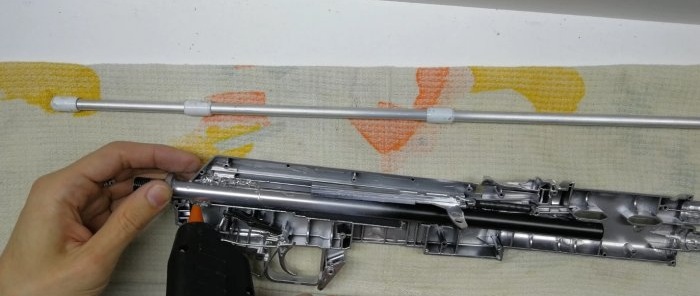
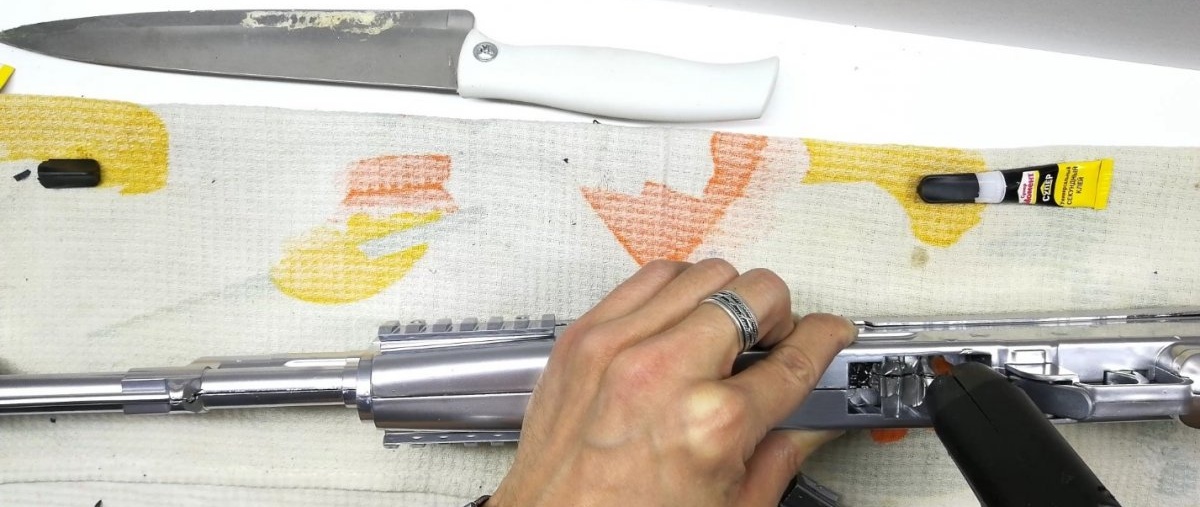
I'm starting the final assembly. I fix the tubes with hot glue.
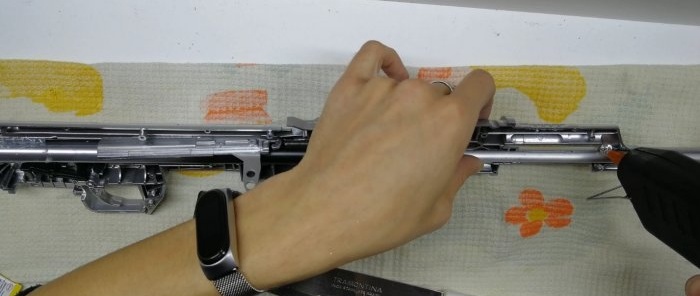
The machine's magazine was also fixed with hot-melt adhesive.


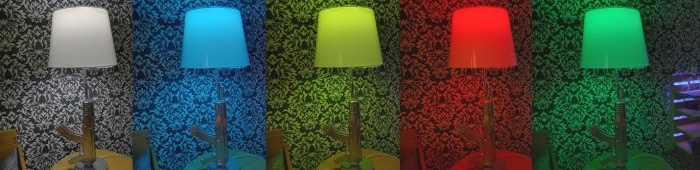
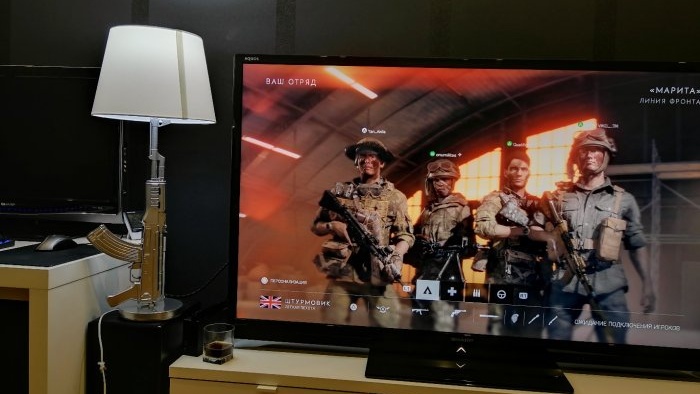
I will use an LED light bulb with RGB backlighting and a Bluetooth speaker.

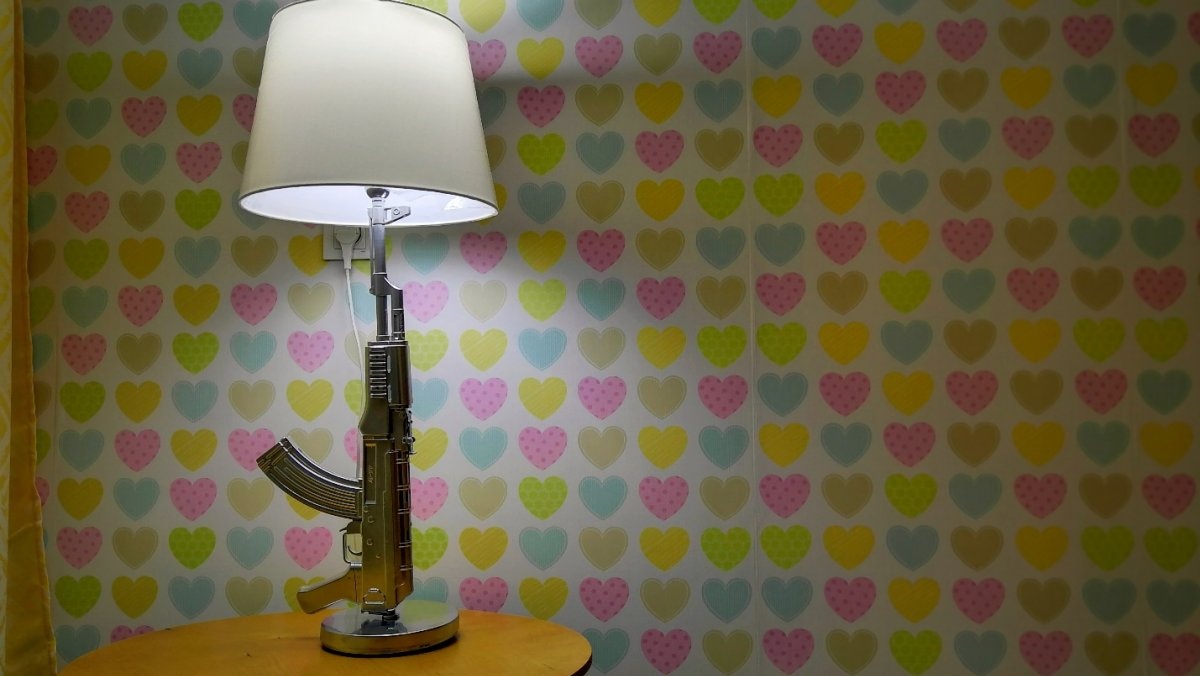
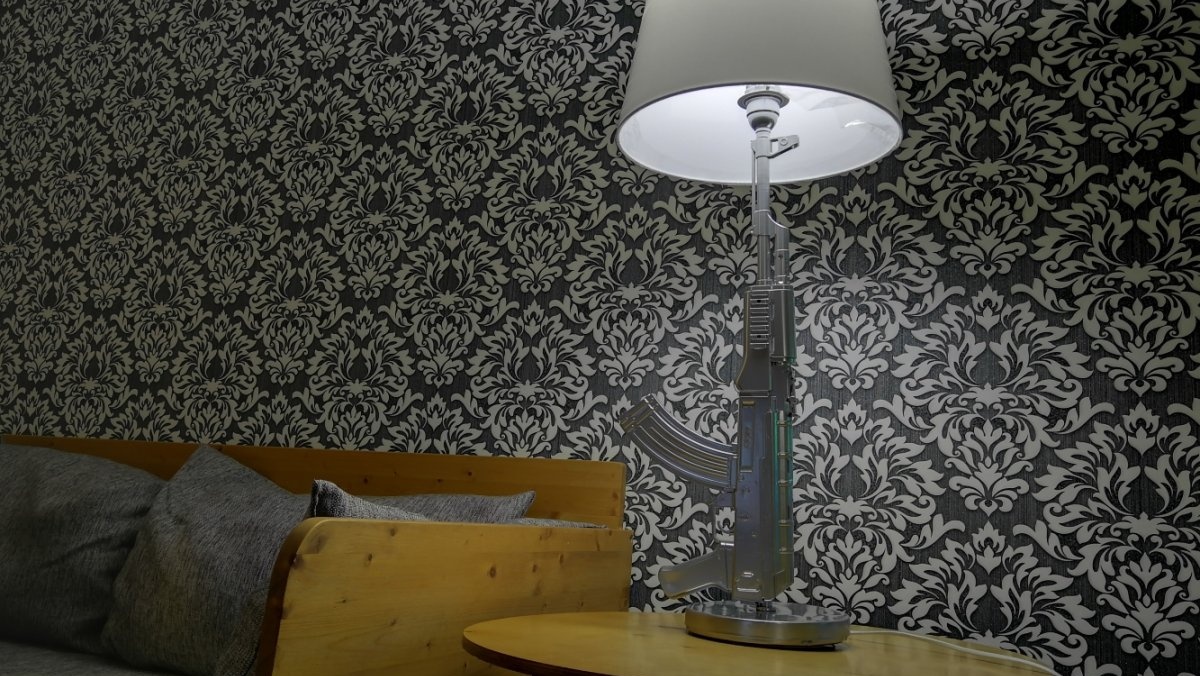
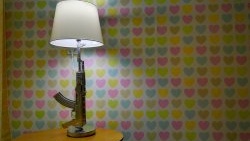
I install the lampshade, screw in the light bulb and look at the result of my work.


The brightness of the lamp is adjusted using the remote control. You can turn on multi-colored lights and play music via a Bluetooth speaker. The speaker volume is quite enough for a room of 15 m2.
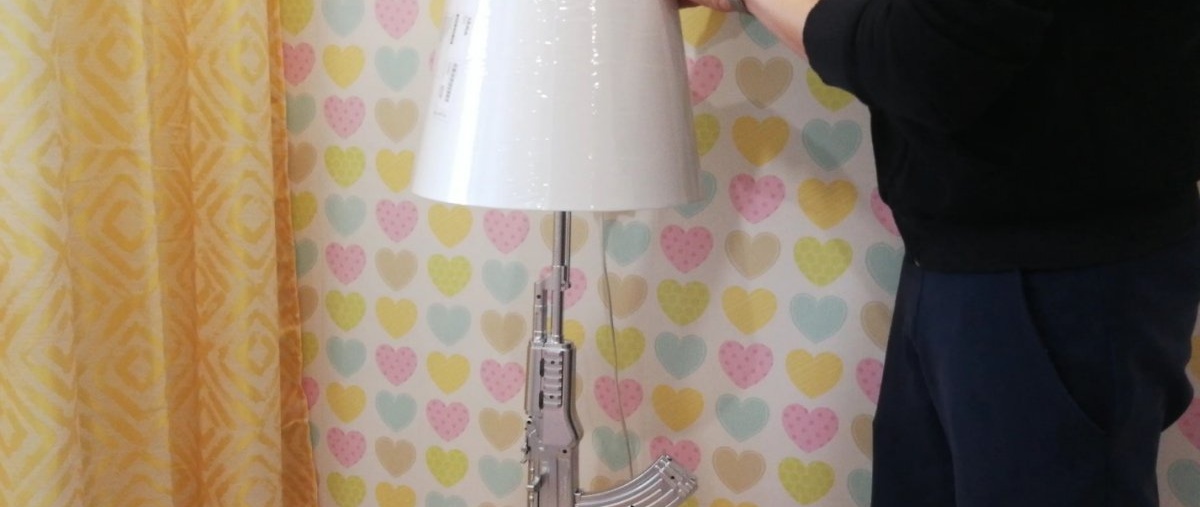
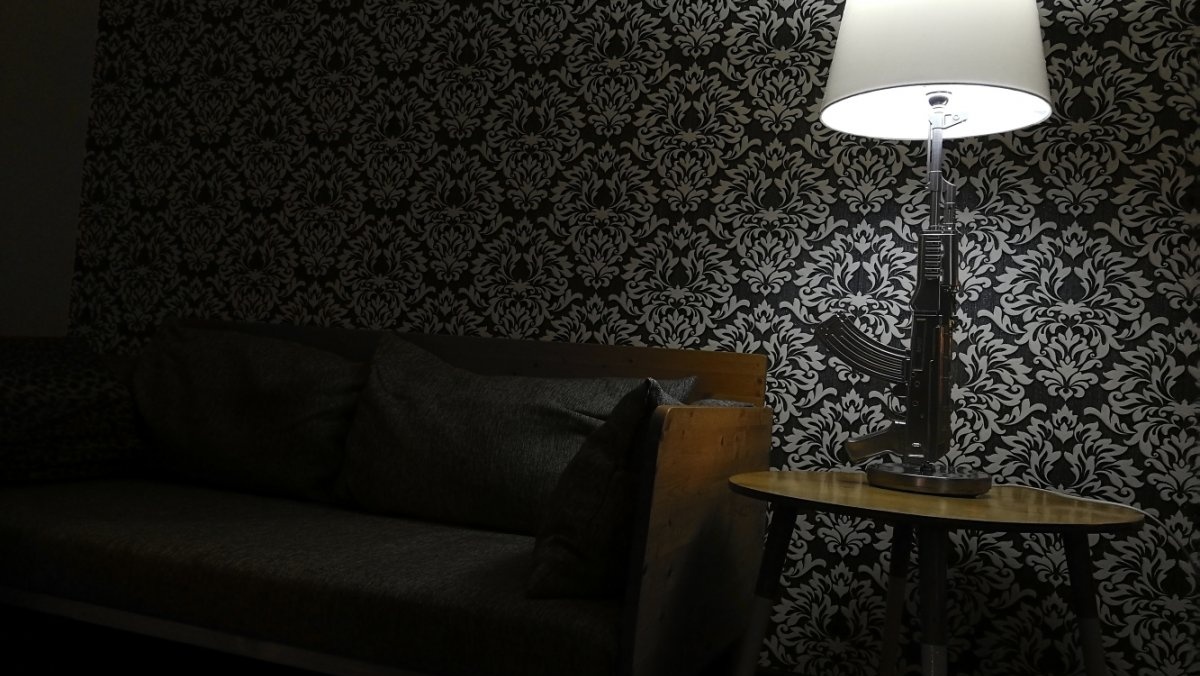
This is such a spectacular lamp I got.
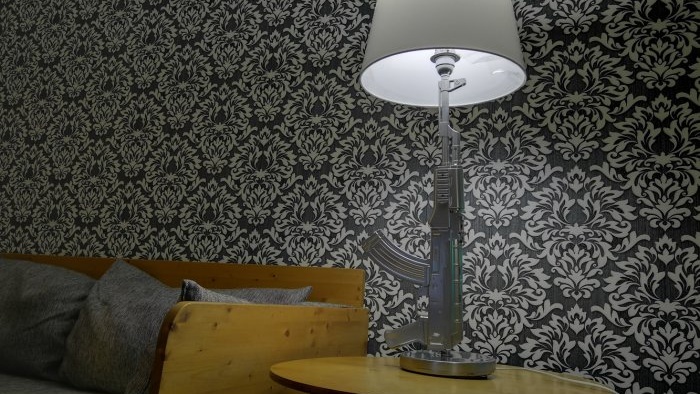
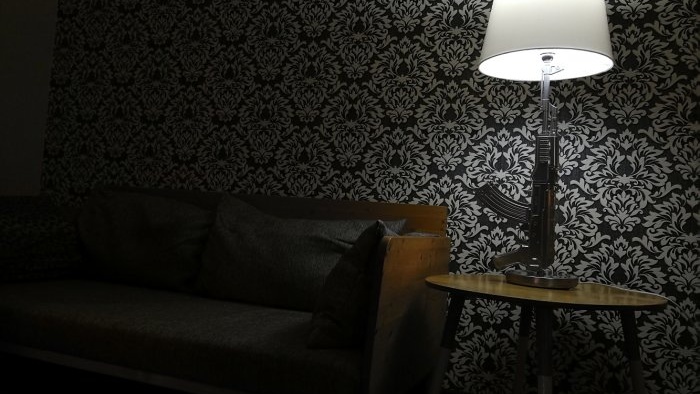
The lamp fit perfectly into the interior of my friend’s apartment. By the way, he was pleasantly surprised by my gift!
That's all. Until next time.
Will need
To make the lamp I needed:
- Pneumatic automatic.
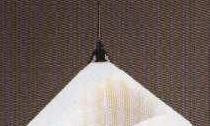
- Shade.
- Lamp base.
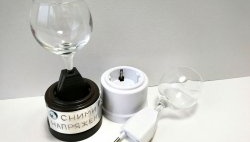
- RGB light bulb.
- Primer and paint in cans.
- Aluminum tube.
I ordered the lampshade and base for the lamp from Ikea. I bought the machine gun at a toy store.

Didn't use the stock. I decided to make a shortened version of the machine.
Making a lamp in the form of an AK-47
The first step was to disassemble the machine and throw away everything unnecessary. All that was left was the reloading mechanism and the trigger.
Base tube with a diameter of 12 mm.

It's too thick for the muzzle, so I made an adapter. I used an aluminum tube with a diameter of 8 mm.
In order for the 8 mm tube to fit into the barrel, it had to be bored out.

Next I made a hole for the base tube.
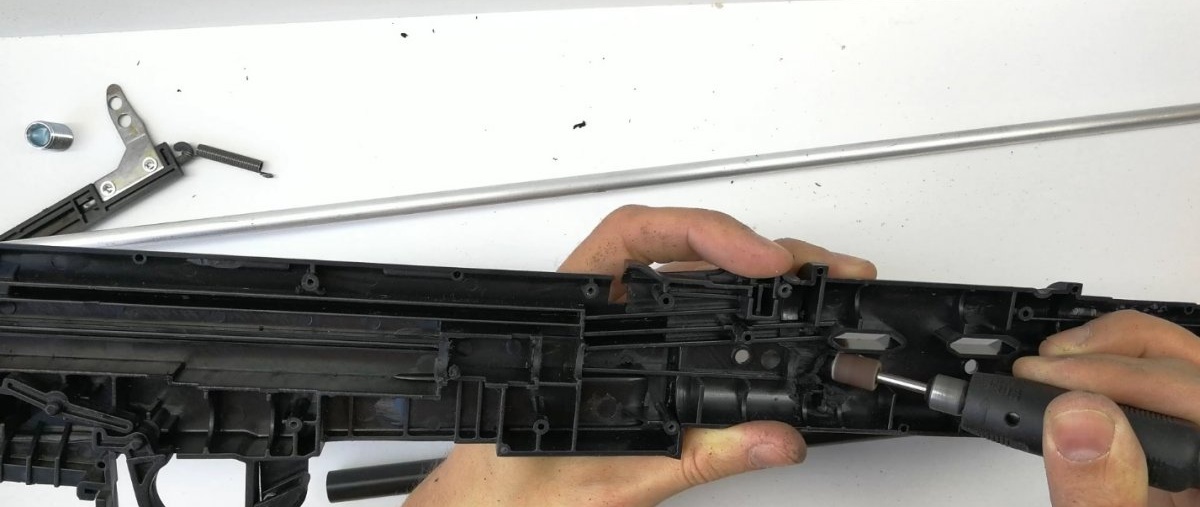
I also made a hole in the decorative cover.
Made a preliminary assembly

Next, I decided to remove traces of plastic injection.

I took 180 grit sandpaper and cleaned up the marks.

Before applying the primer, I took fine sandpaper and processed everything automatically.

No special fanaticism is needed. The surface needs to be made a little rough. For better grip on the ground.

Everything was provided and degreased. I'm starting to paint. The primer was applied in 2 layers.
First layer.

Second layer.
In the white version the machine looks great. It would have been possible to do so, but after the soil had dried, paint appeared on the “wooden” parts of the machine gun.

The paint was applied in 3 layers. Each layer was dried for at least an hour.

After painting I waited 2 days before starting the final assembly.

While the paint was drying, I started making a stand for the machine gun. I cut off the base and wire.

In order to get the rest of the tube out of the base without damaging it, I took a soldering iron and heated the tube.

I took an 8 mm tube, inserted it into the base and filled it with superglue.

To prevent the aluminum tube from dangling, I screwed on a little electrical tape. I inserted it into the black tube and secured it with superglue.


I'm starting the final assembly. I fix the tubes with hot glue.


The machine's magazine was also fixed with hot-melt adhesive.
I will use an LED light bulb with RGB backlighting and a Bluetooth speaker.

I install the lampshade, screw in the light bulb and look at the result of my work.
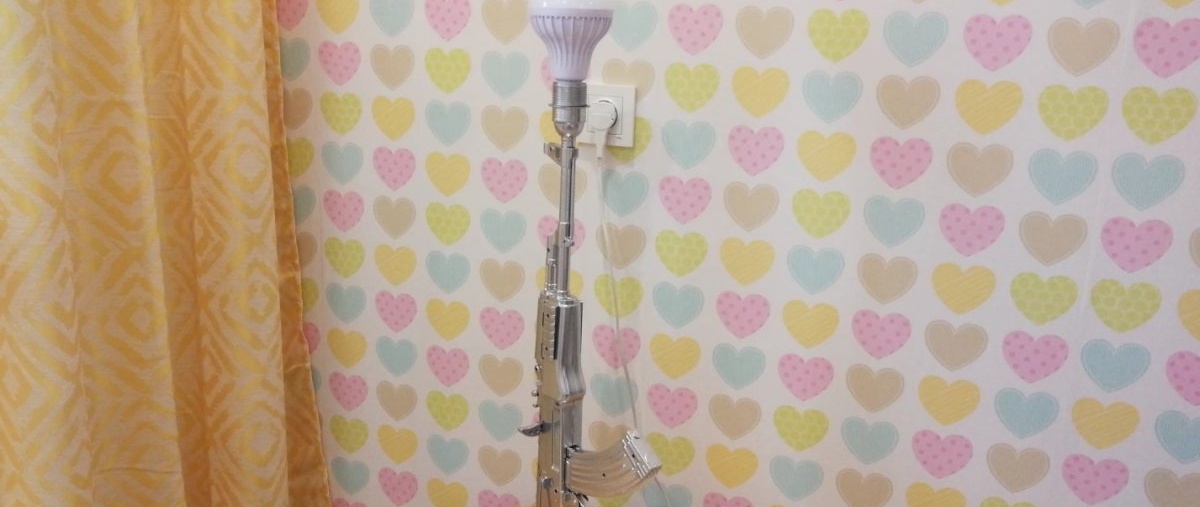
The brightness of the lamp is adjusted using the remote control. You can turn on multi-colored lights and play music via a Bluetooth speaker. The speaker volume is quite enough for a room of 15 m2.

This is such a spectacular lamp I got.
The lamp fit perfectly into the interior of my friend’s apartment. By the way, he was pleasantly surprised by my gift!

That's all. Until next time.
Watch the video
Similar master classes

Particularly interesting


Comments (0)
