How to restore an ax handle using hot glue
With frequent use of an ax for chopping wood, its handle begins to break. The wood in the eye rots, causing the ax handle to become loose and the wedge to fall out of it. As a result, the ax falls off, so before chopping wood it has to be soaked in water for several hours to allow the wood to swell. There is a way to solve such problems, after which the ax will have to be repaired only if the ax handle is broken, but not before.

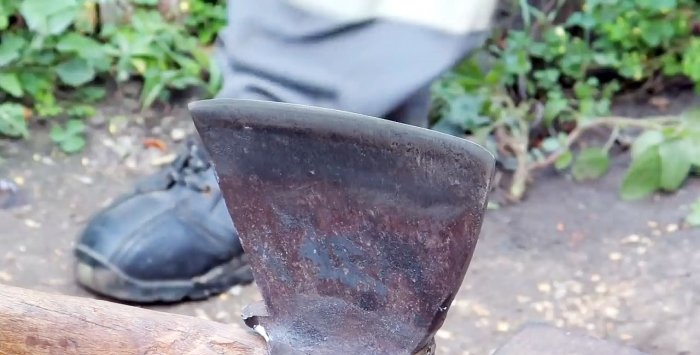
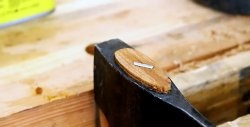
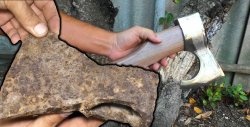
The first step is to file down the old, shrunken ax handle so that it does not extend beyond the line of the eye.

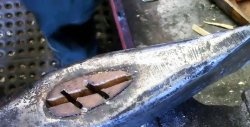
Next, the eye of the ax on the side where the wedge is driven in must be hermetically sealed with a patch made of thick sheet steel.


Thin metal will not work as it will simply break when it hits the logs.

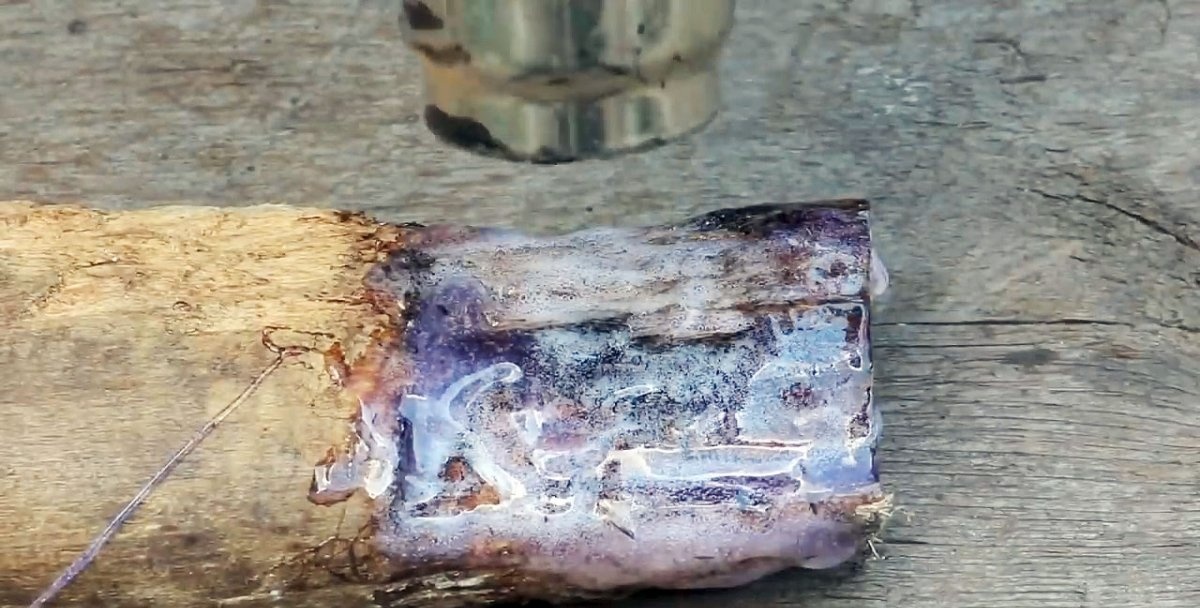
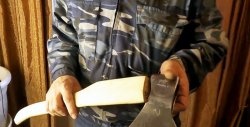
The part of the rotten and broken ax removed from the eye needs to be tinned with hot glue. The wood should be well soaked to close its pores and stop further deterioration. The better this is done, the stronger the ax will be held in the butt and will last longer.


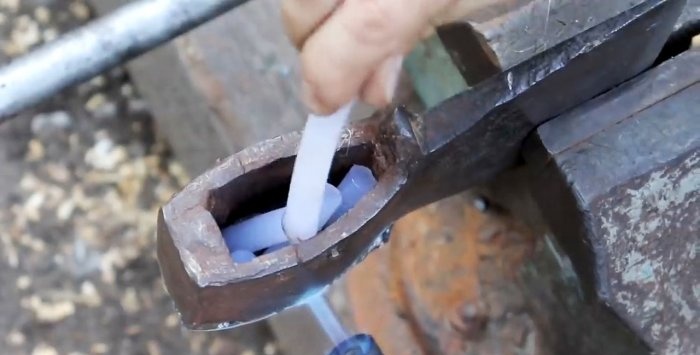
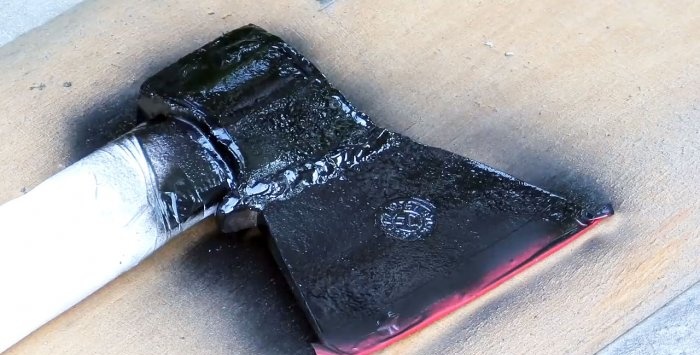
The wedge cutout at the end of the ax handle should also be filled with hot glue. Considering the scale, it is better to carry out all work with a hairdryer rather than with a glue gun.
Next, you need to put chopped hot-melt glue rods into the bowl obtained from the ax and melt them with a hairdryer or burner.
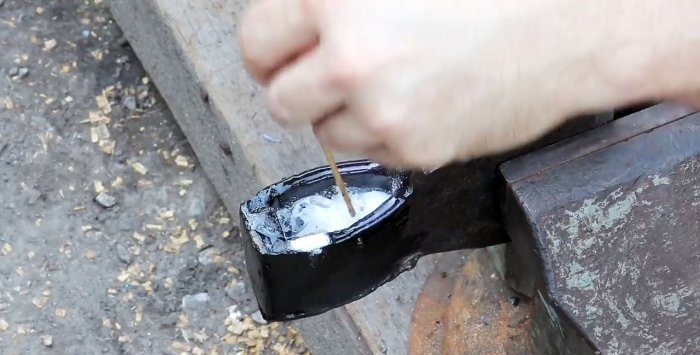
As soon as they become liquid, add a tablespoon of baking soda to the mixture.
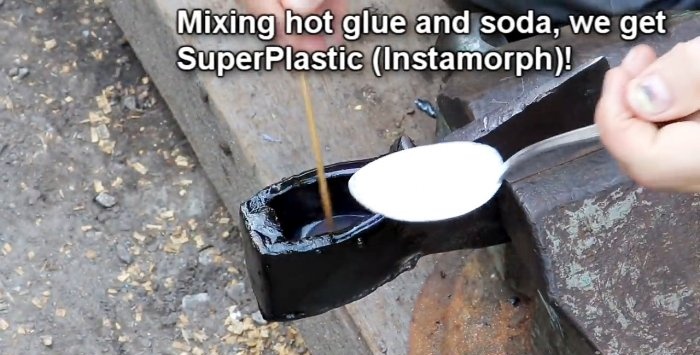
By mixing hot glue and baking soda you can get very durable plastic. It is important to continue heating while mixing as the mixture cools quickly.
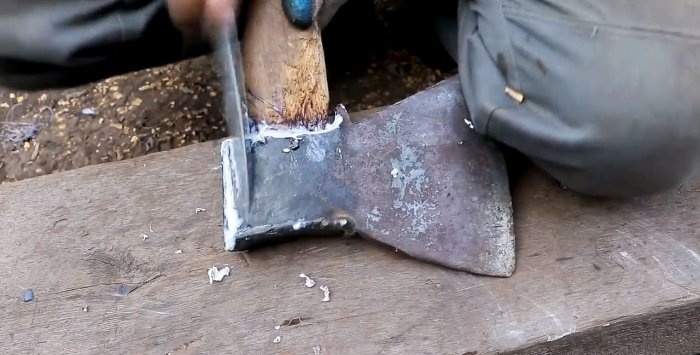
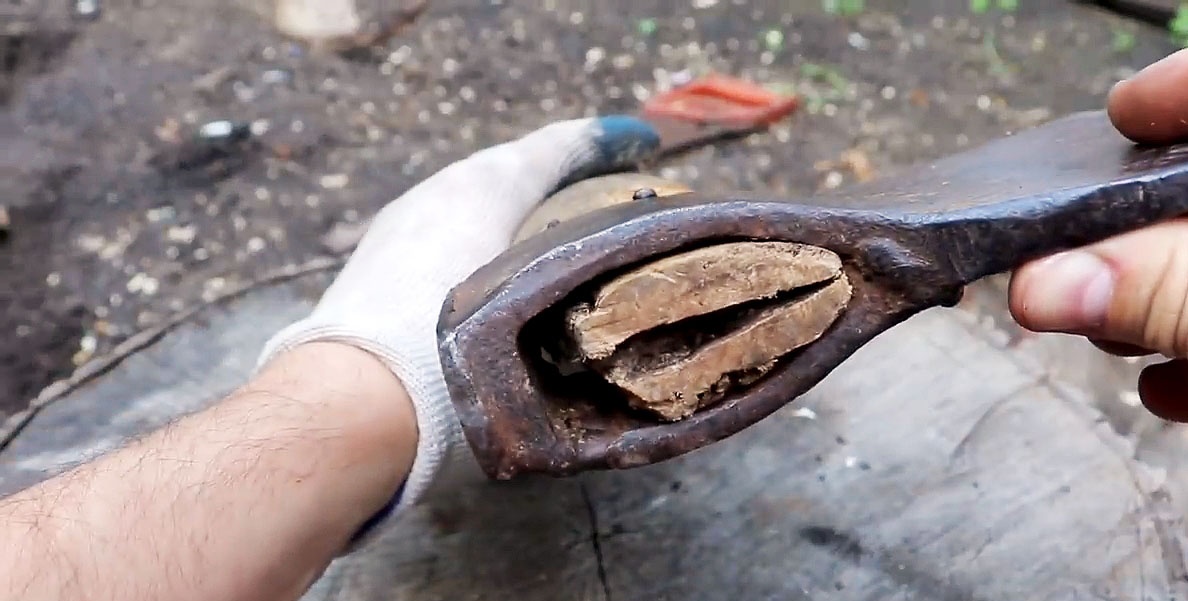
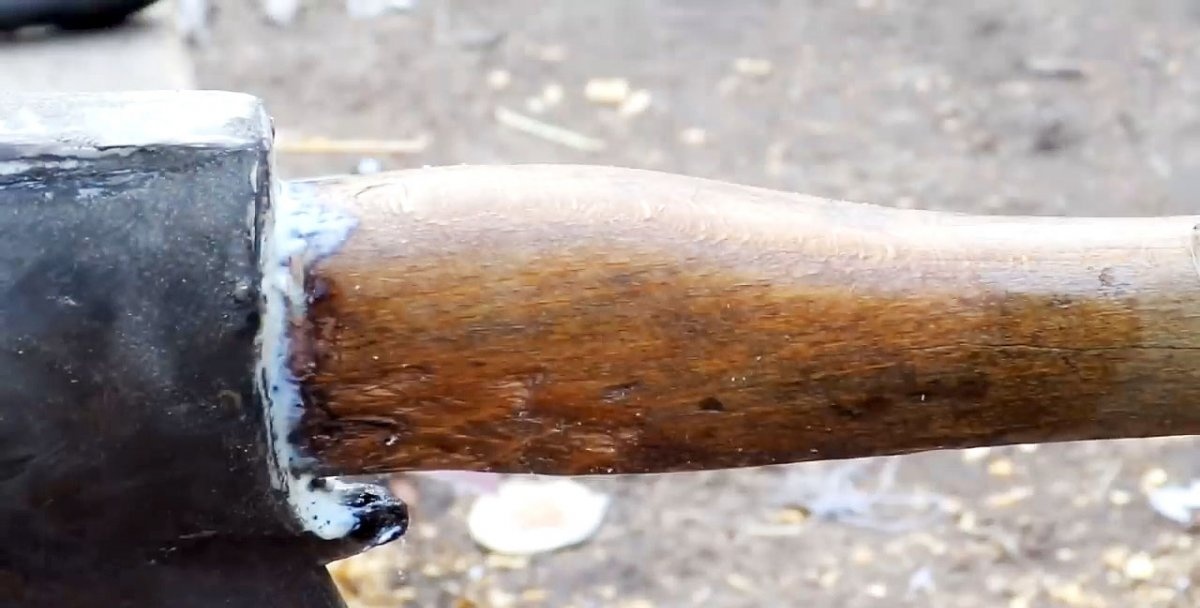
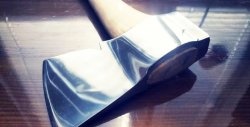
Once the glue is liquid enough again, the ax handle is inserted into the axe. If the excess composition is squeezed out, then everything was done correctly and there was enough of it to fill all the cavities.

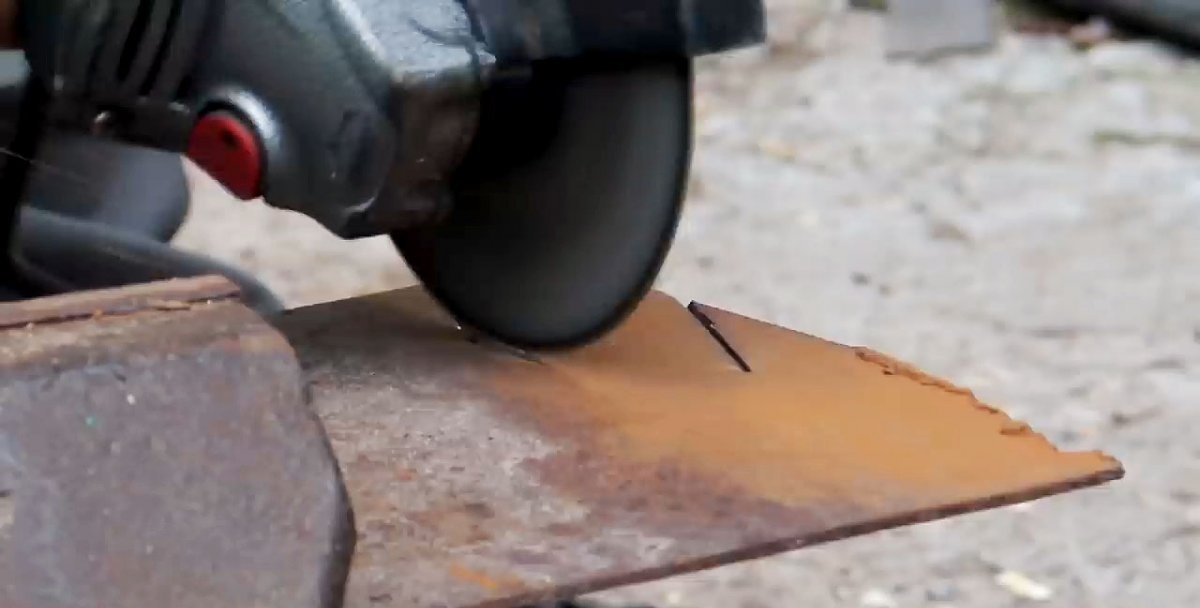
After hardening, you can cut off the spilled excess composition manually or using a grinder, which will be faster.
Treat the ax handle with drying oil or oil.

Sharpen the edge manually or again using the same angle grinder.
Paint the axe.
At first glance, the method is impractical and it seems that a new ax handle would be the best solution, but the use of hot-melt adhesive prevents further drying out of the wood, the wedges falling out, and the ax itself falling off.

An ax handle placed in this way will not need to be stuffed, and the price is one electrode, a piece of metal and a package of sticks for a glue gun. If there is a need to disassemble the structure, then you just need to heat it up.

Materials:
- thick sheet steel;
- glue gun rods;
- baking soda.
Refinement of the ax and hatchet
The first step is to file down the old, shrunken ax handle so that it does not extend beyond the line of the eye.

Next, the eye of the ax on the side where the wedge is driven in must be hermetically sealed with a patch made of thick sheet steel.

Thin metal will not work as it will simply break when it hits the logs.

The part of the rotten and broken ax removed from the eye needs to be tinned with hot glue. The wood should be well soaked to close its pores and stop further deterioration. The better this is done, the stronger the ax will be held in the butt and will last longer.

The wedge cutout at the end of the ax handle should also be filled with hot glue. Considering the scale, it is better to carry out all work with a hairdryer rather than with a glue gun.
Next, you need to put chopped hot-melt glue rods into the bowl obtained from the ax and melt them with a hairdryer or burner.

As soon as they become liquid, add a tablespoon of baking soda to the mixture.

By mixing hot glue and baking soda you can get very durable plastic. It is important to continue heating while mixing as the mixture cools quickly.

Once the glue is liquid enough again, the ax handle is inserted into the axe. If the excess composition is squeezed out, then everything was done correctly and there was enough of it to fill all the cavities.

After hardening, you can cut off the spilled excess composition manually or using a grinder, which will be faster.

Treat the ax handle with drying oil or oil.
Sharpen the edge manually or again using the same angle grinder.

Paint the axe.

At first glance, the method is impractical and it seems that a new ax handle would be the best solution, but the use of hot-melt adhesive prevents further drying out of the wood, the wedges falling out, and the ax itself falling off.

An ax handle placed in this way will not need to be stuffed, and the price is one electrode, a piece of metal and a package of sticks for a glue gun. If there is a need to disassemble the structure, then you just need to heat it up.

Watch the video
Similar master classes

Particularly interesting


Comments (6)
