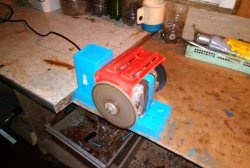
Powerful cutter from a washing machine engine
Milling cutters are widely used in furniture production and, since they are professional equipment, are not cheap. Among them, the most versatile and widely used is a plunge-cut (vertical or rod) milling cutter, which you can make yourself from used components and parts.
To make a homemade router, we need to acquire:
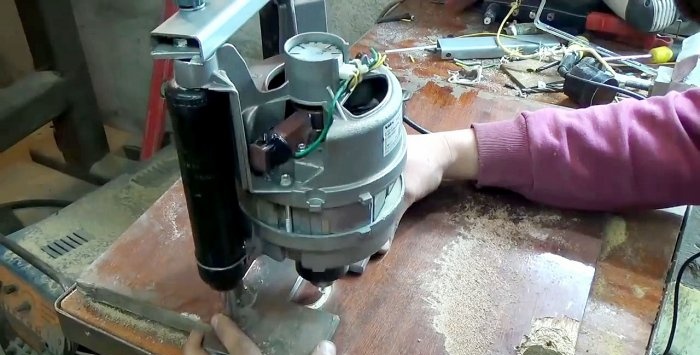
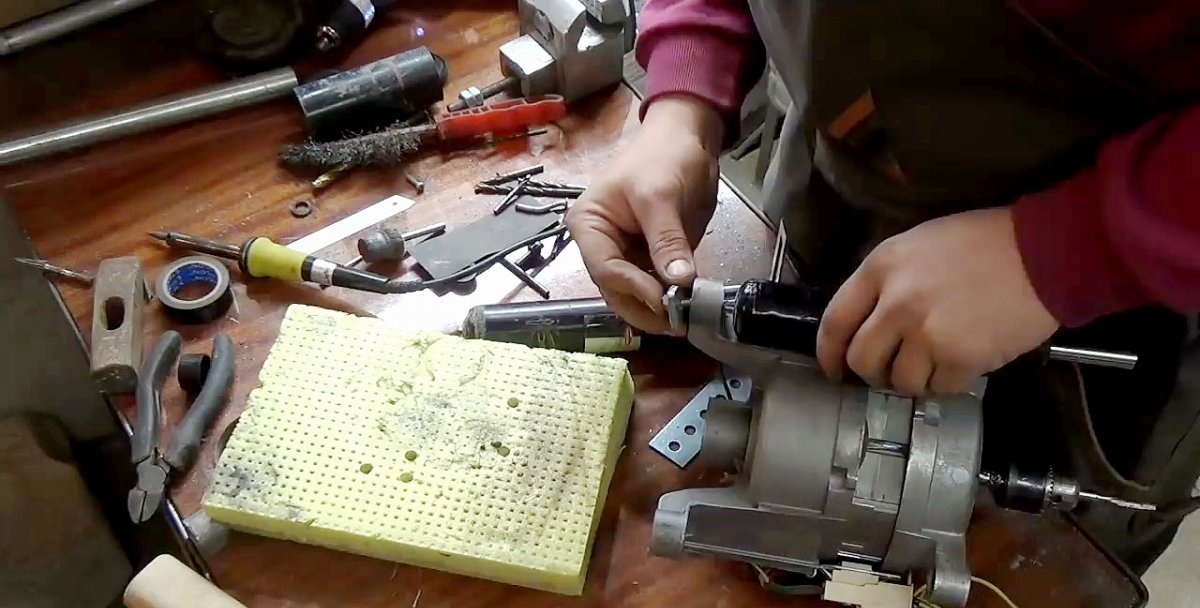
One of the main components of our homemade product is the electric motor. Let's check its performance and, making sure that everything is in order with it, we begin to modernize it.
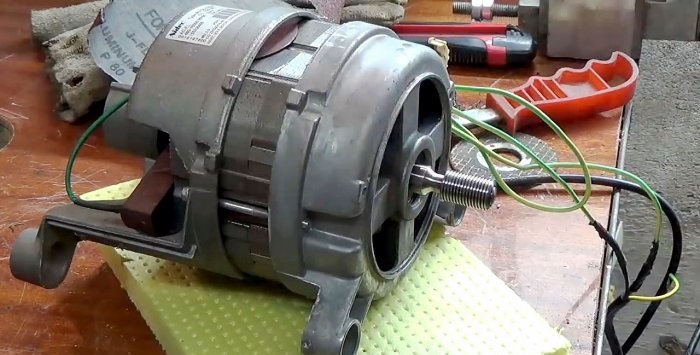
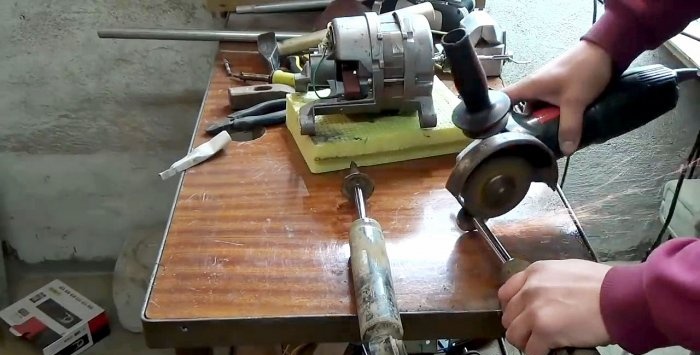
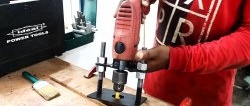
First of all, we grind off the threads on the end of the shaft with a grinder and grind it to the size of the cartridge seat, which was also prepared in advance on a lathe.
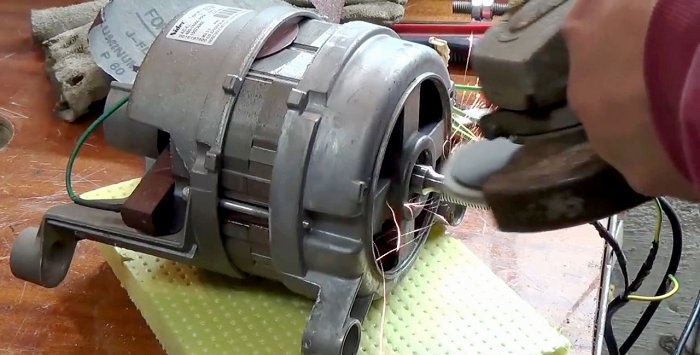
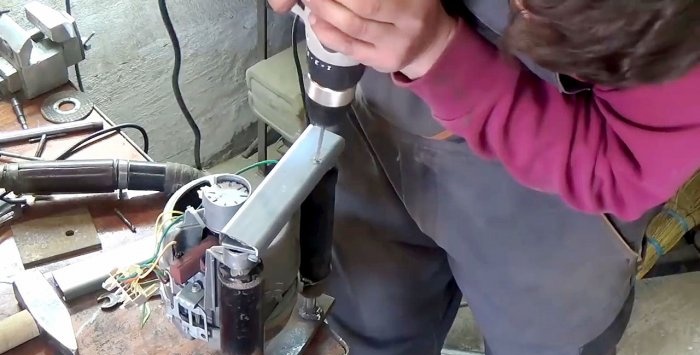
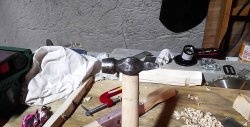
The main thing in this operation is to eliminate runout and a firm fit, which we achieve with a hammer.
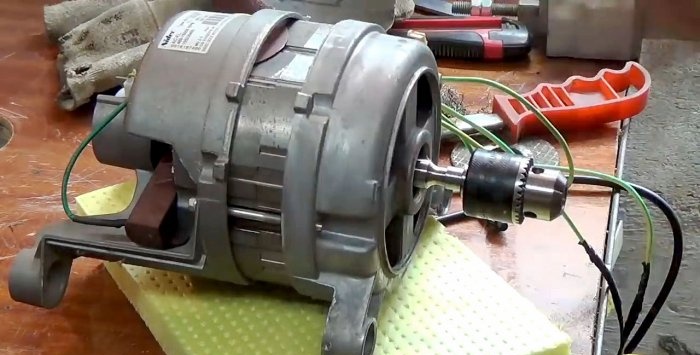
To check the quality of the cartridge fit on the shaft, turn on the engine and make sure that it is strong and there is practically no vibration. For reliability, in the future we weld the cartridge to the shaft.
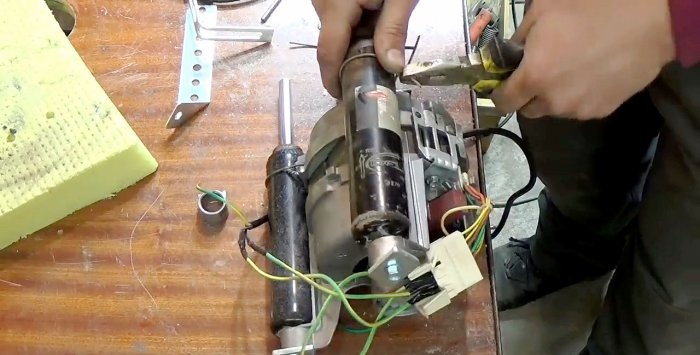
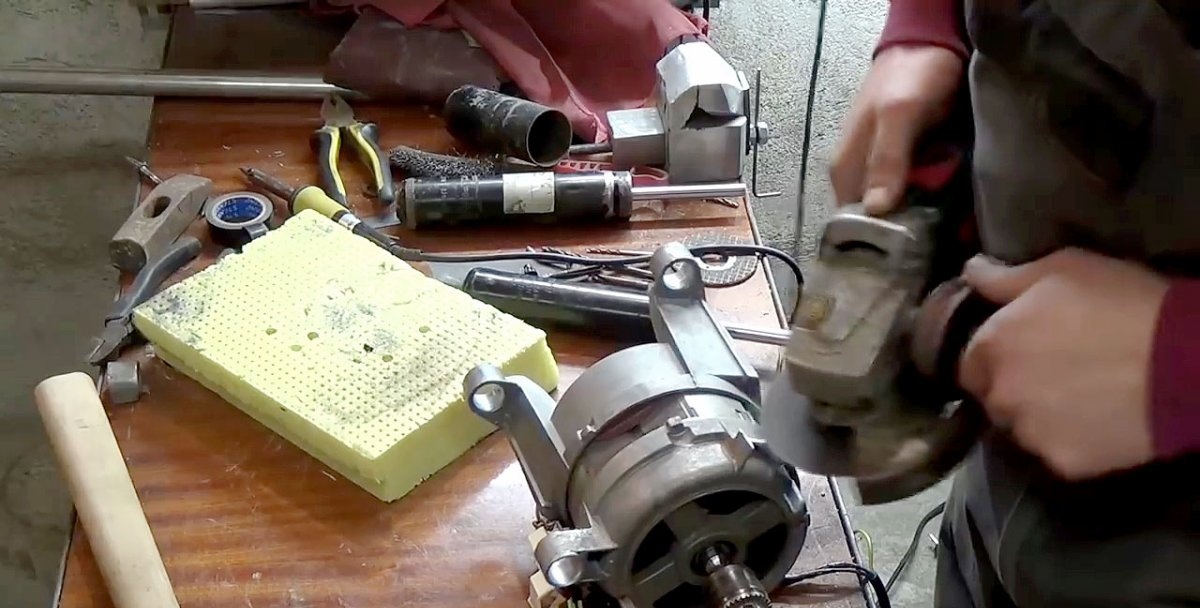
We use unusable car shock absorbers as vertical guide rods. To do this, we cut off the upper and lower fastening points from them using a grinder.

We prepare seats on the engine for installing and securing shock absorbers using a grinder.

We carry out the rear mounting using a bolt and a reliable washer through the standard hole on the engine, screwing the bolt into the threaded hole of the shock absorber.

Before final installation of the shock absorbers on the electric motor, we drill holes in their bottom and remove oil from their cavity by pulling and lowering the rod several times.
We fasten the shock absorbers at the front with knitting wire, passing them through pre-drilled holes in the “ears” of the seats on the engine, wrapping it around the shock absorber body, and tying the ends with pliers.
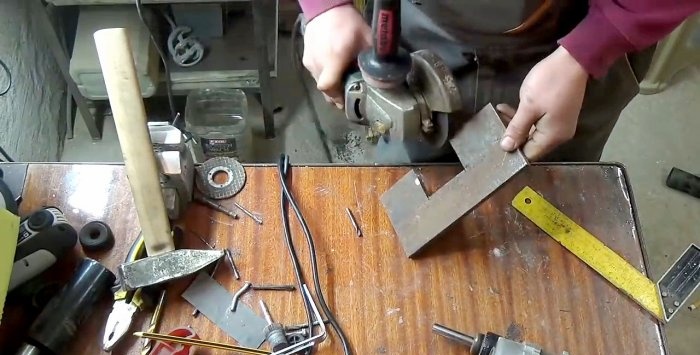
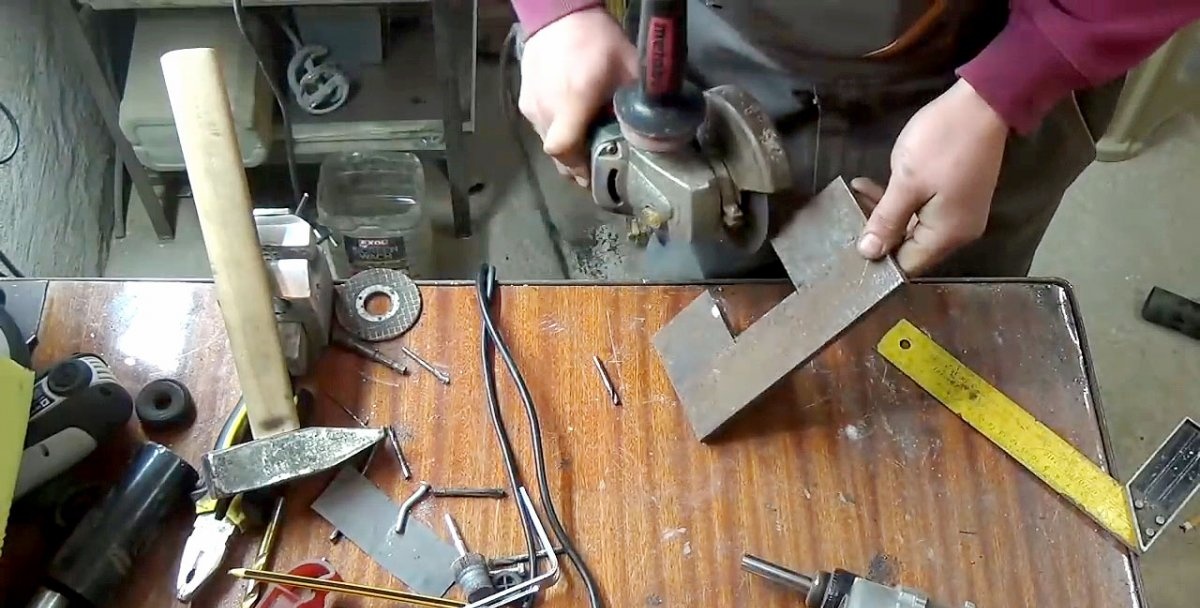
Taking into account the distance in plan between the shock absorber rods, we mark a thick metal plate, cut it off from the workpiece, remove burrs and process the edges. It will serve as the sole in our homemade router.
In the middle part of the plate, using a cutting disc, we make a one-sided rectangular cut, commensurate with the diameter of the cartridge, and we also process it, removing burrs and rounding the edges.
We weld the ends of the shock absorber rods to the sole plate of a symmetrically rectangular hole.
We vertically weld a tube of the required height on the back side.We slide an open steel profile onto the plates, loosely bolted to the engine body above the upper mount of the shock absorbers, and cut off the excess. We press the profile with plates to the motor body by the flanges, screwing in the bolts.
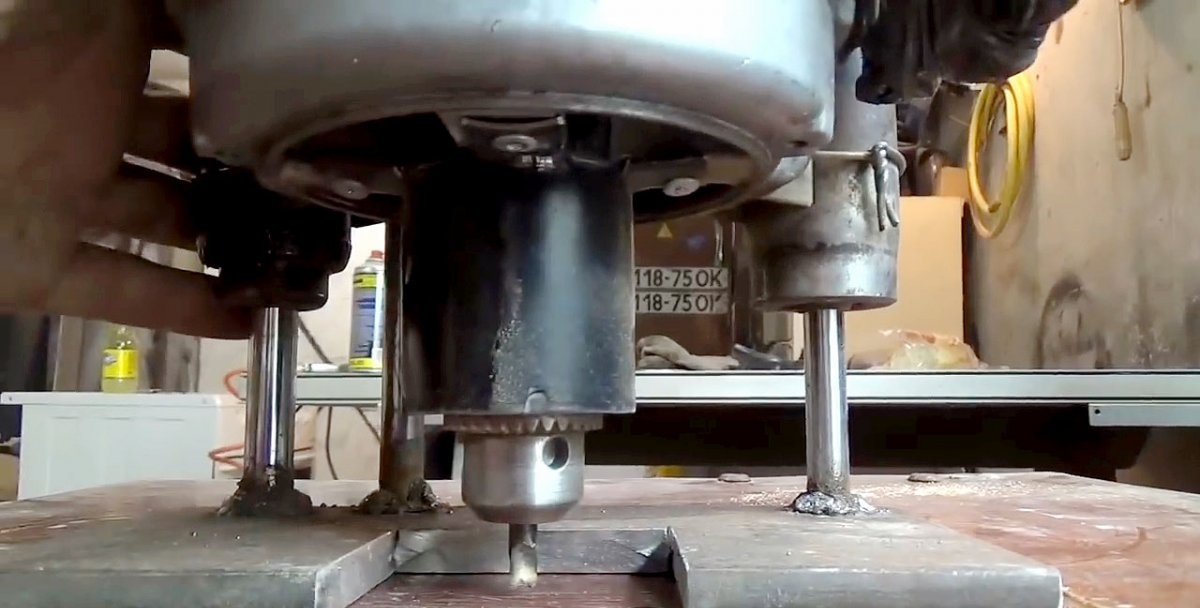
Drill a hole in the steel profile over a vertically installed tube welded to the base.
We insert a stud with a nut into it so that it is under the profile. We place the lower end of the stud in the tube and lower it until the nut stops at the end, which we then weld to the end of the tube.
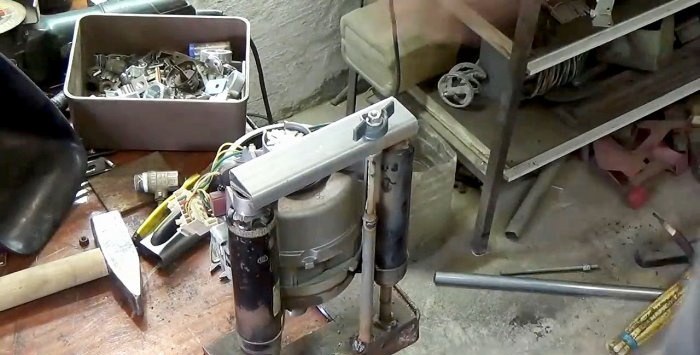
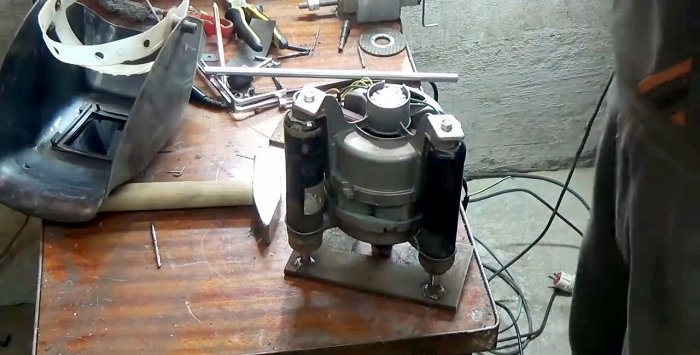
We screw a wing nut onto the end of the pin on top of the profile, with which you can adjust the height of the head of a homemade router above the sole and, thereby, the depth of processing of the material.

To start and stop the engine of our homemade router, we install an on/off button on the front side.
For safety, we install and secure an annular casing on top of the cartridge, which will protect the operator if the cartridge suddenly comes off the electric motor shaft.

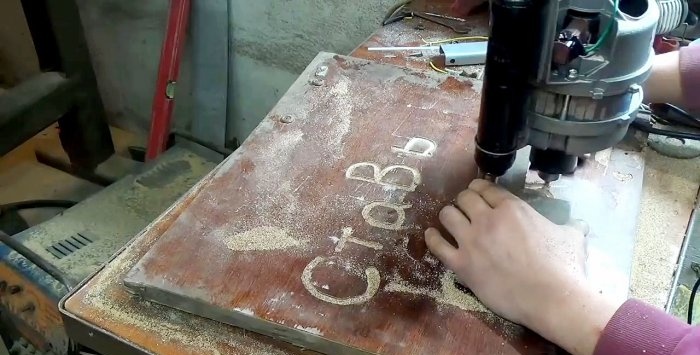
Using our homemade router, you can carry out any woodworking operations, including cutting out complex curved shapes, including various characters: letters, numbers, etc.

Will need
To make a homemade router, we need to acquire:
- electric motor from an old washing machine;
- two front shock absorbers from Zhiguli;
- an ordinary collet chuck for a drill;
- start button;
- a small sheet of thick metal;
- open metal profile and round tube;
- stud, regular nuts and wing nut.
Sequence of making a router from a washing machine motor

One of the main components of our homemade product is the electric motor. Let's check its performance and, making sure that everything is in order with it, we begin to modernize it.
First of all, we grind off the threads on the end of the shaft with a grinder and grind it to the size of the cartridge seat, which was also prepared in advance on a lathe.

The main thing in this operation is to eliminate runout and a firm fit, which we achieve with a hammer.

To check the quality of the cartridge fit on the shaft, turn on the engine and make sure that it is strong and there is practically no vibration. For reliability, in the future we weld the cartridge to the shaft.
We use unusable car shock absorbers as vertical guide rods. To do this, we cut off the upper and lower fastening points from them using a grinder.


We prepare seats on the engine for installing and securing shock absorbers using a grinder.
We carry out the rear mounting using a bolt and a reliable washer through the standard hole on the engine, screwing the bolt into the threaded hole of the shock absorber.
Before final installation of the shock absorbers on the electric motor, we drill holes in their bottom and remove oil from their cavity by pulling and lowering the rod several times.
We fasten the shock absorbers at the front with knitting wire, passing them through pre-drilled holes in the “ears” of the seats on the engine, wrapping it around the shock absorber body, and tying the ends with pliers.

Taking into account the distance in plan between the shock absorber rods, we mark a thick metal plate, cut it off from the workpiece, remove burrs and process the edges. It will serve as the sole in our homemade router.
In the middle part of the plate, using a cutting disc, we make a one-sided rectangular cut, commensurate with the diameter of the cartridge, and we also process it, removing burrs and rounding the edges.
We weld the ends of the shock absorber rods to the sole plate of a symmetrically rectangular hole.

We vertically weld a tube of the required height on the back side.We slide an open steel profile onto the plates, loosely bolted to the engine body above the upper mount of the shock absorbers, and cut off the excess. We press the profile with plates to the motor body by the flanges, screwing in the bolts.
Drill a hole in the steel profile over a vertically installed tube welded to the base.

We insert a stud with a nut into it so that it is under the profile. We place the lower end of the stud in the tube and lower it until the nut stops at the end, which we then weld to the end of the tube.

We screw a wing nut onto the end of the pin on top of the profile, with which you can adjust the height of the head of a homemade router above the sole and, thereby, the depth of processing of the material.

To start and stop the engine of our homemade router, we install an on/off button on the front side.
For safety, we install and secure an annular casing on top of the cartridge, which will protect the operator if the cartridge suddenly comes off the electric motor shaft.
Using our homemade router, you can carry out any woodworking operations, including cutting out complex curved shapes, including various characters: letters, numbers, etc.

Watch the video
Similar master classes


Particularly interesting


Comments (8)
