How to get rid of scratches and chips on rims
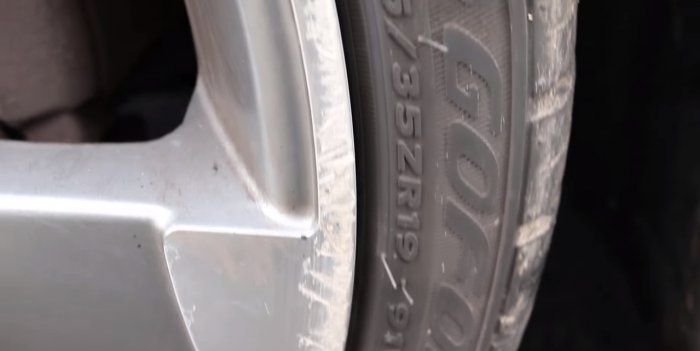
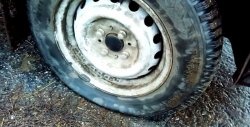
Modern rims for car wheels come in several types. And if stamped steel wheels can withstand damage, even dents, and are covered with caps, then cast light-alloy wheels with a paint coating after seasonal changes in weather and road surfaces have all their flaws visible. And the most common defect is numerous scratches and chips.
Restoring the appearance of such discs in auto repair shops is not cheap, and these procedures can take a lot of time. In fact, it is possible to bring the wheels into proper condition, close to the factory one, even in a garage. Today we will look at one of the simple technologies for such “home” restorations.

First, we need to completely dismantle the wheel by lifting the car on a jack and unscrewing the mounting nuts. It is not necessary to disassemble the wheel unless there is a doubt that the tire tread will interfere with our work. In our case, the tire will remain in place throughout the entire restoration process.
Since we are talking about finishing with paint and varnish coatings, it is necessary to thoroughly clean the workshop or area of the work from dust, which can spoil the entire result. Ventilation is also important, otherwise all the chemicals in a closed room will settle in your lungs.

The entire restoration procedure consists of several stages:
For these works we will need:
You will also need water, detergent to clean the metal from dirt and dust, and rags for dry and wet cleaning. It would also be a good idea to take care of protective equipment – goggles, gloves, a respirator. For sanding we use a screwdriver.

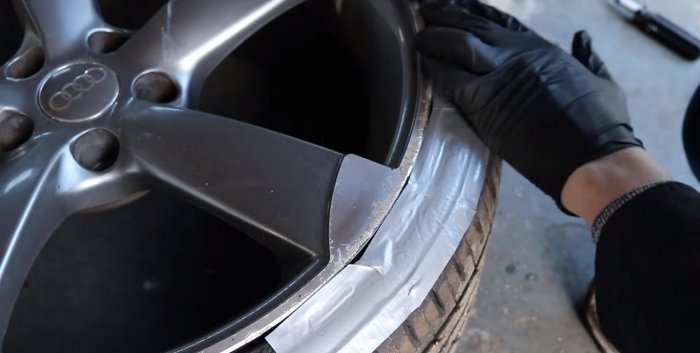
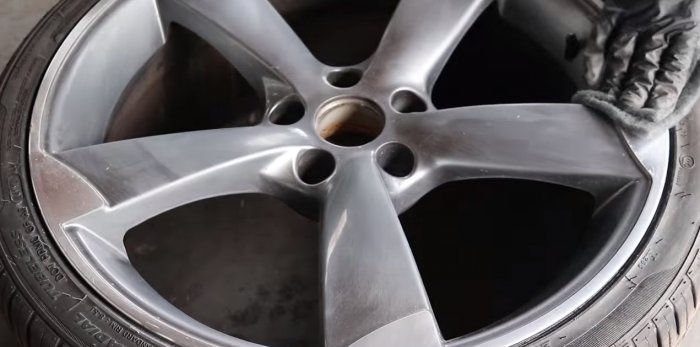
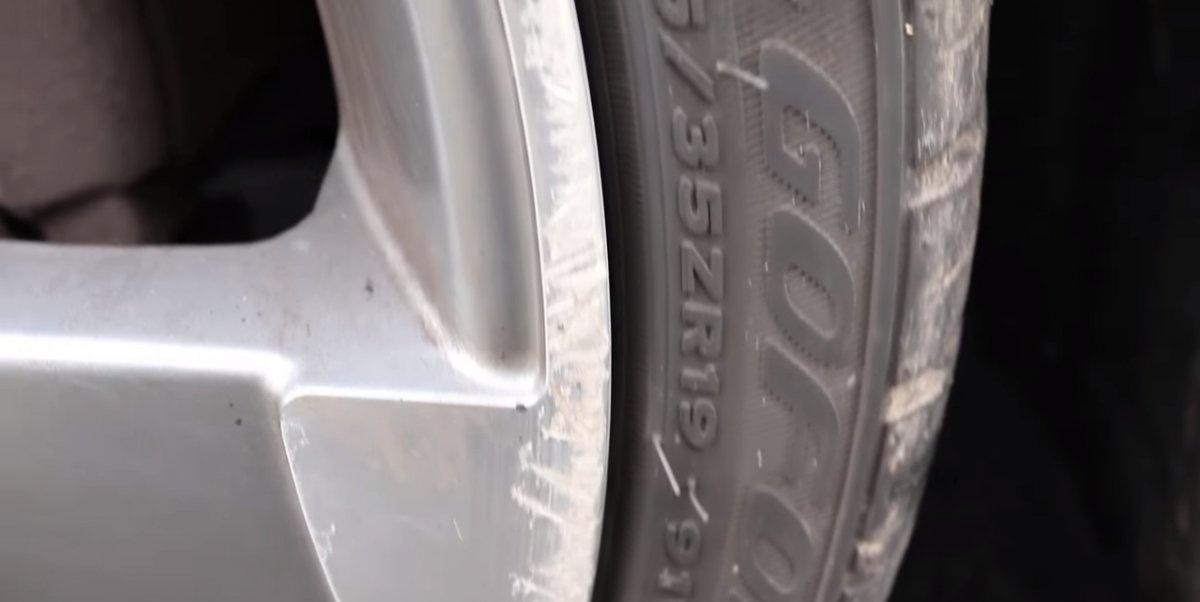
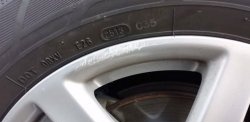
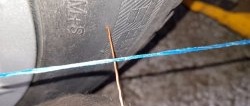
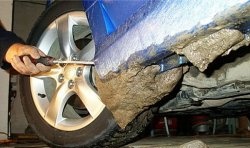
The damage zone of the wheel rim is mainly external, and less affects the side parts of their slotted shape. Having cleaned and washed the rim of the disc from dirt, we proceed to sanding the scratches. But before that, we glue the edge of the rubber tire tread adjacent to the metal with masking tape so as not to rub it with an emery wheel.
We start sanding with the coarsest abrasive disc, grit size 180. A screwdriver is quite suitable for a velcro attachment. This should be done without much pressure to avoid making dents and sanding. On soft metal such as aluminum or magnesium alloy, this sandpaper will easily remove most chips and scratches.


Sometimes surface damage can be so deep that sanding is not enough. In this case, automotive putties or epoxy pastes designed specifically for such work are used.
Monitoring the results, we gradually change the discs to a higher abrasive grit rating. Up to No. 1000, the treatment is done dry, and only the final number is washed with ordinary water. Before processing, craftsmen advise moistening the sandpaper itself by placing it in a container of water.

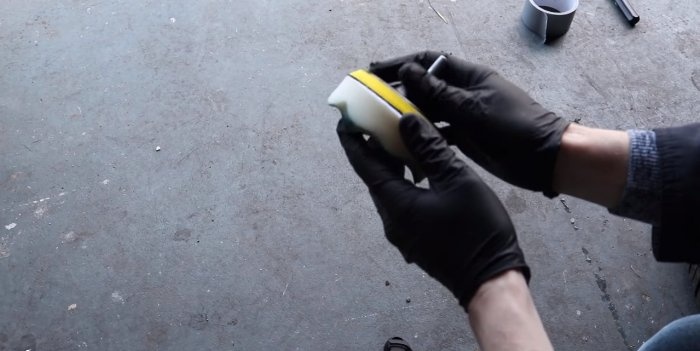
Upon completion of grinding, the effect becomes visually noticeable. Now it's the turn of the polishing sponge and Farecla G3 paste. Its professionals know it as a universal polishing paste that eliminates minor defects and is applied to surfaces such as metal, industrial varnishes, plastics, acrylic and even furniture.
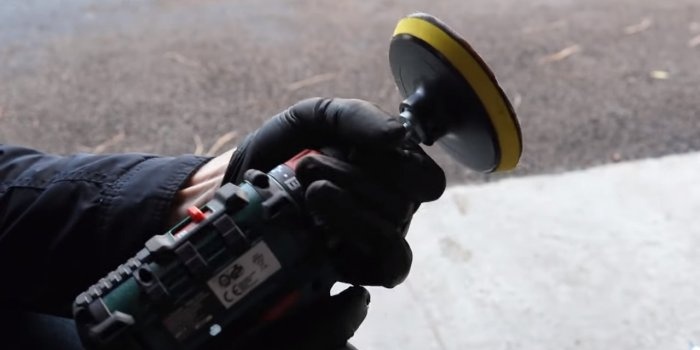
We apply it to a sponge and go through the surface using a screwdriver with an attachment. Having cleaned the surface of the disc from traces of polish and abrasive, we prepare it for varnishing.


We remove the removable branding, seal the nipple with masking tape, and protect the protector. For this, for example, a regular deck of cards laid out around the entire circumference of the wheel is suitable.

Apply aerosol varnish to the cleaned surface of the disc, spraying it at a distance of about 1 m. It is most practical to cover the surface on which the disk is located with plastic masking film. The varnish is applied in two layers with an interval of 24 hours, but thanks to the acrylic base it dries in 20-30 minutes.


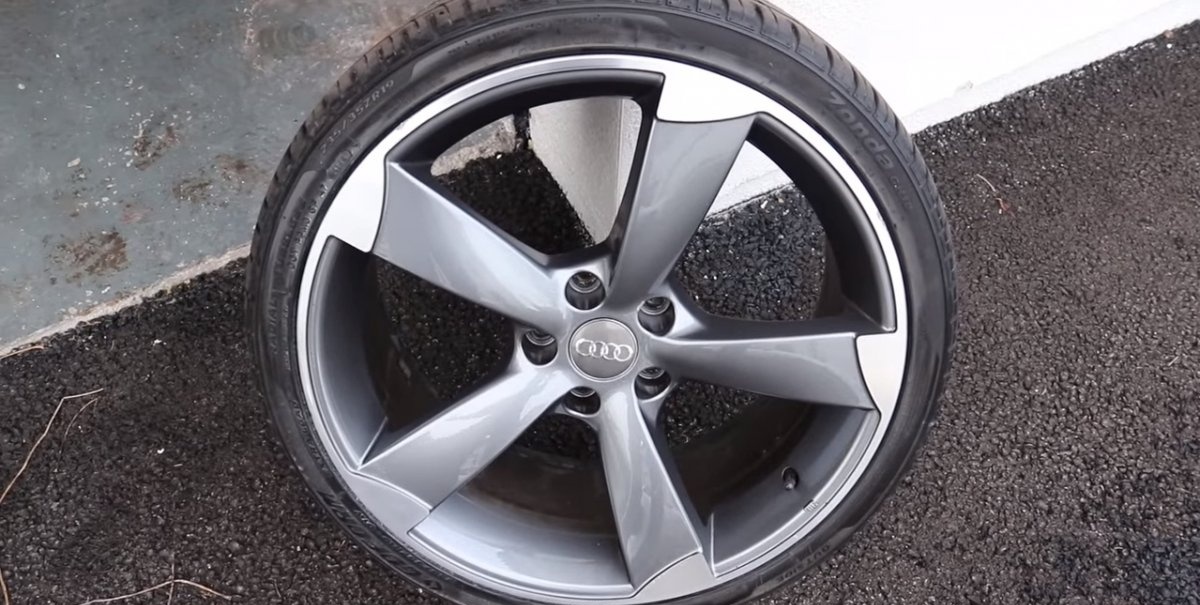
In this simple way, you can restore the appearance of alloy wheels at home, while avoiding additional costs for professional craftsmen.

Restoring the appearance of such discs in auto repair shops is not cheap, and these procedures can take a lot of time. In fact, it is possible to bring the wheels into proper condition, close to the factory one, even in a garage. Today we will look at one of the simple technologies for such “home” restorations.

Preparatory work
First, we need to completely dismantle the wheel by lifting the car on a jack and unscrewing the mounting nuts. It is not necessary to disassemble the wheel unless there is a doubt that the tire tread will interfere with our work. In our case, the tire will remain in place throughout the entire restoration process.
Since we are talking about finishing with paint and varnish coatings, it is necessary to thoroughly clean the workshop or area of the work from dust, which can spoil the entire result. Ventilation is also important, otherwise all the chemicals in a closed room will settle in your lungs.

Technology and material base
The entire restoration procedure consists of several stages:
- Primary cleaning.
- Elimination of defects.
- Polishing with G3 paste.
- Varnishing.
For these works we will need:
- Automotive waterproof sandpaper of different grains with Velcro (180, 240, 400, 800, 2000).
- Sandpaper attachment for drill with Velcro.
- Two-component water-based aerosol varnish.
- Polishing paste G3.
- Round sponges with a Velcro attachment for polish.
- Polymer masking tape.
You will also need water, detergent to clean the metal from dirt and dust, and rags for dry and wet cleaning. It would also be a good idea to take care of protective equipment – goggles, gloves, a respirator. For sanding we use a screwdriver.


The process of restoring alloy wheels step by step
The damage zone of the wheel rim is mainly external, and less affects the side parts of their slotted shape. Having cleaned and washed the rim of the disc from dirt, we proceed to sanding the scratches. But before that, we glue the edge of the rubber tire tread adjacent to the metal with masking tape so as not to rub it with an emery wheel.

We start sanding with the coarsest abrasive disc, grit size 180. A screwdriver is quite suitable for a velcro attachment. This should be done without much pressure to avoid making dents and sanding. On soft metal such as aluminum or magnesium alloy, this sandpaper will easily remove most chips and scratches.


Sometimes surface damage can be so deep that sanding is not enough. In this case, automotive putties or epoxy pastes designed specifically for such work are used.
Monitoring the results, we gradually change the discs to a higher abrasive grit rating. Up to No. 1000, the treatment is done dry, and only the final number is washed with ordinary water. Before processing, craftsmen advise moistening the sandpaper itself by placing it in a container of water.

Upon completion of grinding, the effect becomes visually noticeable. Now it's the turn of the polishing sponge and Farecla G3 paste. Its professionals know it as a universal polishing paste that eliminates minor defects and is applied to surfaces such as metal, industrial varnishes, plastics, acrylic and even furniture.
We apply it to a sponge and go through the surface using a screwdriver with an attachment. Having cleaned the surface of the disc from traces of polish and abrasive, we prepare it for varnishing.


We remove the removable branding, seal the nipple with masking tape, and protect the protector. For this, for example, a regular deck of cards laid out around the entire circumference of the wheel is suitable.


Apply aerosol varnish to the cleaned surface of the disc, spraying it at a distance of about 1 m. It is most practical to cover the surface on which the disk is located with plastic masking film. The varnish is applied in two layers with an interval of 24 hours, but thanks to the acrylic base it dries in 20-30 minutes.


In this simple way, you can restore the appearance of alloy wheels at home, while avoiding additional costs for professional craftsmen.
Watch the video
Similar master classes

Particularly interesting

Comments (4)
