How to lay tiles on a wall
One of the best and most practical options for finishing the walls of a room with special conditions is ceramic tiles. This option is especially suitable for the bathroom, toilets, and kitchen. If you have the necessary tools and skills, it is better to do this work yourself, since masonry can cost as much as the tile itself, and sometimes even more. Therefore, you will save at least twice.
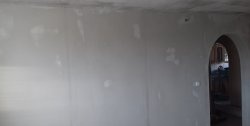
You need to start work by preparing the surface. This may involve dismantling the old surface (plaster, paint, tile). If the walls are very uneven, then you can level them with plaster or drywall, so that less glue is used when laying tiles, and the laying process itself is much simpler. Also, immediately before laying, you need to prime the wall surface to get better adhesion.

Next, you need to develop your project by choosing the appropriate color and size of the tiles. You may decide to combine several colors or sizes. Also, taking into account the size of the tiles, you can determine how trimming will be done, and based on this, adjust the installation so that the trimming is on one edge, or evenly on both edges.When purchasing tiles, you need to expect that there will be approximately 10-15% waste. Immediately take care of what you will use for pruning. This could be a grinder with a diamond blade, or a tile cutter. The more expensive the tile, the better quality and smoother it is. However, in any case, even in millimeters there will be irregularities. Therefore, weed out clearly uneven tiles separately to use them in less visible areas. You also need to immediately purchase glue and special crosses to create a uniform seam. The simplest option is continuous wall cladding with one color and type of material. We will consider it.
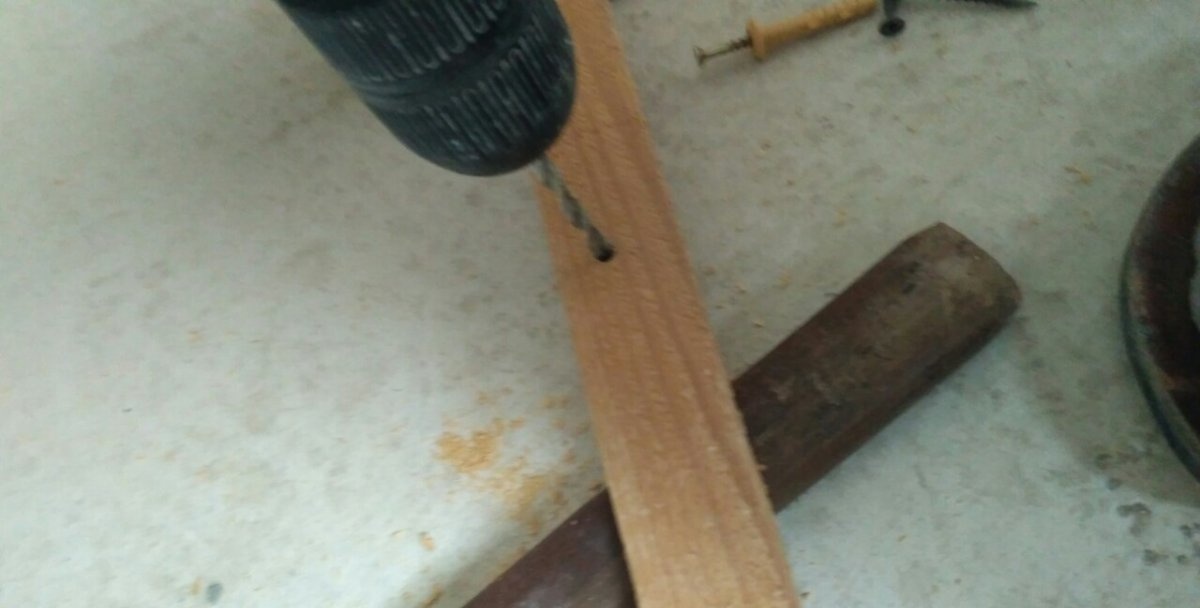
First you need to install the first row, from which you will subsequently build. To do this, you can use a metal profile or a flat wooden strip. Next, drill several holes in it with an indentation of 30 - 40 cm.


And then place it level against the wall, drill holes with a hammer drill to secure the base for the first row of tiles.


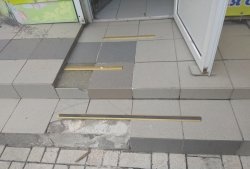
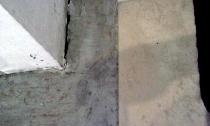
The distance from the floor to the wooden plank should be the size of the tile. But to save money, as shown in the illustration, you can install the bar at the very bottom, and subsequently line the bottom with scraps. It is very important that the base for the first row is as level as possible, so you can use a water or laser level, as well as a rule to draw an accurate line. This must be done immediately on all walls where you will install tiles.
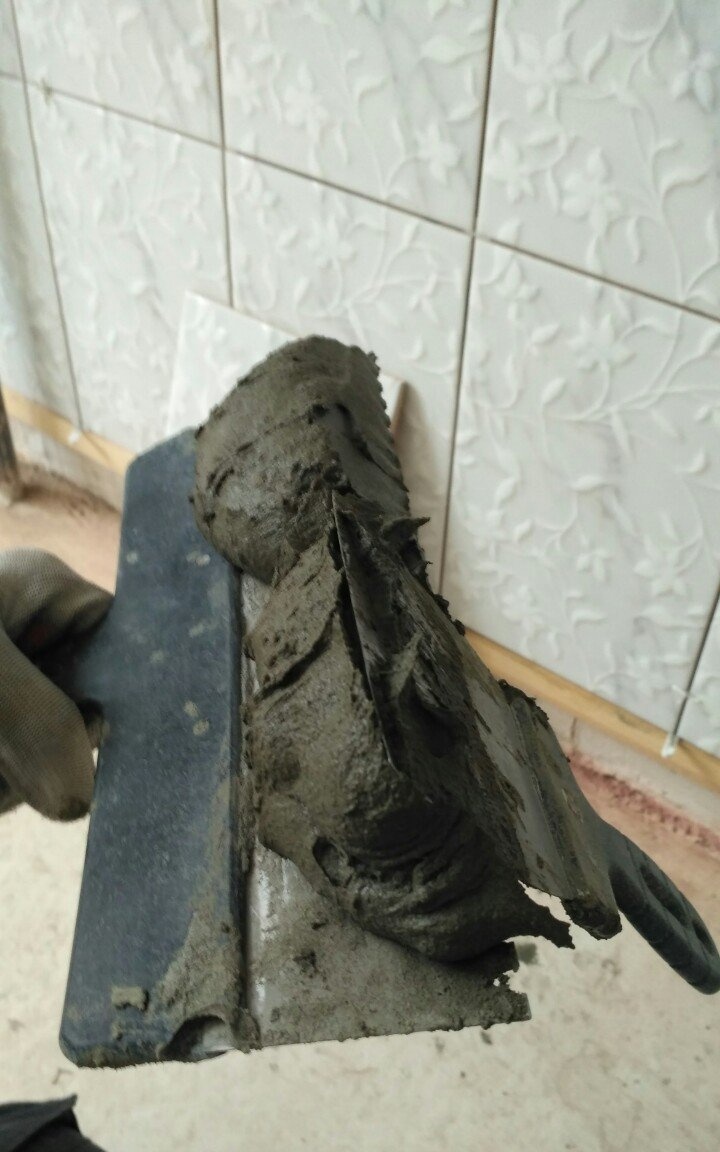
Then start preparing the solution. Mix the glue according to the instructions on the package. It is best to mix the glue using a mixer. Laying the first tile can be started from the center in order to move evenly to the edges, or right from the edge if it is not important to you how the cutting will occur.Using a spatula, scoop up the solution from the container and apply it to the wall in a layer of 5-6 millimeters.

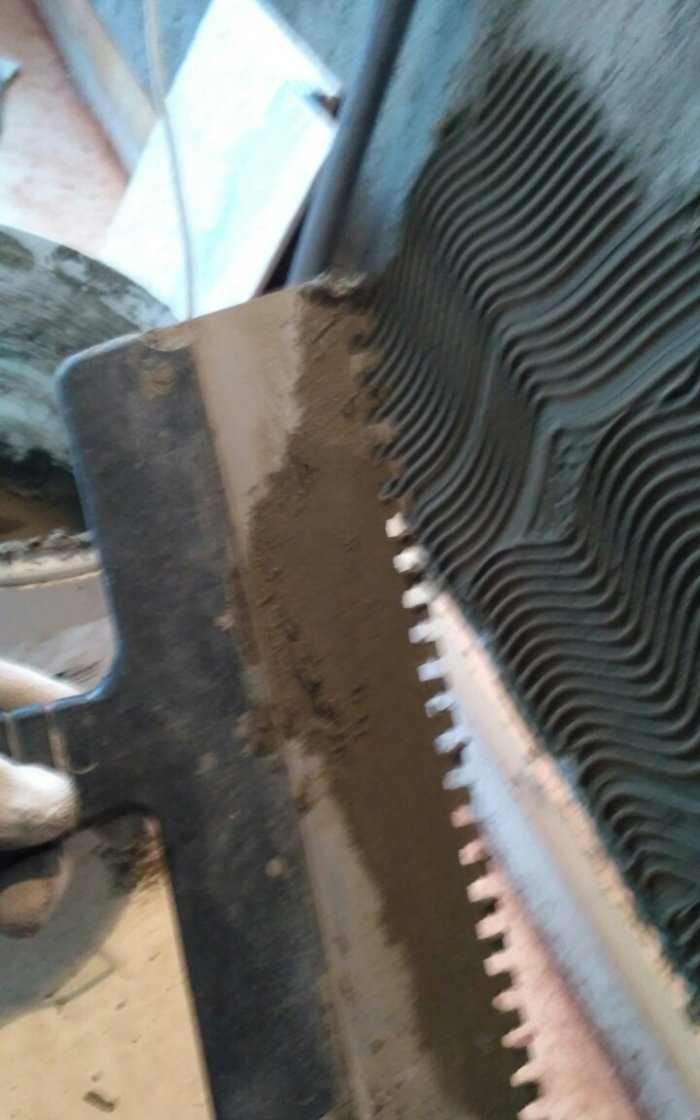
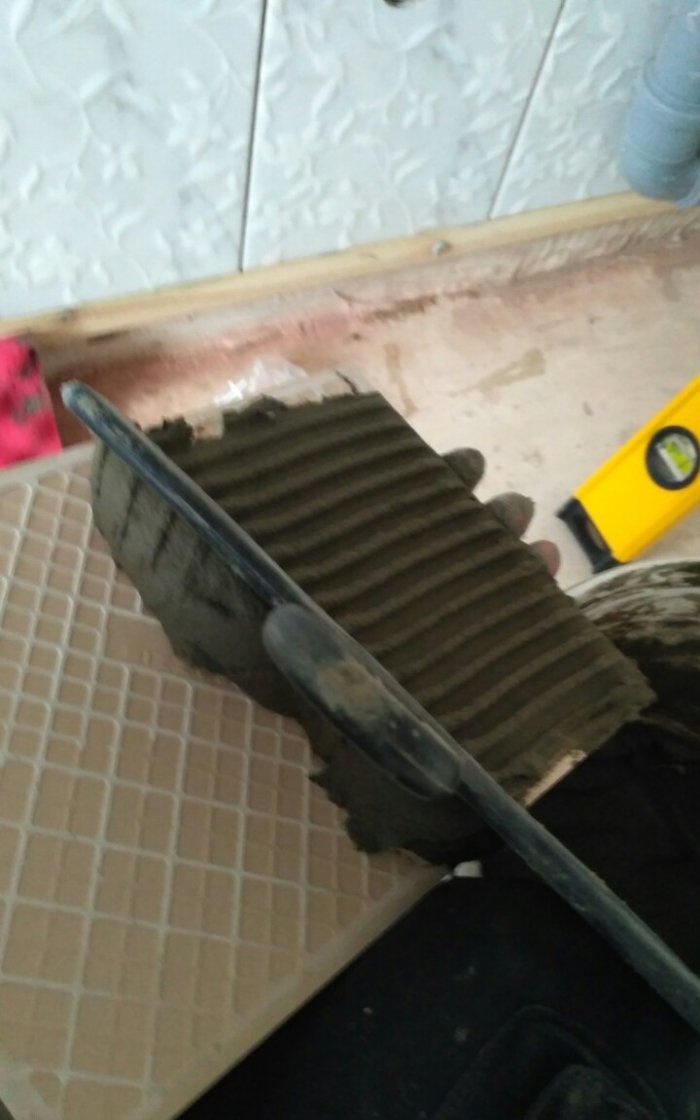
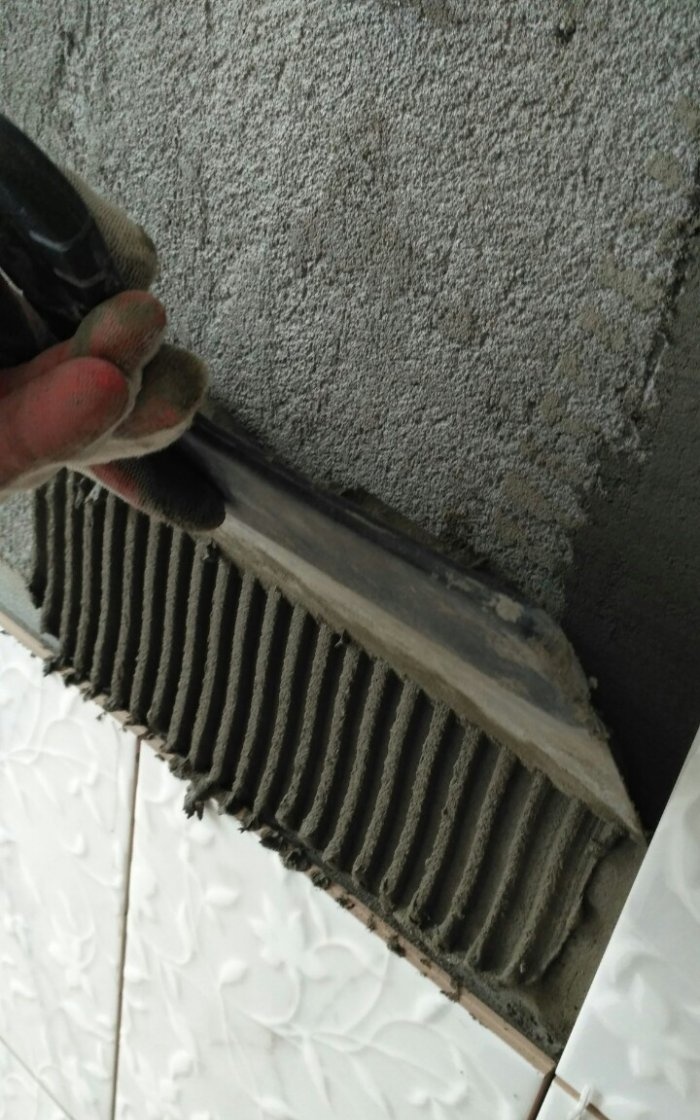
To speed up the work, you can apply a solution for several tiles on the wall at once. Next, using the teeth of a trowel, make a furrow in the mortar vertically or horizontally. Then apply glue to the tile in the same way, in a small layer of 5 - 6 millimeters, making a furrow.

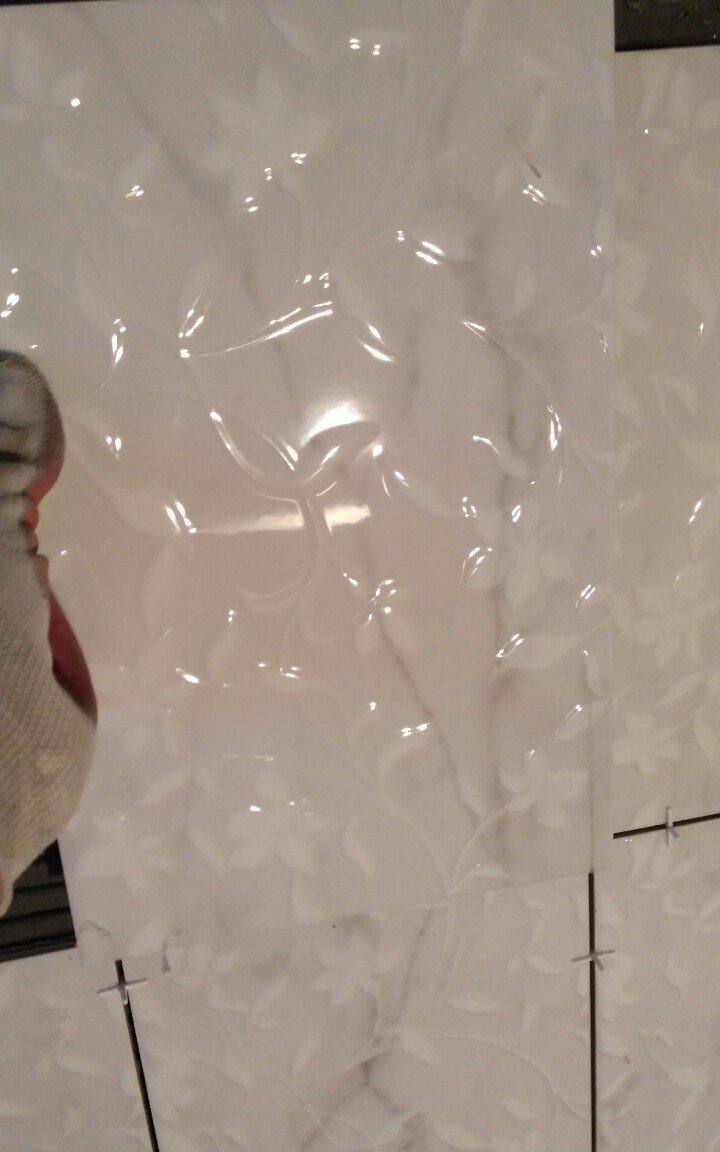
After this, fix the tile to the wall. Since you have already set the horizontal level, you can check the vertical using the level. When laying the next tile, immediately use spacer crosses so that the seam is uniform.


When two or more slabs are fixed, apply a rule to them to see if there are any gaps between them, and thus correct the direction. If necessary, level the slab, you can tap it with your fist or a rubber hammer. There are tile patterns that, although they do not have a pattern, require that their orientation be the same.
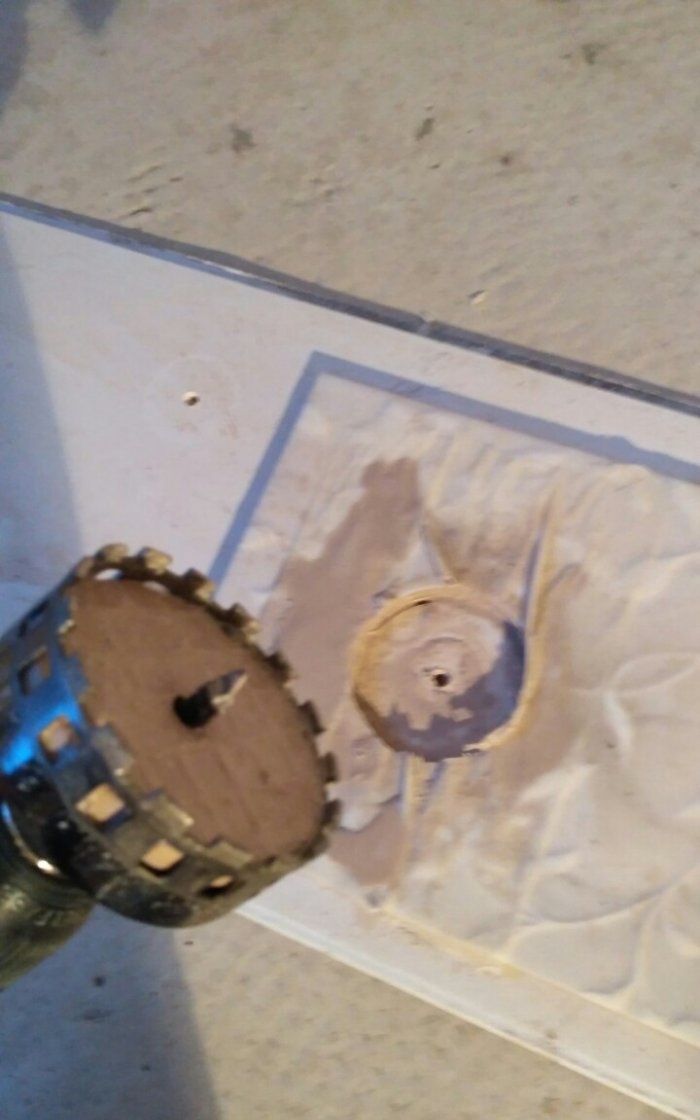
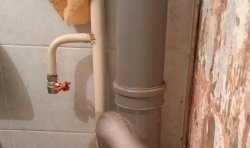
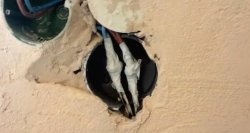
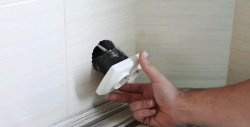
When trimming along the edges, you need to lay the cut side against the wall. If you need to drill holes in the tile for an outlet or for pipes, you must use a special diamond attachment for a drill of the appropriate diameter.
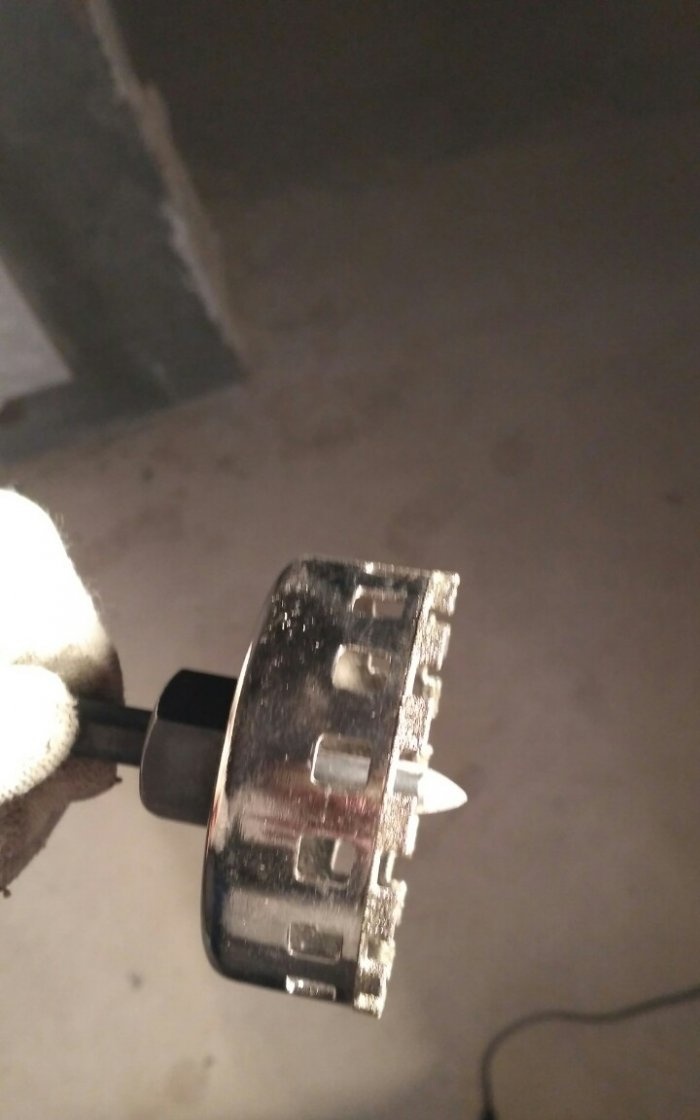

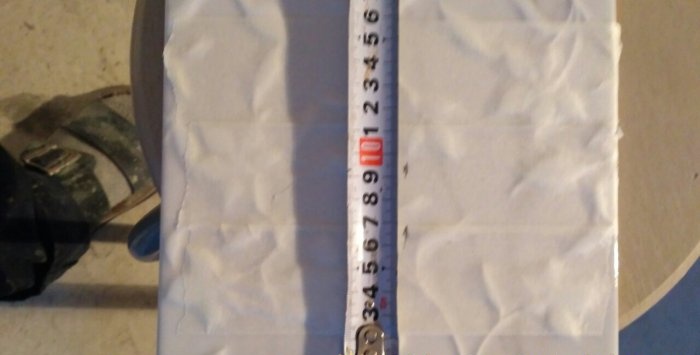
First, use a tape measure to determine the distance where you need to drill the hole.
Then, without accelerating too much, slowly begin to drill.


Once the end tiles are installed, you can begin laying the next wall. To refine the corners, a special plastic profile is usually used, but it is often done without it.
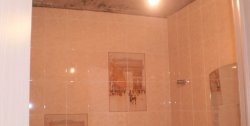
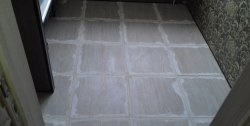
So, we have looked at the basic principles of laying tiles.Finally, it is necessary to remove the lower profile on which we installed the first row and lay the tiles underneath it. Then all seams are rubbed with a special putty.
You need to start work by preparing the surface. This may involve dismantling the old surface (plaster, paint, tile). If the walls are very uneven, then you can level them with plaster or drywall, so that less glue is used when laying tiles, and the laying process itself is much simpler. Also, immediately before laying, you need to prime the wall surface to get better adhesion.

Next, you need to develop your project by choosing the appropriate color and size of the tiles. You may decide to combine several colors or sizes. Also, taking into account the size of the tiles, you can determine how trimming will be done, and based on this, adjust the installation so that the trimming is on one edge, or evenly on both edges.When purchasing tiles, you need to expect that there will be approximately 10-15% waste. Immediately take care of what you will use for pruning. This could be a grinder with a diamond blade, or a tile cutter. The more expensive the tile, the better quality and smoother it is. However, in any case, even in millimeters there will be irregularities. Therefore, weed out clearly uneven tiles separately to use them in less visible areas. You also need to immediately purchase glue and special crosses to create a uniform seam. The simplest option is continuous wall cladding with one color and type of material. We will consider it.
First you need to install the first row, from which you will subsequently build. To do this, you can use a metal profile or a flat wooden strip. Next, drill several holes in it with an indentation of 30 - 40 cm.

And then place it level against the wall, drill holes with a hammer drill to secure the base for the first row of tiles.


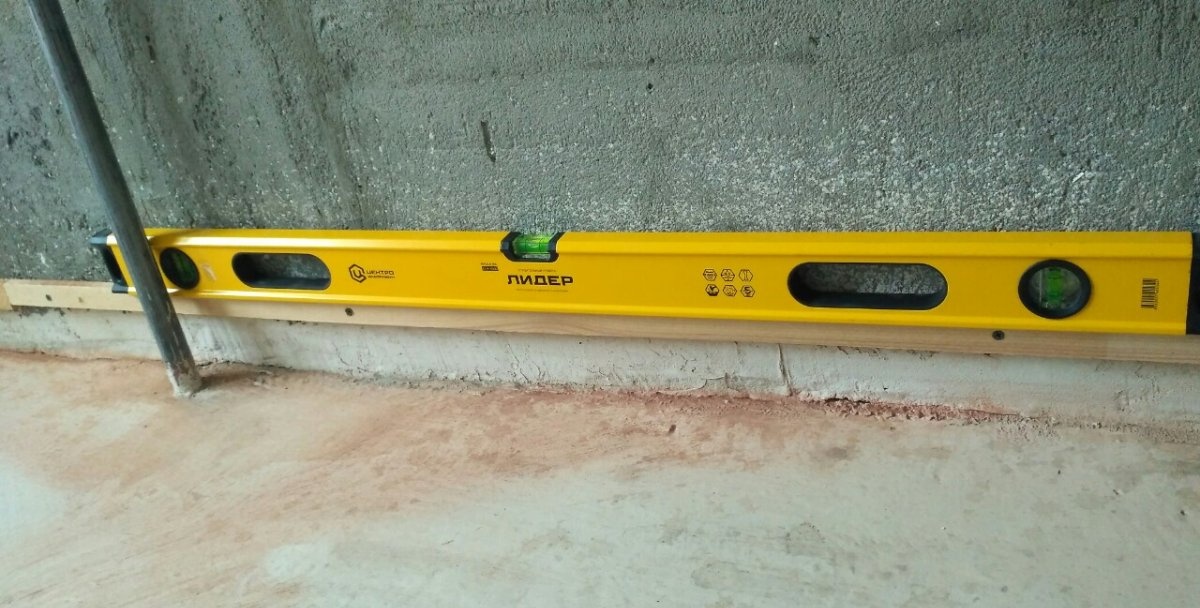

The distance from the floor to the wooden plank should be the size of the tile. But to save money, as shown in the illustration, you can install the bar at the very bottom, and subsequently line the bottom with scraps. It is very important that the base for the first row is as level as possible, so you can use a water or laser level, as well as a rule to draw an accurate line. This must be done immediately on all walls where you will install tiles.
Then start preparing the solution. Mix the glue according to the instructions on the package. It is best to mix the glue using a mixer. Laying the first tile can be started from the center in order to move evenly to the edges, or right from the edge if it is not important to you how the cutting will occur.Using a spatula, scoop up the solution from the container and apply it to the wall in a layer of 5-6 millimeters.

To speed up the work, you can apply a solution for several tiles on the wall at once. Next, using the teeth of a trowel, make a furrow in the mortar vertically or horizontally. Then apply glue to the tile in the same way, in a small layer of 5 - 6 millimeters, making a furrow.


After this, fix the tile to the wall. Since you have already set the horizontal level, you can check the vertical using the level. When laying the next tile, immediately use spacer crosses so that the seam is uniform.


When two or more slabs are fixed, apply a rule to them to see if there are any gaps between them, and thus correct the direction. If necessary, level the slab, you can tap it with your fist or a rubber hammer. There are tile patterns that, although they do not have a pattern, require that their orientation be the same.
When trimming along the edges, you need to lay the cut side against the wall. If you need to drill holes in the tile for an outlet or for pipes, you must use a special diamond attachment for a drill of the appropriate diameter.


First, use a tape measure to determine the distance where you need to drill the hole.

Then, without accelerating too much, slowly begin to drill.


Once the end tiles are installed, you can begin laying the next wall. To refine the corners, a special plastic profile is usually used, but it is often done without it.
So, we have looked at the basic principles of laying tiles.Finally, it is necessary to remove the lower profile on which we installed the first row and lay the tiles underneath it. Then all seams are rubbed with a special putty.
Similar master classes

Particularly interesting


Comments (0)
