How to make a keyway on a lathe

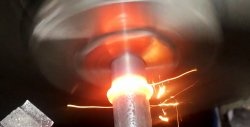
Typically a lathe is used for boring, tapping, reaming, countersinking and drilling, but their capabilities don't end there. I propose to consider a way to use it to drill out a keyway on the bushing. For this I use a 1K62 screw-cutting lathe.

Set of tools
To perform the work, in addition to the machine, you will need:
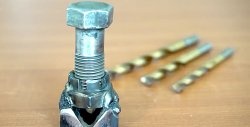
- boring cutter;
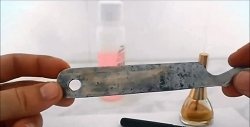
- slotting cutter;
- oil for lubrication.
Any boring cutter can be used, of course, within the capabilities of the sleeve diameter. As for the slotting tool, its cross-section is selected to match the required width of the keyway. Lubricating oil is only required if you have to work with hard metal. For soft steels, provided that high-quality cutters are used, it is not necessary, since chamfer boring and chiselling does not cause critical overheating, which can accelerate the abrasion of the cutting edge of the tool.

Preparatory stage
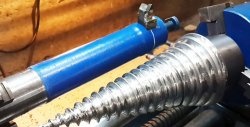
The bushing is installed in a three-jaw chuck. Before performing chiselling, you must first prepare its internal and external chamfer with a boring cutter.They are made only on the side from which the slotting tool will enter. This is a simple process, familiar even to an amateur turner, and therefore does not require separate consideration.

After preparing the chamfers on the machine, you need to set the minimum speed to prevent spindle rotation. On many machines, the jaw chuck can give play under load, so in this case it is necessary to install a spacer. To do this, place a bolt and nut of suitable height under it. When unscrewing it, the length of the stop increases, so it is pressed tightly against the cartridge, thereby eliminating the rolling.

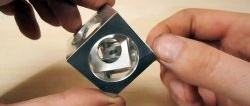
The slotting cutter is lightly clamped in the tool holder. It aligns the bushing in the center, after which it is necessary to make fine adjustments. To do this, it is inserted into the bushing, moving longitudinally with the caliper along the slide. The resulting scratch should run along the bushing hole from one edge to the other. There should not be a section without a scratch in the cut line. If it exists, then this indicates the presence of a distortion. When the cutter is positioned correctly, it must be clamped very tightly, since the load during chiselling is much higher than during standard turning work.
Chiseling process
Since the sleeve has its own radius inside, before starting to measure the depth of the groove, it is necessary to cut it off in order to obtain a flat area, which will be the zero reference point. To do this, using a caliper, I move the cutter inside the bushing along the longitudinal slide, removing the finest metal shavings. After it returns to its original position, I bring the cutting edge closer along the transverse slide to the body of the sleeve by 0.1 mm. Again I make a longitudinal movement along the carriage. I repeat the process until the gutter loses its radius. As soon as he leaves, this will be the zero point for the countdown.

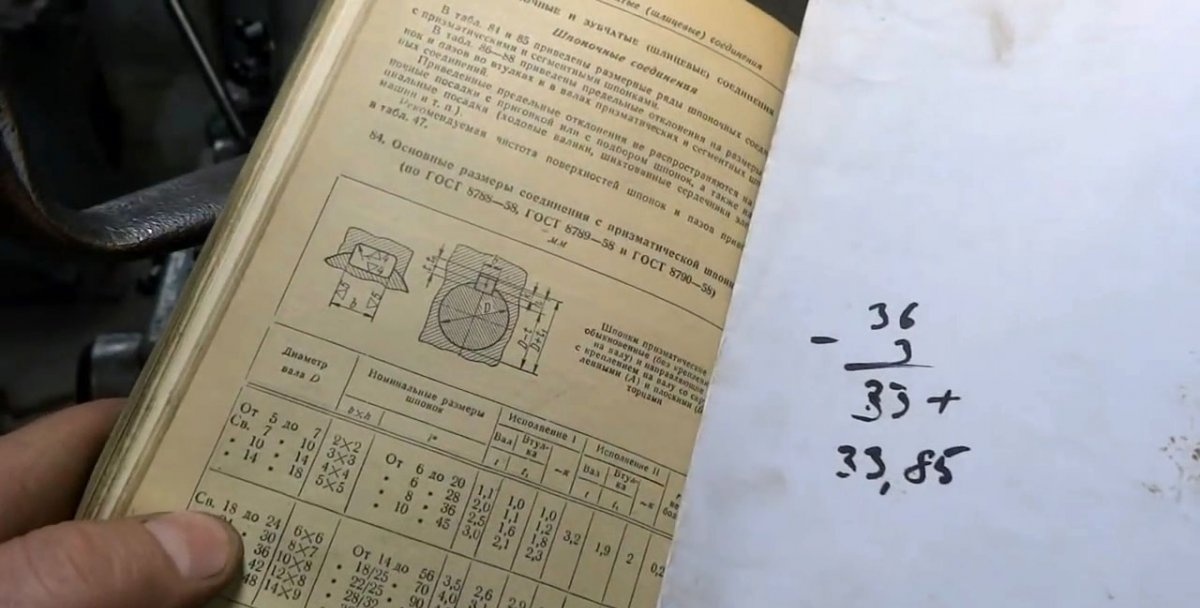
Now I start chiseling the keyway. In my case, its depth should be 2.6 mm. Using 0.1mm increments, it would take 26 cuts of the cutter to achieve this depth.


After deepening the groove by 2.6 mm, without changing the settings on the dial, you need to make a few more repeated movements of the cutter to clean the plane of small burrs. Next, the sleeve is removed from the cartridge. Its second end is quite rough, but this is easily solved. The boring cutter is again installed in the tool holder, and neat chamfers are removed. After this, the sleeve can be used for its intended purpose.

Chiselling on a lathe is a lengthy, although not complicated, process. In my case, the longitudinal movement of the caliper is motorized, so everything is done relatively quickly. It is also possible to make a groove on budget machines with manual drive, but in this case it will take much more time.
Watch the video
Similar master classes

Particularly interesting
Comments (5)
