Tool holders
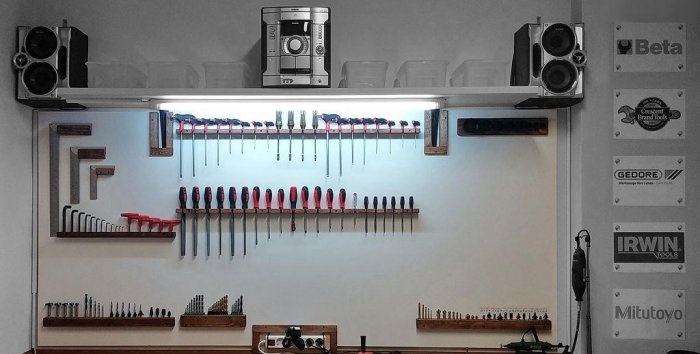
Holders that are very easy to make yourself make life a lot easier. Hung at various levels above the workbench, the entire tool is always within arm's reach. The search takes a minimum of time and effort.
It seems to me that every craftsman or craftsman should have such a design for storing the necessary tools.
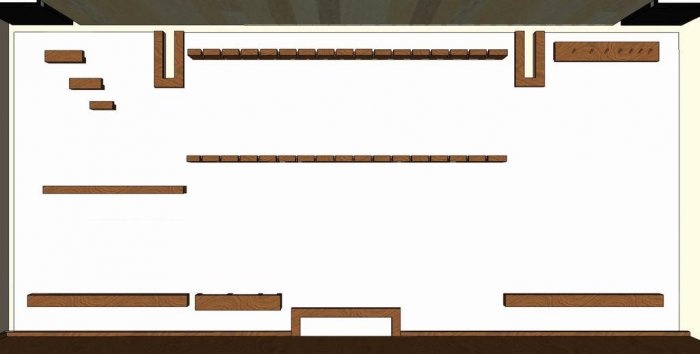
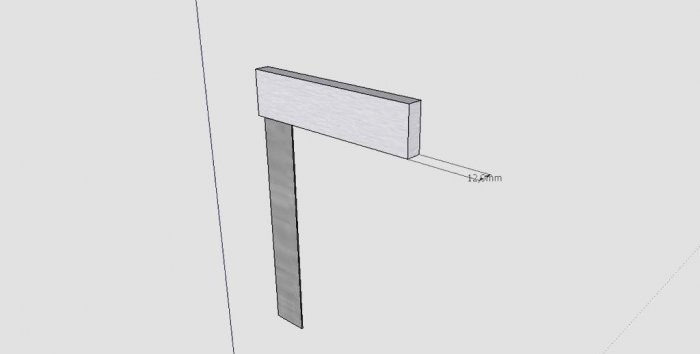
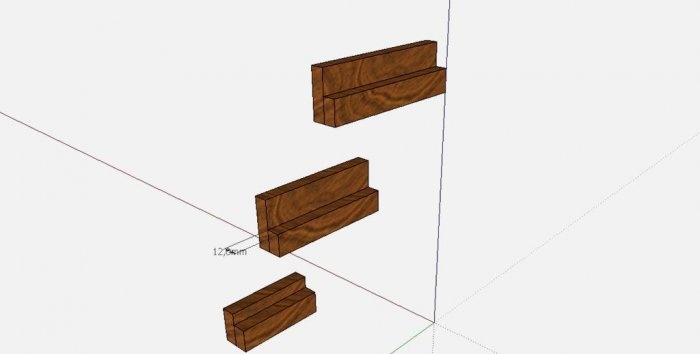
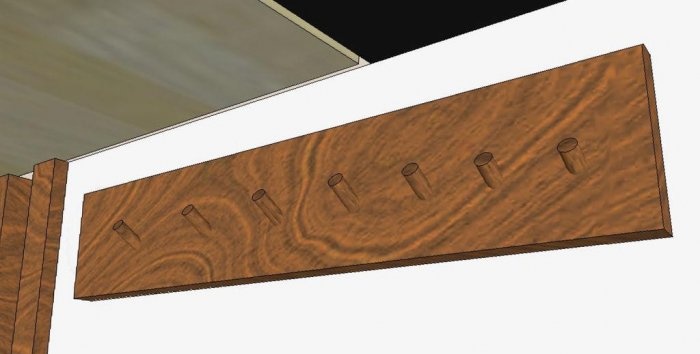
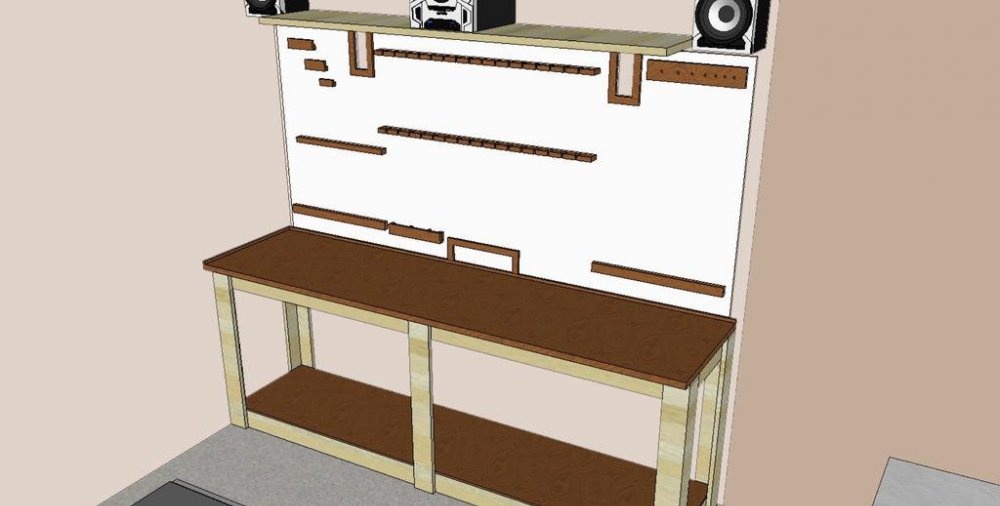
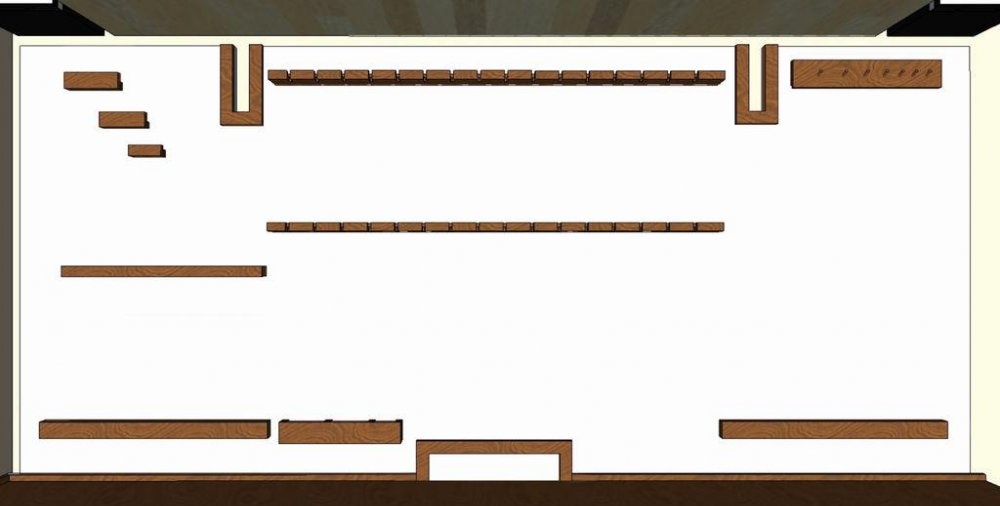
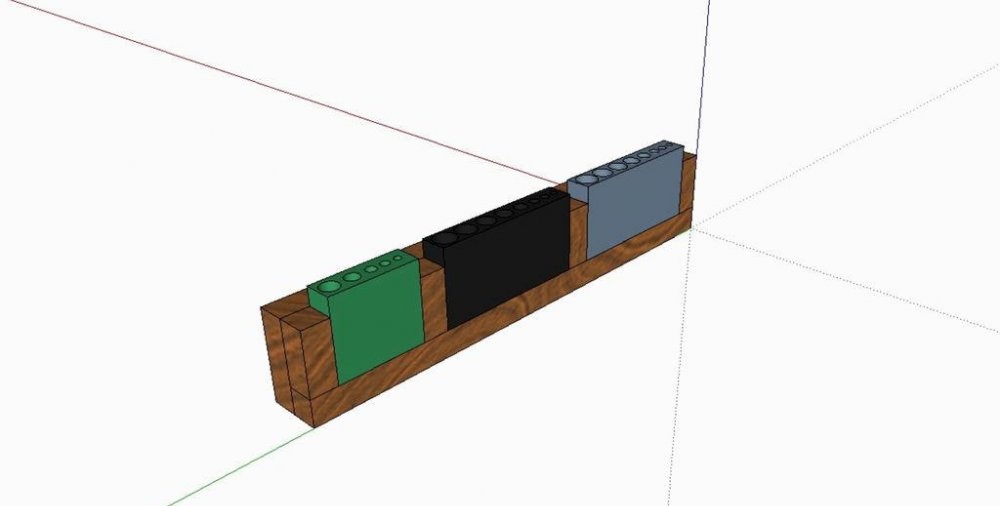
3D model of the future workplace. Of course, it’s not necessary to do it, but I love precision in everything.

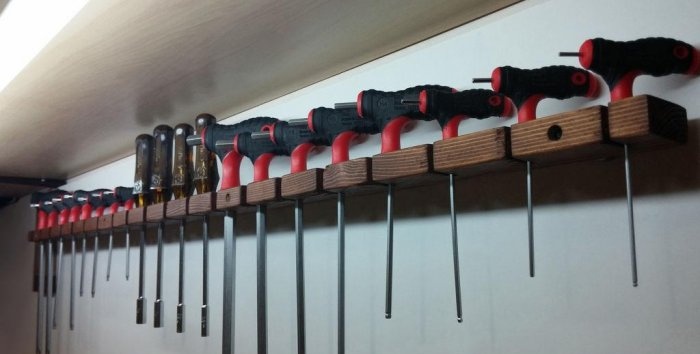
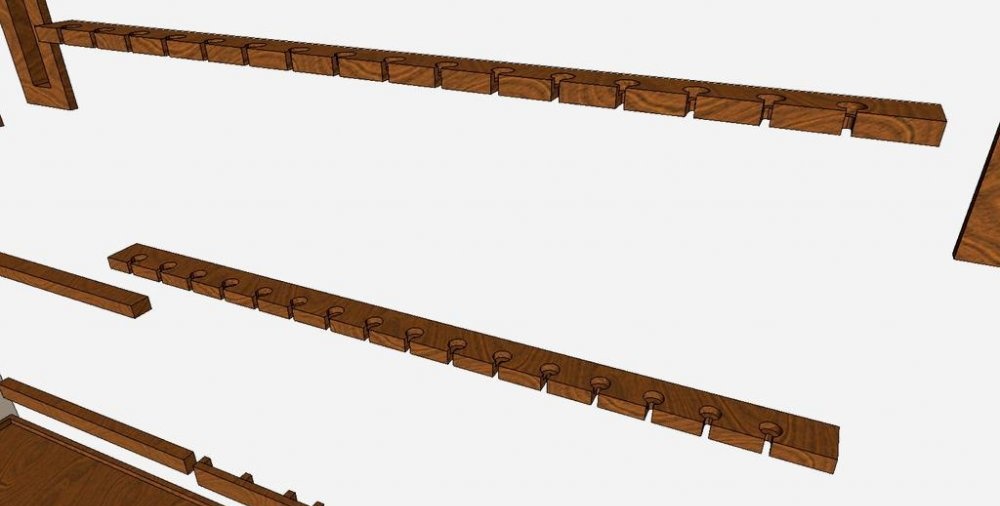
Two identical holders for keys, screwdrivers, files, etc.

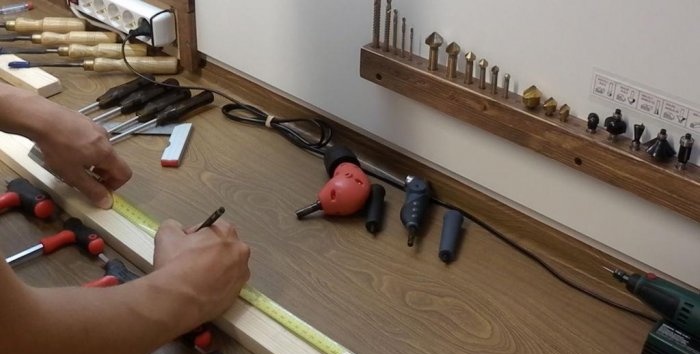
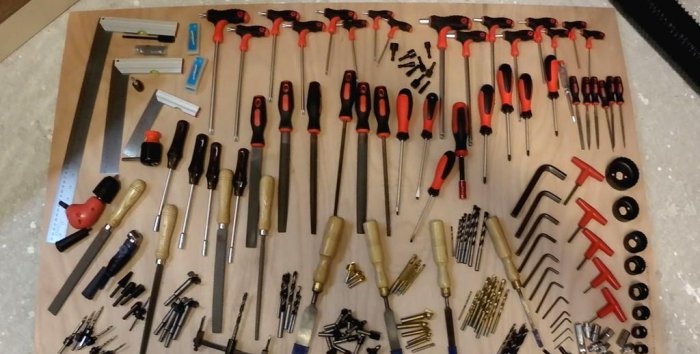
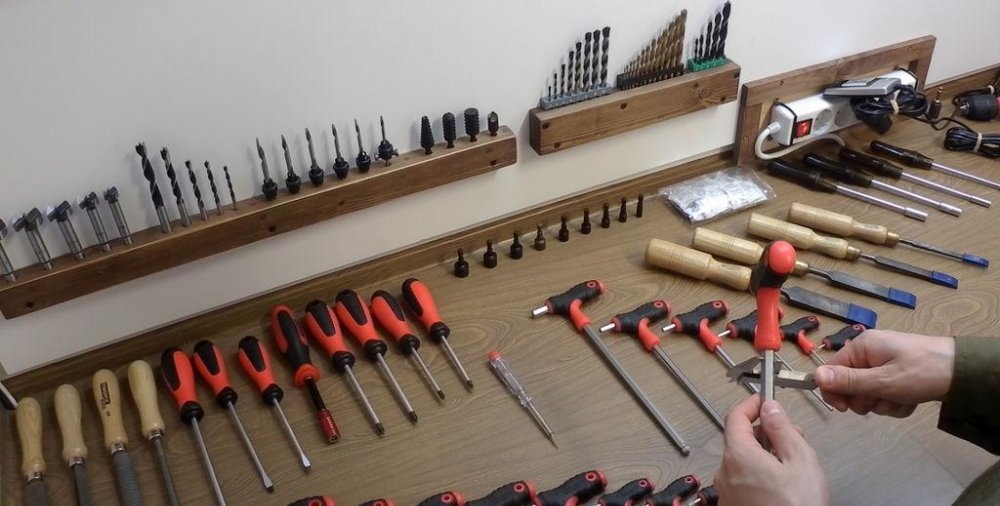
I laid out the tool in a ruler to estimate the required distance between the cells for the tool.
I took the resulting distance with a reserve. Next, I drew the rail into squares - these will be just the cells for the tool.
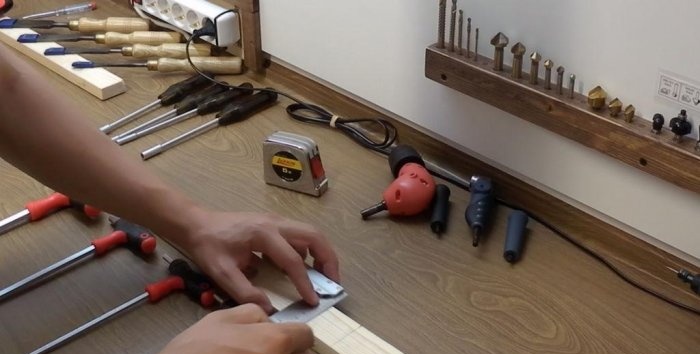
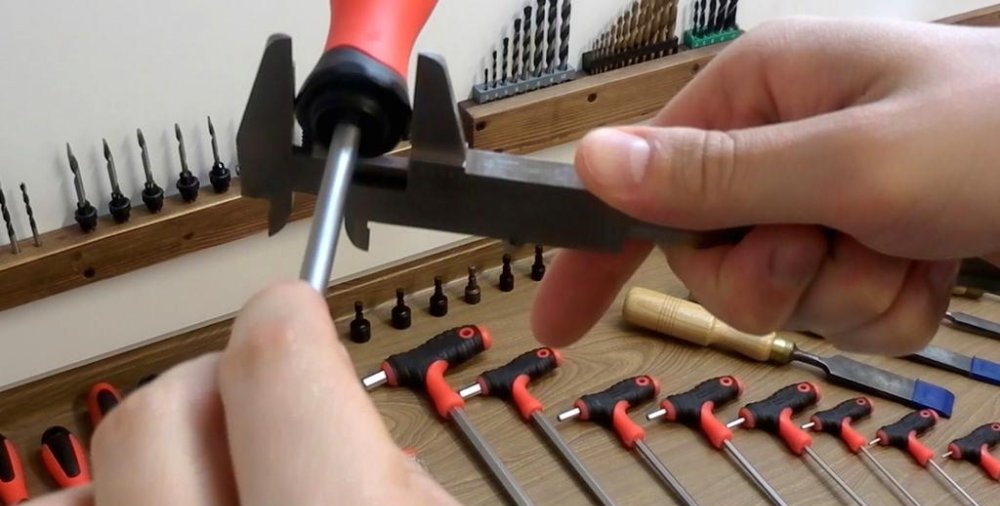
Then I measured the outer diameter of each tool, I added one millimeter to the resulting distance so that everything would fit into its sockets without any problems.


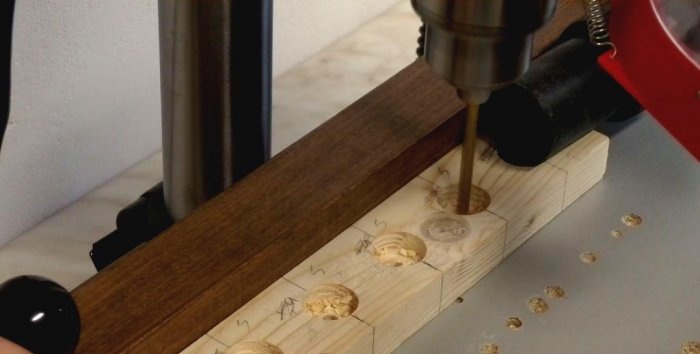
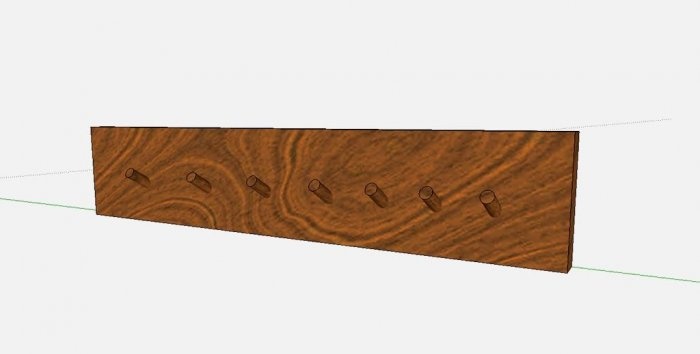
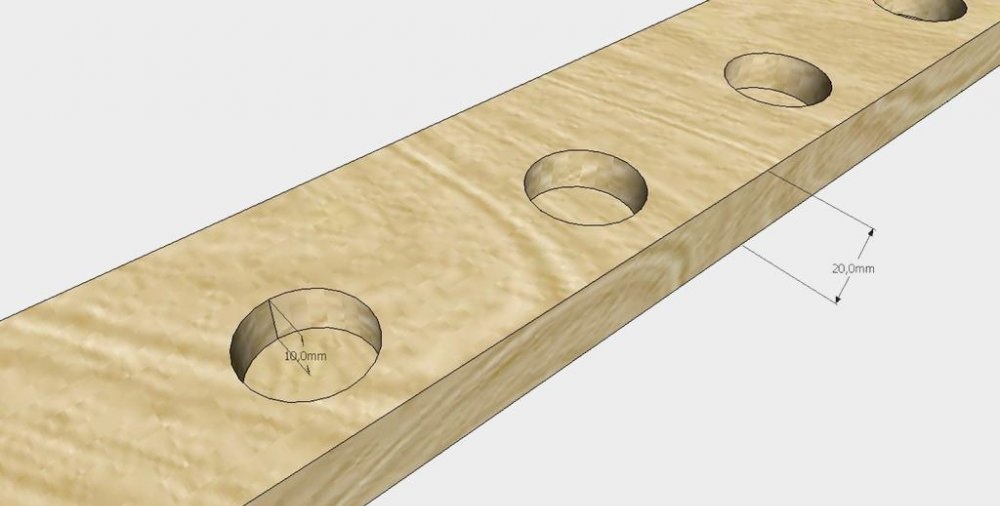
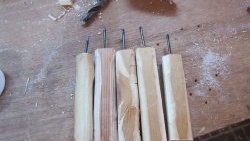
I drilled the required depth holes in the middle of the rail.

That is, the thickness of the wood was 20 mm, and the depth of the non-through hole was 10 mm, respectively.

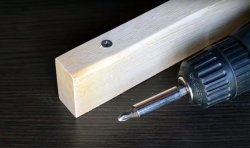
Now we measure the inner diameter of each tool and add half a millimeter.


Drill internal through holes.
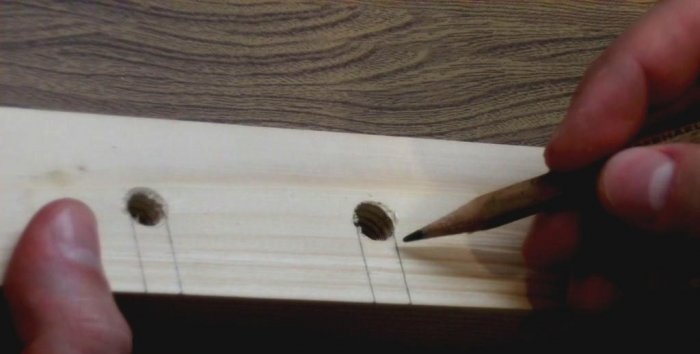
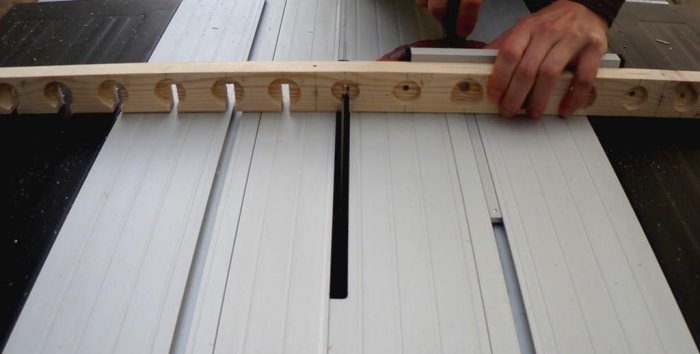
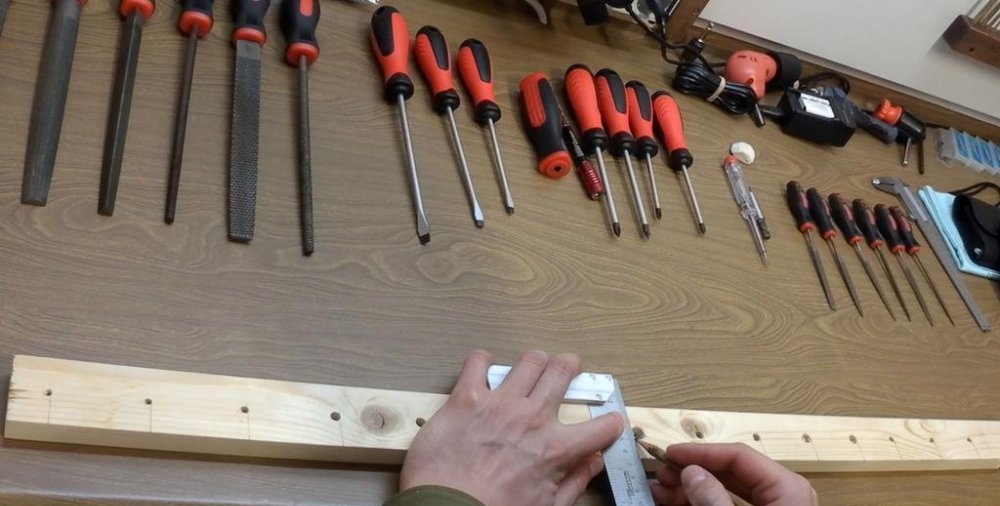
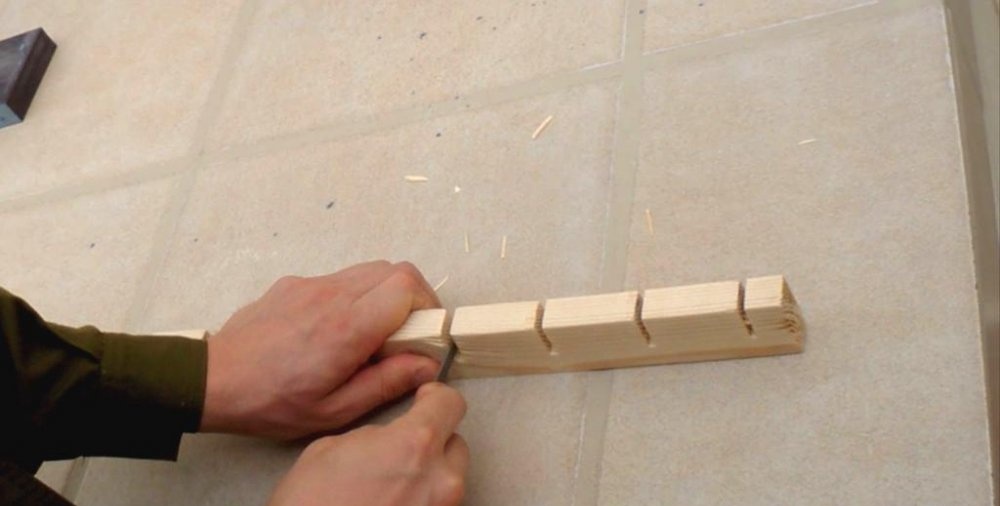
I turned the board over and drew two lines for each hole.

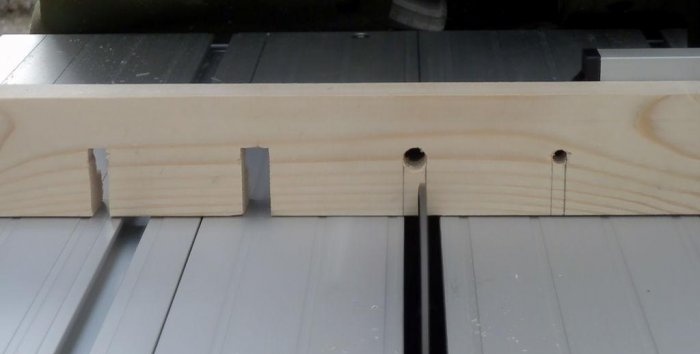
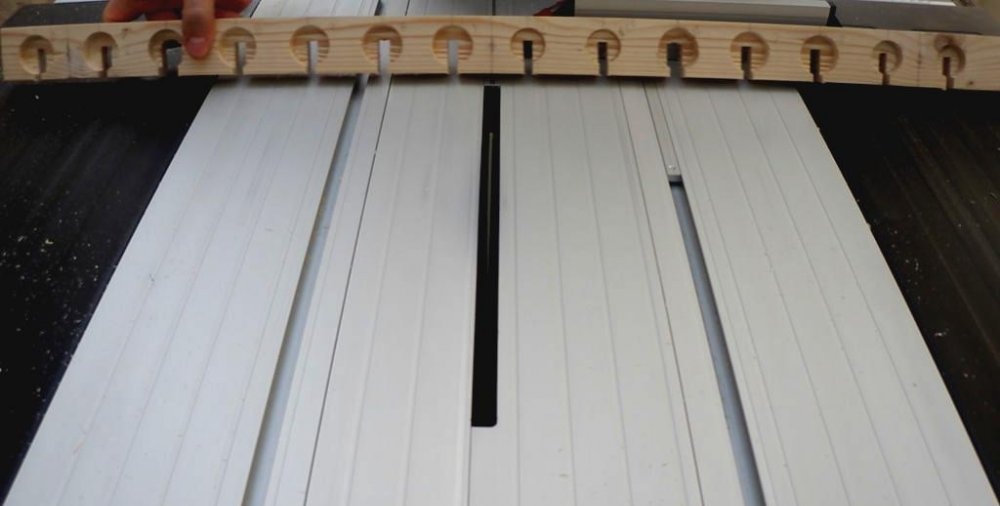
Adjust the blade height.

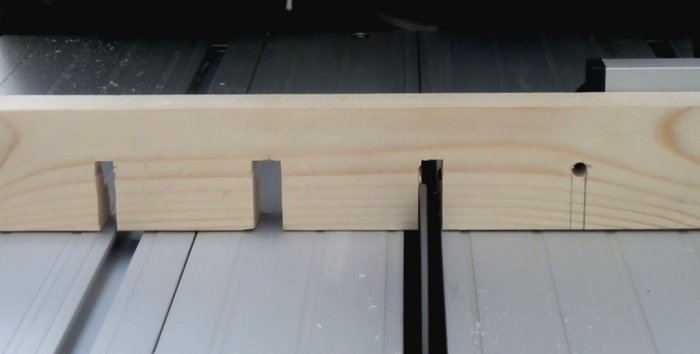
Carefully make cuts.

Then we sand all sides so that everything is smooth.
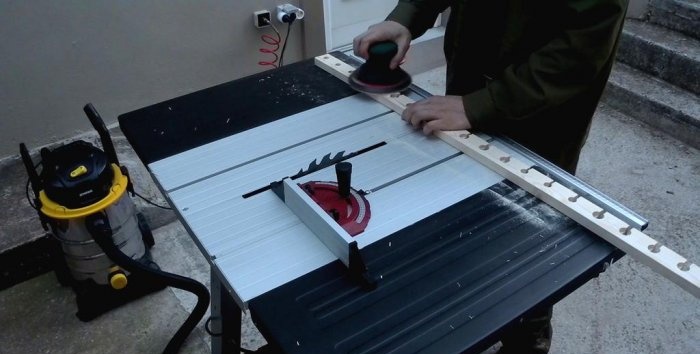
The internal surfaces can be sanded with soft sandpaper.

In order for the tools to fit in easily, I made the grooves a little wider.

It's time to varnish the color of the stain.
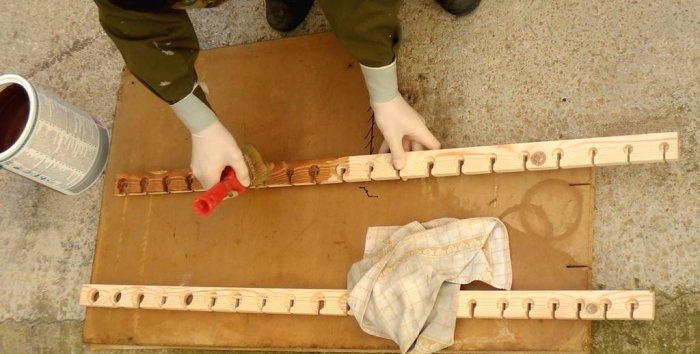
Let it dry for a day.
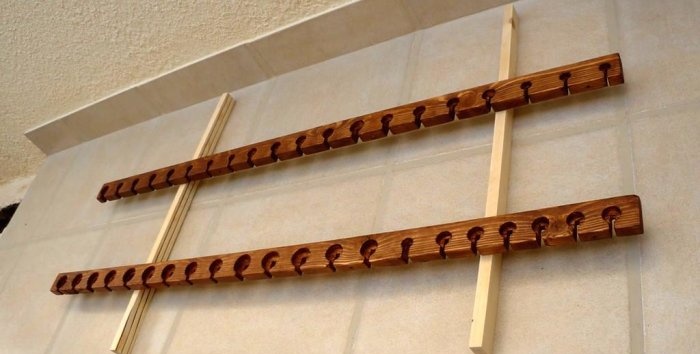
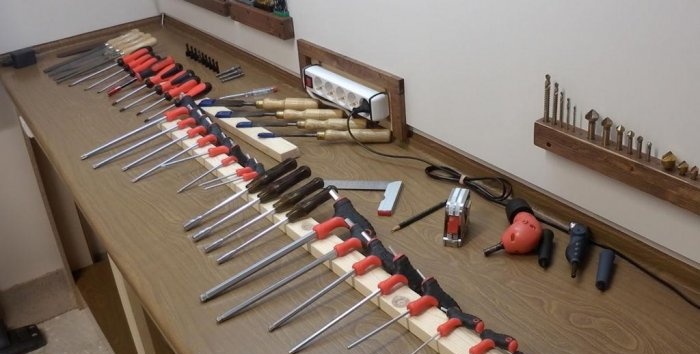
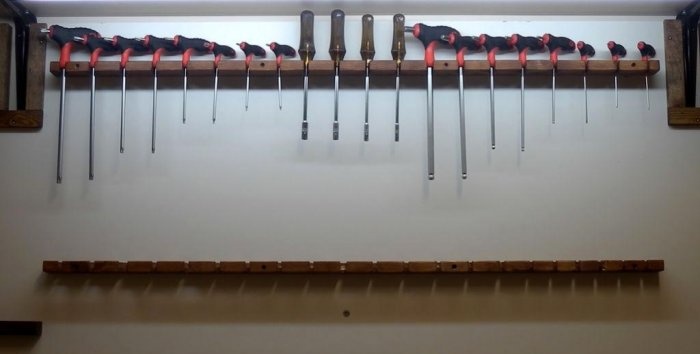
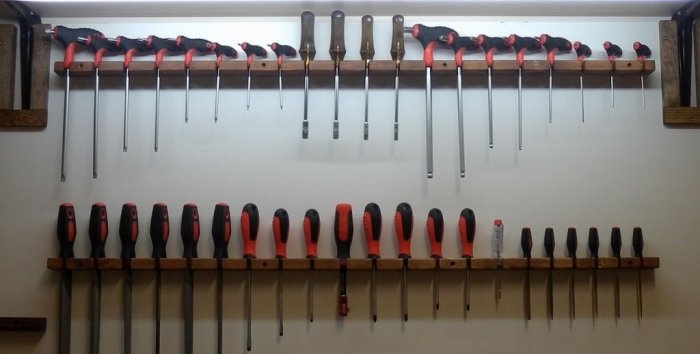
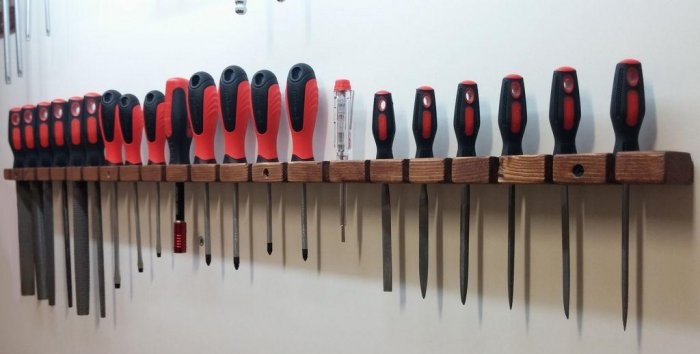
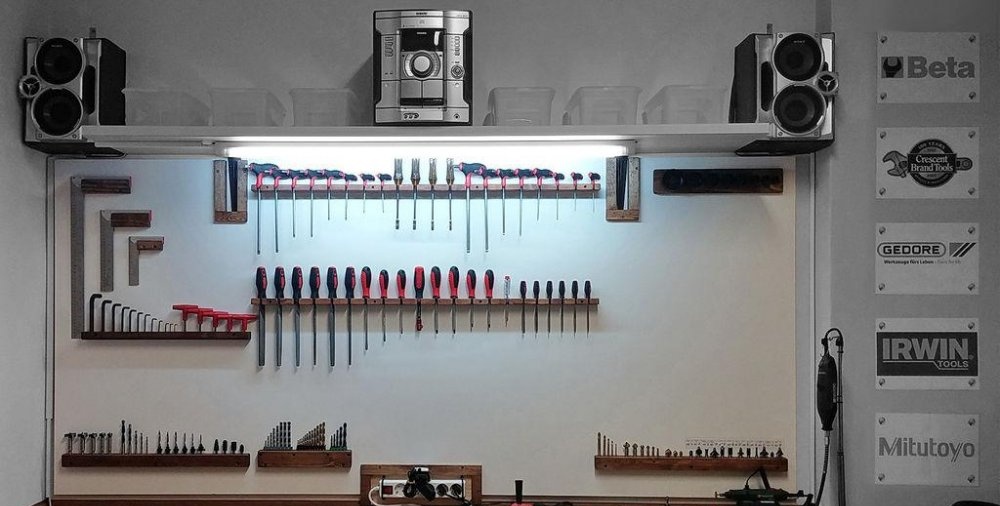
Then we install and arrange everything according to a pre-designed template.
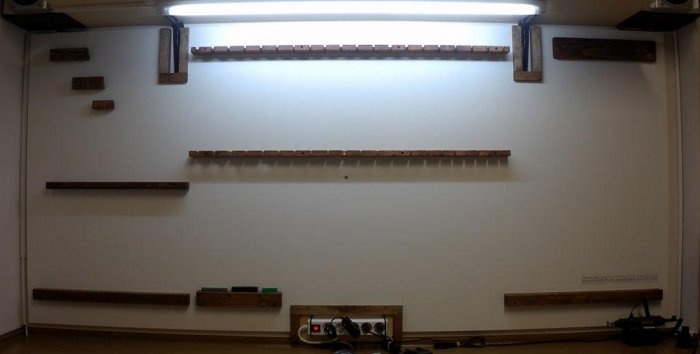
And chaos turns into order!
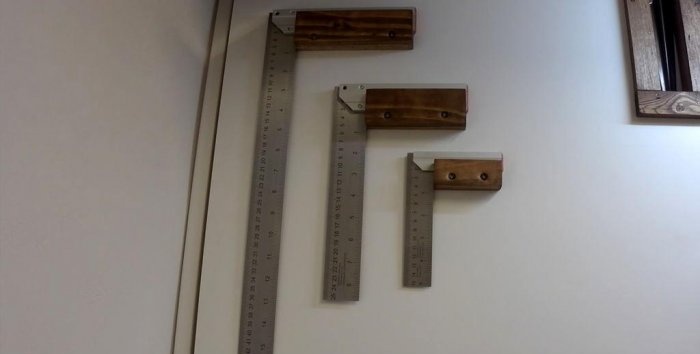
Holders for squares.


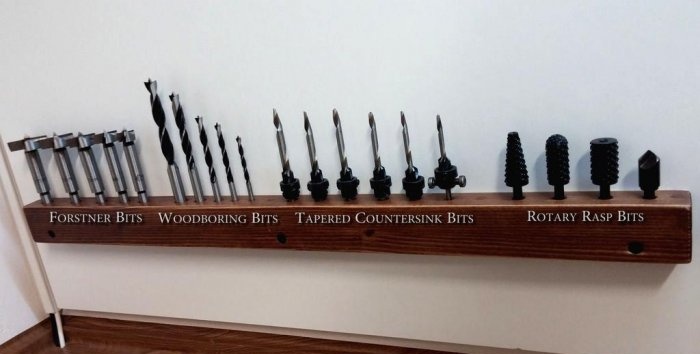
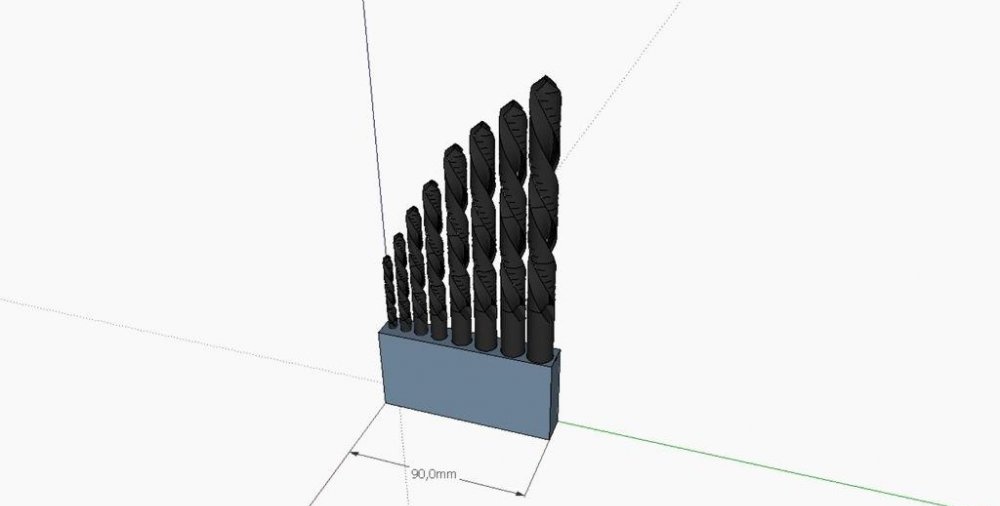
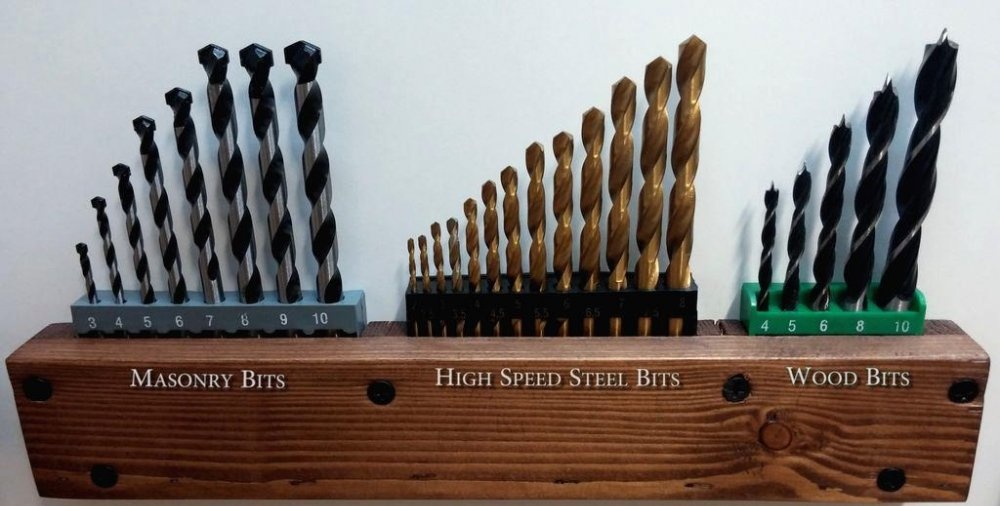
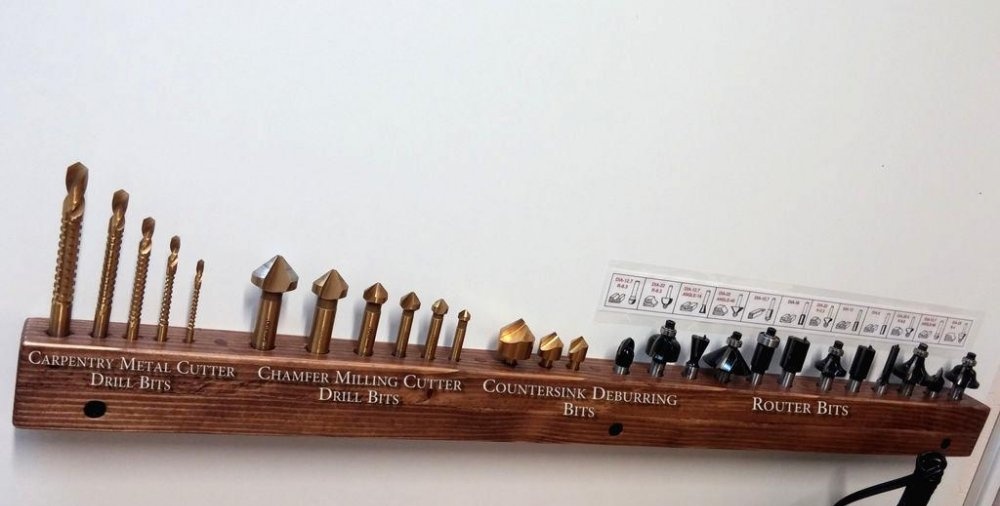
Stand for a set of drills.


Stand for hole saws.
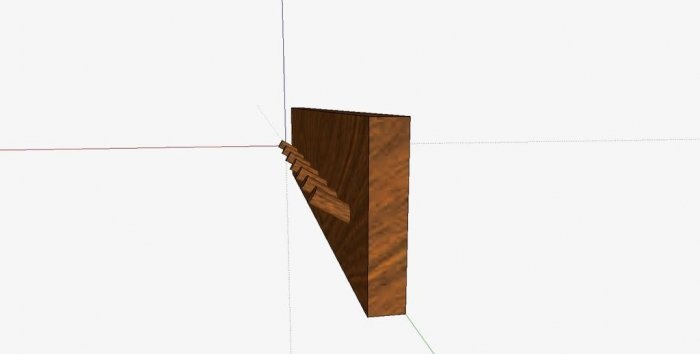

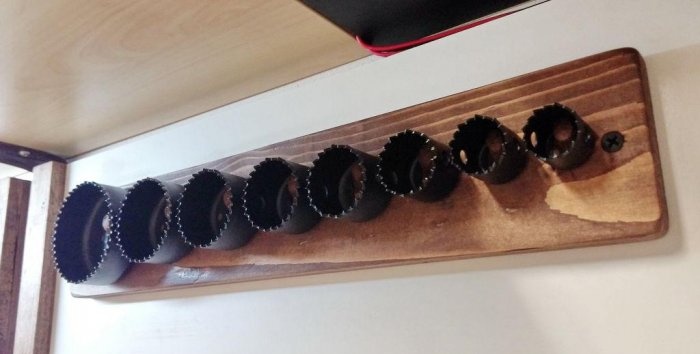
They are made like this: a hole is drilled at an angle of 45 degrees and a round strip is inserted.
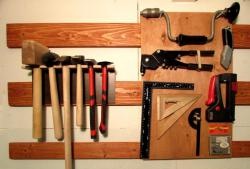
Other various holders.


The result is such beauty that only a true master can appreciate it.
Thanks for reading and I hope you enjoyed it!
For detailed instructions, see the video.
It seems to me that every craftsman or craftsman should have such a design for storing the necessary tools.
Making tool holders and organizing the workplace
3D model of the future workplace. Of course, it’s not necessary to do it, but I love precision in everything.
Two identical holders for keys, screwdrivers, files, etc.
I laid out the tool in a ruler to estimate the required distance between the cells for the tool.

I took the resulting distance with a reserve. Next, I drew the rail into squares - these will be just the cells for the tool.


Then I measured the outer diameter of each tool, I added one millimeter to the resulting distance so that everything would fit into its sockets without any problems.

I drilled the required depth holes in the middle of the rail.
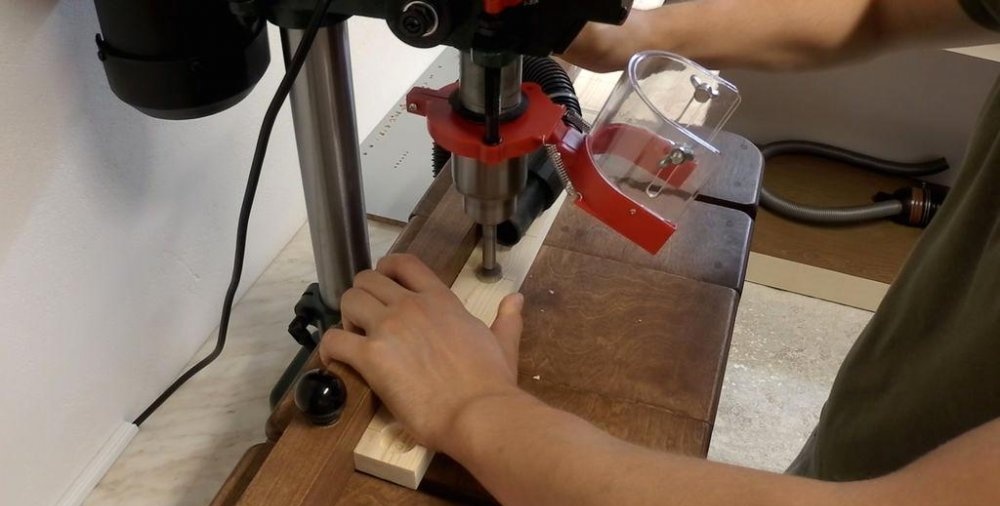
That is, the thickness of the wood was 20 mm, and the depth of the non-through hole was 10 mm, respectively.
Now we measure the inner diameter of each tool and add half a millimeter.

Drill internal through holes.

I turned the board over and drew two lines for each hole.

Adjust the blade height.

Carefully make cuts.


Then we sand all sides so that everything is smooth.

The internal surfaces can be sanded with soft sandpaper.

In order for the tools to fit in easily, I made the grooves a little wider.
It's time to varnish the color of the stain.

Let it dry for a day.

Then we install and arrange everything according to a pre-designed template.
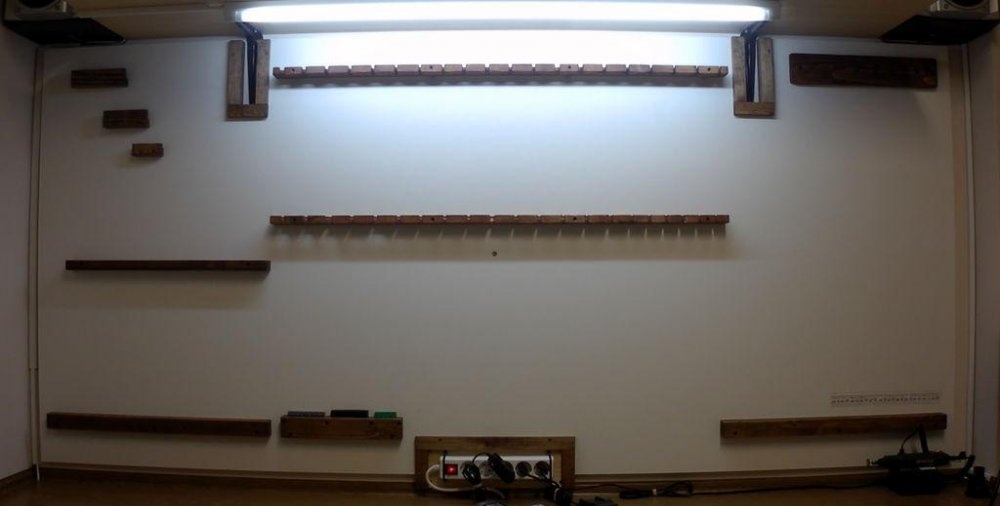
And chaos turns into order!


Holders for squares.


Stand for a set of drills.

Stand for hole saws.


They are made like this: a hole is drilled at an angle of 45 degrees and a round strip is inserted.
Other various holders.


The result is such beauty that only a true master can appreciate it.
Thanks for reading and I hope you enjoyed it!
Watch the video
For detailed instructions, see the video.
Similar master classes


Particularly interesting


Comments (5)
