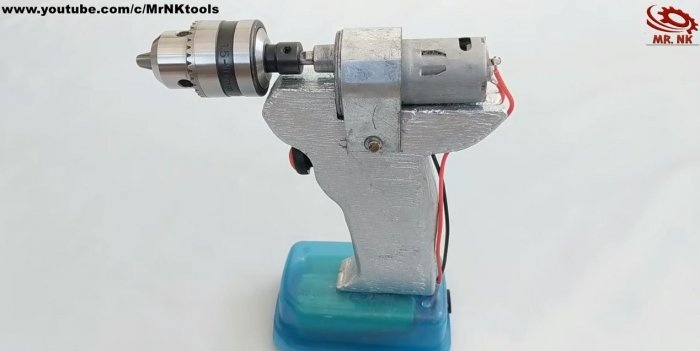
How to make a screwdriver from scrap parts
Cordless screwdrivers are used everywhere in workshops and households. Such a tool is valued for its lack of connection to a 220 V household network. It is compact, does not take up much space and can replace a drill in simple jobs that are sometimes found around the house.
In construction stores and on the market, such equipment can be found in a wide range. Its cost sometimes makes you think, and sometimes even makes you want to save money. What if you make it yourself? Today we will reinforce this quite reasonable idea with a master class from one of the tinkering enthusiasts.
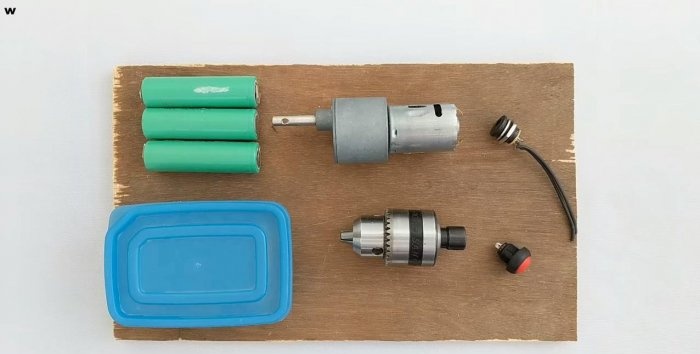
Materials:
DC motor with 12V boost gear;
Three batteries from an old 3.8 V laptop;
Drill chuck with clamping adapter for the gearbox shaft;
Connector socket for 5.5 connector for charger;
Momentary start button;
Thin galvanized metal plate, width – 20-25 mm;
A small piece of plywood, thickness – 10 mm;
PVA glue, sandpaper;
Screw with two nuts 3x30-35 mm;
Empty deodorant bottle;
Paint, brush;
Copper wiring, electrical tape;
Several self-tapping screws with washers;
Double tape;
Plastic food container.
Tools:
Jigsaw;
Drill, drills 3, 8-10 mm;
Soldering iron with solder and flux;
Scissors, painting knife;
Pliers, metal scissors;
Hacksaw for metal, marker for marking.
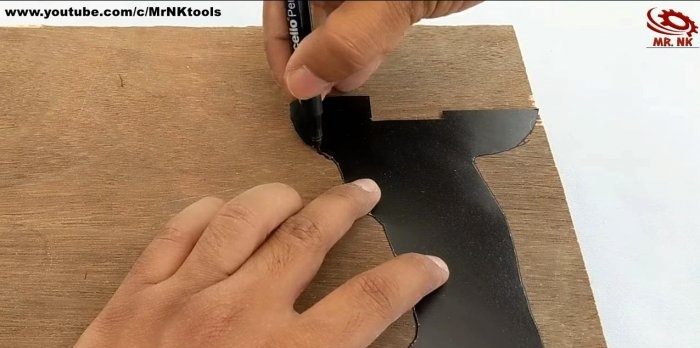
The shape of the handle should be comfortable for the hand and functional for filling the screwdriver. We make it from two pieces of 10 mm plywood. Cut out the template from a sheet of cardboard.
We transfer the outline of the handle onto the plywood with a marker and cut out both parts with a jigsaw.

We connect them with PVA glue. Gluing will be better if you place the workpiece under a press, clamp it in clamps or a vice.
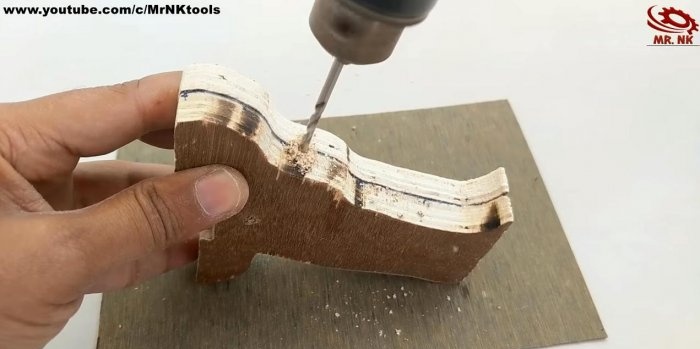
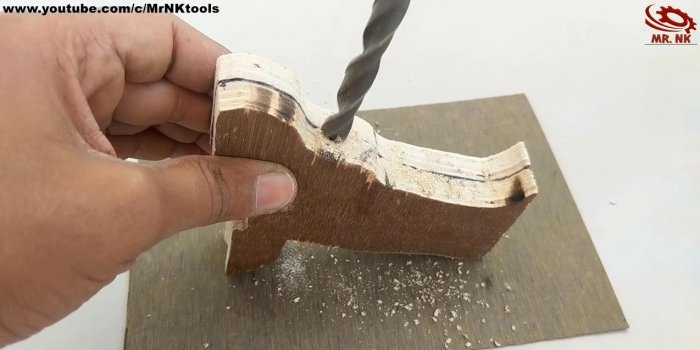
We drill a through hole in the middle of the handle with a 3 mm drill. It is necessary for the engine mounting plate.


We make the next hole for the button from the side edge. We first drill it with a 3 mm drill, and then expand it by 8-10 mm. The expansion depth is about 15 mm.
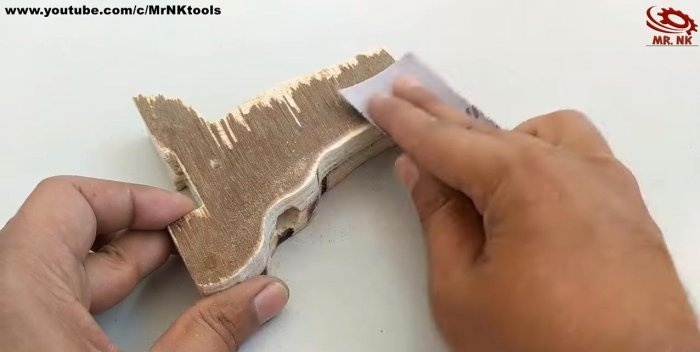
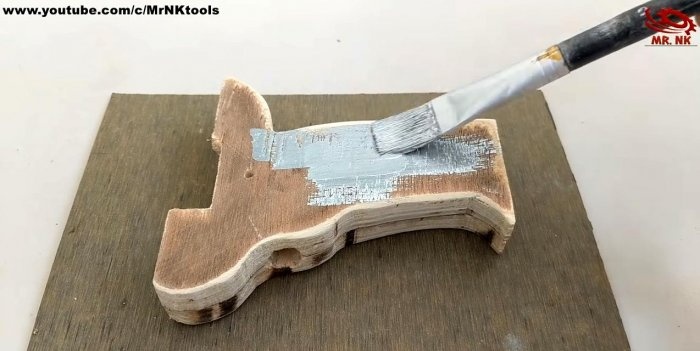
We clean the edges of the plywood with sandpaper and cover the part with paint for moisture protection.
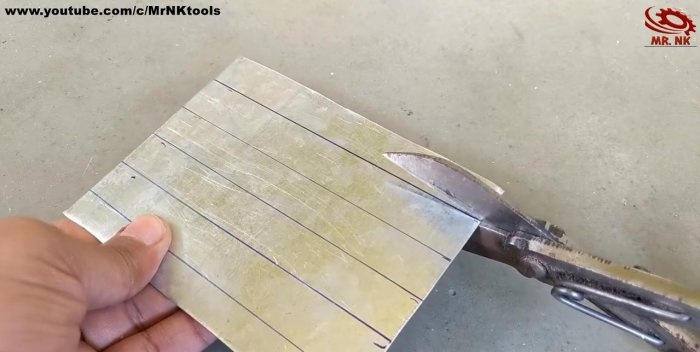
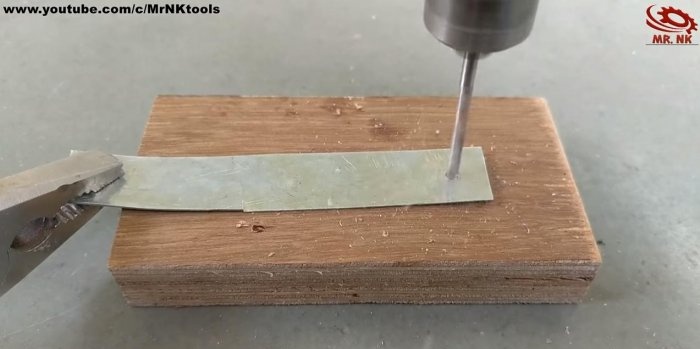
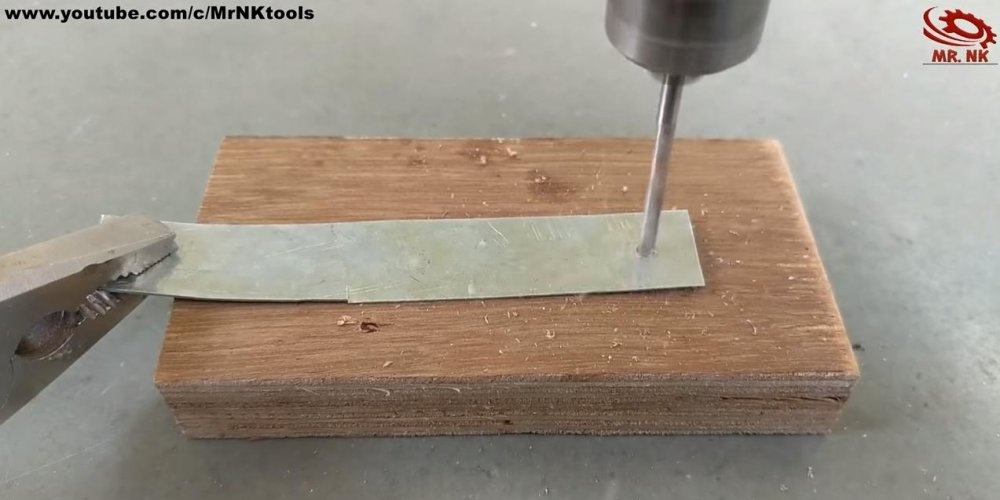
Using metal scissors, cut a strip 20-25 mm wide from a piece of galvanized steel. This will be the clamp for the engine.
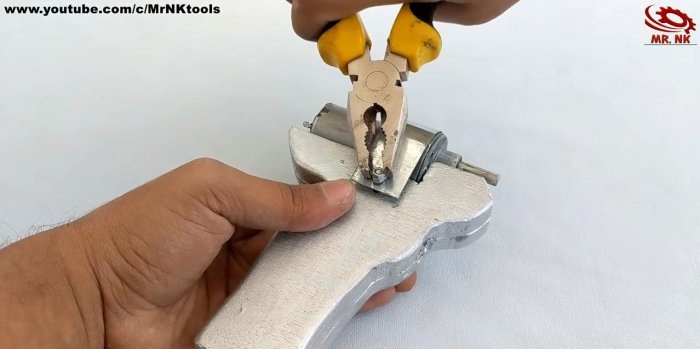
We mark holes on both sides and drill with a thin drill. We bend the plate in an arc, and fasten the engine to a thin bolt with a lock nut.

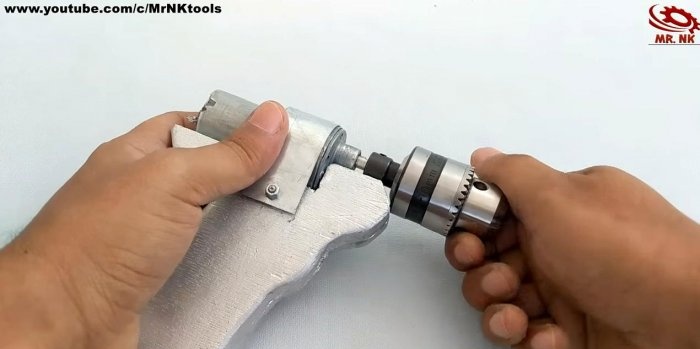
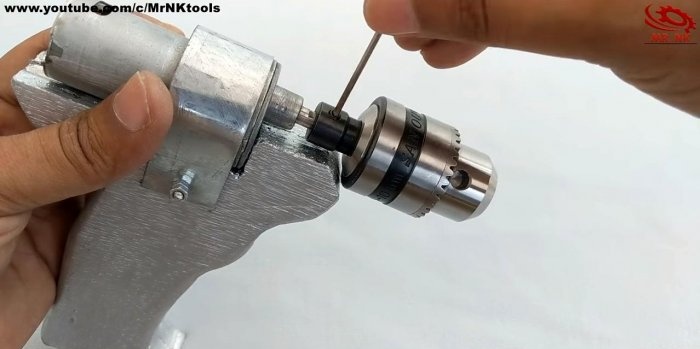
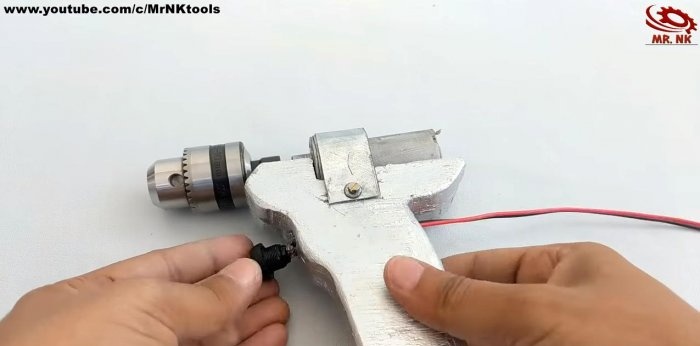
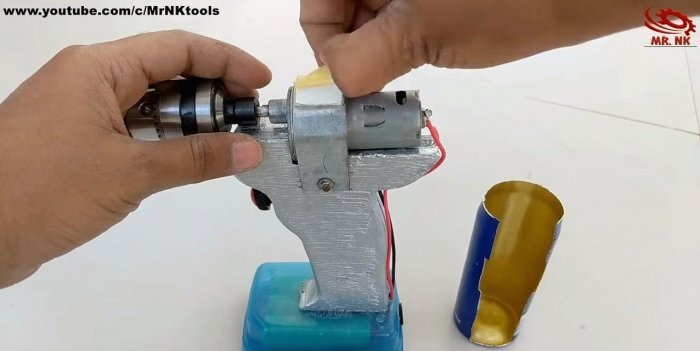
We fix the drill chuck through a clamping adapter and fix it with a hex bolt.
We place the power button in the hole on the handle, and place the wires on its reverse side. We solder the wires to the engine and the charging socket, insulating the connections with heat shrink.


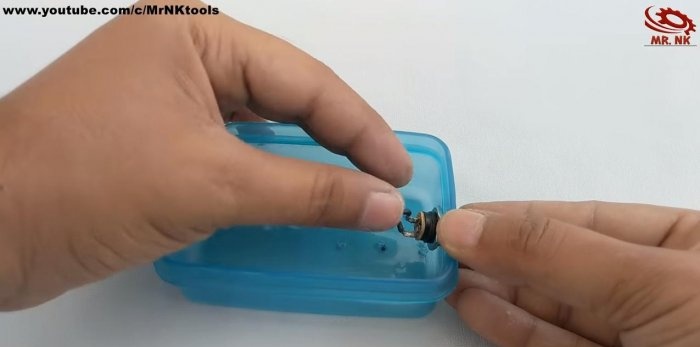
In the plastic container we make four holes with a 3 mm drill, and one with a 10 mm drill for the charging socket.


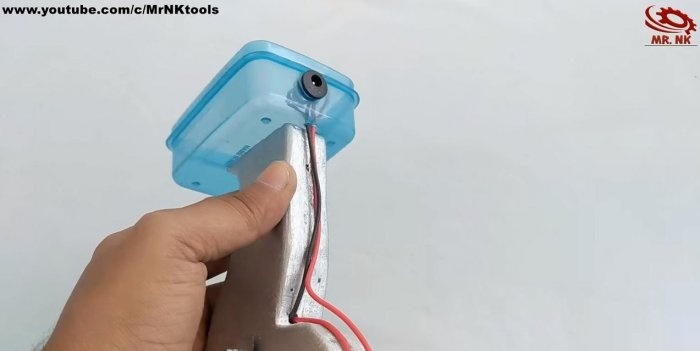
We fix the connector with the outgoing wiring with a clamping nut on the container body. We secure the container to the end of the handle with several self-tapping screws.

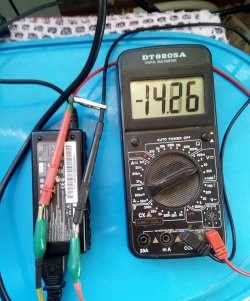
We wrap three batteries with tape or cling film. We connect their contacts sequentially.
We combine the power wires from the batteries with the outputs from the connector, twist them and wrap them with electrical tape. For reliability, the connection can be soldered with a soldering iron.


We pack the resulting power supply into a container and close it with a lid.


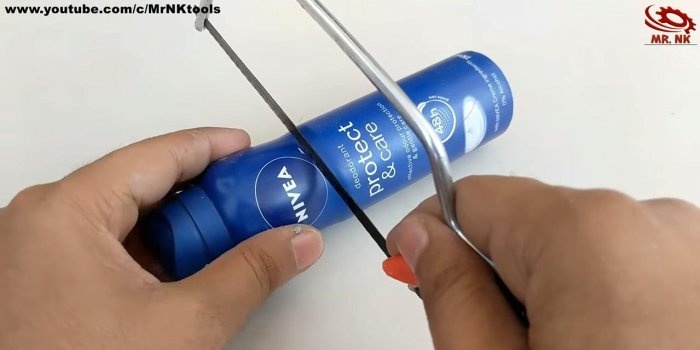
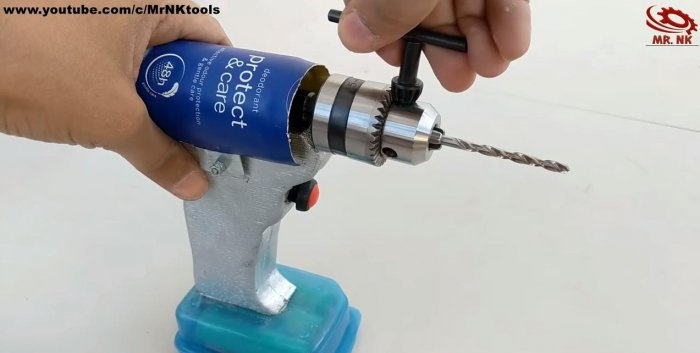
Cut off the neck of an empty deodorant bottle. Using scissors, cut out the groove for the engine.

We fix our improvised casing with a strip of double tape.

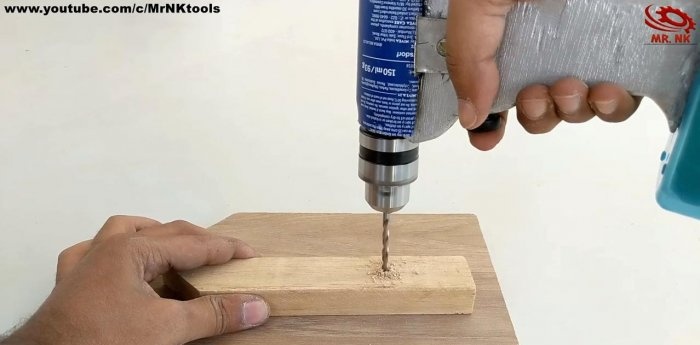
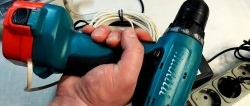
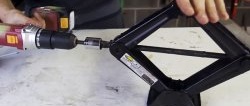
The protection is ready, now you can clamp the drill in the chuck and check the tool in action. Undoubtedly, such a homemade product will be a good helper in the workshop or at home!
In construction stores and on the market, such equipment can be found in a wide range. Its cost sometimes makes you think, and sometimes even makes you want to save money. What if you make it yourself? Today we will reinforce this quite reasonable idea with a master class from one of the tinkering enthusiasts.

Required resources for DIY
Materials:
Tools:

Assembling a screwdriver with your own hands
Stage one - preparing the handle for the screwdriver
The shape of the handle should be comfortable for the hand and functional for filling the screwdriver. We make it from two pieces of 10 mm plywood. Cut out the template from a sheet of cardboard.
We transfer the outline of the handle onto the plywood with a marker and cut out both parts with a jigsaw.


We connect them with PVA glue. Gluing will be better if you place the workpiece under a press, clamp it in clamps or a vice.
We drill a through hole in the middle of the handle with a 3 mm drill. It is necessary for the engine mounting plate.


We make the next hole for the button from the side edge. We first drill it with a 3 mm drill, and then expand it by 8-10 mm. The expansion depth is about 15 mm.
We clean the edges of the plywood with sandpaper and cover the part with paint for moisture protection.


Stage two - install and connect the engine
Using metal scissors, cut a strip 20-25 mm wide from a piece of galvanized steel. This will be the clamp for the engine.

We mark holes on both sides and drill with a thin drill. We bend the plate in an arc, and fasten the engine to a thin bolt with a lock nut.


We fix the drill chuck through a clamping adapter and fix it with a hex bolt.


We place the power button in the hole on the handle, and place the wires on its reverse side. We solder the wires to the engine and the charging socket, insulating the connections with heat shrink.


Stage three - installing batteries
In the plastic container we make four holes with a 3 mm drill, and one with a 10 mm drill for the charging socket.


We fix the connector with the outgoing wiring with a clamping nut on the container body. We secure the container to the end of the handle with several self-tapping screws.


We wrap three batteries with tape or cling film. We connect their contacts sequentially.
We combine the power wires from the batteries with the outputs from the connector, twist them and wrap them with electrical tape. For reliability, the connection can be soldered with a soldering iron.


We pack the resulting power supply into a container and close it with a lid.


Stage four - we protect the hull
Cut off the neck of an empty deodorant bottle. Using scissors, cut out the groove for the engine.


We fix our improvised casing with a strip of double tape.


The protection is ready, now you can clamp the drill in the chuck and check the tool in action. Undoubtedly, such a homemade product will be a good helper in the workshop or at home!


Watch the video
Similar master classes


Particularly interesting


Comments (3)
