Homemade cyclone in 5 minutes
Cleaning a room after renovation work brings back unpleasant memories for many. But in a workshop this is not at all easy to do. The daily accumulation of garbage makes it difficult to work and the desire to take on it, even if it is really necessary. How to cope with this and find the strength to restore order? In such a situation, a homemade cyclone or separator for chips, sawdust and other debris will help.
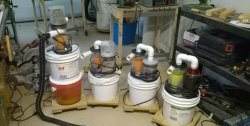
Such simple-looking equipment will provide intensive cleaning in your home workshop. It is also convenient because by connecting it directly to a machine, for example, to a circular saw, you will get a complete ventilation and dust removal system. If you connect a container of sufficient size, such equipment can be used as a single cyclone ventilation system for the entire workshop. And due to the installation of suction pipes on the lid, it is easy to replace an overfilled container with an empty one, which makes this installation as productive and convenient to use as possible.
A factory model of such a cyclone is not cheap, but a homemade one can be assembled in your garage in just a couple of minutes. The design is so simple and unpretentious that it does not break for years.What's the secret? We invite you to find out with us.
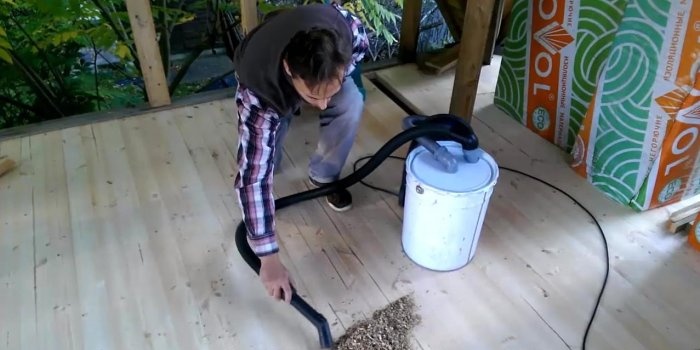


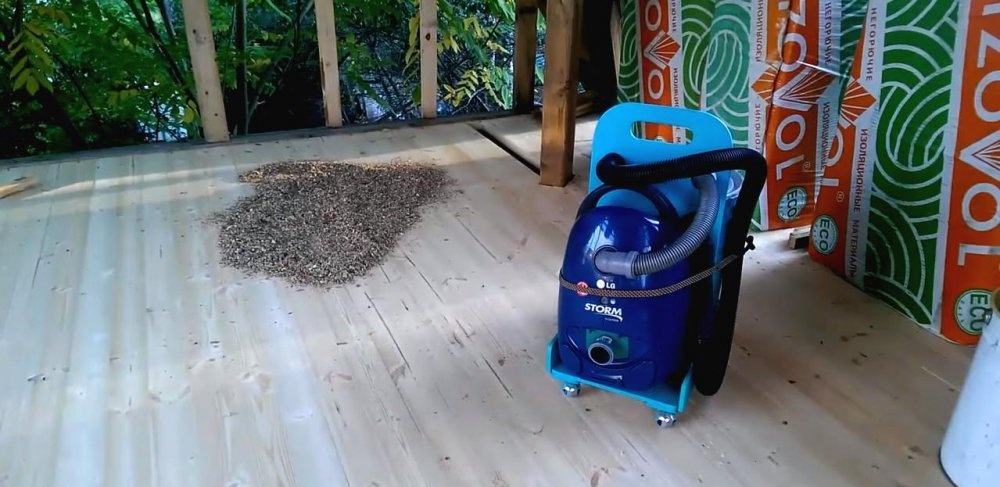
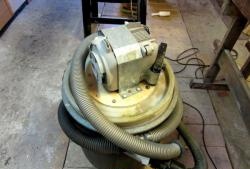
The cyclone is based on an ordinary household vacuum cleaner. Instead of a standard dust collection bag, we connect a larger container, for example, a galvanized technical bucket, through a connecting hose. The debris suction hose remains the same and is connected directly to the chip separator container.
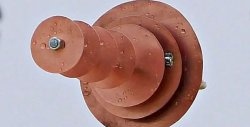
The main task of such a cyclone is to prevent coarse dust or shavings from being sucked back into the vacuum cleaner. This is possible due to gravity and friction, due to which large particles of debris move in a spiral path along the walls of the container, gradually settling at the bottom. This creates a separator for separating different fractions of pollution. And to clean the room, all that remains is to combine the entire device into a single platform and make it convenient to move.

For mobile platform:
Tools:
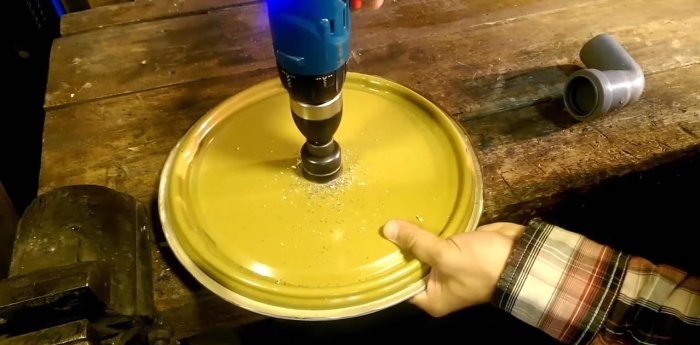
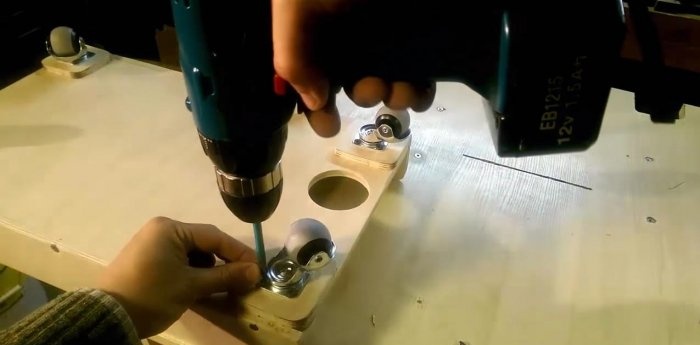
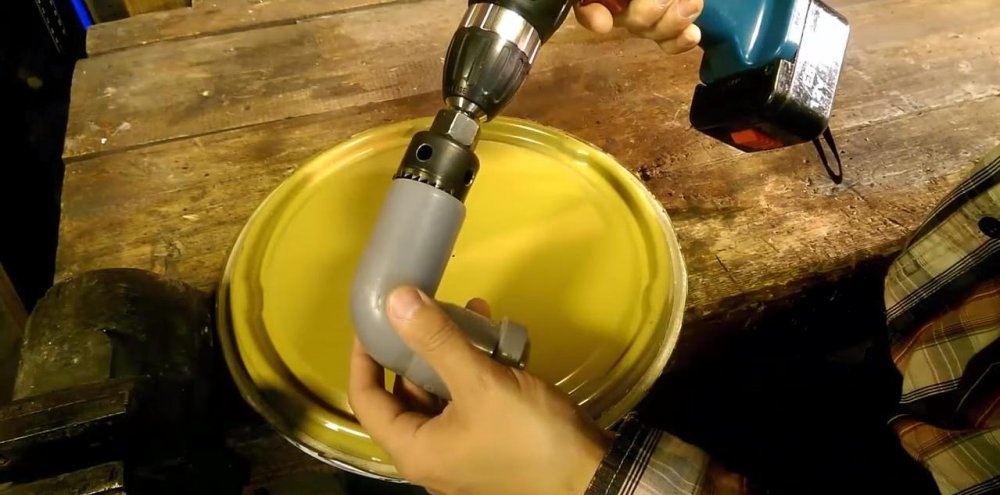
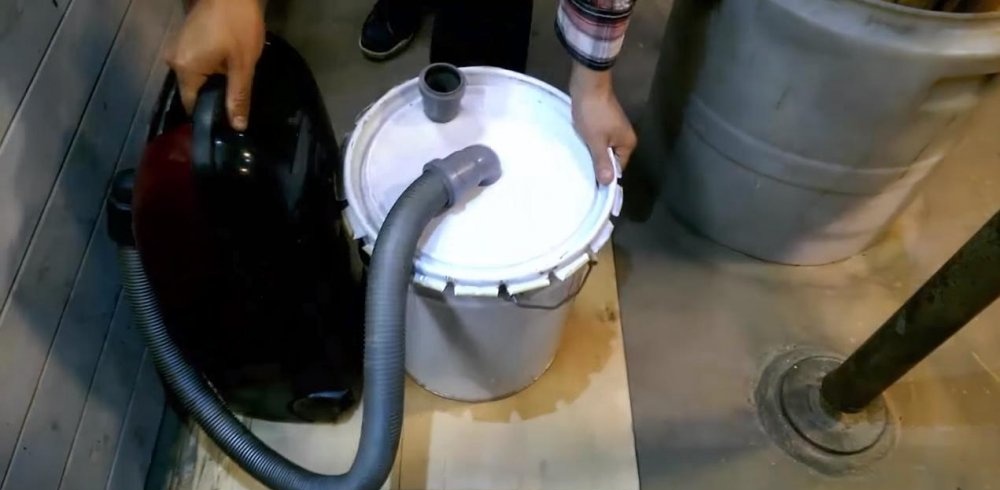
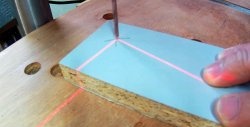
We begin work by preparing the lid of the container. We drill holes in it for the PP corners - one in the center, the second - from the edge of the cover near the stiffener. If the hole cutter is not the right size, the holes can be lightly reamed after drilling by wrapping sandpaper around the pipe or other round piece.


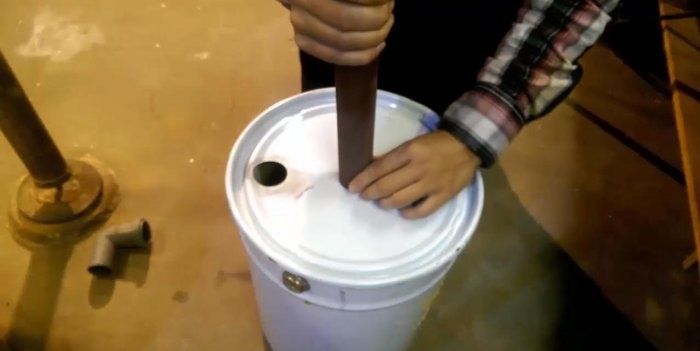
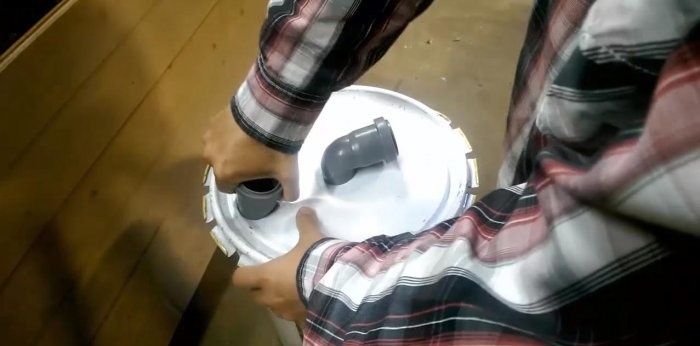
We insert plastic corners into the holes adjusted to size. We set the central one with lateral eyeliner, the outer one with vertical eyeliner.
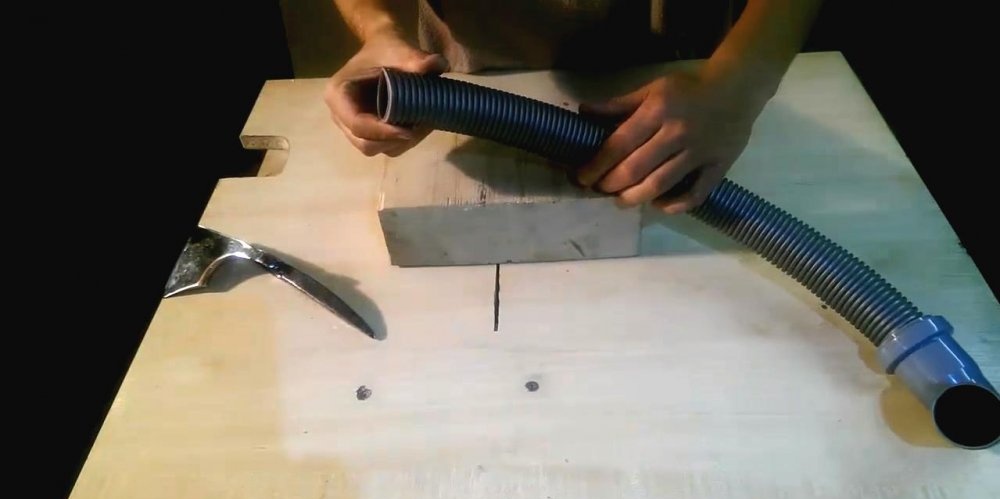
We adjust the suction hose from the vacuum cleaner to size and connect it to the central corner on the lid of the bucket. The hose end, if it is not removable, must be cut off.


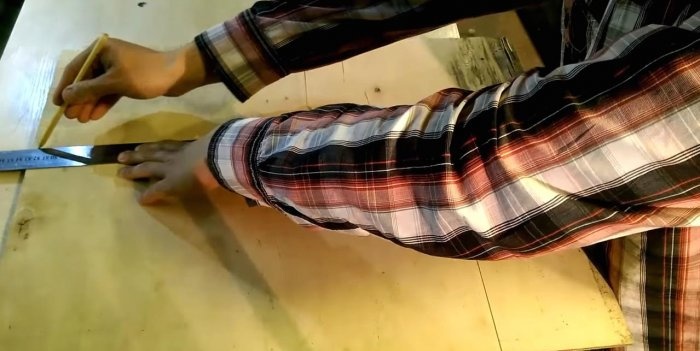
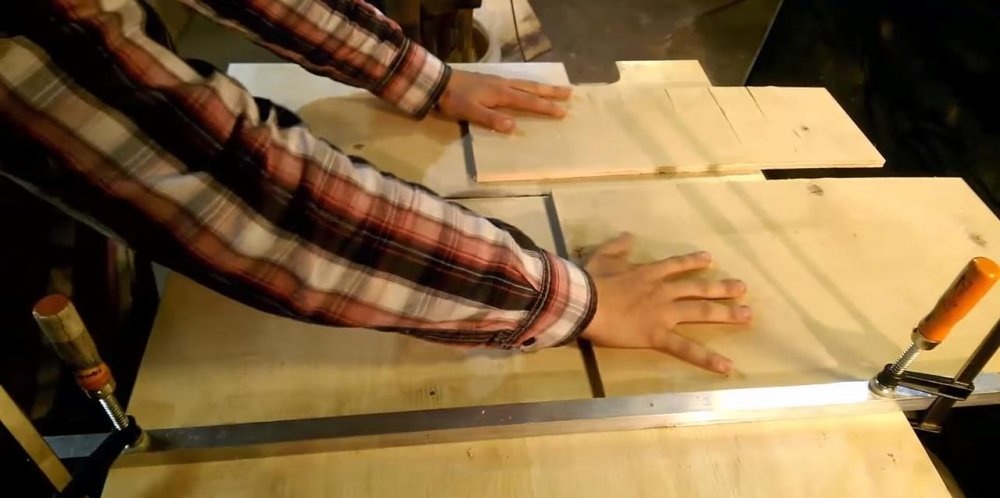
We assemble the mobile cart from plywood; any kind that is not damp will do. We mark the cutting of plywood to the size of the vacuum cleaner and storage tank, and cut it out using a circular saw or jigsaw.

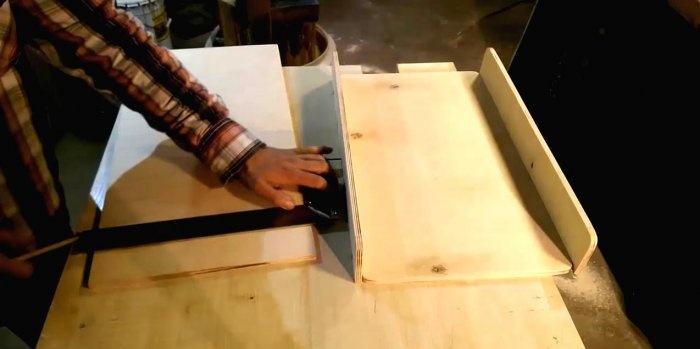
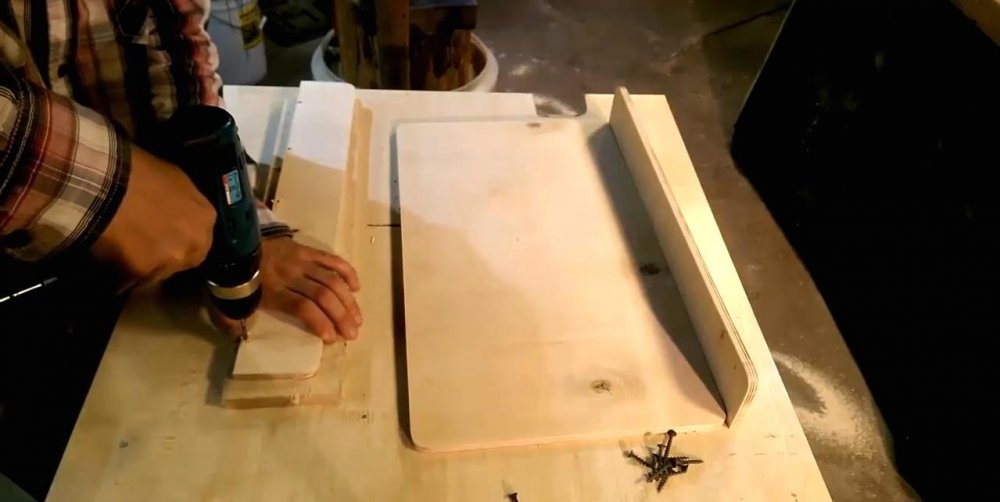
From the remains of a sheet of plywood we cut out the sides for the cart of arbitrary width. We install a plywood partition between the vacuum cleaner and the bucket, which will replace the handle for the cart.

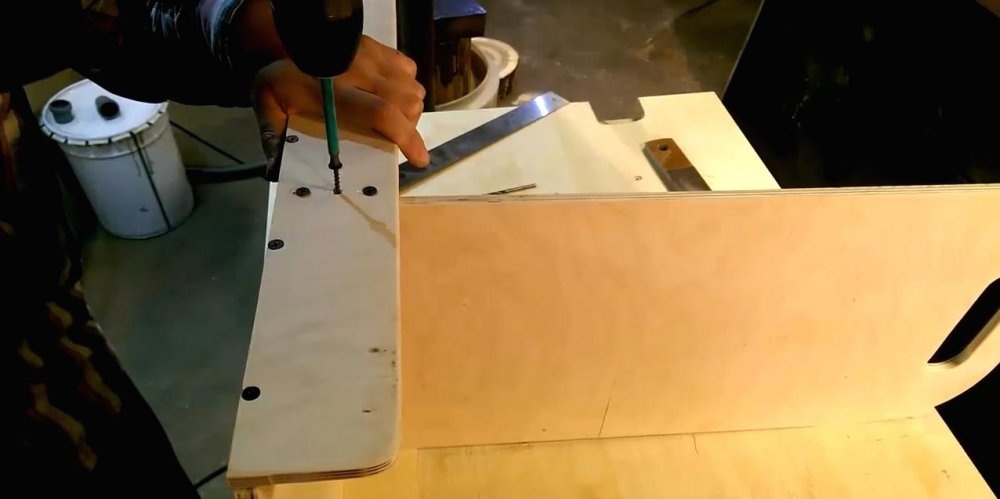
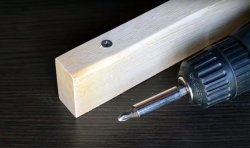
We connect the platform, handle and two sides with self-tapping screws. To avoid splitting the plywood, it is worth pre-drilling the mounting holes with a drill of a smaller diameter. It is better not to glue the connections, since if necessary, the cart will be easier to disassemble.


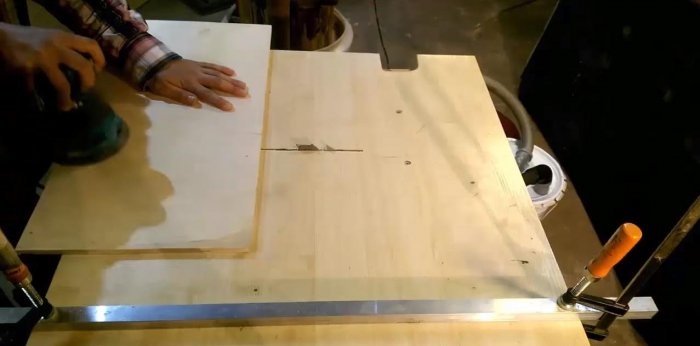
Before fixing the partition, we cut out a hole in it for the handle. For this we use the same pipe cutter with a screwdriver and a jigsaw. We clean all parts with a grinding machine or sandpaper.


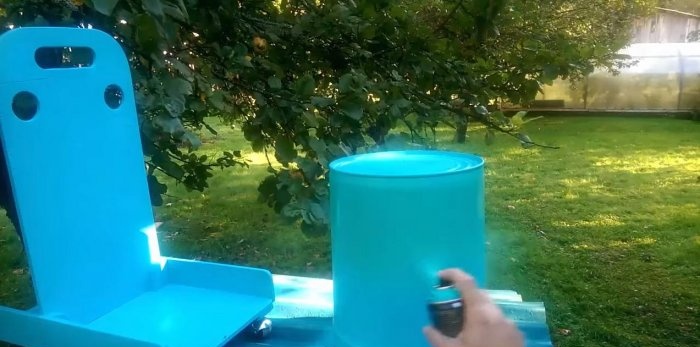
On the back side of the platform we fix four furniture wheels on the rotary axis with self-tapping screws. Now you can paint the finished product with aerosol or any other paint. This will extend the life of the cart and make its appearance more attractive and the surface less scratchy.
Having placed both elements on the cart - a vacuum cleaner and a bucket - all that remains is to tighten them with any tie belt and connect them to the network. It is very easy to move such a device, and if necessary, it can be disassembled and brought directly to any machine in the workshop, saving time and effort for tedious cleaning!


Such simple-looking equipment will provide intensive cleaning in your home workshop. It is also convenient because by connecting it directly to a machine, for example, to a circular saw, you will get a complete ventilation and dust removal system. If you connect a container of sufficient size, such equipment can be used as a single cyclone ventilation system for the entire workshop. And due to the installation of suction pipes on the lid, it is easy to replace an overfilled container with an empty one, which makes this installation as productive and convenient to use as possible.
A factory model of such a cyclone is not cheap, but a homemade one can be assembled in your garage in just a couple of minutes. The design is so simple and unpretentious that it does not break for years.What's the secret? We invite you to find out with us.


Operating principle and technical characteristics
The cyclone is based on an ordinary household vacuum cleaner. Instead of a standard dust collection bag, we connect a larger container, for example, a galvanized technical bucket, through a connecting hose. The debris suction hose remains the same and is connected directly to the chip separator container.
The main task of such a cyclone is to prevent coarse dust or shavings from being sucked back into the vacuum cleaner. This is possible due to gravity and friction, due to which large particles of debris move in a spiral path along the walls of the container, gradually settling at the bottom. This creates a separator for separating different fractions of pollution. And to clean the room, all that remains is to combine the entire device into a single platform and make it convenient to move.

Necessary materials, tools
- Household vacuum cleaner;
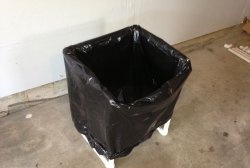
- A tin trash can with a tight-fitting lid;
- PP corners 90° for sewerage, diameter – 40 mm (2 pcs);
- Additional ventilation hose for a vacuum cleaner.
For mobile platform:
- A piece of plywood, thickness 10-14 mm;
- Black self-tapping screws 35-55 mm;
- Tightening belt;
- Aerosol or any other wood paint.
Tools:
- Drill or screwdriver with a cutter with a diameter for PP pipes;
- Jigsaw;
- Grinding machine or sandpaper;
- Ruler, pencil.
Making a cyclone for a workshop
We begin work by preparing the lid of the container. We drill holes in it for the PP corners - one in the center, the second - from the edge of the cover near the stiffener. If the hole cutter is not the right size, the holes can be lightly reamed after drilling by wrapping sandpaper around the pipe or other round piece.


We insert plastic corners into the holes adjusted to size. We set the central one with lateral eyeliner, the outer one with vertical eyeliner.

We adjust the suction hose from the vacuum cleaner to size and connect it to the central corner on the lid of the bucket. The hose end, if it is not removable, must be cut off.

We assemble the mobile cart from plywood; any kind that is not damp will do. We mark the cutting of plywood to the size of the vacuum cleaner and storage tank, and cut it out using a circular saw or jigsaw.

From the remains of a sheet of plywood we cut out the sides for the cart of arbitrary width. We install a plywood partition between the vacuum cleaner and the bucket, which will replace the handle for the cart.


We connect the platform, handle and two sides with self-tapping screws. To avoid splitting the plywood, it is worth pre-drilling the mounting holes with a drill of a smaller diameter. It is better not to glue the connections, since if necessary, the cart will be easier to disassemble.

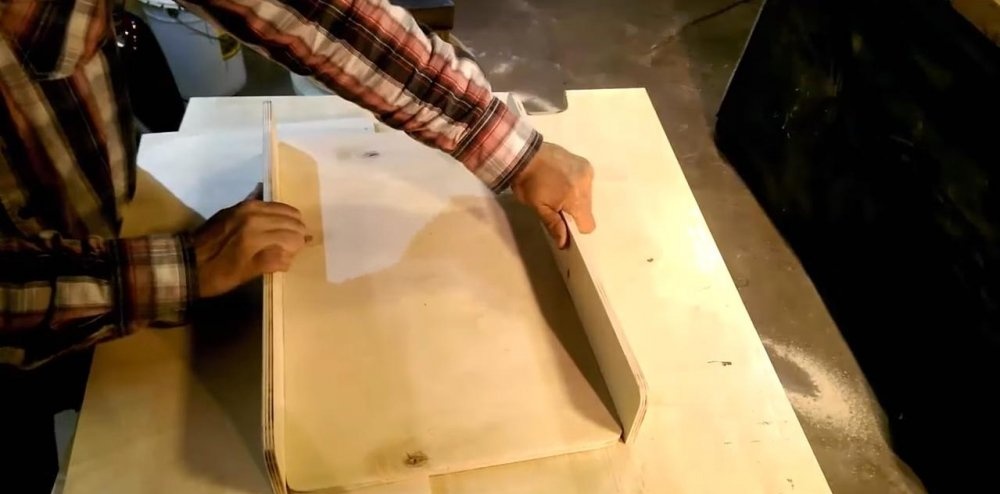
Before fixing the partition, we cut out a hole in it for the handle. For this we use the same pipe cutter with a screwdriver and a jigsaw. We clean all parts with a grinding machine or sandpaper.


On the back side of the platform we fix four furniture wheels on the rotary axis with self-tapping screws. Now you can paint the finished product with aerosol or any other paint. This will extend the life of the cart and make its appearance more attractive and the surface less scratchy.


Having placed both elements on the cart - a vacuum cleaner and a bucket - all that remains is to tighten them with any tie belt and connect them to the network. It is very easy to move such a device, and if necessary, it can be disassembled and brought directly to any machine in the workshop, saving time and effort for tedious cleaning!


Watch the video
Similar master classes


Particularly interesting


Comments (4)
