Temperature indicator from a Duracell battery
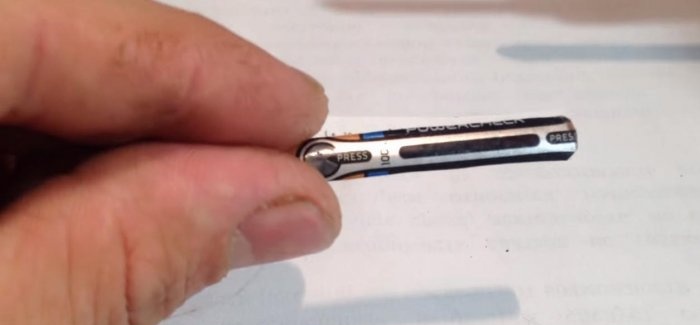
Surely each of you knows that most Duracell batteries have a built-in charge indicator. If you have such batteries and they are completely discharged, do not hesitate to throw them away, since the indicator of such a battery can be used to make a visual temperature indicator.

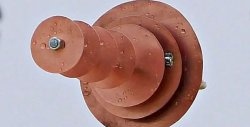
Everything is very simple. When you press the button, the metal foil contacts under the braid close.

An electric current begins to flow through this foil, which causes the strip of foil to heat over its entire surface. A strip with divisions of different colors is pasted on top. These are cells with thermal paint that changes color depending on the temperature. Each cell has its own paint that reacts to different temperatures. The red section is the most sensitive, and the last green section is the least sensitive and requires the maximum temperature.
As a result, when the foil strip heats up, depending on its heating temperature, different areas of the indicator light up. As a result, the approximate battery charge level is determined.
In fact, a strip with thermal paint is a ready-made temperature indicator. Using such an indicator, you can visually control the temperature of something, for example a kettle, mug, jar, etc.
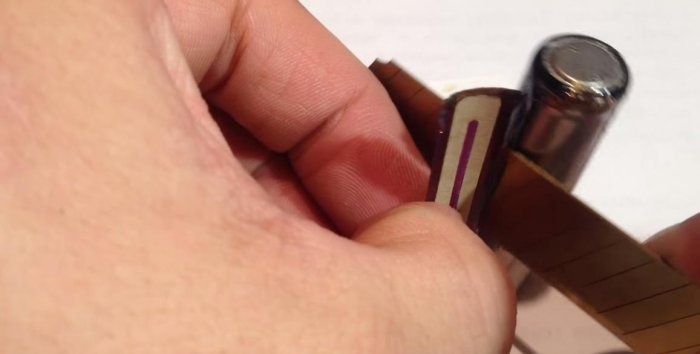
To remove the indicator, take a utility knife. And on the side, cut a line near the indicator.

We bend it. This is what it looks like inside.

Cut off from the braid.
The cut out indicator looks like this.
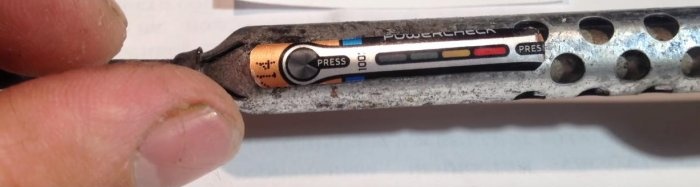
To check the temperature indicator, I will put it on a cold soldering iron and turn it on.

The indicator shows that the soldering iron has begun to heat up.

And now all sections of the indicator light up. The temperature of the soldering iron is approximately 60 degrees Celsius, so you can barely touch it with your hands.

If you remove it, it will begin to cool and all the divisions will be the same dark as at the beginning.

With this indicator you can remotely determine and control the temperature, from approximately 30 to 60 degrees Celsius. Where 30 is the red section, and 60 is the last green section. To be honest, I didn’t measure it exactly.
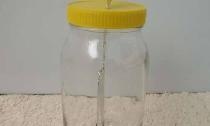
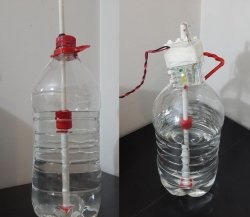
To control, glue an indicator onto a glass jar.
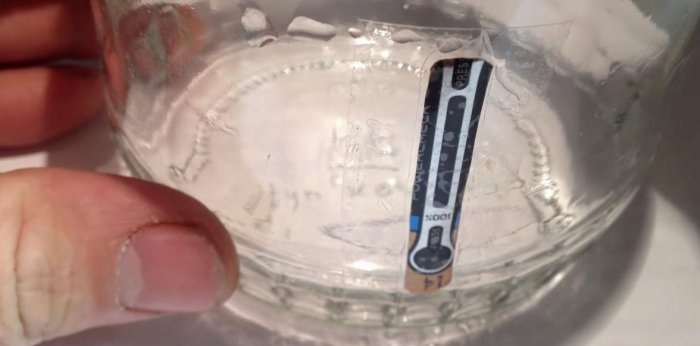
Pour boiling water.
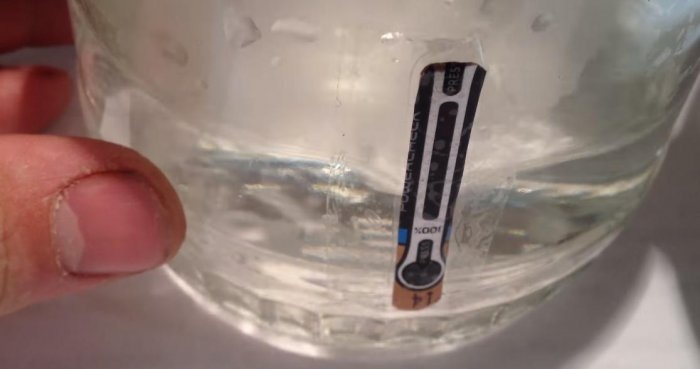
It can be seen that the divisions begin to change as they heat up.
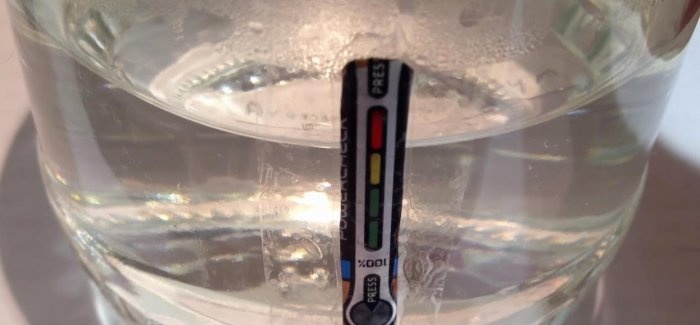

Now you can visually see that there is hot water in the jar.
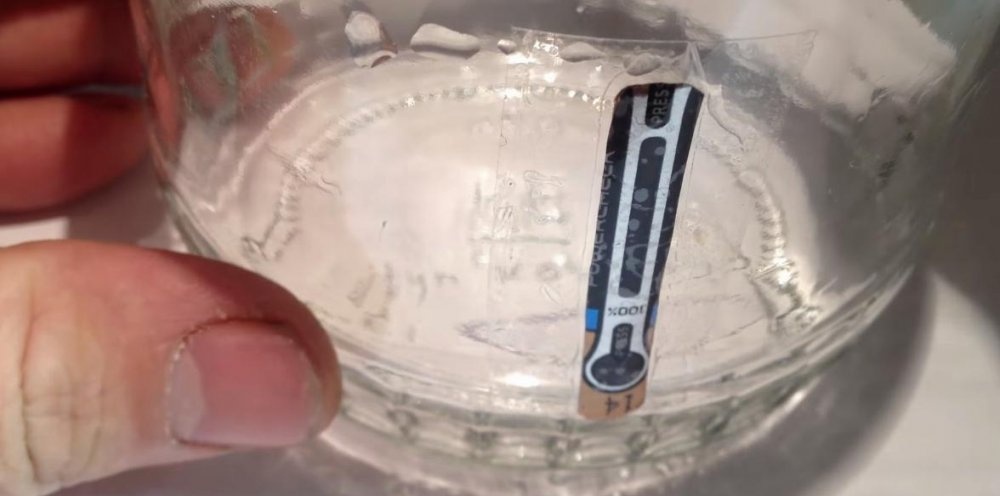
But after a while the jar cooled down and the indicator became faded.

This is such an interesting and useful experiment. I think that you will easily find a use for such a thing. Thank you for your attention!
How does the battery charge indicator work?

Everything is very simple. When you press the button, the metal foil contacts under the braid close.

An electric current begins to flow through this foil, which causes the strip of foil to heat over its entire surface. A strip with divisions of different colors is pasted on top. These are cells with thermal paint that changes color depending on the temperature. Each cell has its own paint that reacts to different temperatures. The red section is the most sensitive, and the last green section is the least sensitive and requires the maximum temperature.
As a result, when the foil strip heats up, depending on its heating temperature, different areas of the indicator light up. As a result, the approximate battery charge level is determined.
In fact, a strip with thermal paint is a ready-made temperature indicator. Using such an indicator, you can visually control the temperature of something, for example a kettle, mug, jar, etc.
Removing the indicator
To remove the indicator, take a utility knife. And on the side, cut a line near the indicator.

We bend it. This is what it looks like inside.

Cut off from the braid.

The cut out indicator looks like this.

Temperature indicator test
To check the temperature indicator, I will put it on a cold soldering iron and turn it on.

The indicator shows that the soldering iron has begun to heat up.

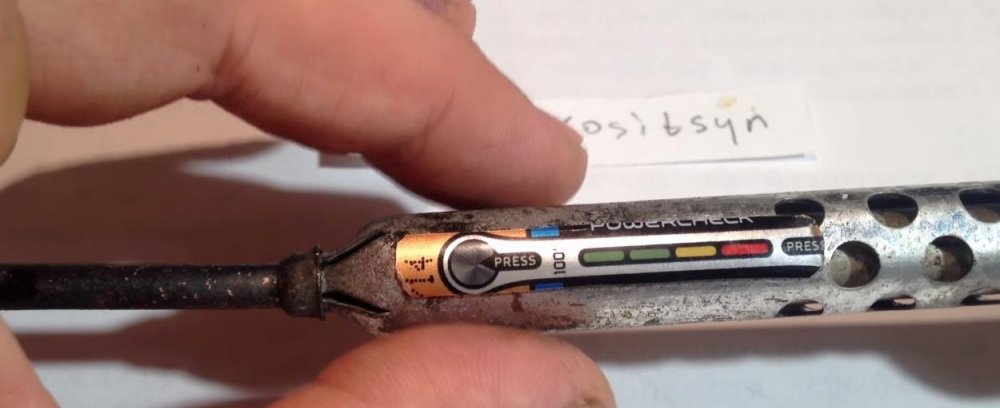
And now all sections of the indicator light up. The temperature of the soldering iron is approximately 60 degrees Celsius, so you can barely touch it with your hands.

If you remove it, it will begin to cool and all the divisions will be the same dark as at the beginning.

With this indicator you can remotely determine and control the temperature, from approximately 30 to 60 degrees Celsius. Where 30 is the red section, and 60 is the last green section. To be honest, I didn’t measure it exactly.
Practical use
To control, glue an indicator onto a glass jar.
Pour boiling water.

It can be seen that the divisions begin to change as they heat up.


Now you can visually see that there is hot water in the jar.
But after a while the jar cooled down and the indicator became faded.

This is such an interesting and useful experiment. I think that you will easily find a use for such a thing. Thank you for your attention!
Watch the video
Similar master classes


Particularly interesting


Comments (2)
