Remote controlled syringe rocket launcher

This is a very interesting and simple toy rocket launcher. Any teenager will simply be delighted to play with her. Personally, I’m already quite an adult, and I’m happy to launch rockets from this amazing design.
The fuel for the rocket launcher is ethyl alcohol vapor. The rockets soar into the air with a cheerful clap, which looks very impressive.
Needed to make a rocket launcher
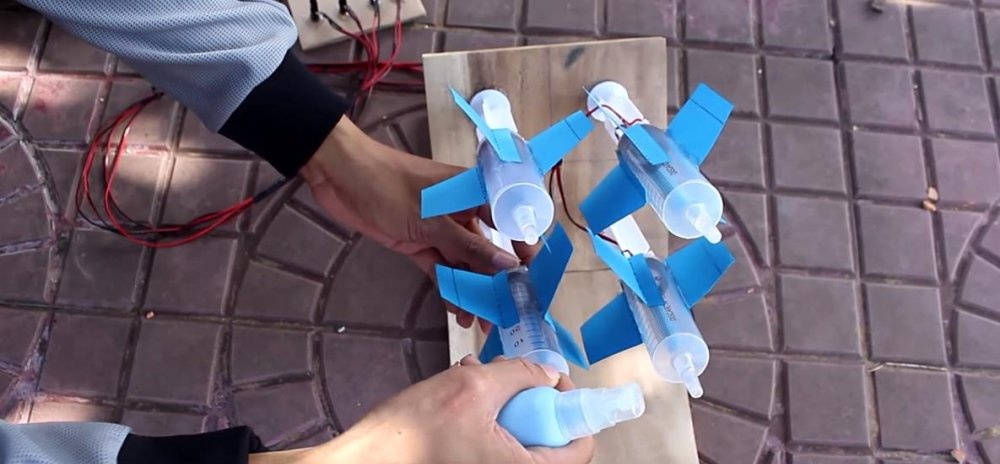
I will be making a rocket launcher from four rockets, so the items listed below can be multiplied by four. You can make one rocket.
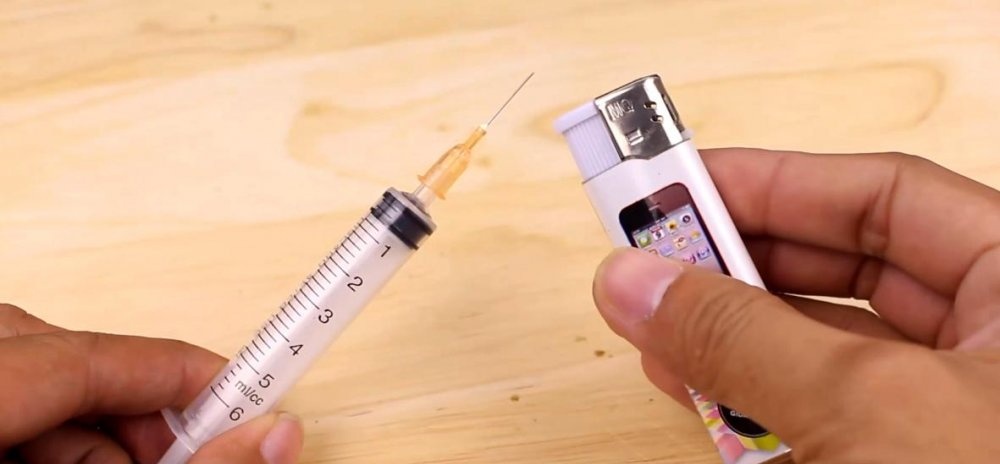
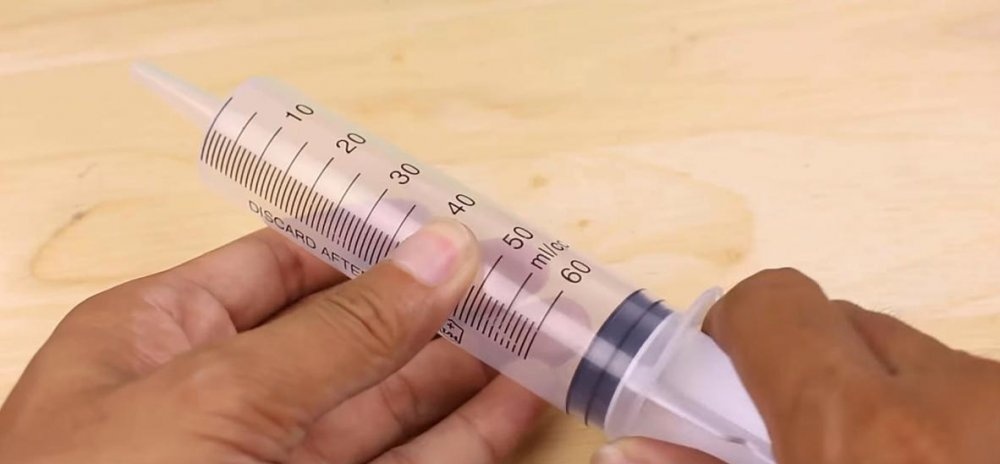
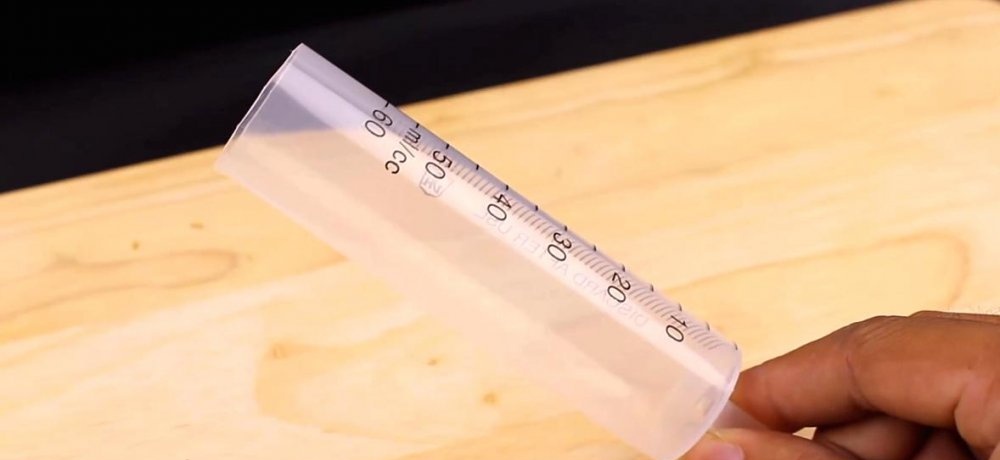
- Disposable syringe. I took 60 ml.
- A used lighter with a piezo element.
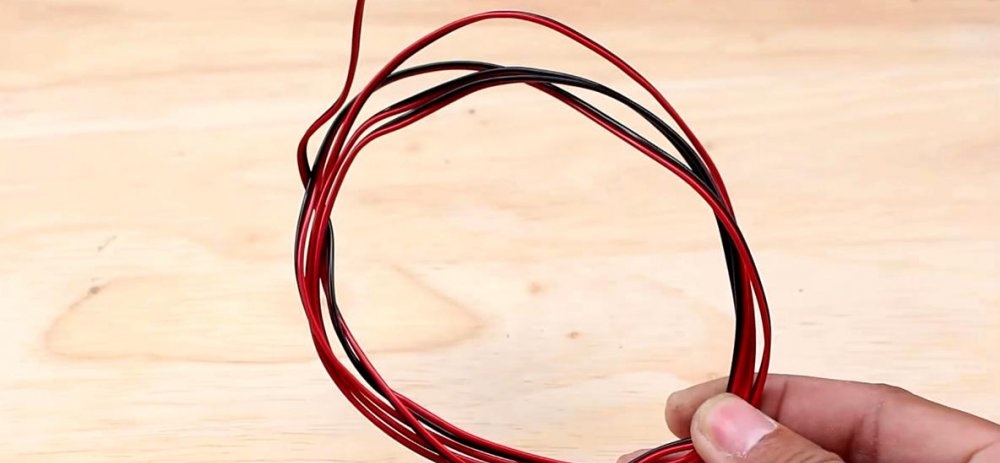
- Two-core wire 1-2 meters long.
- Small boards for the stand.
- Hot glue gun.
- Soldering iron, utility knife, ruler and other available tools.
Making a toy rocket launcher
We take the lighter and disassemble it in order to remove the piezoelectric element, which generates a spark - a discharge that ignites gas.
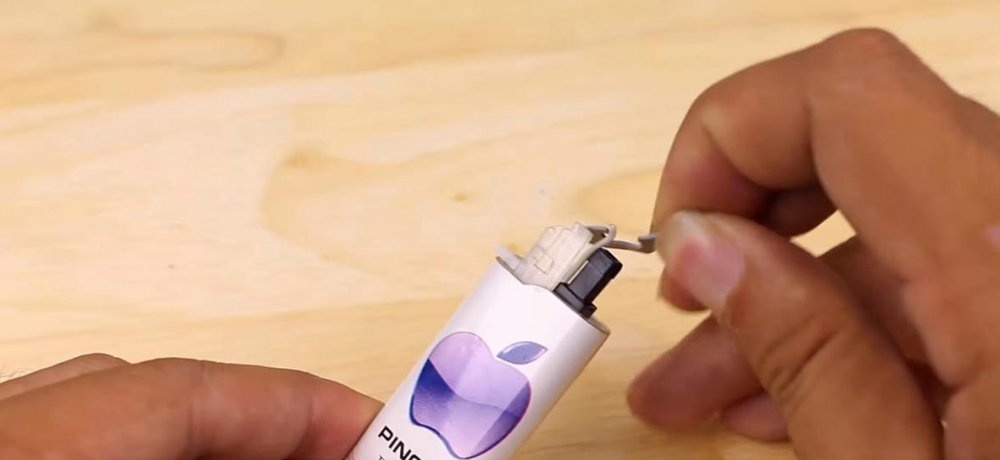
We take out the piezoelectric element. This is the high-voltage generator itself. The wiring is one contact, and the second is a shiny cap on the bottom.
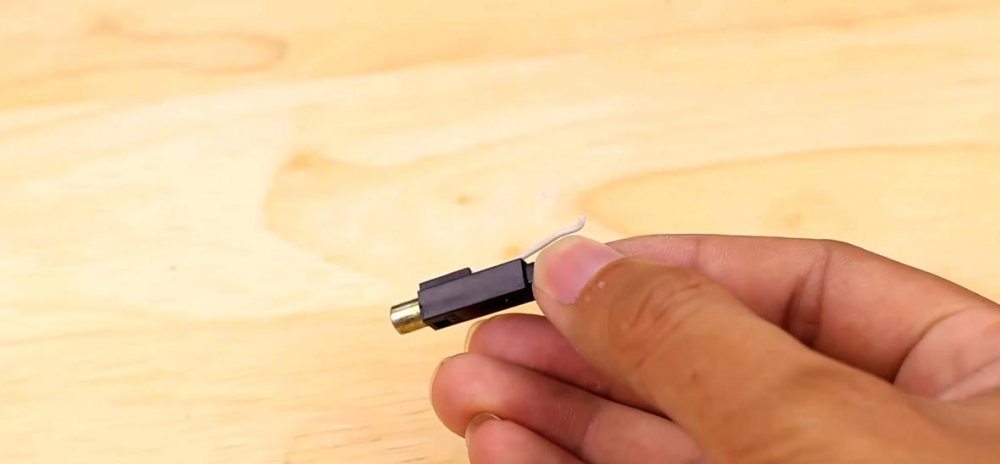
We take a two-core wire.It is advisable to choose one with thicker insulation.
Connect to the piezoelectric element.

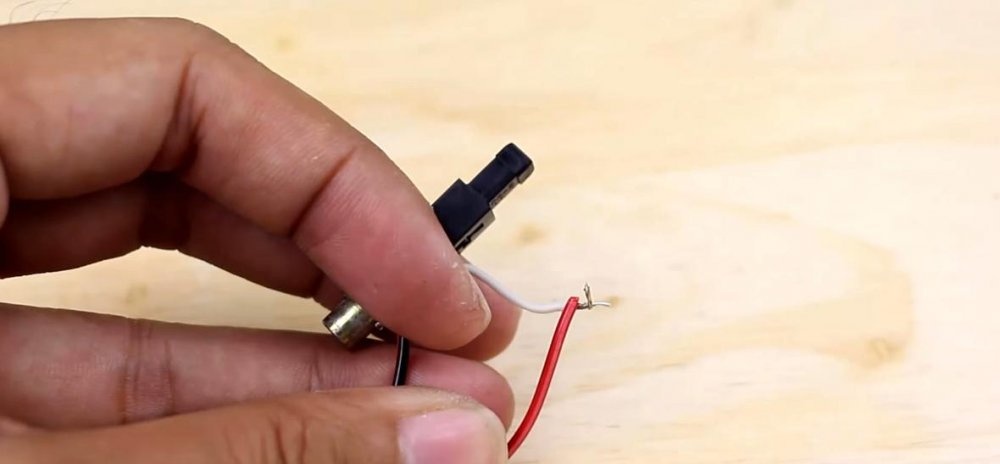
Then we insulate everything with electrical tape or, better as I did, with heat shrink.
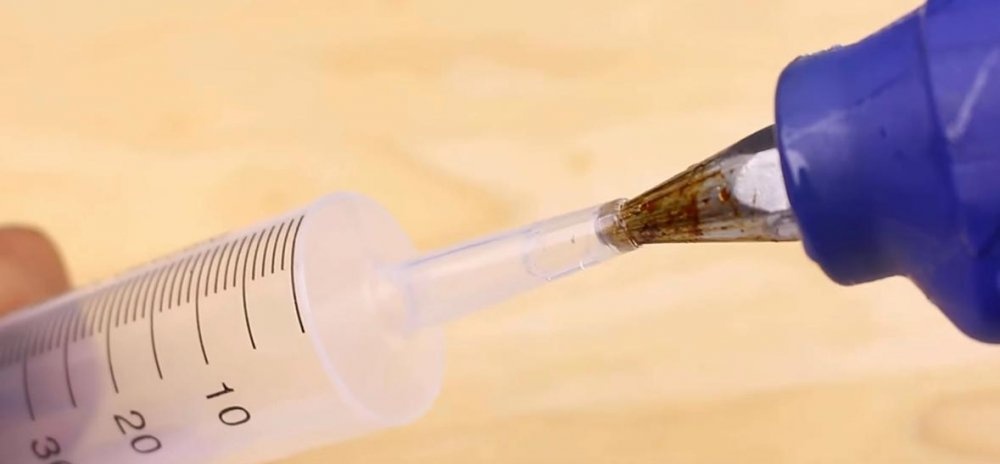
We take two needles from syringes. Here I want to warn you and suggest that you either grind off the point of the needles with a file or simply bite off half a centimeter with wire cutters. This must be done, as you may get injured during the game.
We connect the wires to the needles. These will be the electrodes that will be located inside the rocket launcher.
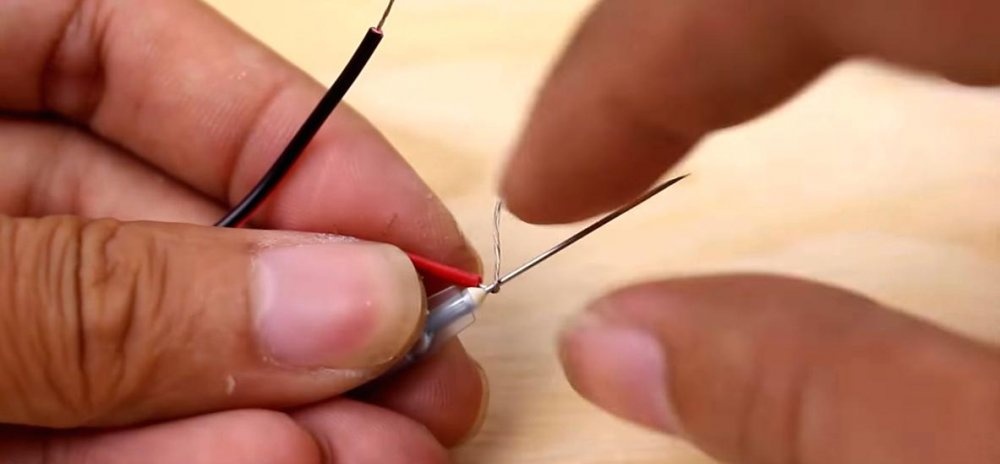
We solder for reliability. But this is optional.
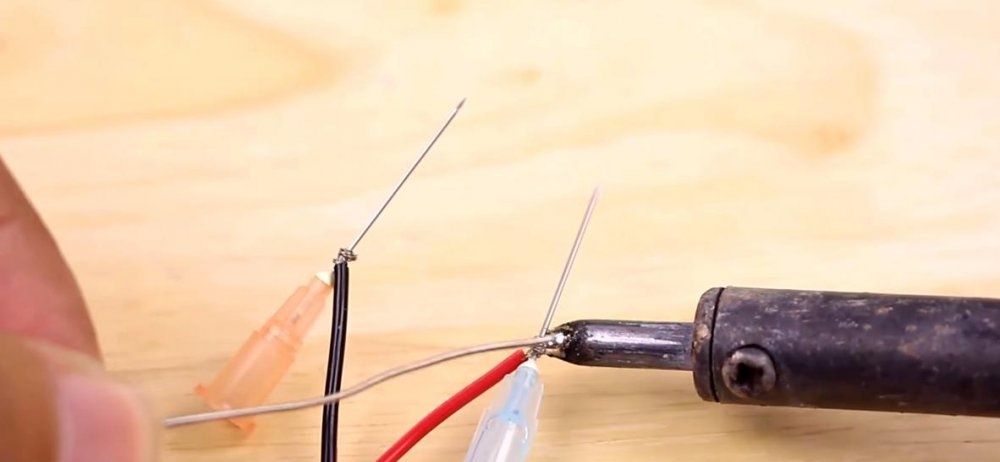
Take the syringe and remove the plunger.
Remove the rubber seal from the piston.
Use a soldering iron to make holes in the piston.
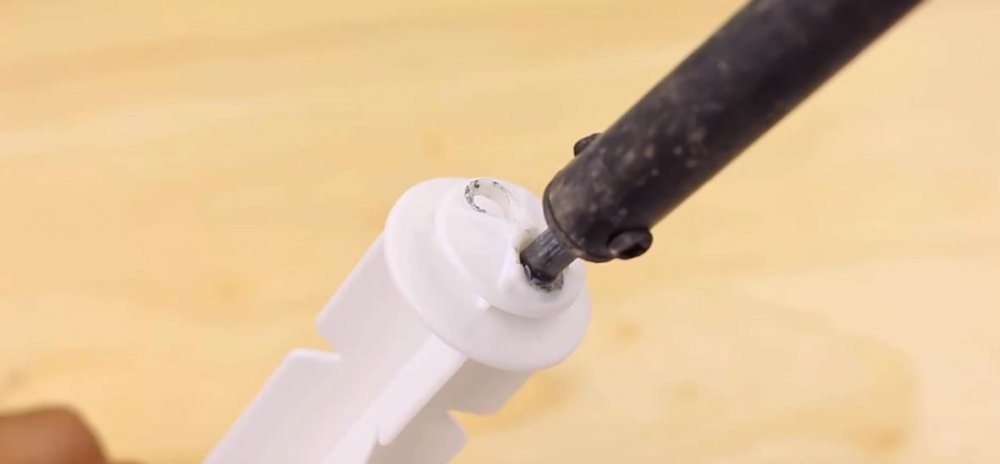
We insert our needle electrodes into these holes.

Fill with hot glue to seal.

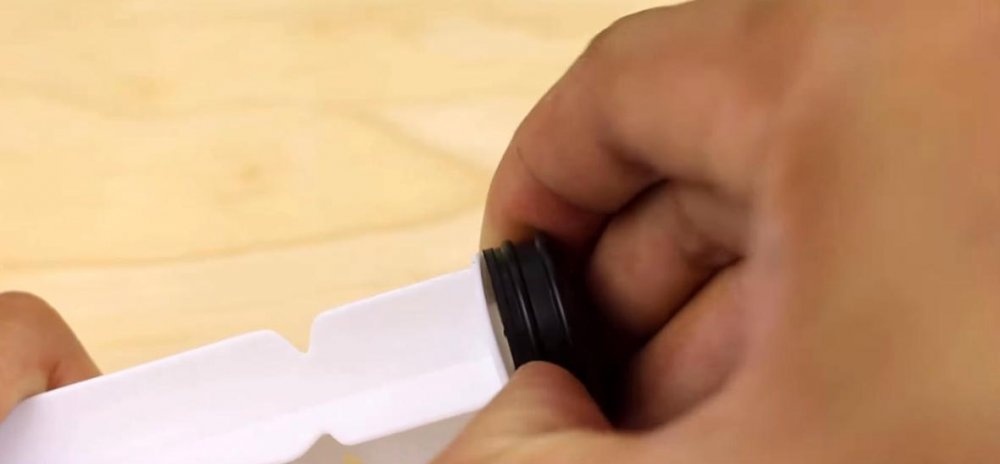
We take the rubber seal.
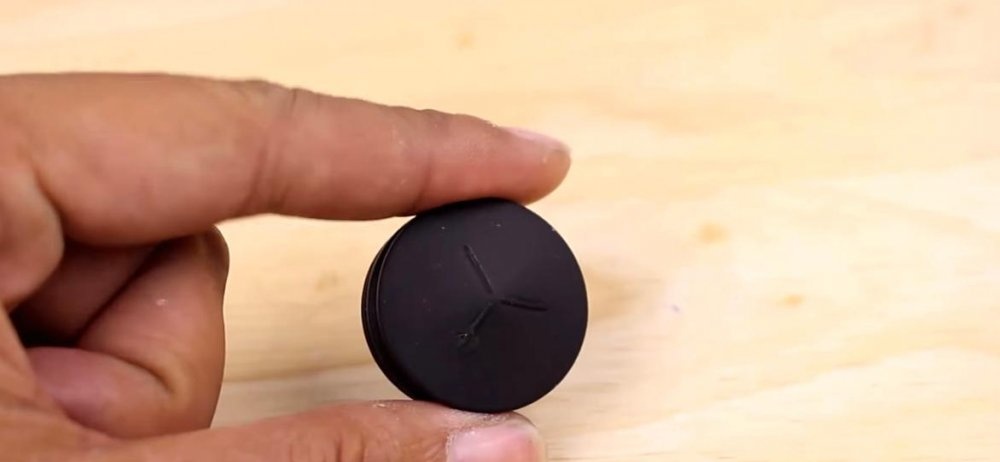
Cut off the top with a utility knife.

We put it on a modified piston with electrodes.
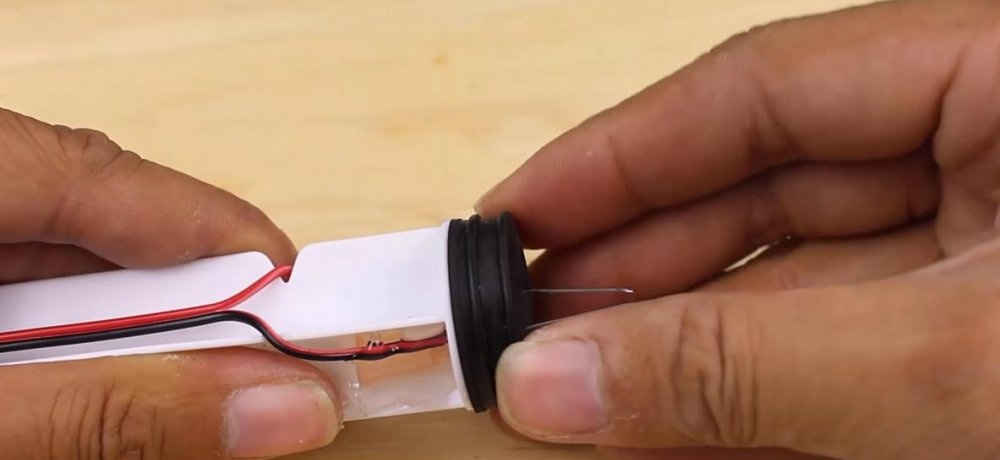
Fill the hole in the cylinder with hot glue. We won't need it anymore.
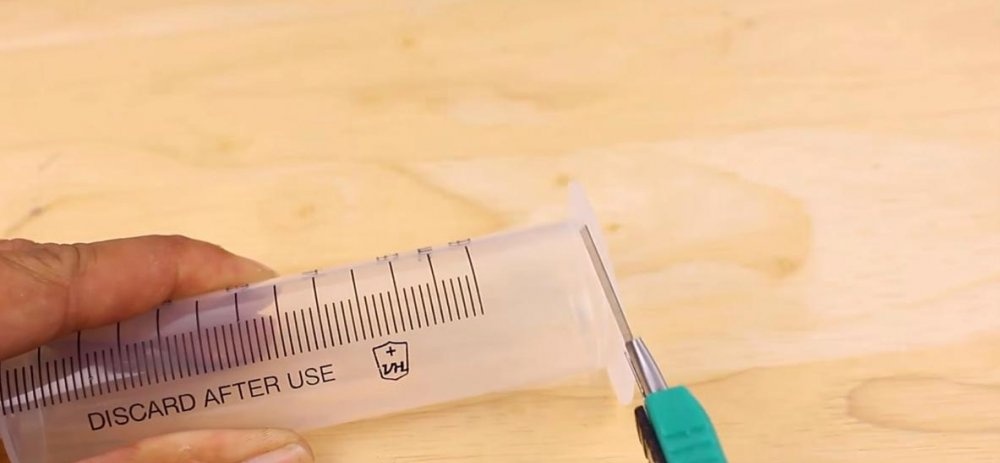
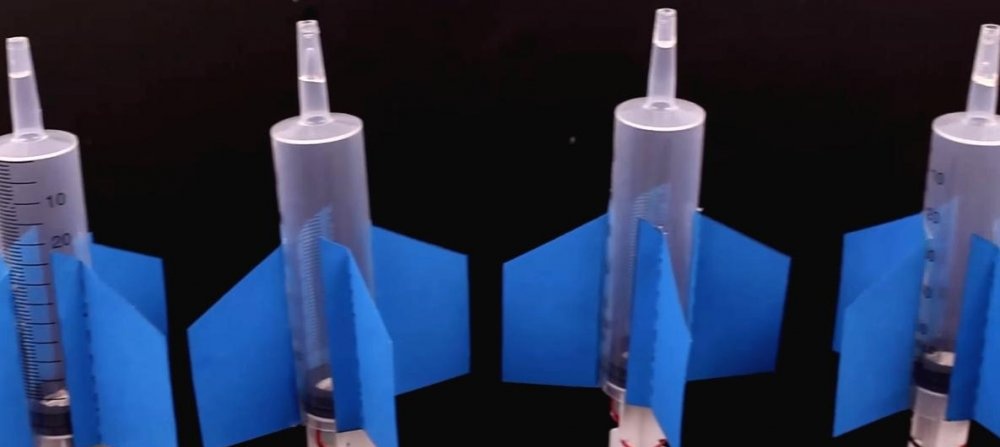
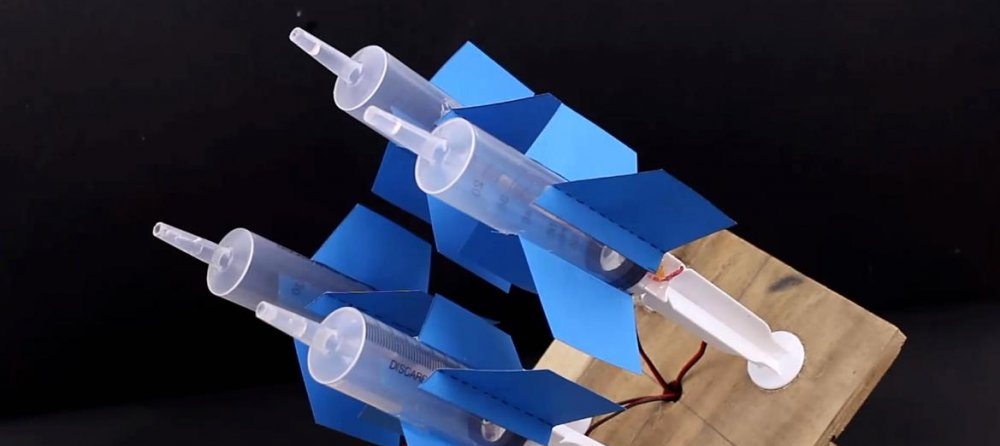
Cut off the skirt of the syringe barrel.
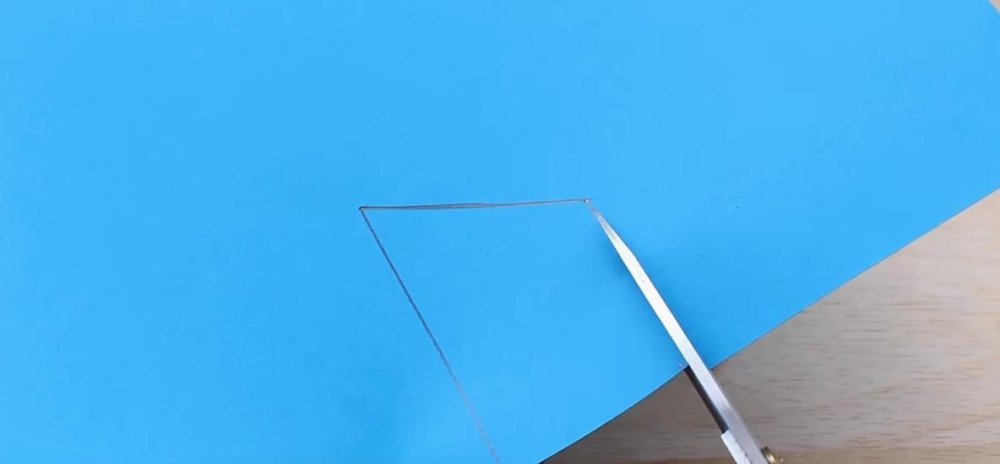
We take hard cardboard or plastic. And we cut out the following rocket flight stabilizers from it.
Bend it back a little.

You need four pieces for one rocket.

Glue it to the cylinder.

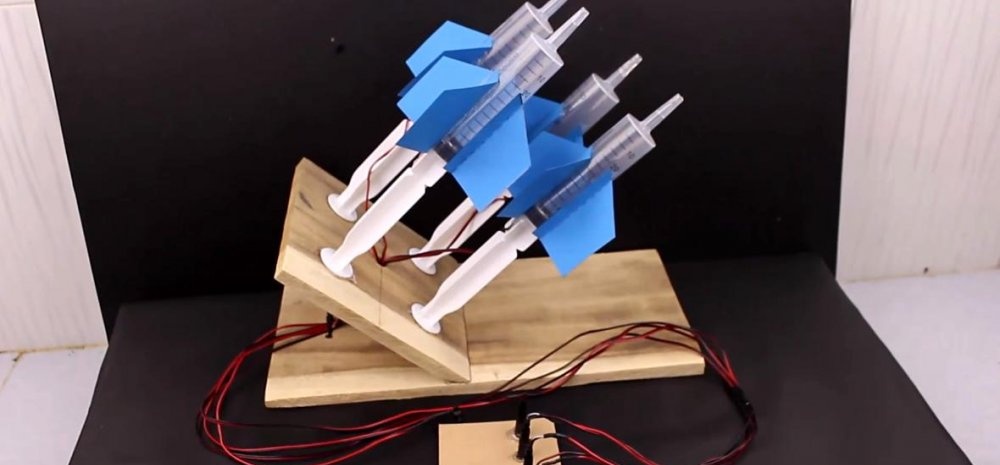
We assemble the rocket launcher.

I made four of these rocket launchers.
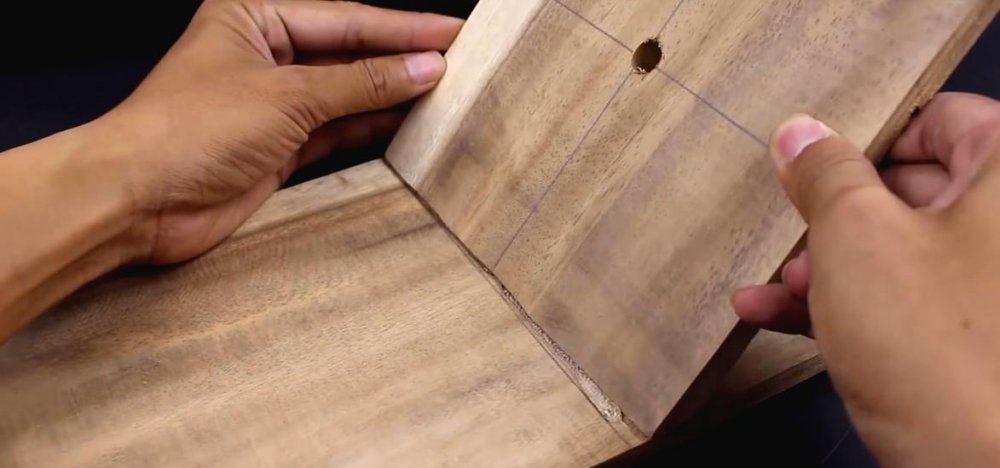
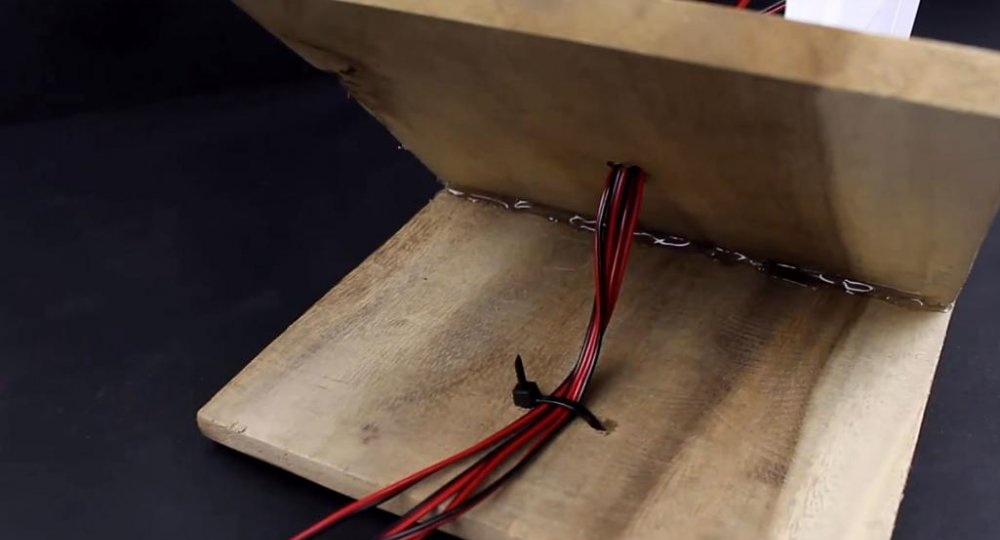
I'm making a stand for this whole thing. I took a rectangular piece of wood and drilled two small holes in the middle of the other half. A little later you will understand why.

Next, we take the second plank, but this time it’s smaller. Drill a hole in the center for the wires. Glue it diagonally with hot glue. See photo.
Glue all the rocket launchers.
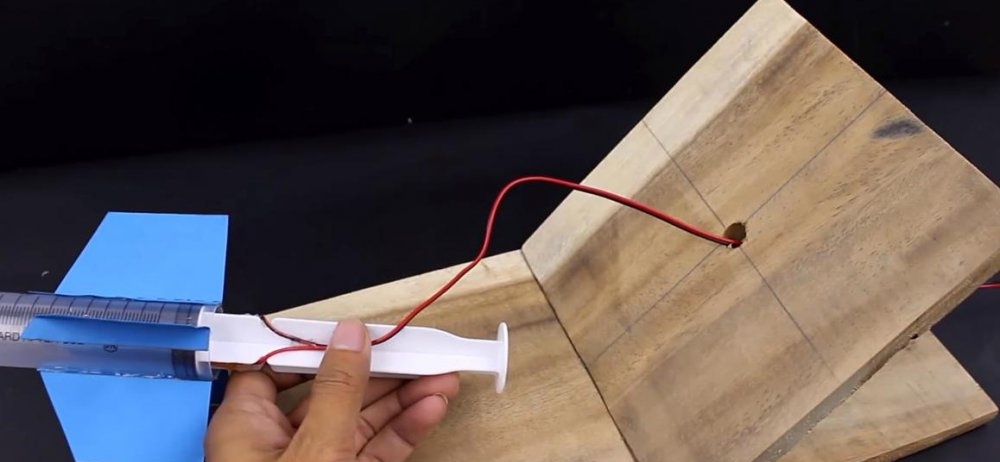
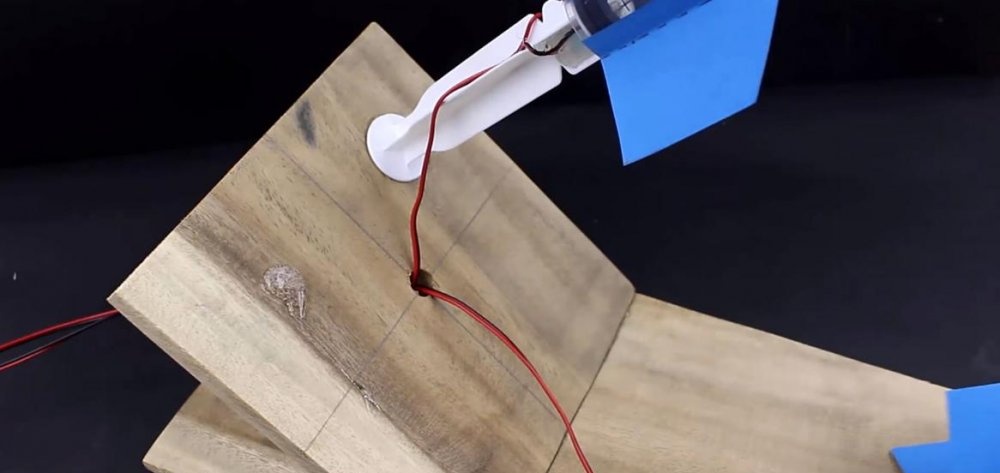
We secure all four wires at the back with a nylon tie.
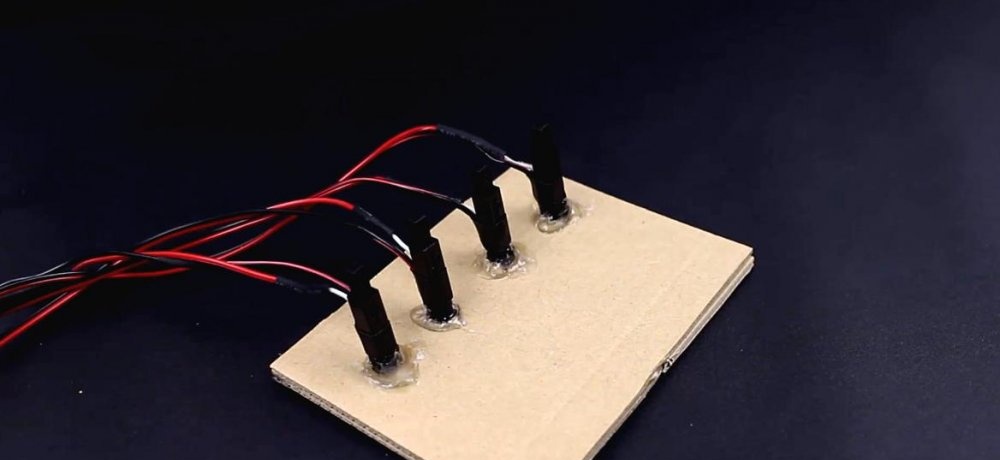
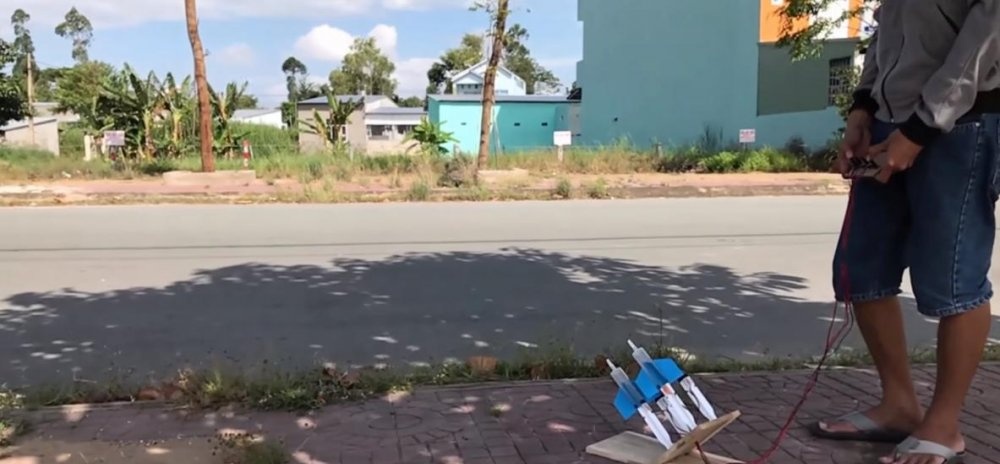
The remote control is also a board with piezoelements glued to it with hot glue.
The missile launcher is ready.
Let's start the game.To fuel our rockets we take perfume or cologne. We remove each cylinder and spray perfume into it 1-2 times and immediately put the rocket back on. There is now an airy alcohol mixture inside.

In order to launch the rocket, press the piezoelectric element. A spark flashes inside the rocket and the mixture ignites. As a result, the rocket flies out.
Everything is accompanied by a small pop. The rocket flies at 5-10 meters.


Watch the video
More detailed instructions for assembling and testing the rocket launcher can be seen in this video.
When making and playing, do not forget about safety precautions. Although this is a toy, if handled carelessly you can cause harm to yourself. So do not forget that all responsibility lies only with you.
Similar master classes


Particularly interesting

Comments (2)
