Saw cleaver
This cleaver was designed and manufactured for use on hikes. It will be useful for cutting branches, or cutting out some bushes, tree branches, etc.

Material:
Tool:
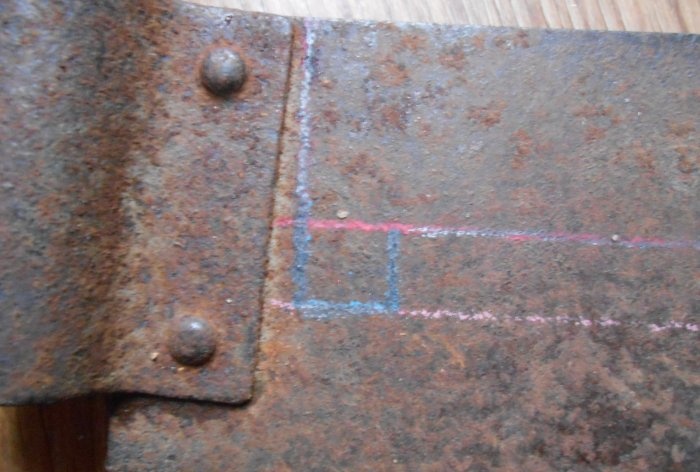
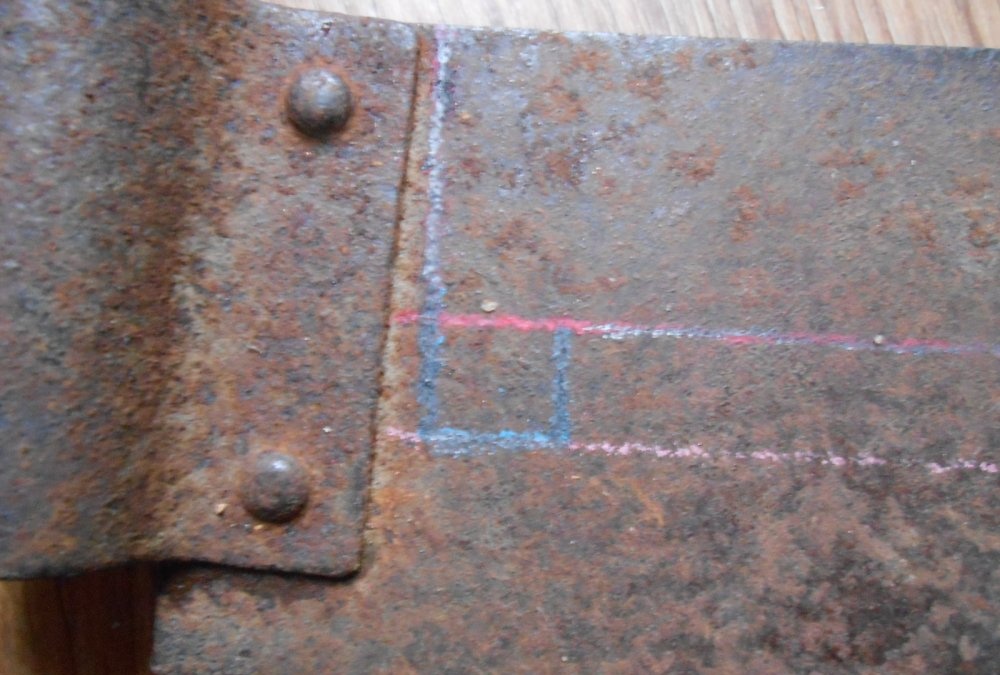
To begin with, I drew this simple drawing of the future cleaver, which anyone can make for themselves. Now I will clearly show you how to do this. The thickness of the metal can be thicker, but I haven’t found one.

For example, the length of the handle should be the length of your eight fingers.
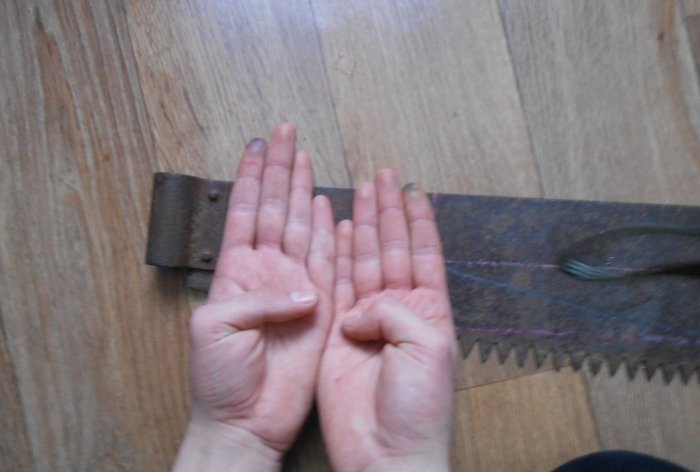
The width of the handle should correspond to the thickness of two fingers.

The length of the blade, from the tip to the beginning of the handle, should be the length of your clenched fist to your elbow.
The width from the beginning of the rounding to the tip should be 10 cm, the size of your palm.
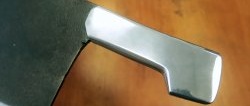
At the end of the handle we make a protrusion like the one in the photo.

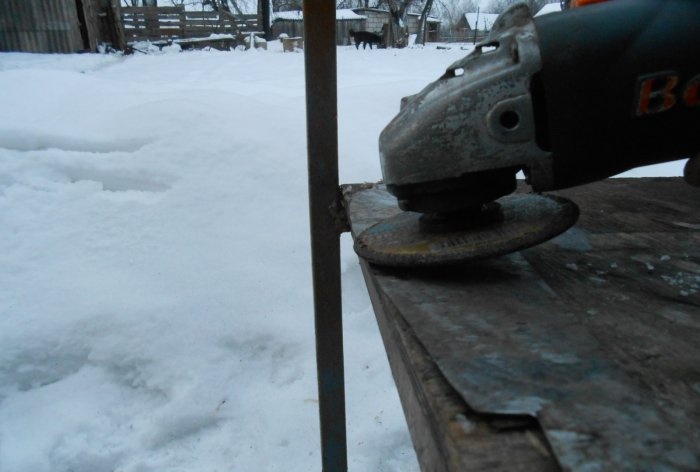
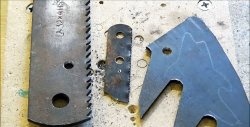
And we begin to cut with a grinder according to our drawing, observing safety precautions.

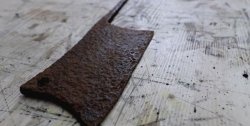
As a result, we got something like this, almost looking like a cleaver.

From our workpiece we remove all the burrs along the entire contour, right down to the small protrusions.

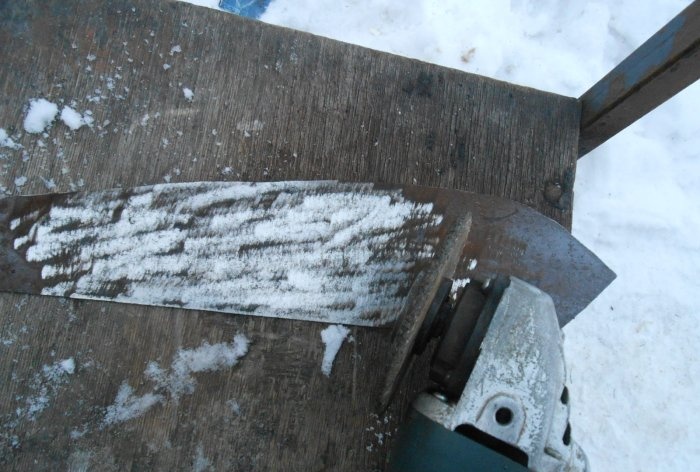
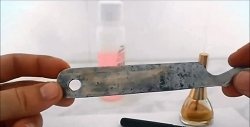
I put a thicker disc on the grinder and cleaned the cleaver on one side and the other. This is best done using a grinding machine.
In the end, this is what should happen.
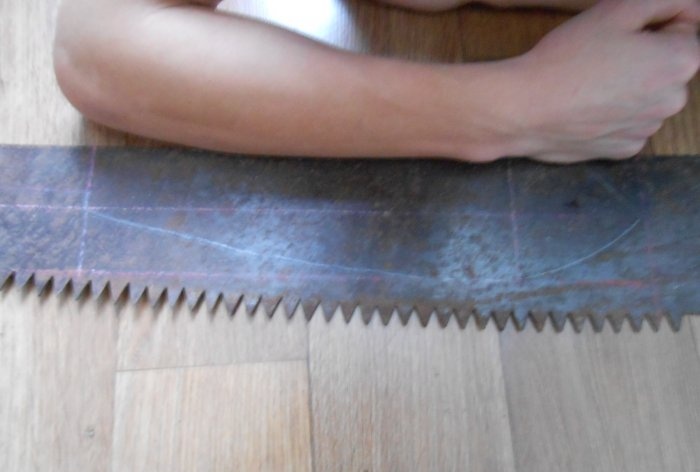
Let's move on almost to the main process, this is SHARPENING. You need to sharpen at an angle of 25 degrees, on one side and the other. This is best done using a special machine.
Here's what I got. Don't judge strictly, I'm doing this for the first time.

You need to sharpen NOT all the way to the handle, but only after retreating 2 cm, as in the photo.

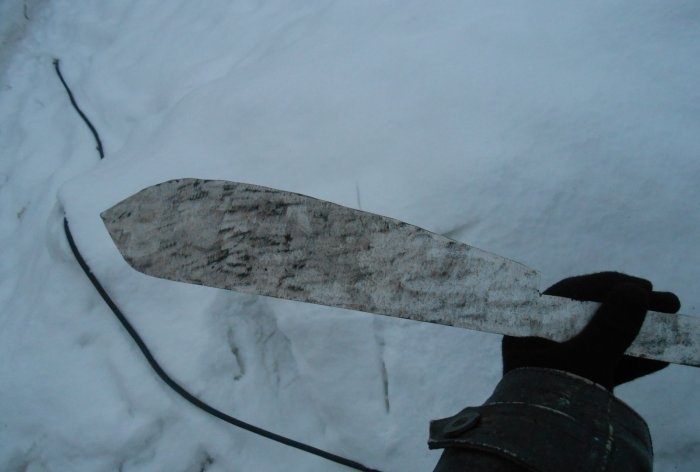
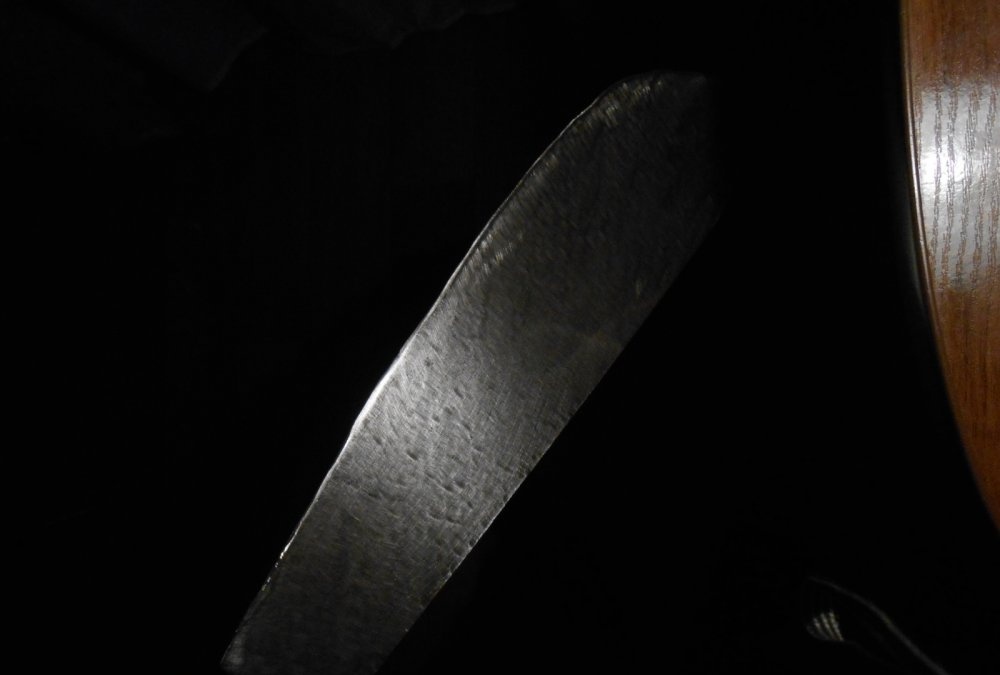
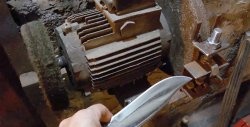
I took fine sandpaper and finally cleaned our cleaver, almost to a shine. You can also polish it to an elegant shine on a special machine.

Somehow this is how it should work out.

As a handle, I use a small piece of cord, two meters long.

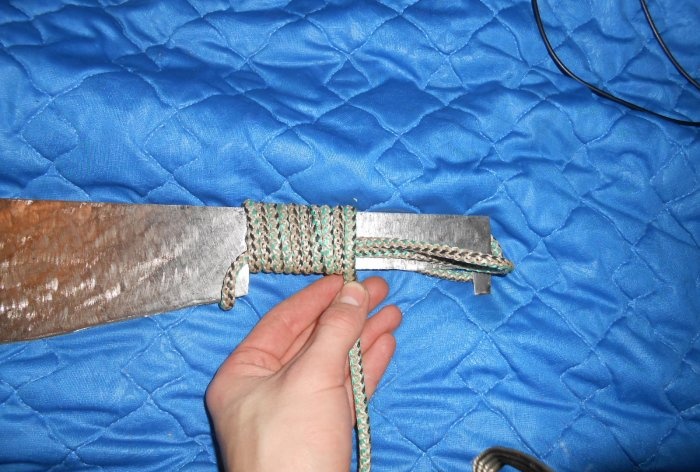
Here is the process of winding the cord around the handle. First, let's fold it like this, as in the photo, this one is needed to thicken the handle.

On the other hand, we do the same thing; at the end of the handle a loop like the one in the photo should form.

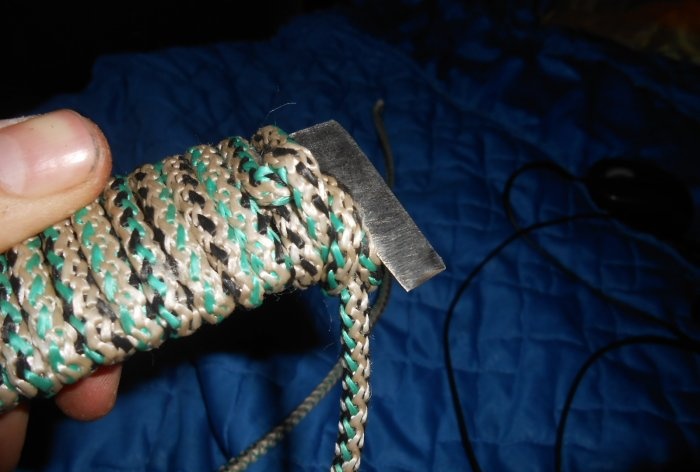
We begin to wind the cord, turn to turn, you can first moisten the cord itself, and when it dries it will seem to tighten.
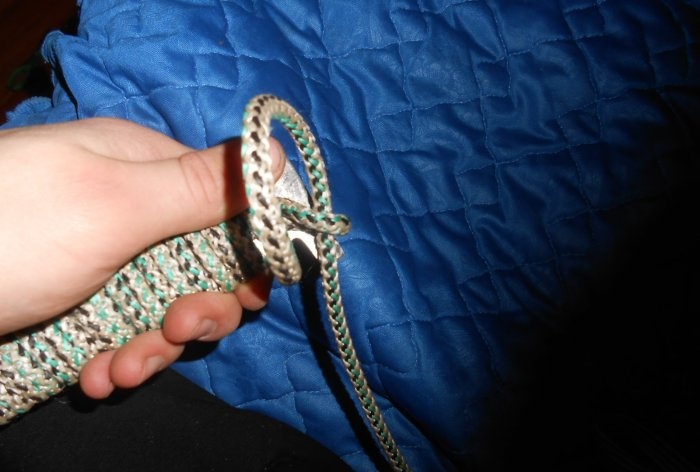
When you have already wound the cord, we thread it through the loop and make one turn.

And we also thread it through the second loop. And we tighten it.
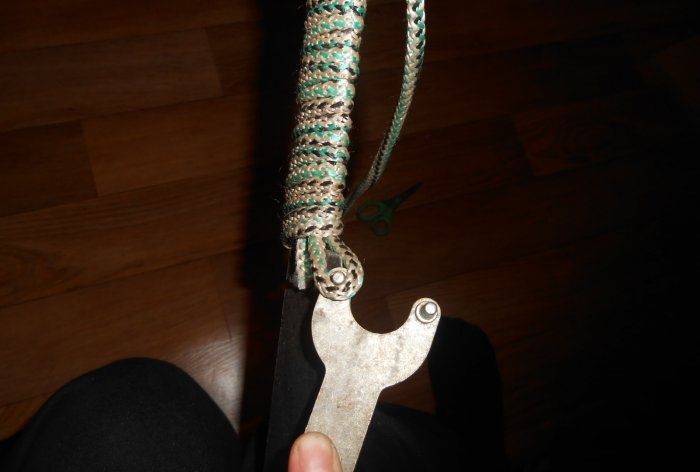
The remaining loop needs to be tightened very tightly, I did it with a key. When we tighten the loop, our cord handle will “sit” very firmly on the handle.
The remaining cord can be tied into knots, or some kind of holder can be made.

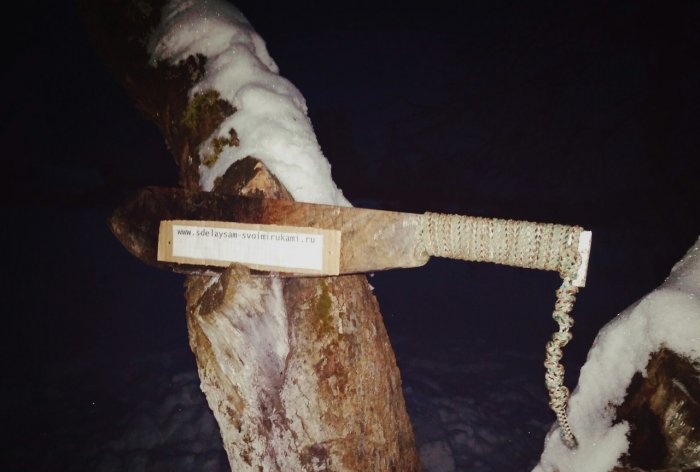
As a result, we got this cleaver from an old saw. This tool is good for cutting bushes, small branches, as well as cutting fish, meat, etc.

What you need
Material:
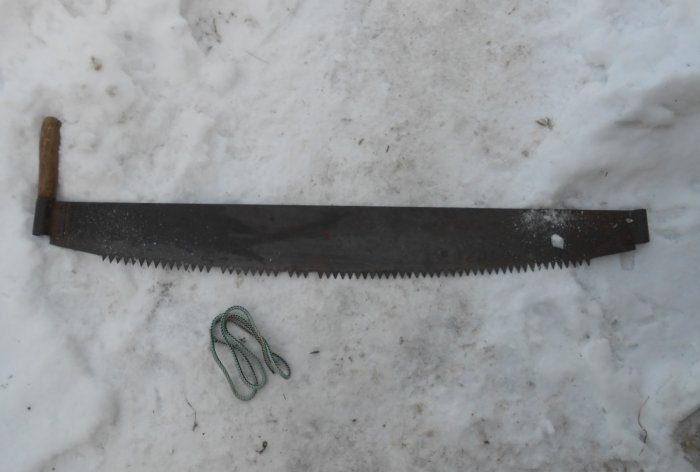
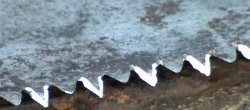
- Old wood saw.
- Rope (2.5-3 m.).
Tool:
- Bulgarian.
- Ruler.
- Pencils.
- Sandpaper. etc.

Let's start making a cleaver
To begin with, I drew this simple drawing of the future cleaver, which anyone can make for themselves. Now I will clearly show you how to do this. The thickness of the metal can be thicker, but I haven’t found one.

For example, the length of the handle should be the length of your eight fingers.

The width of the handle should correspond to the thickness of two fingers.

The length of the blade, from the tip to the beginning of the handle, should be the length of your clenched fist to your elbow.
The width from the beginning of the rounding to the tip should be 10 cm, the size of your palm.

At the end of the handle we make a protrusion like the one in the photo.

And we begin to cut with a grinder according to our drawing, observing safety precautions.

As a result, we got something like this, almost looking like a cleaver.

From our workpiece we remove all the burrs along the entire contour, right down to the small protrusions.

I put a thicker disc on the grinder and cleaned the cleaver on one side and the other. This is best done using a grinding machine.

In the end, this is what should happen.

Let's move on almost to the main process, this is SHARPENING. You need to sharpen at an angle of 25 degrees, on one side and the other. This is best done using a special machine.

Here's what I got. Don't judge strictly, I'm doing this for the first time.

You need to sharpen NOT all the way to the handle, but only after retreating 2 cm, as in the photo.

I took fine sandpaper and finally cleaned our cleaver, almost to a shine. You can also polish it to an elegant shine on a special machine.

Somehow this is how it should work out.
As a handle, I use a small piece of cord, two meters long.

Here is the process of winding the cord around the handle. First, let's fold it like this, as in the photo, this one is needed to thicken the handle.

On the other hand, we do the same thing; at the end of the handle a loop like the one in the photo should form.

We begin to wind the cord, turn to turn, you can first moisten the cord itself, and when it dries it will seem to tighten.

When you have already wound the cord, we thread it through the loop and make one turn.

And we also thread it through the second loop. And we tighten it.

The remaining loop needs to be tightened very tightly, I did it with a key. When we tighten the loop, our cord handle will “sit” very firmly on the handle.

The remaining cord can be tied into knots, or some kind of holder can be made.


As a result, we got this cleaver from an old saw. This tool is good for cutting bushes, small branches, as well as cutting fish, meat, etc.

Similar master classes


Particularly interesting
Comments (0)
