How to make a tool for marking any pipes before cutting

Mark the pipes according to length for cutting long enough. If you have to do this often, preparing parts of the same type, then it is better to use a template. It is very easy to manufacture and is made from available materials.
What you will need:
- extended nuts M10, M12;
- nut M6;
- bolts M6, M10;
- corner 15x15 mm;
- strip 20 mm.
Template tool manufacturing process
It is necessary to drill the extended M10 nut from the side with a 7 mm drill and weld the M6 nut onto the hole. Then a bolt is inserted into it.


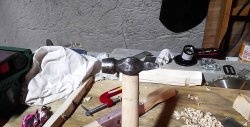
A prepared elongated nut is welded to a piece of angle 40-50 cm long from the end to the edge. A couple of drops of welding is enough, there won’t be much stress on the connection.

On the second elongated nut the cross section is divided, but not completely. Its width must correspond to the cross-section of the metal of the corner.

A piece of strip is welded to the center edge of the corner. Then a notched elongated nut is installed on it and tightened with a bolt.


The finished template is inserted into a vice.

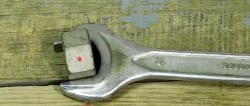
A pencil or marker is clamped into the welded nut. After this, by moving the sliding stop you can set the required distance from it to the writing stylus.

Resting against the limiter with the marking tube, you need to rotate it around its axis. If it is trimmed evenly, the stylus will leave precise markings. With such a template you can very quickly mark out blanks of the same type. Considering that it takes 20 minutes to make, the homemade product is quite worthwhile.

Watch the video
Similar master classes


Particularly interesting


Comments (0)
