How to make a wood chip stove with active airflow
Hiking, when in your backpack you have not only a sleeping bag and a minimum of the most necessary things, but also a supply of food, is definitely not for me. The most “savagery” I can do is to drive into the forest for a day and barbecue. And I bet I'm not the only one.
But there are, including among my friends, complete opposites. Those who cannot live without hiking along narrow paths, spending the night in an open field or the purest water from a mountain stream.

And everything they take with them must:
Therefore, to warm up tea and simple cooking, hikers use wood chip stoves with an active fan drive. But here’s the problem: everything that is on offer from both famous brands and nameless manufacturers is powered by:
Which, according to the law of meanness, sit down at the most inopportune moment.
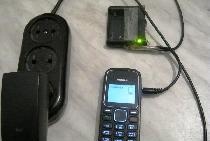
Whereas every hiker has power banks with a standard USB connector.And more often than not, there is more than one of them: no one wants to be left without a connection or a camera to capture stunning views, or just listen to music during a rest stop. So let's get started.
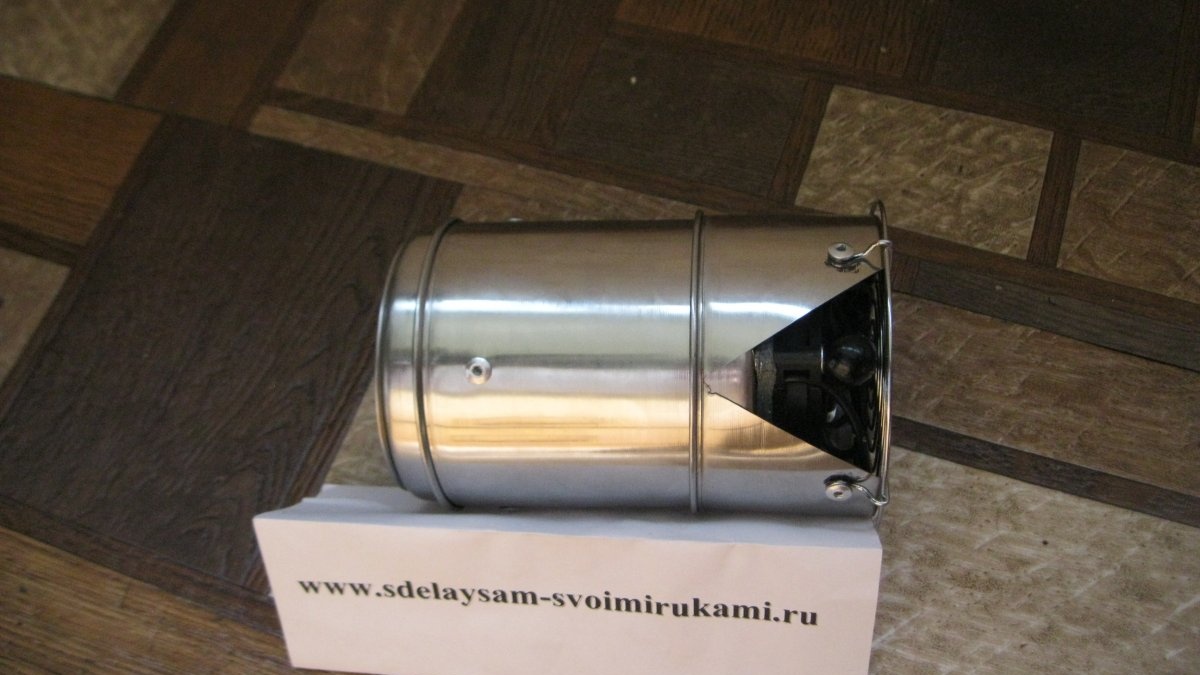
We will make a wood chipper from three stainless steel mugs: two with a volume of 800 ml and one with a volume of 600 ml. But since the temperatures in it will be serious, choose from the offers an option with thicker walls. Especially the smaller one: it will become a firebox.
We don’t need handles from them, so we just loosen them and break them off.

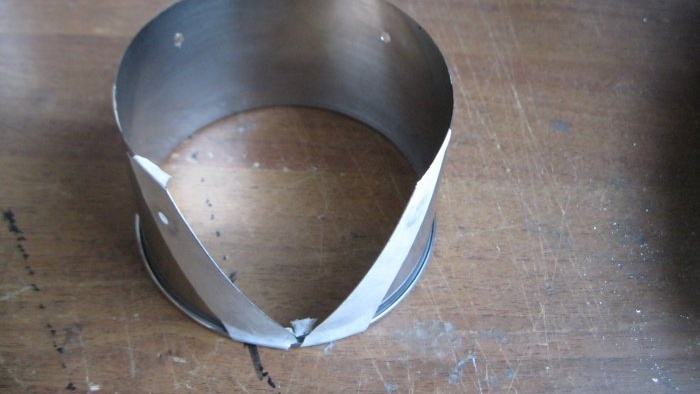
But cutting and cutting at home, without a lathe, will be very difficult, whereas for a master this work will take a couple of minutes. Therefore, in the bottom of one 800 mug we cut a hole with a diameter of 65 mm,

and in the second there is a larger hole, like the outer diameter of a smaller mug. In my case it is 91 mm. Plus then we cut it in a ratio of 40:60 or just in half.

Firebox. We print a circle with a diameter of 100 mm,
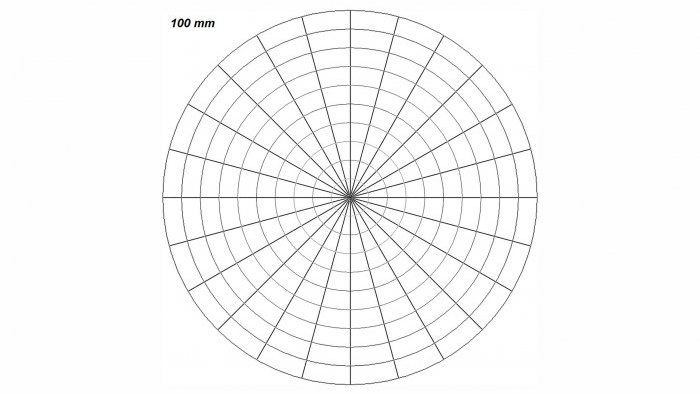
cut it out, glue it on double-sided tape and core it: not over the entire area of the bottom, but only three rows. Moreover, the second one is offset.

We do the same with the sidewall: a checkered strip from a school notebook sheet is ideal for this.

Peel off and drill the bottom thin, 2.5-3 mm,

and the wall is thicker, 6-7 mm. Thanks to these holes and active blowing, the main heat will come not from firewood in the usual sense, but from the combustion of pyrolysis gases. The temperature will be much higher, which means the efficiency of the stove will be higher.

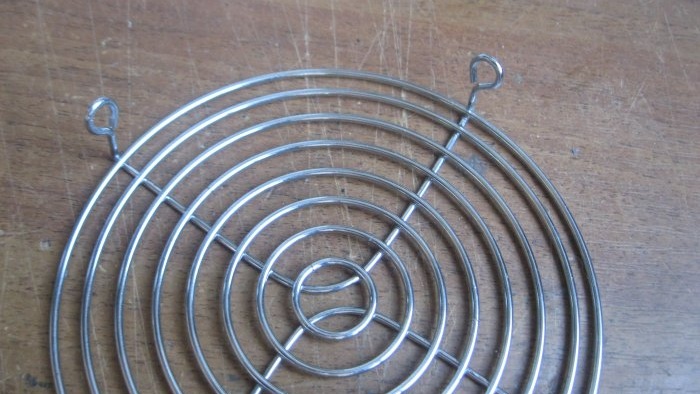
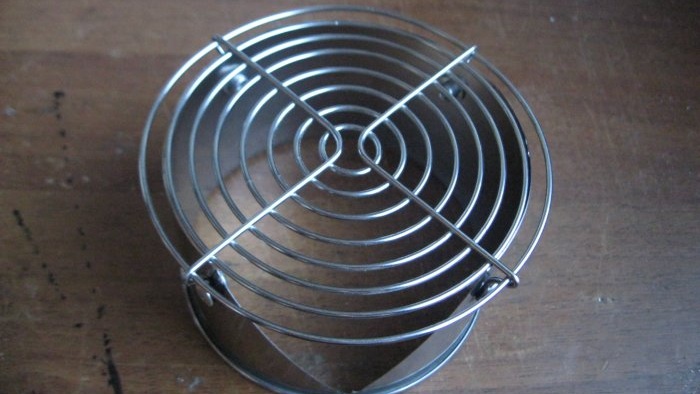
Grill mesh. Nothing unusual - simple, from a computer cooling unit, dimensions 120x120 mm.
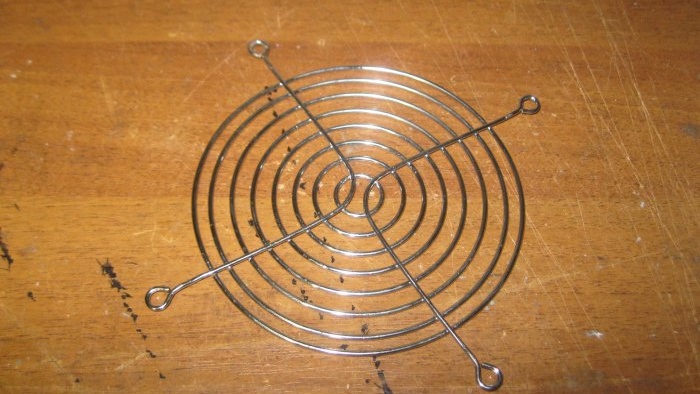
But you only need to bend them this way: if you bend them in the opposite direction, you will certainly break them: I ruined one like that.
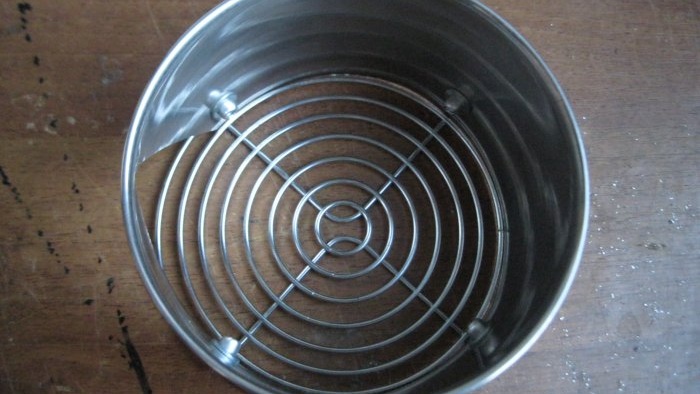
We put it on part of the mug, mark it in place, drill it,

and only after that we mark and make a cut through which we will add firewood in the process. Otherwise, she may be led away.
We assemble with rivets, take short ones with a diameter of 4.8 mm,
and place M5 washers on the back side: this way, when pulling out the rivets, they will not crush the walls of the mug.
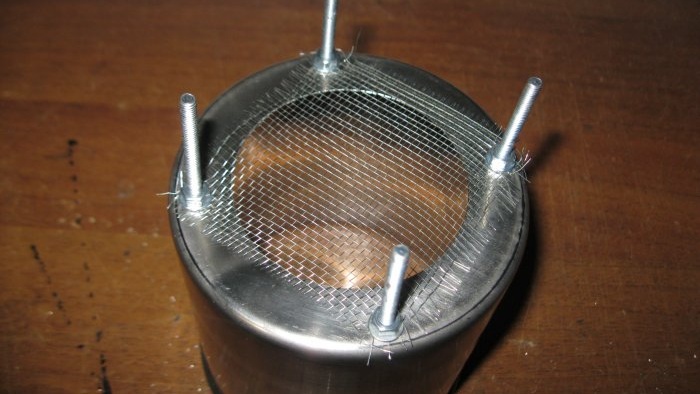
Main part. For it you need to prepare a piece of metal mesh 70x70 mm,

and four large beads that will be the legs. We drill them out and cut an M4 thread.
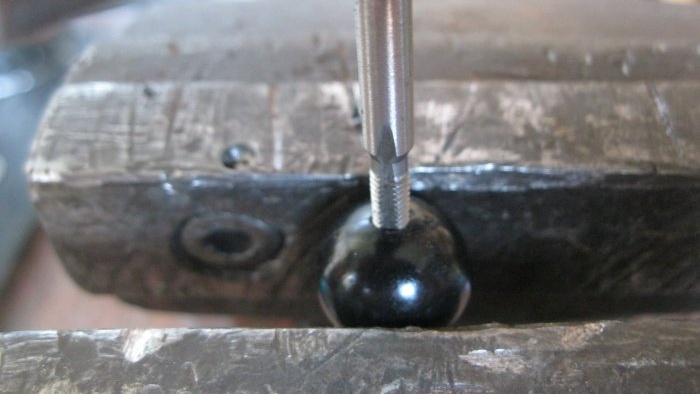
At the same time, on one side we drill it to the depth of the nut with a drill of 7.5-8 mm.

She stands up "hidden".

Active blowing. Cooling fan for a PC unit with dimensions of 70x70 mm and a thickness of 15 mm. I foresee doubts “it’s plastic”, “the temperature is such that it will melt in seconds” and so on. It has been tested in practice more than once or twice: doubts are in vain. But something needs to be taken into account.
Holes in the bottom of the firebox. Remember that we drilled them only along the edge: so even the smallest ash that will fall through the tiny holes WILL NOT get onto the fan. While there is also a distance of several centimeters between it and the outer part of the stove.

In addition, you need a USB cable, you can even take one that is not quite working, the second connector is broken.

There are three ends on the fan, and four on the USB cable. You only need two - black and red, some unsoldered and others soldered. And that's it, you can check it.

And so that the fan does not come into contact with the stove body, we make gaskets from paronite, 3-4 mm thick. One central one, which will cover the fan drive, plus four in the corners.

Holes in the bottom for assembly. Drill them in place, and if they are beveled, increase the diameter and place a washer under the screw head.For assembly you will need four of them, 35-40 mm long, and twice as many nuts and washers.

Attract the mesh
we lay paronite inserts,
and turn on the fan. But don't force it, it's still plastic.

Now the legs. Moreover, if the stove is uneven, “shaking,” change the neighboring places. This almost always helps.

The final. In the walls of the case, moving 2 cm from the top edge, drill 4 holes with a diameter of 5 mm.

We insert the remaining part, drill it in place, and fasten it with rivets, also not forgetting to put M5 washers on the inside.
We insert the firebox, put on the top part: ready.

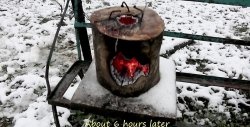
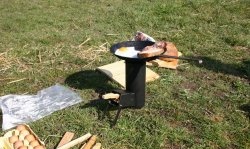
That's all the wisdom, you can move on to sea trials.
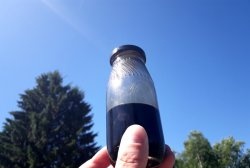
Moreover, in this version it is even more compact; you just need to sew a good cover. Judging by the reviews, she stains everything around her, bless you.
But there are, including among my friends, complete opposites. Those who cannot live without hiking along narrow paths, spending the night in an open field or the purest water from a mountain stream.

Will need
And everything they take with them must:
- weigh as little as possible;
- have maximum efficiency;
- and at the same time remain simple and reliable.
Therefore, to warm up tea and simple cooking, hikers use wood chip stoves with an active fan drive. But here’s the problem: everything that is on offer from both famous brands and nameless manufacturers is powered by:
- finger-type, less often micro-finger batteries;
- batteries of the same format.
Which, according to the law of meanness, sit down at the most inopportune moment.
Whereas every hiker has power banks with a standard USB connector.And more often than not, there is more than one of them: no one wants to be left without a connection or a camera to capture stunning views, or just listen to music during a rest stop. So let's get started.
How to make a wood chip stove
We will make a wood chipper from three stainless steel mugs: two with a volume of 800 ml and one with a volume of 600 ml. But since the temperatures in it will be serious, choose from the offers an option with thicker walls. Especially the smaller one: it will become a firebox.
We don’t need handles from them, so we just loosen them and break them off.

But cutting and cutting at home, without a lathe, will be very difficult, whereas for a master this work will take a couple of minutes. Therefore, in the bottom of one 800 mug we cut a hole with a diameter of 65 mm,

and in the second there is a larger hole, like the outer diameter of a smaller mug. In my case it is 91 mm. Plus then we cut it in a ratio of 40:60 or just in half.

Firebox. We print a circle with a diameter of 100 mm,

cut it out, glue it on double-sided tape and core it: not over the entire area of the bottom, but only three rows. Moreover, the second one is offset.

We do the same with the sidewall: a checkered strip from a school notebook sheet is ideal for this.

Peel off and drill the bottom thin, 2.5-3 mm,

and the wall is thicker, 6-7 mm. Thanks to these holes and active blowing, the main heat will come not from firewood in the usual sense, but from the combustion of pyrolysis gases. The temperature will be much higher, which means the efficiency of the stove will be higher.

Grill mesh. Nothing unusual - simple, from a computer cooling unit, dimensions 120x120 mm.

But you only need to bend them this way: if you bend them in the opposite direction, you will certainly break them: I ruined one like that.

We put it on part of the mug, mark it in place, drill it,

and only after that we mark and make a cut through which we will add firewood in the process. Otherwise, she may be led away.

We assemble with rivets, take short ones with a diameter of 4.8 mm,

and place M5 washers on the back side: this way, when pulling out the rivets, they will not crush the walls of the mug.

Main part. For it you need to prepare a piece of metal mesh 70x70 mm,
and four large beads that will be the legs. We drill them out and cut an M4 thread.

At the same time, on one side we drill it to the depth of the nut with a drill of 7.5-8 mm.

She stands up "hidden".

Active blowing. Cooling fan for a PC unit with dimensions of 70x70 mm and a thickness of 15 mm. I foresee doubts “it’s plastic”, “the temperature is such that it will melt in seconds” and so on. It has been tested in practice more than once or twice: doubts are in vain. But something needs to be taken into account.
Holes in the bottom of the firebox. Remember that we drilled them only along the edge: so even the smallest ash that will fall through the tiny holes WILL NOT get onto the fan. While there is also a distance of several centimeters between it and the outer part of the stove.

In addition, you need a USB cable, you can even take one that is not quite working, the second connector is broken.

There are three ends on the fan, and four on the USB cable. You only need two - black and red, some unsoldered and others soldered. And that's it, you can check it.

And so that the fan does not come into contact with the stove body, we make gaskets from paronite, 3-4 mm thick. One central one, which will cover the fan drive, plus four in the corners.

Holes in the bottom for assembly. Drill them in place, and if they are beveled, increase the diameter and place a washer under the screw head.For assembly you will need four of them, 35-40 mm long, and twice as many nuts and washers.

Attract the mesh

we lay paronite inserts,

and turn on the fan. But don't force it, it's still plastic.
Now the legs. Moreover, if the stove is uneven, “shaking,” change the neighboring places. This almost always helps.

The final. In the walls of the case, moving 2 cm from the top edge, drill 4 holes with a diameter of 5 mm.

We insert the remaining part, drill it in place, and fasten it with rivets, also not forgetting to put M5 washers on the inside.
We insert the firebox, put on the top part: ready.

That's all the wisdom, you can move on to sea trials.
Moreover, in this version it is even more compact; you just need to sew a good cover. Judging by the reviews, she stains everything around her, bless you.
Similar master classes


Particularly interesting

Comments (0)
