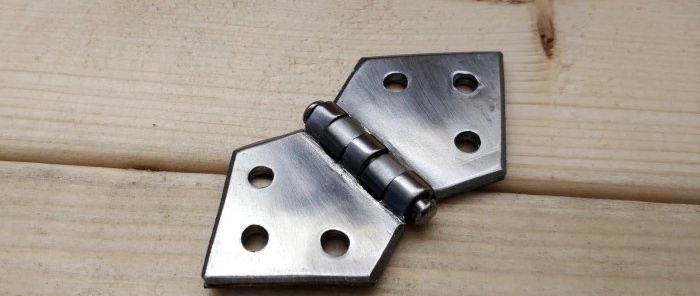
How to make buttonholes with simple tools
If you need hinges urgently or you want something original, then you can make them yourself without much expense, having ordinary tools and not having a highly qualified metal specialist.
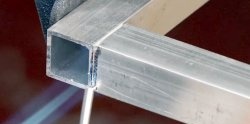
We will make the hinges from a steel plate 1 mm thick and a steel rod with a diameter of 4 mm. To turn them into a finished product, we need:
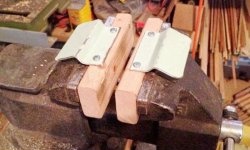
In rectangular plates, we draw transverse lines in the center, dividing them into two halves in the longitudinal direction. We clamp them in a vice according to the markings and bend them 90 degrees with our hands, and then take them out of the vice and press them to 180 degrees.
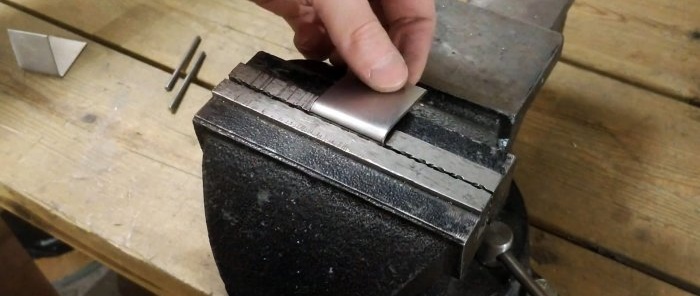

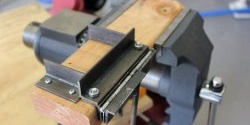
We insert a steel rod transversely into the bend of the plate and compress it again in a vice. At the same time, we try to ensure that the upper edge of the jaws is located as close to the rod as possible.

We rest the bend of the plate with the rod in the corner between the surface of the workbench and a massive hard stop.Using a chisel with a rounded tip, we knock out the bend of the plate. First, we hold the chisel at a large angle to the plate, and then reduce it. This will give the plate a more rounded shape.

After the previous operation, the rod may be clamped in the loop, which can be eliminated by using the area on top that is not adjacent to it. We reinsert the loop into the vice, clamp it directly under the rod and apply precise blows with a hammer to the top of the bend until it comes free.

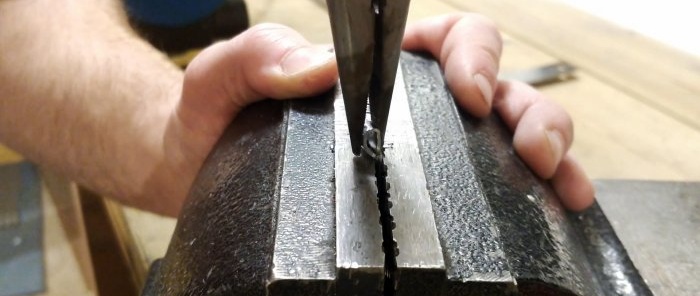
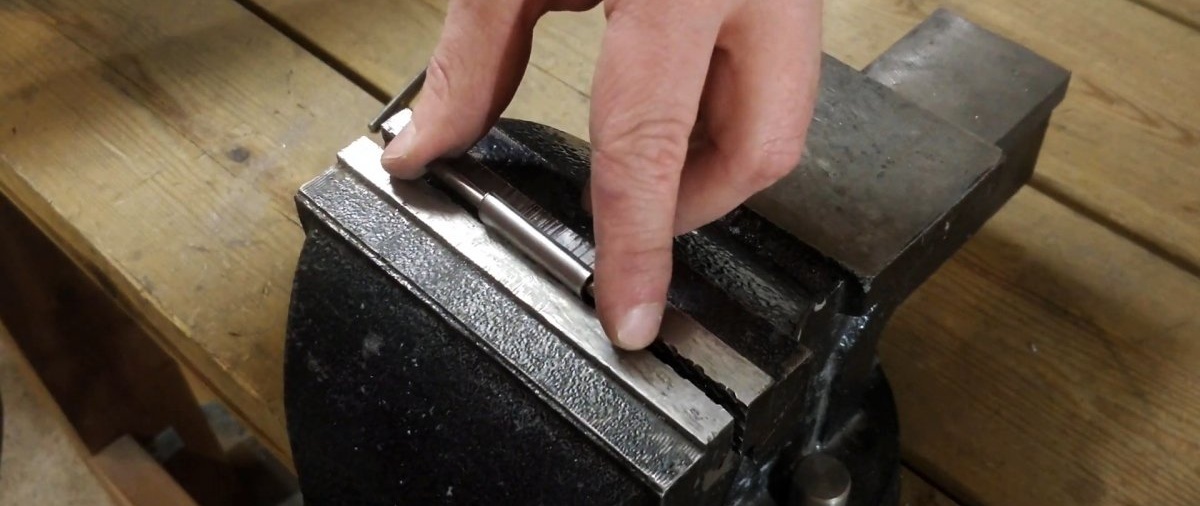
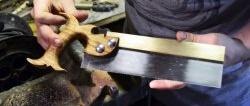
Having pulled the rod out of the loop, mark the fold for the hinges. We make 6 transverse slits of equal depth according to the marks.


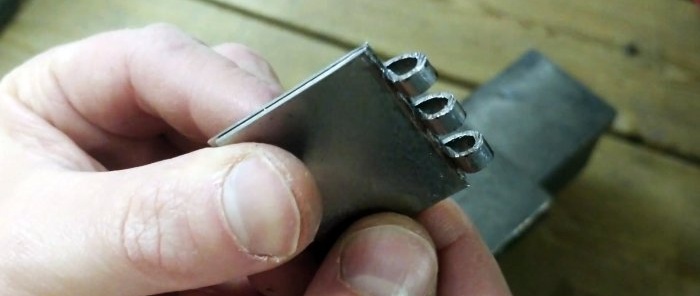
We grab the pieces with pliers one at a time, as close as possible to the vice, starting from the outermost one, and swing them back and forth until they break off. We leave three hinges on the wing, which we process with a file.
We mark the second wing, focusing on the first. In order not to complicate the connection, on the second wing we leave only two central hinges, which we also file with a file.
We connect the hinge joints in a row and pass the rod through them. If the wings are difficult to turn, then, having disassembled the connection, we correct what is in the way with a file and eliminate the jamming.

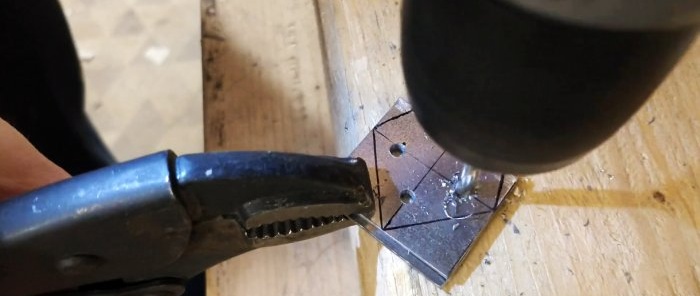
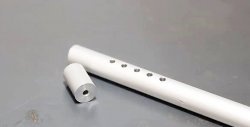
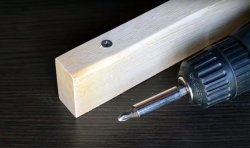
The wings of the hinges can be given any shape, based on circumstances or aesthetic considerations, as well as the number of holes for fasteners. We center the holes and drill them with a drill in one or two passes. We fasten the hinges with screws or screws with nuts.
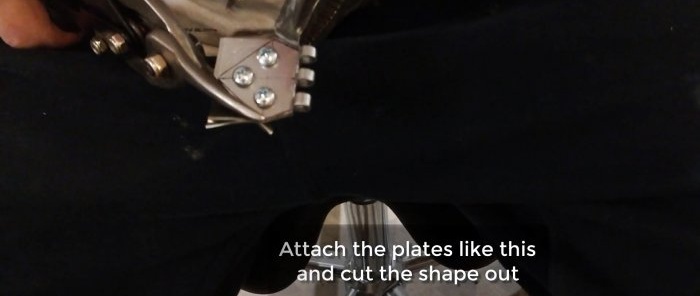
We cut out the shape of the wings according to the markings with metal scissors, grinding the edges with a file and rounding the corners so that the hinges are safe to use and look beautiful. Finally we polish them with sandpaper.
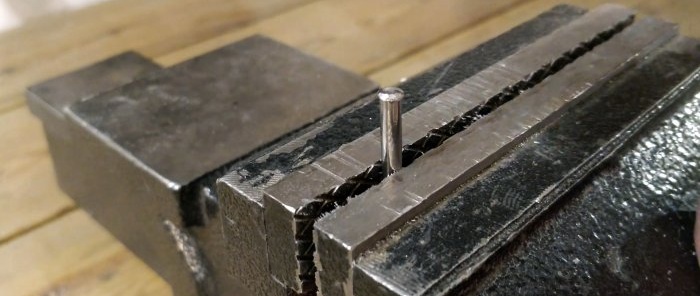
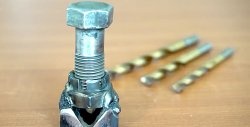
We clamp the rod vertically in a vice and form a cap at the end with a hammer.We insert it into the loop until the head stops at the outer hinge, make a mark at the other end of the rod and cut off the excess, leaving only a small protrusion, which we also turn into a head with a hammer.


We complete the process of forming the cap as soon as there are no gaps in the hinges, but the free rotation of the hinge wings is not disrupted.

Will need
We will make the hinges from a steel plate 1 mm thick and a steel rod with a diameter of 4 mm. To turn them into a finished product, we need:
- bench vice;
- chisel with a blunt tip;
- hammer and core;
- hacksaw for metal;
- pliers;
- drill;
- metal scissors;
- file and sanding paper.
Loop making process
In rectangular plates, we draw transverse lines in the center, dividing them into two halves in the longitudinal direction. We clamp them in a vice according to the markings and bend them 90 degrees with our hands, and then take them out of the vice and press them to 180 degrees.


We insert a steel rod transversely into the bend of the plate and compress it again in a vice. At the same time, we try to ensure that the upper edge of the jaws is located as close to the rod as possible.
We rest the bend of the plate with the rod in the corner between the surface of the workbench and a massive hard stop.Using a chisel with a rounded tip, we knock out the bend of the plate. First, we hold the chisel at a large angle to the plate, and then reduce it. This will give the plate a more rounded shape.
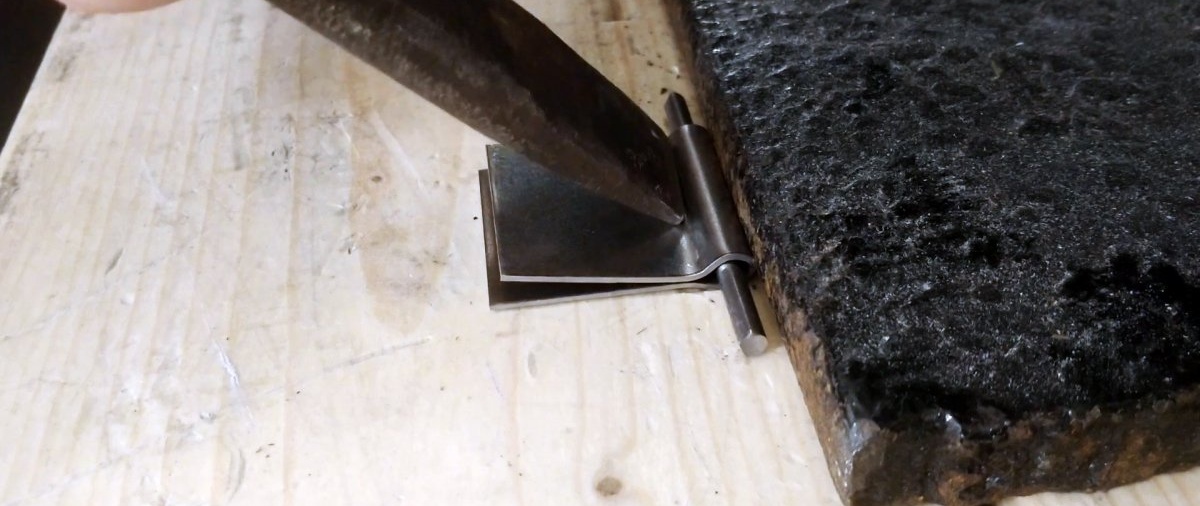
After the previous operation, the rod may be clamped in the loop, which can be eliminated by using the area on top that is not adjacent to it. We reinsert the loop into the vice, clamp it directly under the rod and apply precise blows with a hammer to the top of the bend until it comes free.

Having pulled the rod out of the loop, mark the fold for the hinges. We make 6 transverse slits of equal depth according to the marks.
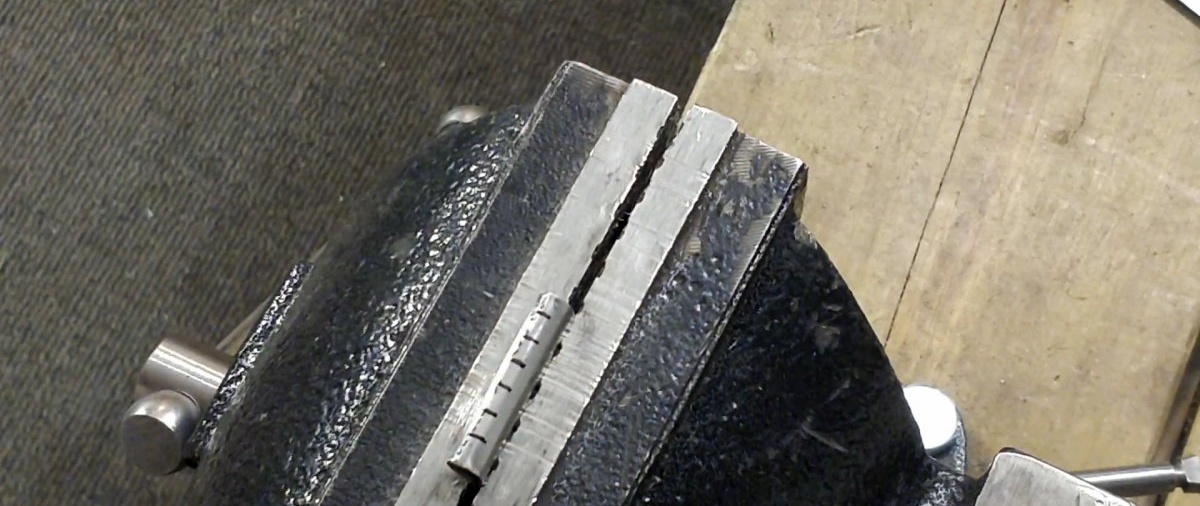

We grab the pieces with pliers one at a time, as close as possible to the vice, starting from the outermost one, and swing them back and forth until they break off. We leave three hinges on the wing, which we process with a file.


We mark the second wing, focusing on the first. In order not to complicate the connection, on the second wing we leave only two central hinges, which we also file with a file.
We connect the hinge joints in a row and pass the rod through them. If the wings are difficult to turn, then, having disassembled the connection, we correct what is in the way with a file and eliminate the jamming.

The wings of the hinges can be given any shape, based on circumstances or aesthetic considerations, as well as the number of holes for fasteners. We center the holes and drill them with a drill in one or two passes. We fasten the hinges with screws or screws with nuts.

We cut out the shape of the wings according to the markings with metal scissors, grinding the edges with a file and rounding the corners so that the hinges are safe to use and look beautiful. Finally we polish them with sandpaper.

We clamp the rod vertically in a vice and form a cap at the end with a hammer.We insert it into the loop until the head stops at the outer hinge, make a mark at the other end of the rod and cut off the excess, leaving only a small protrusion, which we also turn into a head with a hammer.


We complete the process of forming the cap as soon as there are no gaps in the hinges, but the free rotation of the hinge wings is not disrupted.
Watch the video
Similar master classes

Particularly interesting
Comments (0)
