How to dry bream correctly. I reveal the recipe and knowledge inherited from my ancestors
Drying fish is not at all a difficult task, as it might seem at first glance. From autumn to spring, when fish are abundant in local rivers, they begin to stock them, and if you like to treat yourself and your friends to beer with fish, then there is nothing better than learning how to dry fish yourself. The result will be cheaper, better quality, safer, and tastier. In general, it is more profitable in many respects.
Important! Using this method, I dry any river fish: pike, roach, asp, bream and even catfish, that is, everything that I can purchase.
Using bream (in this case, bream) as an example, I present to your attention the process of preparing dried fish, revealing the recipe and knowledge inherited from my ancestors.
Required ingredients:
- Bream 5 kg.
- Salt 1 kg.
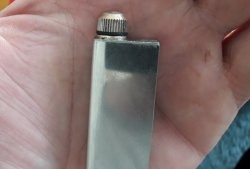
- Strong silk thread up to 1 m.
Step-by-step instruction
Step 1.
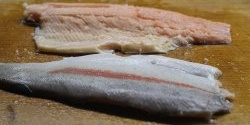
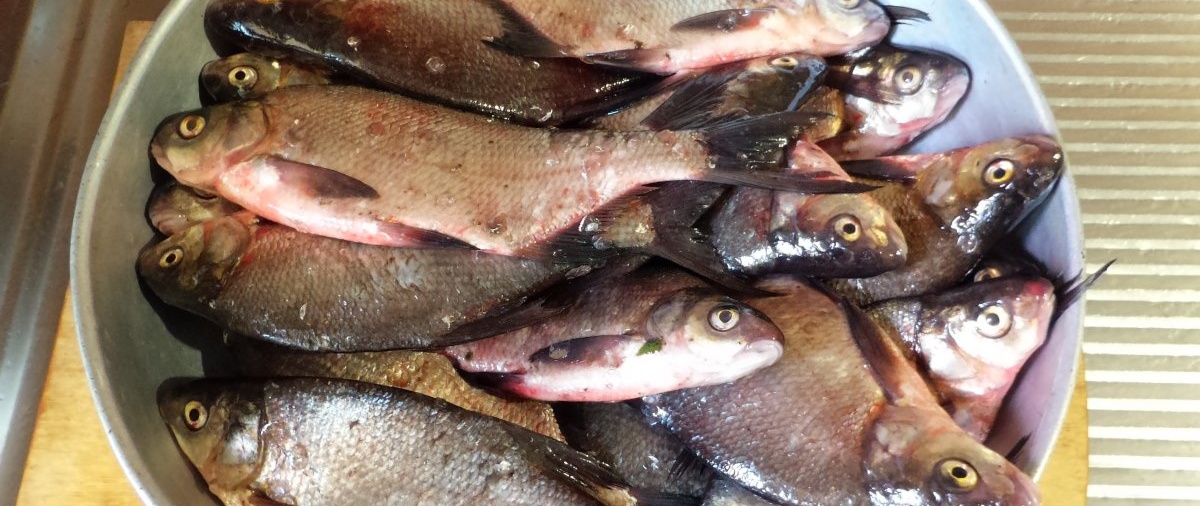
We wash fresh breams in running water to remove mud, river water and dust. Since these breams are small, there is no need to gut them.There are large fish, for example, a two-kilo pike, which is better to be ripped open, because with a large weight, its insides will not be salted properly. Often the caviar is prepared separately, the liver is fried, and the remaining entrails are thrown away as unnecessary. In addition, gutted fish dries easier.
Step 2.
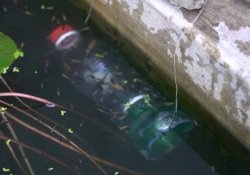
Carefully sprinkle salt on each fish. Be sure to add salt to the gills on each side. Pour a little salt onto the bottom of the container, carefully lay the fish, sprinkling each layer with a small portion of salt, and place it under pressure. I use this design from inverted plates, or from one large dish, with which I press the fish. I use water bottles for weight. We leave all this for five days.

Step 3.
Important! After a couple of days you need to check the fish. Depending on how much juice it gives, you get dry or wet salting. Dry salting uses more salt. When wet salting, you need to make sure that all the fish is immersed in brine (brine). If it all doesn’t fit, you need to move the fish after 2 days: the bottom one to the top, and the top one to the bottom.
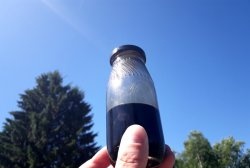
In our case, it is clear that the fish has released the brine and lies in the liquid, and the salt has completely dissolved. Therefore, we leave it as is.

Step 4.
On the fifth day, drain the liquid and begin soaking the bream. It is important to understand here that the fish must give up excess salt, neither peroxidize nor dissolve in the water. First, fill with clean water, stir the fish, and drain after a few minutes. Then add cold water again and leave for 3 hours. In the future, change the water every 3-5 hours. If you leave it overnight, it's okay.

Step 5.
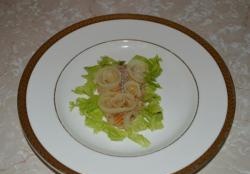
This is what soaked carcasses look like. Next, it is important to properly string the bream onto a strong thread. Here it is important to pierce the tails with a needle so that when drying the fish hangs head down and all excess liquid flows into the head. If you string fish “behind the eyes,” then all the unnecessary and bitter substances will spread throughout the body and the taste of the finished fish may be spoiled. When stringing, we make a separate loop for each fish so that the string is preserved if you start cutting off one fish at a time.

Step 6.
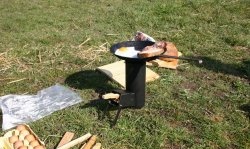
We hang the bundles of bream in a dry, ventilated room or outdoors, making sure that flies or cats do not get to the hung fish. If it’s frosty, rainy or just unsuitable weather outside, then you should resort to some tricks. For example, I first turn on a regular household fan to dry it, which greatly speeds up the process.
Important! Soaked fish has a persistent odor in the first few days, so it is better to dry it on the balcony, under a tree in the garden, in a garage or other utility room.
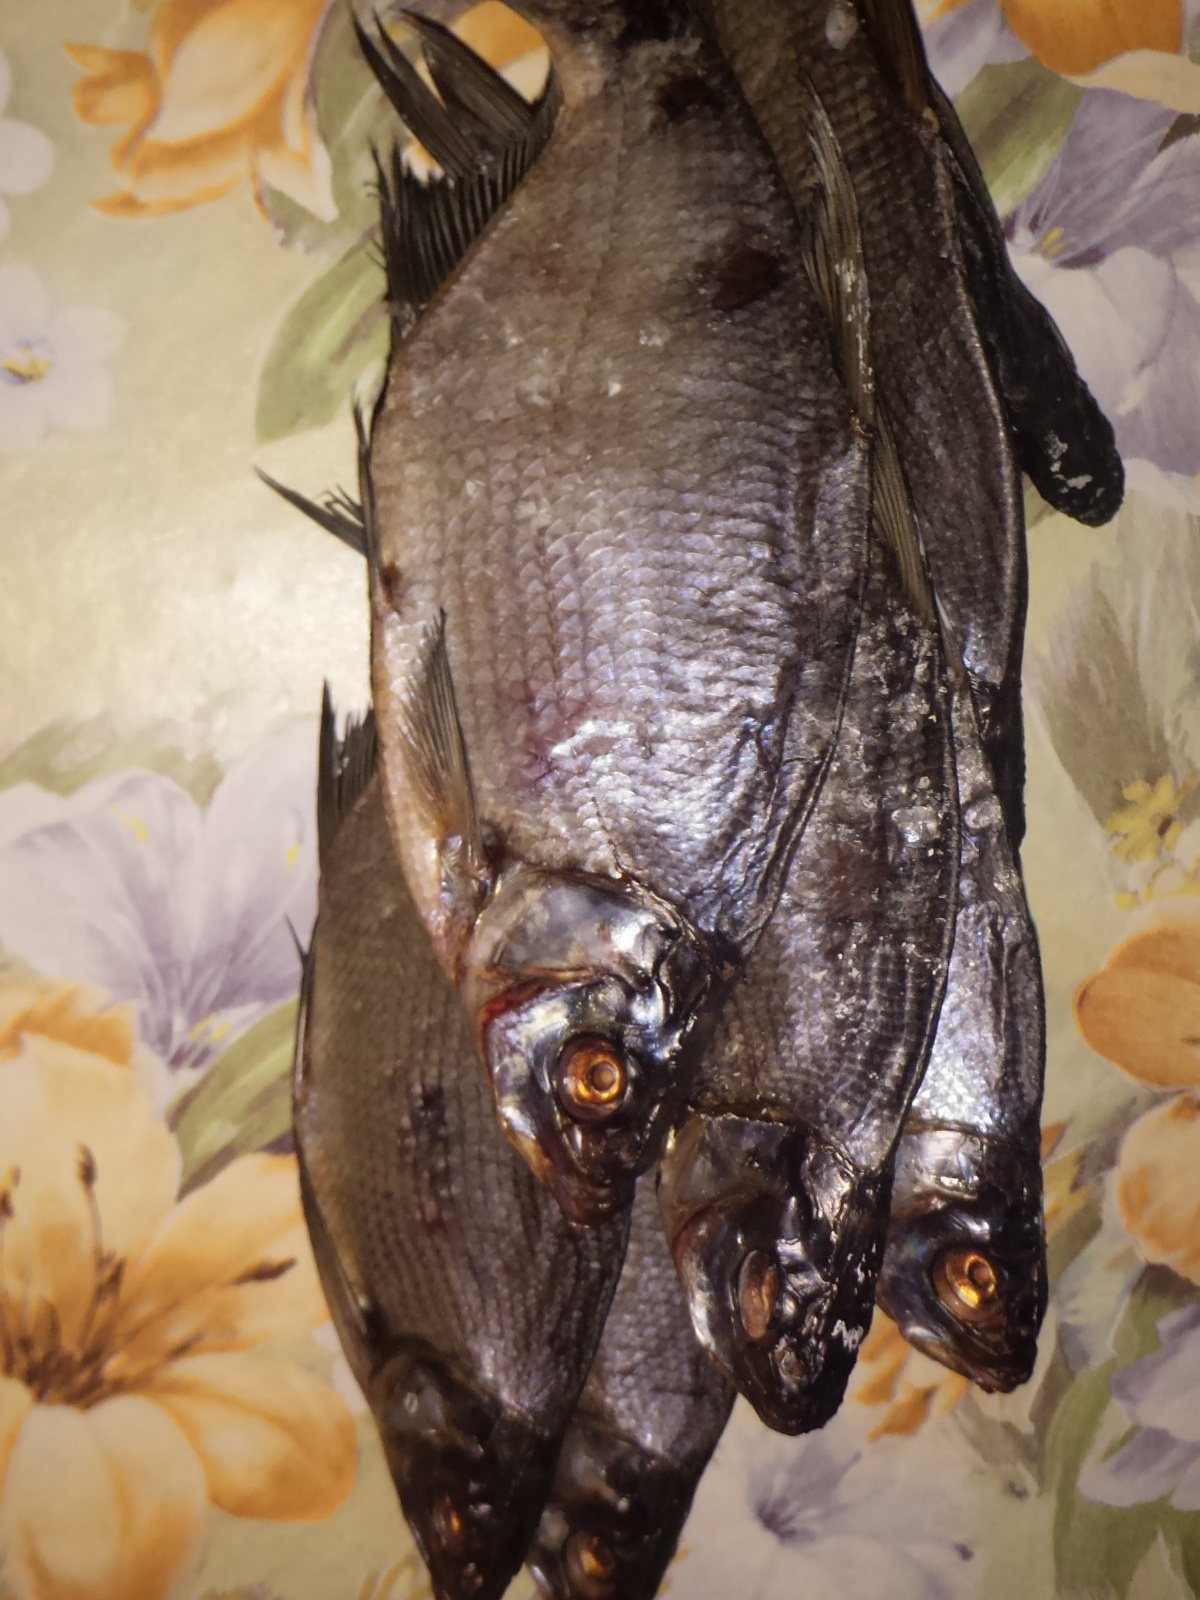
We dry it like this for at least 5 days, depending on the conditions. At the same time, make sure that the fish does not dry out. It is better to remove it from drying a little sooner rather than later, since subsequently the carcasses will continue to dry out even in the freezer.

Step 7
It is advisable to freeze all herbivorous river fish in the freezer for at least 5 days before eating. Then it will be possible to significantly reduce the likelihood of unwanted microorganisms or parasites getting inside and developing.This need not be done when preparing predatory or sea fish, for example, pike, horse mackerel, flounder, etc.

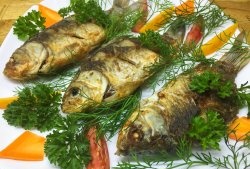
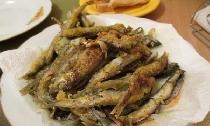
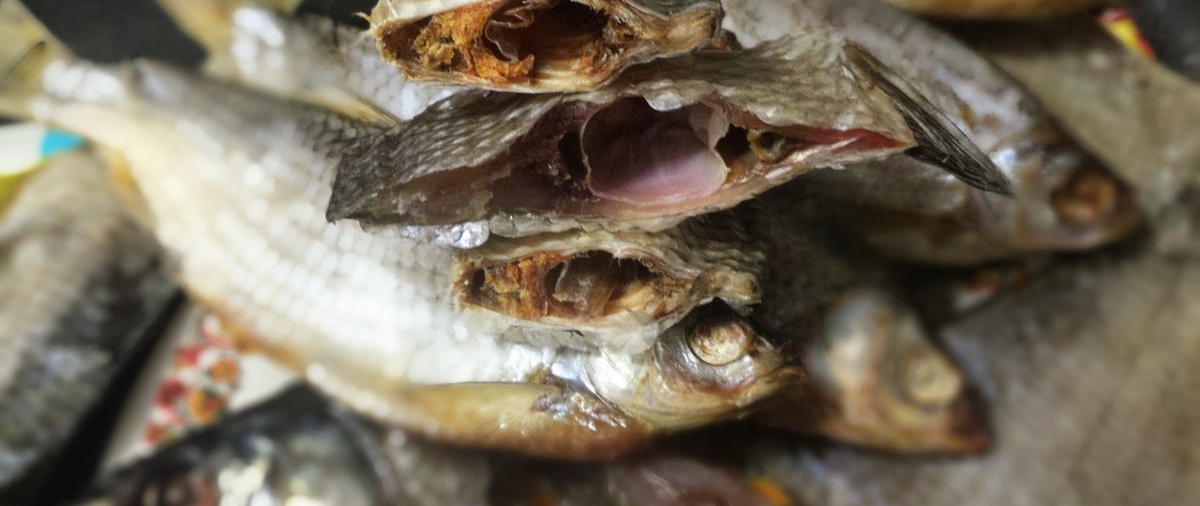
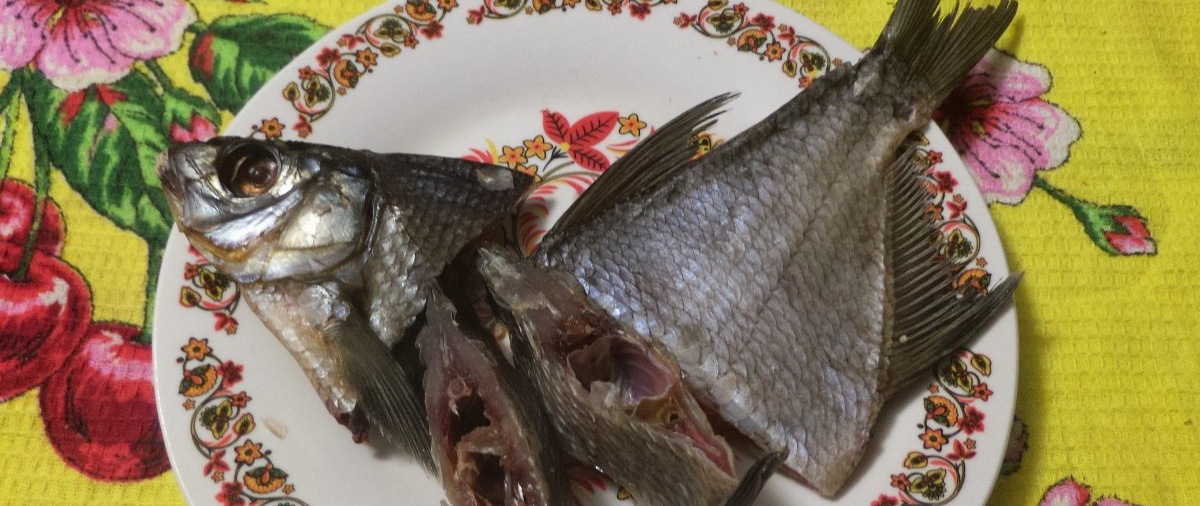
So, after no more than 15 days, dried bream is ready to eat!