Making a tool box organizer with your own hands
Today's master class includes a portable box for carrying hand and oversized power tools, accessories and consumables. The organizer is useful for a craftsman who travels to sites, a car owner, a builder, or a tinkerer.
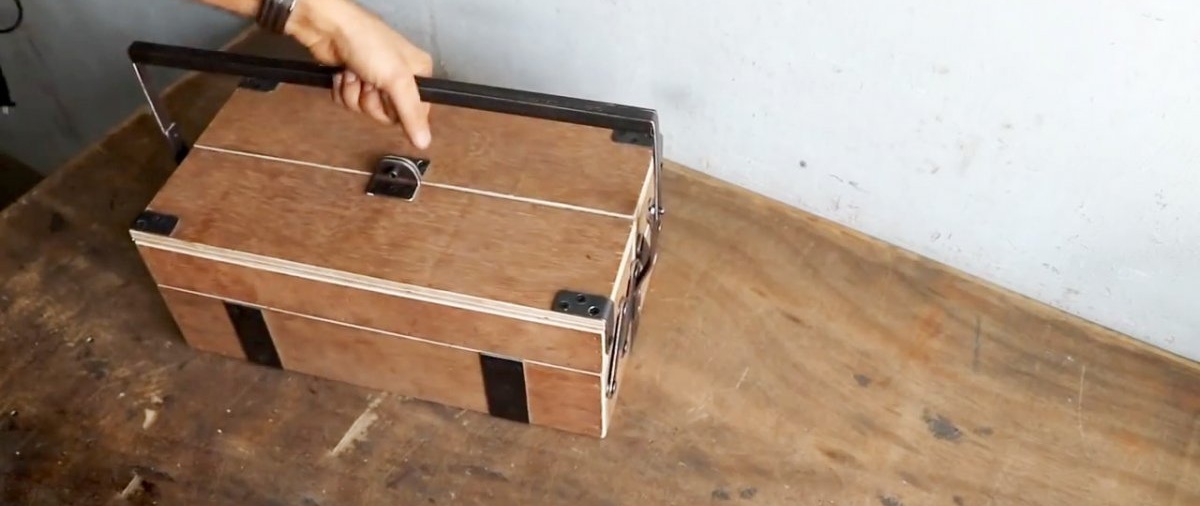
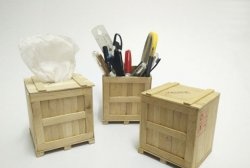
The box consists of a spacious main compartment for large tools (hammer, electrodes, keys) and a pair of drawers with partitions for small items. Since plastic cases are easily damaged, and metal cases are subject to corrosion and are difficult to manufacture, we will make portable tool storage from plywood.

You can purchase materials for the organizer at a hardware store. We will need:
From a sheet of metal you need to make:
Some metal fasteners can be purchased.
Tools you will need: screwdriver with a bit for self-tapping screws; hex key for screws; An angle grinder with an abrasive disc for cutting metal and a flap disc for grinding; circular saw for cutting plywood; M6 tap for threading; metal drill 5.5 mm.
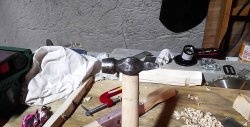
You will also need the contents of any workshop: hammer, pencil, measuring tool, plane or sandpaper, personal protective equipment (headphones, glasses).
Using a circular saw, we cut the plywood for the walls, bottom, partitions and lid into the required size.

Using a square, glue, nails and a hammer, we assemble 3 drawers: a large bottom one and a couple of small ones with compartments.


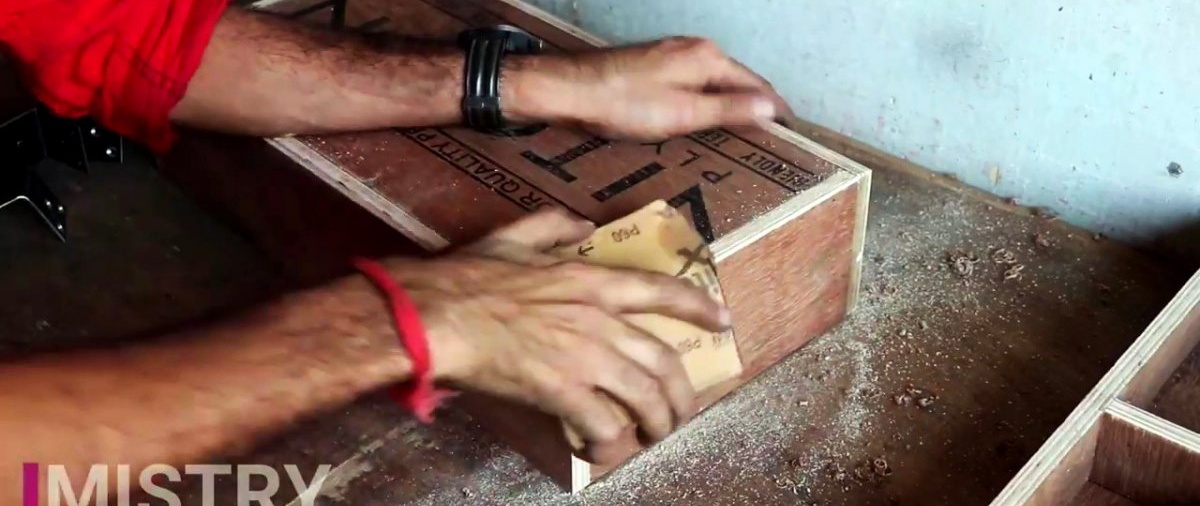
Lightly cut off the edges of the plywood sheets with a plane or coarse sandpaper.

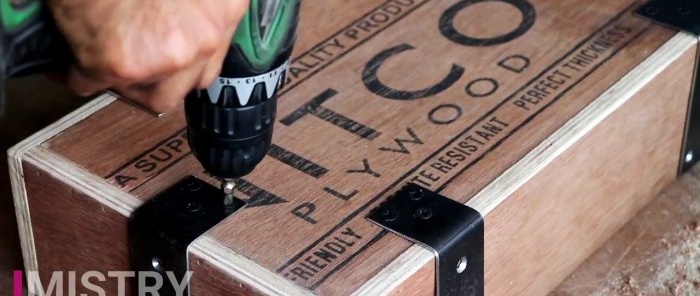
We strengthen the fastening of the bottom of the lower drawer with the walls using 6 sheet metal corners. We pre-drill holes in them for self-tapping screws and countersink them for the caps.
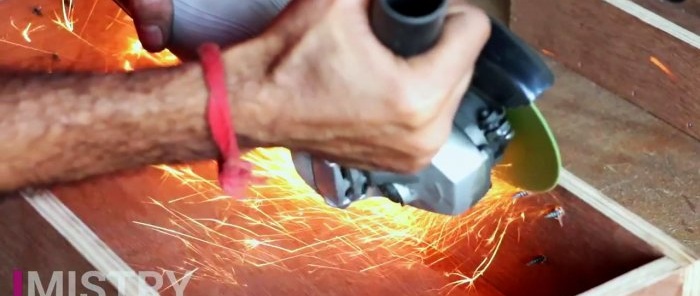
Using an angle grinder, we cut off the ends of the screws protruding inside the box. Burrs and remnants of protruding screws can be processed with a flap wheel.
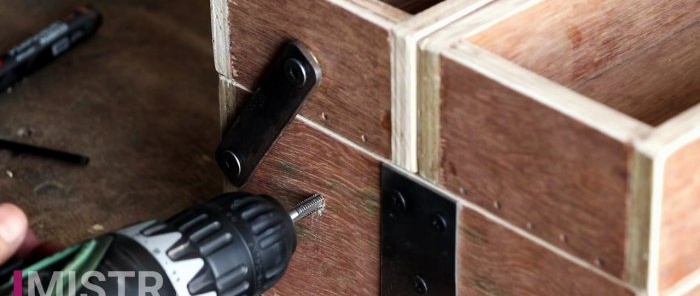
We connect the top drawers to the bottom using 8 metal plates (2 at the end of the small box), always with bolts and not self-tapping screws.

The top drawers should be the first to slide towards the bottom.

For the bolts, drill holes and tap them with a tap. We place washers under the plates to reduce friction.
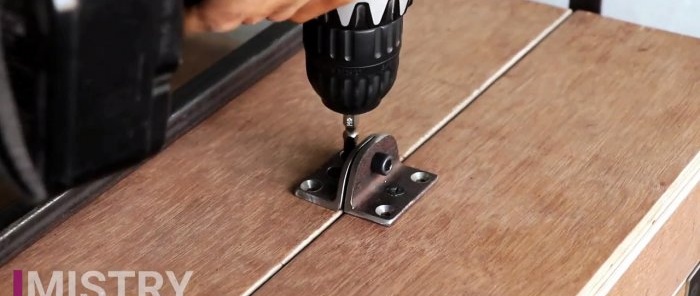
We screw the corners onto the corners of the future lids of the upper boxes: to the lid with 2-3 screws, to the side wall - with one. The latter is not clamped too much.

We screw the bent plates for attaching the handle (20×175×5 mm) with self-tapping screws at both ends of the large box.

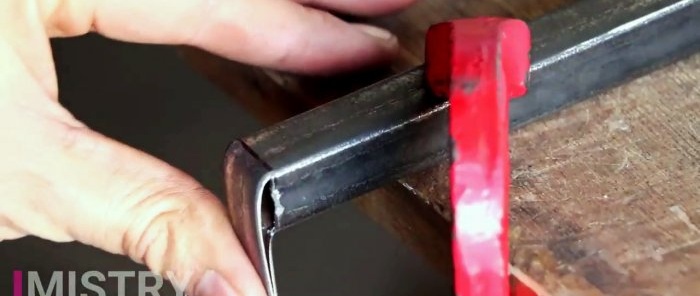
We cut the metal pipe with a grinder, as shown in the figure.

We remove burrs and irregularities and bend it 900 on both sides.
We drill holes in the profile and plates for its fastening, cut the threads and screw the handle to the fastenings with bolts so that it moves.

We drill holes in two corners and screw them onto the lids of the top drawers, as in the picture. We make holes in the corners, cut threads and tighten the bolt, which acts as a lock.
The boxes can be filled with tools that should always be at hand.

When working with power tools, remember safety precautions and use personal protective equipment.
The box consists of a spacious main compartment for large tools (hammer, electrodes, keys) and a pair of drawers with partitions for small items. Since plastic cases are easily damaged, and metal cases are subject to corrosion and are difficult to manufacture, we will make portable tool storage from plywood.

What you will need
You can purchase materials for the organizer at a hardware store. We will need:
- plywood 10 mm thick;
- sheet metal 5 mm thick;
- steel square pipe for the handle with a cross-section of 14 × 14 mm and a length of 680 mm;
- 16 countersunk hexagon screws (20 mm);
- 12 mm long screw for lock;
- self-tapping screws (20 mm);
- nails 40-50 mm long and glue for assembling boxes.
From a sheet of metal you need to make:
- 2 corners for the lock (width – 20 mm, length of sections – 15-20 mm);
- 6 corners to strengthen the structure;
- 8 steel plates to create a retractable mechanism (width – 20 mm, length – 90 mm);
- 4 corners (width – 25 mm, length of each section 40 mm);
- 2 curved metal plates for attaching the handle (width – 20 mm, length – 175 mm);
- using an angle grinder (grinder), a vice, a hammer and an anvil.
Some metal fasteners can be purchased.
Tools you will need: screwdriver with a bit for self-tapping screws; hex key for screws; An angle grinder with an abrasive disc for cutting metal and a flap disc for grinding; circular saw for cutting plywood; M6 tap for threading; metal drill 5.5 mm.
You will also need the contents of any workshop: hammer, pencil, measuring tool, plane or sandpaper, personal protective equipment (headphones, glasses).
Manufacturing process
Using a circular saw, we cut the plywood for the walls, bottom, partitions and lid into the required size.

Using a square, glue, nails and a hammer, we assemble 3 drawers: a large bottom one and a couple of small ones with compartments.


Lightly cut off the edges of the plywood sheets with a plane or coarse sandpaper.
We strengthen the fastening of the bottom of the lower drawer with the walls using 6 sheet metal corners. We pre-drill holes in them for self-tapping screws and countersink them for the caps.

Using an angle grinder, we cut off the ends of the screws protruding inside the box. Burrs and remnants of protruding screws can be processed with a flap wheel.

We connect the top drawers to the bottom using 8 metal plates (2 at the end of the small box), always with bolts and not self-tapping screws.
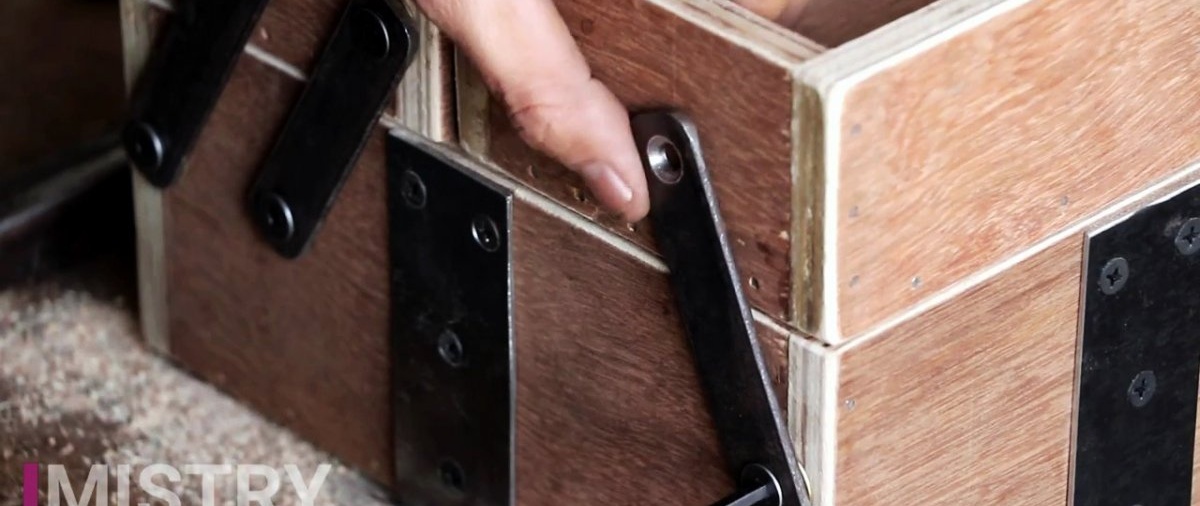
The top drawers should be the first to slide towards the bottom.

For the bolts, drill holes and tap them with a tap. We place washers under the plates to reduce friction.

We screw the corners onto the corners of the future lids of the upper boxes: to the lid with 2-3 screws, to the side wall - with one. The latter is not clamped too much.

We screw the bent plates for attaching the handle (20×175×5 mm) with self-tapping screws at both ends of the large box.

We cut the metal pipe with a grinder, as shown in the figure.
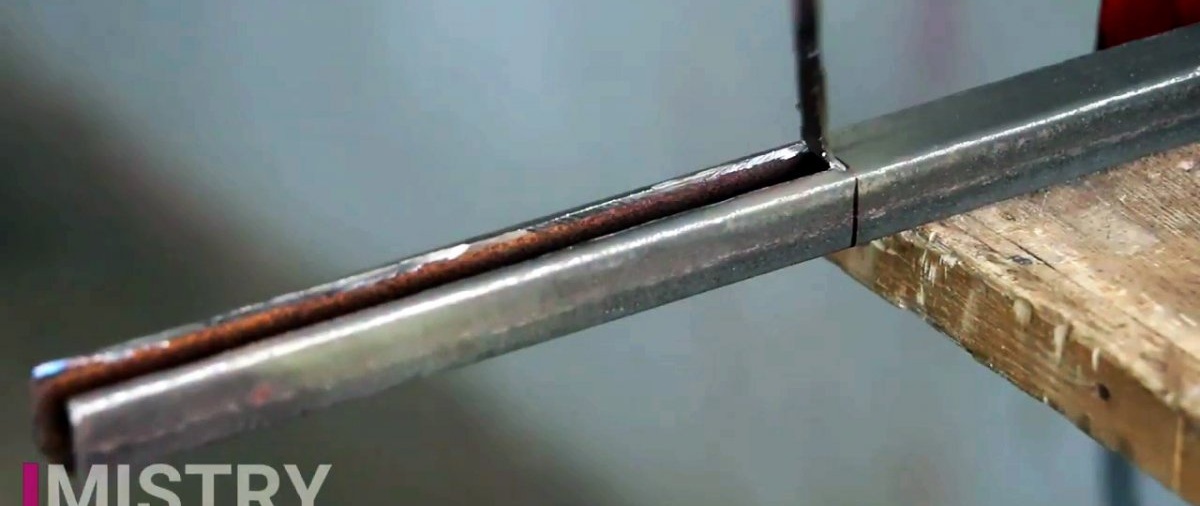
We remove burrs and irregularities and bend it 900 on both sides.

We drill holes in the profile and plates for its fastening, cut the threads and screw the handle to the fastenings with bolts so that it moves.

We drill holes in two corners and screw them onto the lids of the top drawers, as in the picture. We make holes in the corners, cut threads and tighten the bolt, which acts as a lock.

The boxes can be filled with tools that should always be at hand.
When working with power tools, remember safety precautions and use personal protective equipment.
Watch the video
Similar master classes

Particularly interesting


Comments (2)
