DIY birch bark phone case
The modern variety of protective bumpers, glass, and scratch removal liquids is huge and countless. There is only a colossal variety of covers; books, bags, hard, soft, transparent, leather, plastic and metal! Today I propose to make a case that no one else has! It may, of course, be made from the same material, but not the same shape and design. And the material that I'm going to use is birch bark. Or birch bark, to put it simply. The indigenous peoples of the Northern Urals and Western Siberia widely use this magnificent material in everyday life. It produces high-quality and beautiful decorative dishes, jewelry, and even shoes. Which, by the way, they make good money from by selling the above-mentioned things at fairs.
So I thought; why not make a phone case too. Previously, I had already made covers for passports and documents, sheaths, tues, and other products from birch bark, so I think there won’t be any particular difficulties with a phone case. Since I’m not much of an artist, I’m only going to make the case itself, without any drawings.And, in my opinion, the structural, natural pattern of birch bark itself is the best pattern! Although this is a personal matter for everyone; You can apply it with acrylic paints, or burn any design onto the resulting product.
Birch bark can be found in the nearby forest. You can cut it from dead trees, finding trees freshly felled by the wind, time or animals.

But it’s better, of course, if the bark is fresh; it is more elastic and pliable. If you are going to cut a piece of bark from a living tree, do not forget that by doing this you are causing harm (albeit small) to the tree. You should not cut more than is necessary for the job. The tree should be chosen with the largest trunk diameter; Such a tree, as a rule, has thick bark, and cutting off a small piece of bark will not harm it much, much less die.

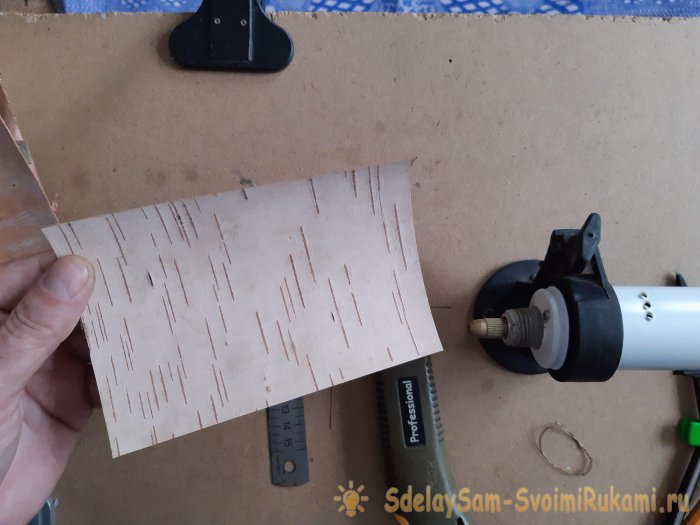
First, you need to take measurements from the device for which this product will be intended. The parameters, using a ruler and pencil, are transferred to birch bark, which must be divided into two parts - the front and back walls of the future cover.

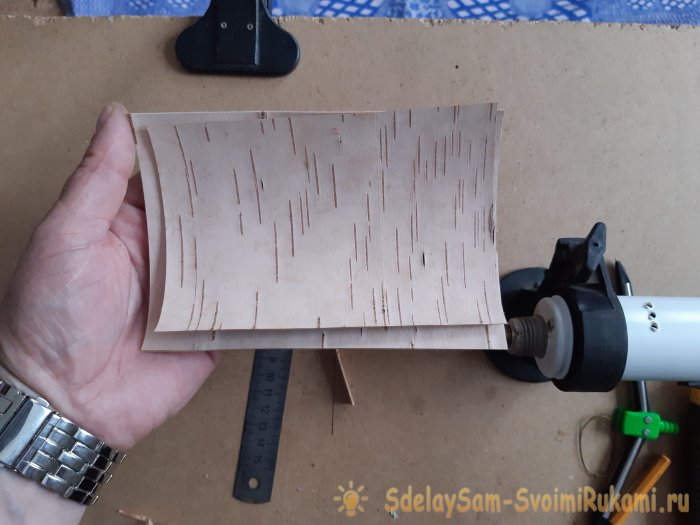
If the bark is too thick, it will be difficult to work with. Therefore, it needs to be stratified. This is quite easy to do.

Eventually; The thickness of the bark should remain 3-4 millimeters. Not thicker. So, let’s transfer the phone parameters to the front of the case. With reserve, of course! One at a time, see from the sides and from the bottom.

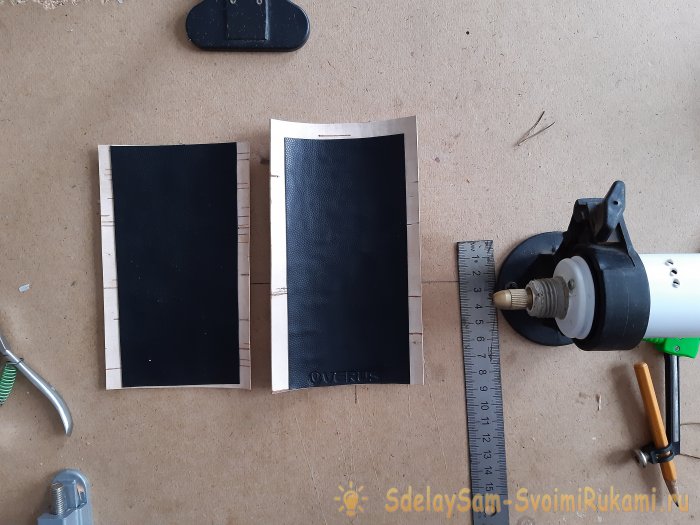
Next, we cut out the back part, which will be another five mm. wider and higher than the front part.From each side.
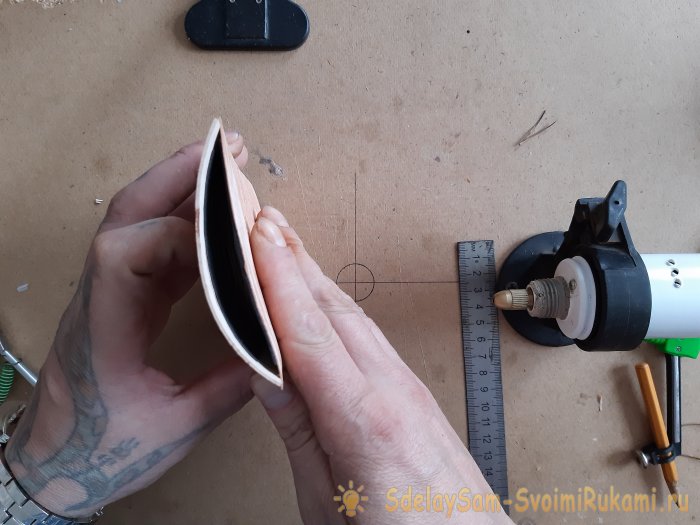
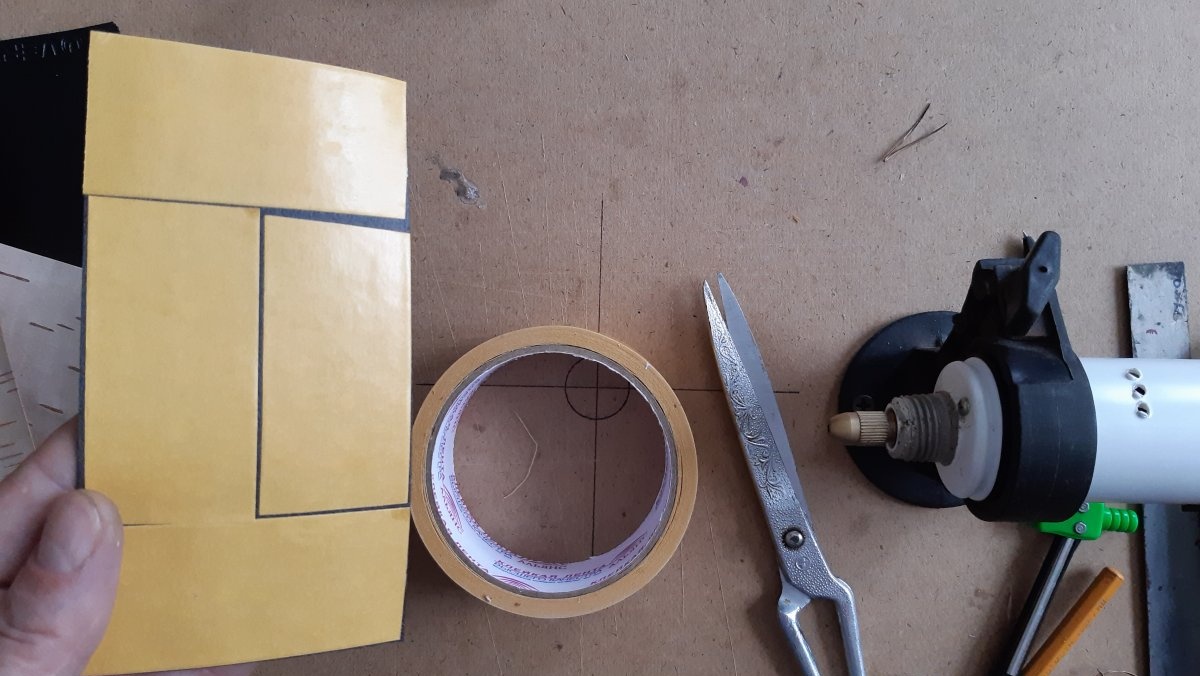
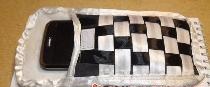
This is necessary so that when we connect the edges, there will be space between them for the phone. Now we need thin skin. Or leatherette. We cut out pieces of leather equal in area to the plane of the phone.

Using double tape, glue the leather in the center of each of the blanks.

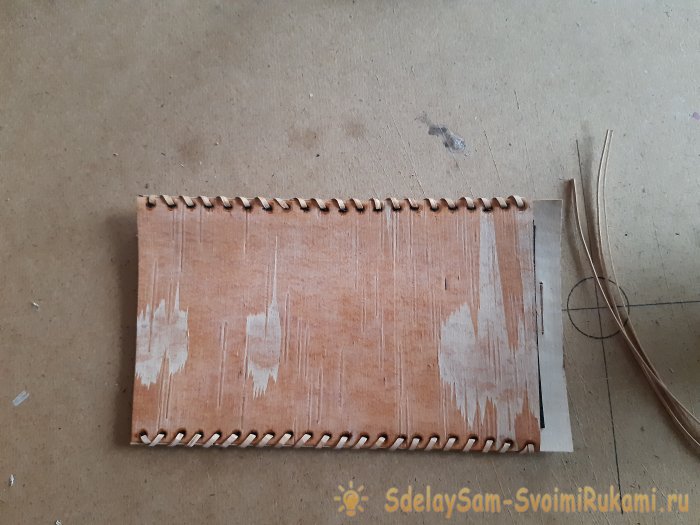
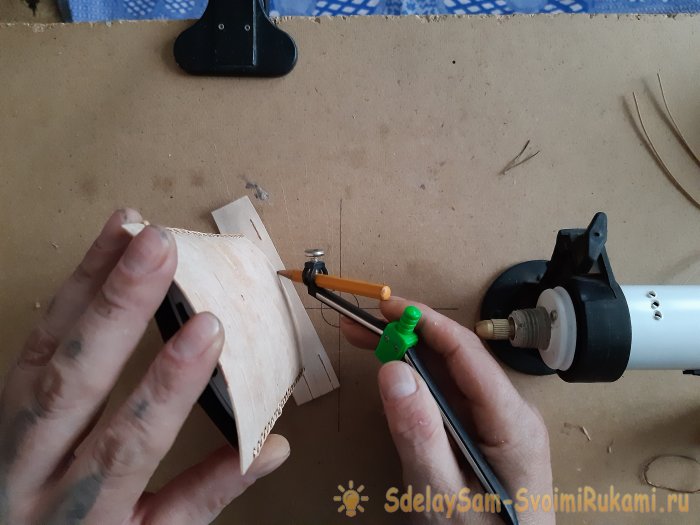
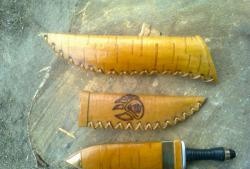
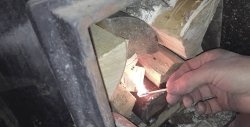
Next, we connect the edges, the edges of the bottom, the bottom, align them together, and burn holes in the side edges.
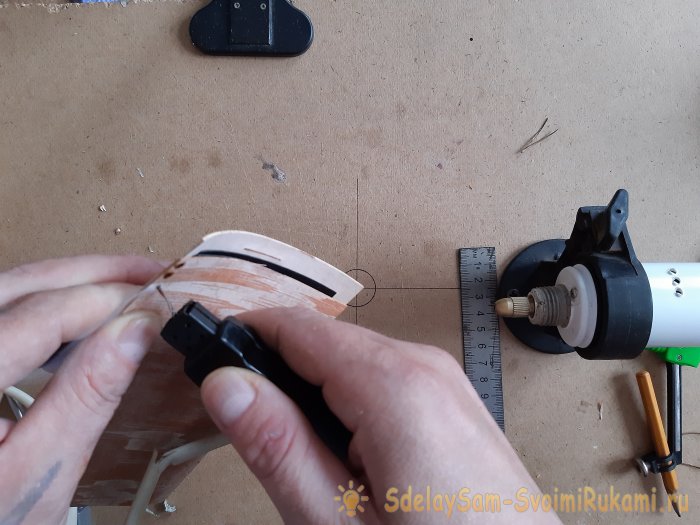

About three millimeters from the edge. Now, using a ruler and a stationery knife, you need to cut thin, two millimeter, strips of thin birch bark, which we had left after stratifying the blanks.


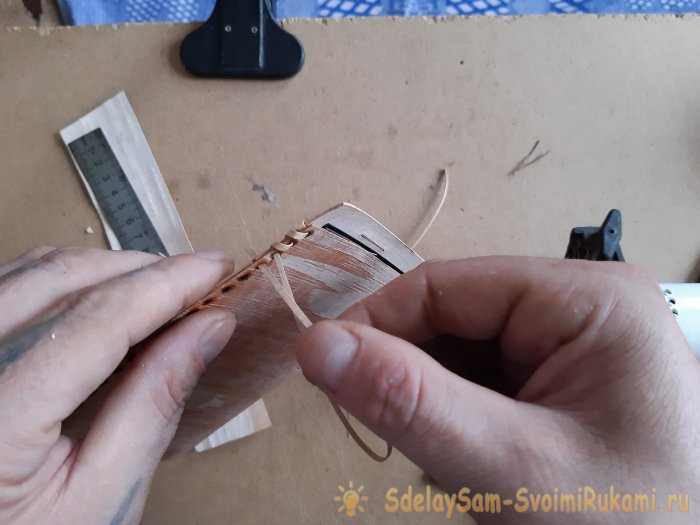
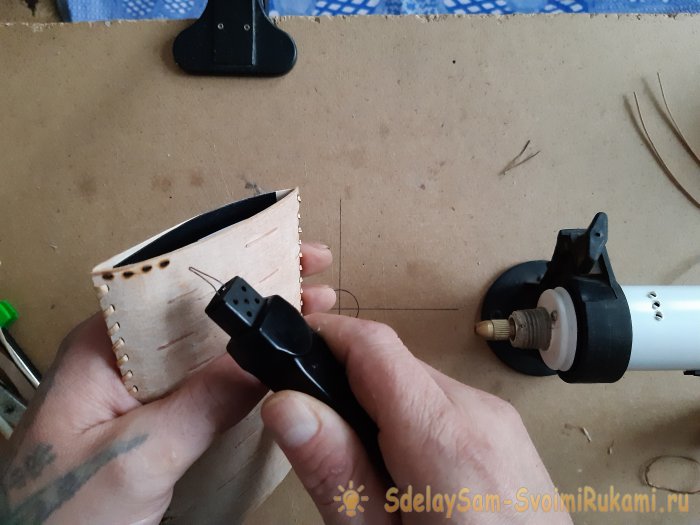
We connect the side edges of the blanks with birch bark strips, threading them into the burnt holes.
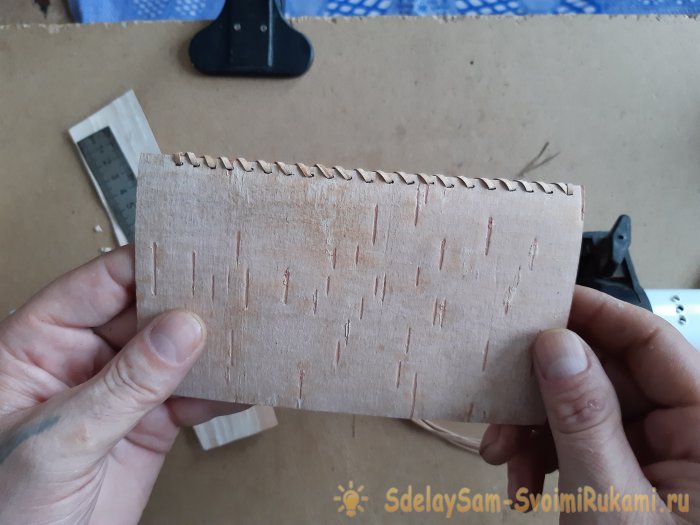
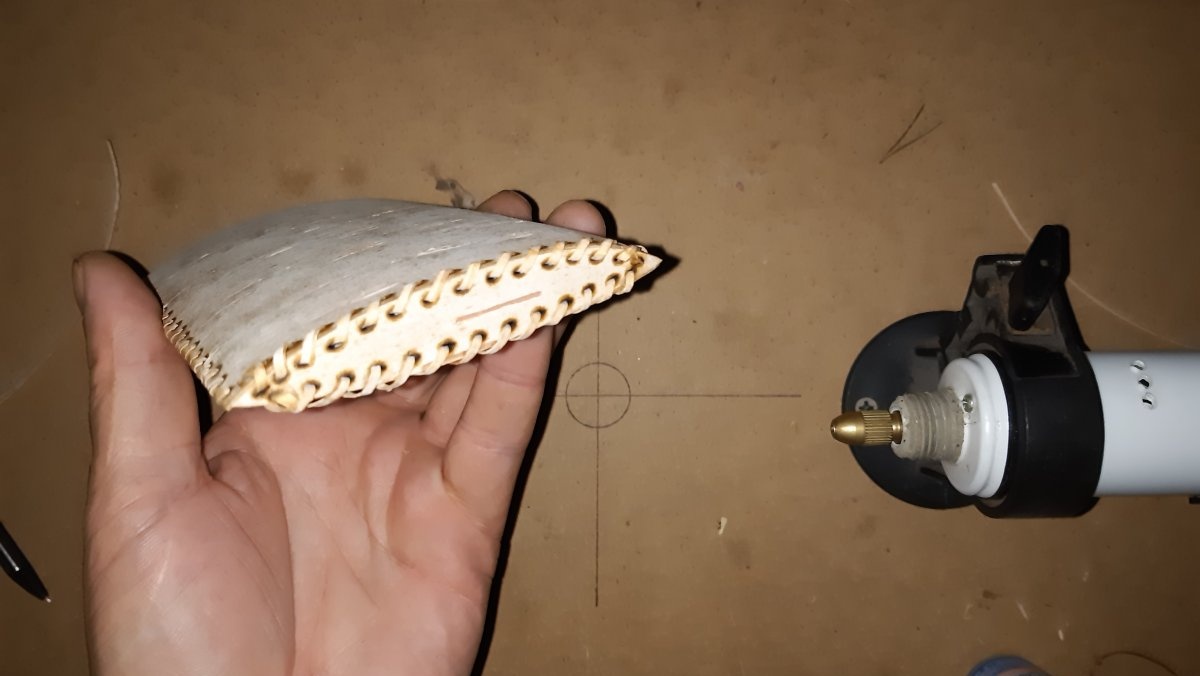
We do the same procedure with the other side. It should look like this:

Note that all edges, except the top, should be aligned.
Next, we will need some old phone with similar parameters that we won’t mind getting dirty or scratched. Well, or another filler for the case with similar parameters. This will make it more convenient to work.

Now we place the workpiece with its bottom on a piece of birch bark, outline it with a pencil, and cut out the bottom.

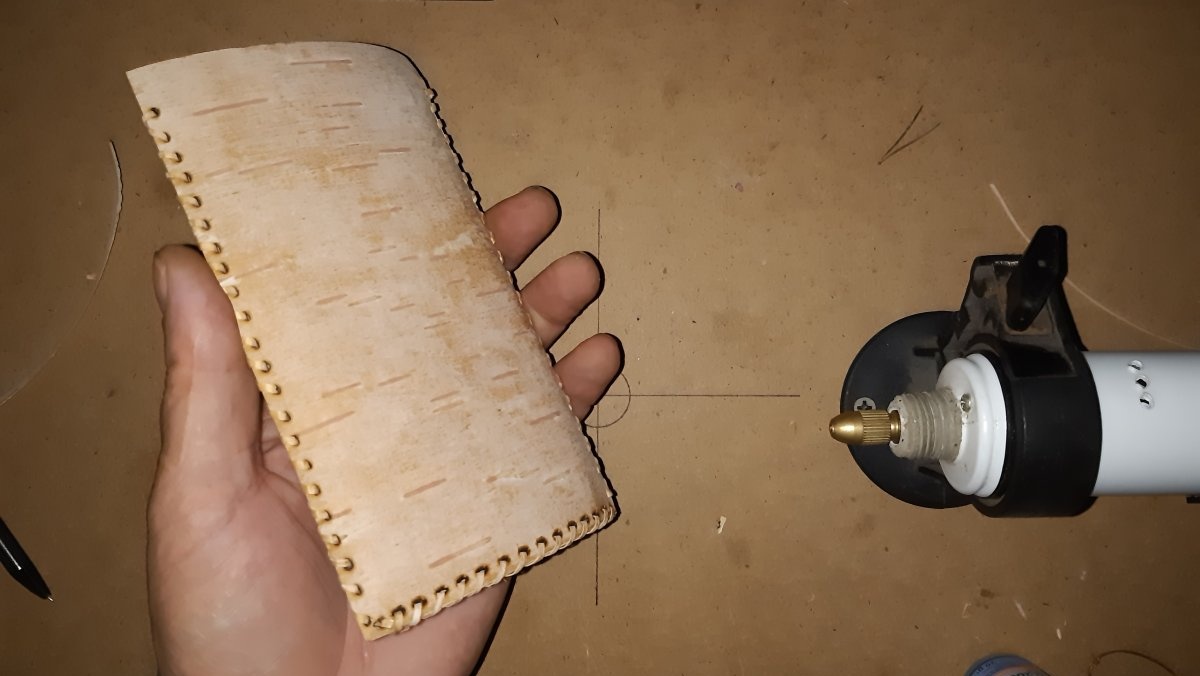
Next, we lean the cut bottom against the workpiece (you can attach it with instant glue!), make holes with a burner, and also, using strips of birch bark, attach the bottom to the workpiece.

This is what happens.

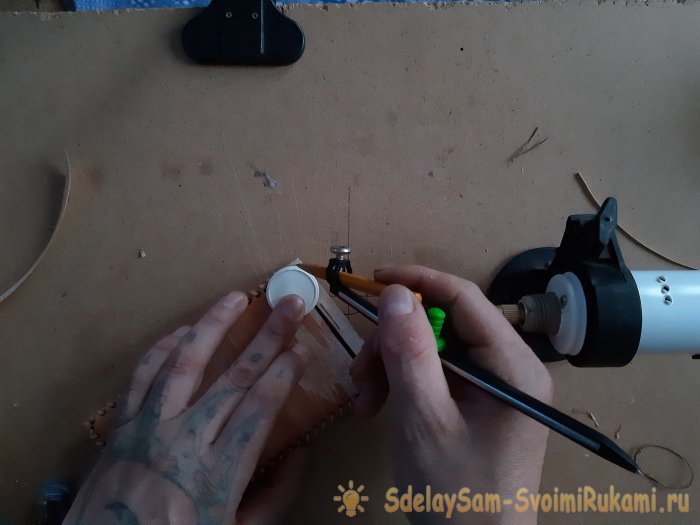
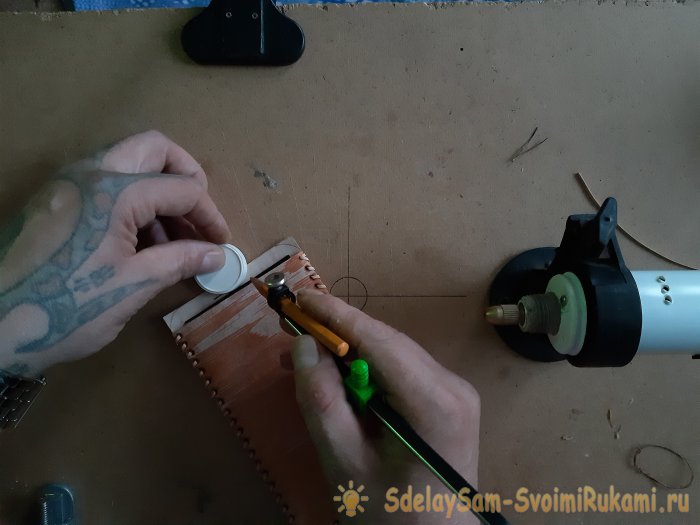
All that remains is to round the corners and cut a small notch in the middle of the protruding part for convenience when removing the phone. I did this using a round lid.
You can also burn the edges of the cutouts with a burner, then the tar present in the bark will glue the cut together, and it will not crack.

You can also coat the case with machine oil before applying varnish.
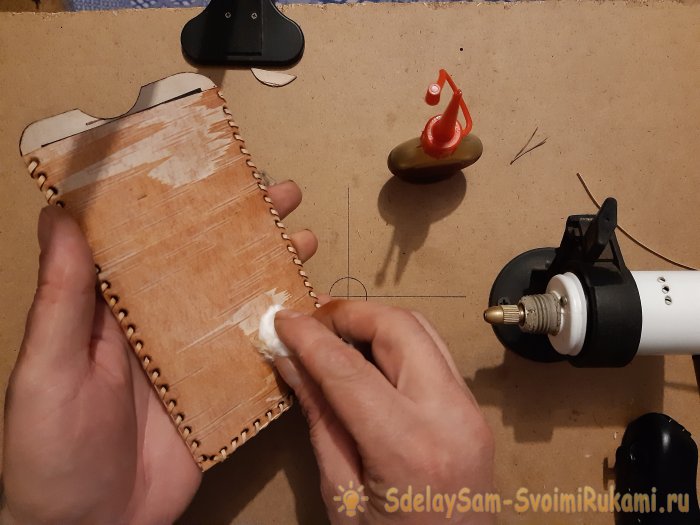
This will make the birch bark even more flexible and shiny.Oil and this acrylic varnish go well together. Nothing lags behind or peels off later. In this way I varnished beautiful stones and other birch bark products. Finally, we coat the case with varnish.

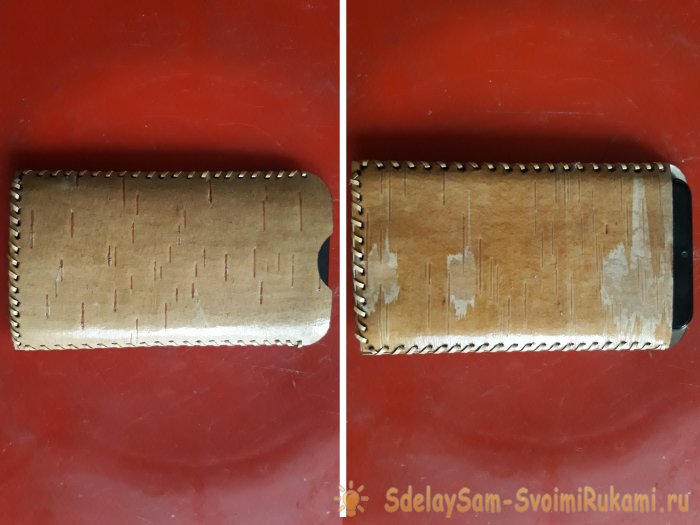
Maybe two or three times. After drying, the varnish will give strength to the bark and stitched joints. Such a case will give you and your device originality and uniqueness.


So I thought; why not make a phone case too. Previously, I had already made covers for passports and documents, sheaths, tues, and other products from birch bark, so I think there won’t be any particular difficulties with a phone case. Since I’m not much of an artist, I’m only going to make the case itself, without any drawings.And, in my opinion, the structural, natural pattern of birch bark itself is the best pattern! Although this is a personal matter for everyone; You can apply it with acrylic paints, or burn any design onto the resulting product.
Birch bark can be found in the nearby forest. You can cut it from dead trees, finding trees freshly felled by the wind, time or animals.

But it’s better, of course, if the bark is fresh; it is more elastic and pliable. If you are going to cut a piece of bark from a living tree, do not forget that by doing this you are causing harm (albeit small) to the tree. You should not cut more than is necessary for the job. The tree should be chosen with the largest trunk diameter; Such a tree, as a rule, has thick bark, and cutting off a small piece of bark will not harm it much, much less die.
You will need:
- Birch bark.
- Scissors.
- Stationery knife.
- A simple pencil.
- Double sided tape.
- Secondary glue.
- Machine oil.
- A piece of cotton wool.
- Transparent varnish (preferably acrylic, in cans).
- A piece of thin artificial leather, leather, or velvet fabric.
- Cautery on wood.

Making a birch bark cover:
First, you need to take measurements from the device for which this product will be intended. The parameters, using a ruler and pencil, are transferred to birch bark, which must be divided into two parts - the front and back walls of the future cover.

If the bark is too thick, it will be difficult to work with. Therefore, it needs to be stratified. This is quite easy to do.

Eventually; The thickness of the bark should remain 3-4 millimeters. Not thicker. So, let’s transfer the phone parameters to the front of the case. With reserve, of course! One at a time, see from the sides and from the bottom.


Next, we cut out the back part, which will be another five mm. wider and higher than the front part.From each side.

This is necessary so that when we connect the edges, there will be space between them for the phone. Now we need thin skin. Or leatherette. We cut out pieces of leather equal in area to the plane of the phone.

Using double tape, glue the leather in the center of each of the blanks.

Next, we connect the edges, the edges of the bottom, the bottom, align them together, and burn holes in the side edges.


About three millimeters from the edge. Now, using a ruler and a stationery knife, you need to cut thin, two millimeter, strips of thin birch bark, which we had left after stratifying the blanks.


We connect the side edges of the blanks with birch bark strips, threading them into the burnt holes.
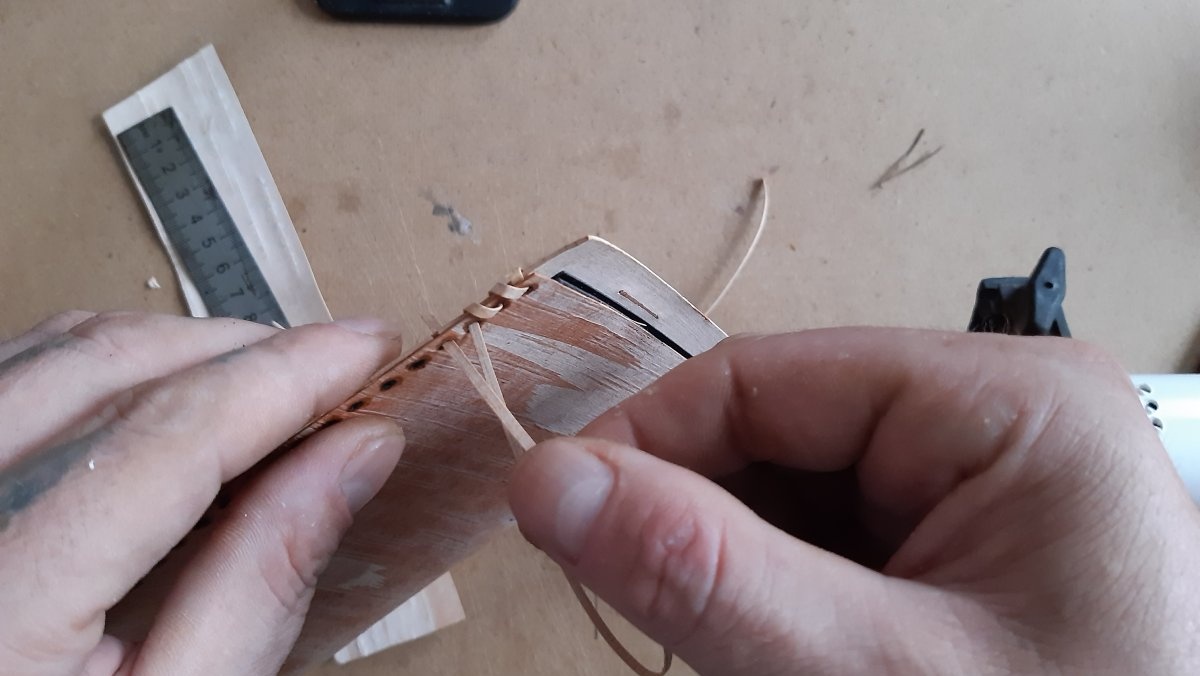

We do the same procedure with the other side. It should look like this:

Note that all edges, except the top, should be aligned.

Next, we will need some old phone with similar parameters that we won’t mind getting dirty or scratched. Well, or another filler for the case with similar parameters. This will make it more convenient to work.

Now we place the workpiece with its bottom on a piece of birch bark, outline it with a pencil, and cut out the bottom.


Next, we lean the cut bottom against the workpiece (you can attach it with instant glue!), make holes with a burner, and also, using strips of birch bark, attach the bottom to the workpiece.

This is what happens.
All that remains is to round the corners and cut a small notch in the middle of the protruding part for convenience when removing the phone. I did this using a round lid.


You can also burn the edges of the cutouts with a burner, then the tar present in the bark will glue the cut together, and it will not crack.

You can also coat the case with machine oil before applying varnish.

This will make the birch bark even more flexible and shiny.Oil and this acrylic varnish go well together. Nothing lags behind or peels off later. In this way I varnished beautiful stones and other birch bark products. Finally, we coat the case with varnish.
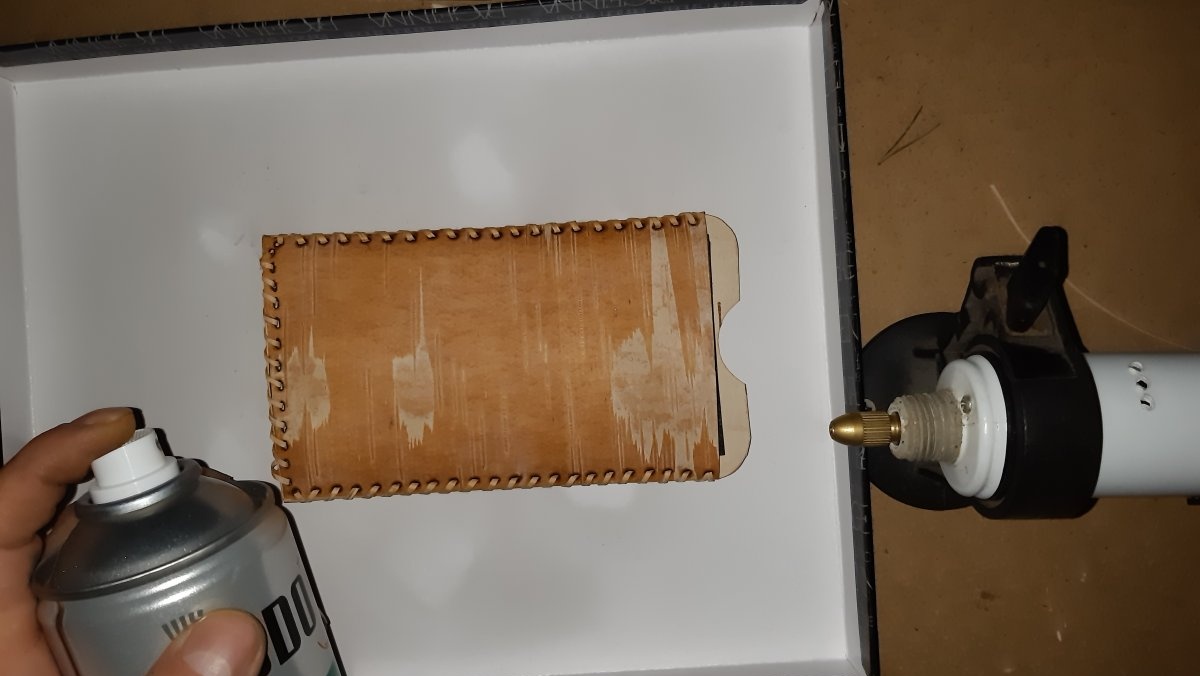
Maybe two or three times. After drying, the varnish will give strength to the bark and stitched joints. Such a case will give you and your device originality and uniqueness.


Watch the video
Similar master classes


Particularly interesting

Comments (0)
