How to make a deep tenon groove with a minimal set of tools
One of the common and very reliable carpentry connections is the tongue and groove. However, in the absence of a router, it is often ignored, since manual cutting of grooves requires real fiddling. Let's look at how to make grooves a little faster.

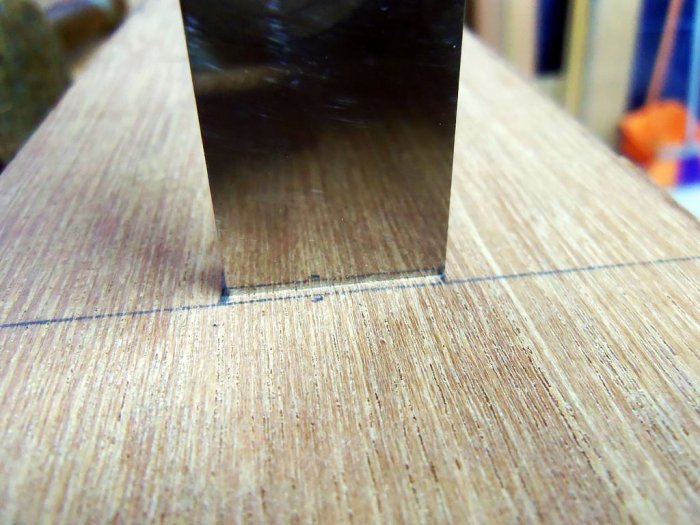
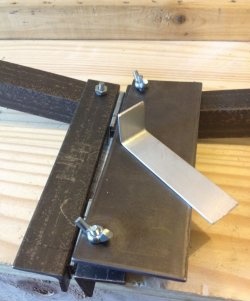
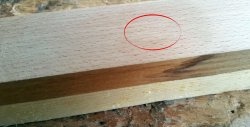
The future groove is marked on the workpiece. If it must be end-to-end, then you need to draw on both sides, since otherwise you won’t be able to get a neat cut-in. It is important that the width of the marking matches the width of the available chisel.

The chisel is placed at the end of the marking and plunged into the wood with a light blow of the mallet. After this, its blade is inserted after a few millimeters and driven at an angle to the first notch. So you need to go to the very edge of the marking.

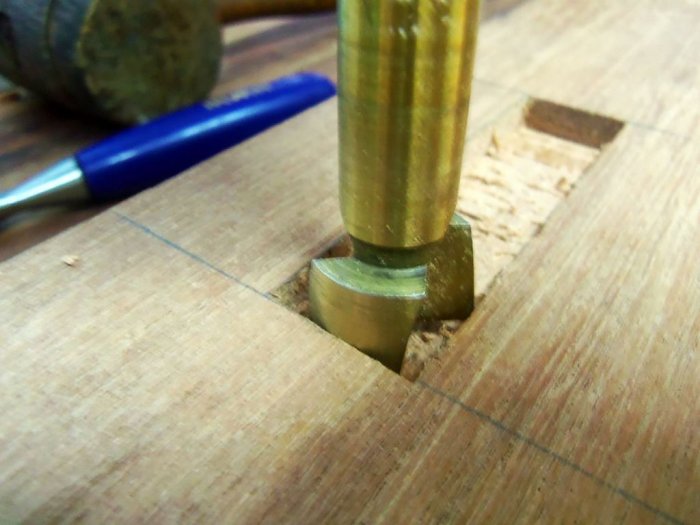
After this, the edges are cut out and a cutting is made along the middle. This allows you to separate the chipped wood and clean it out of the groove.


Next, several more passes are made to deepen the groove.

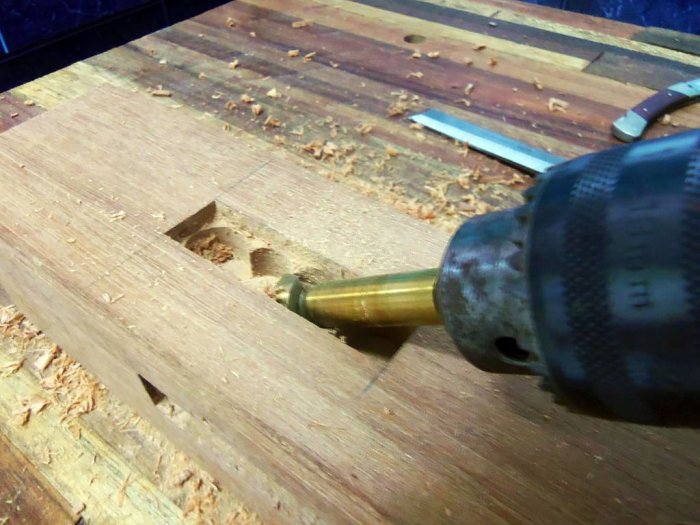
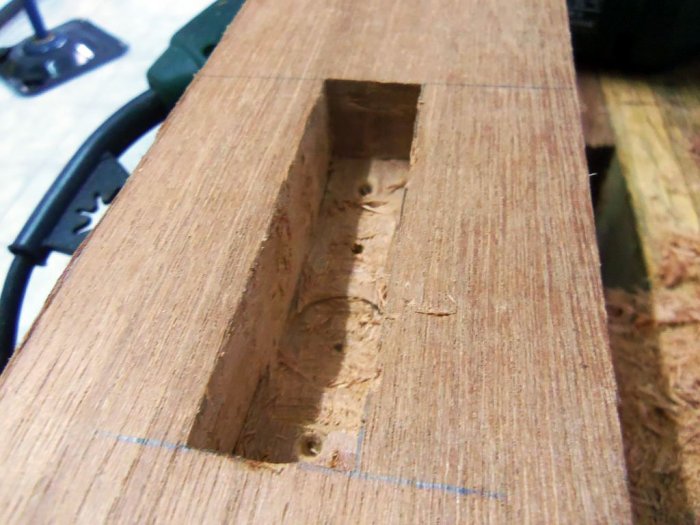
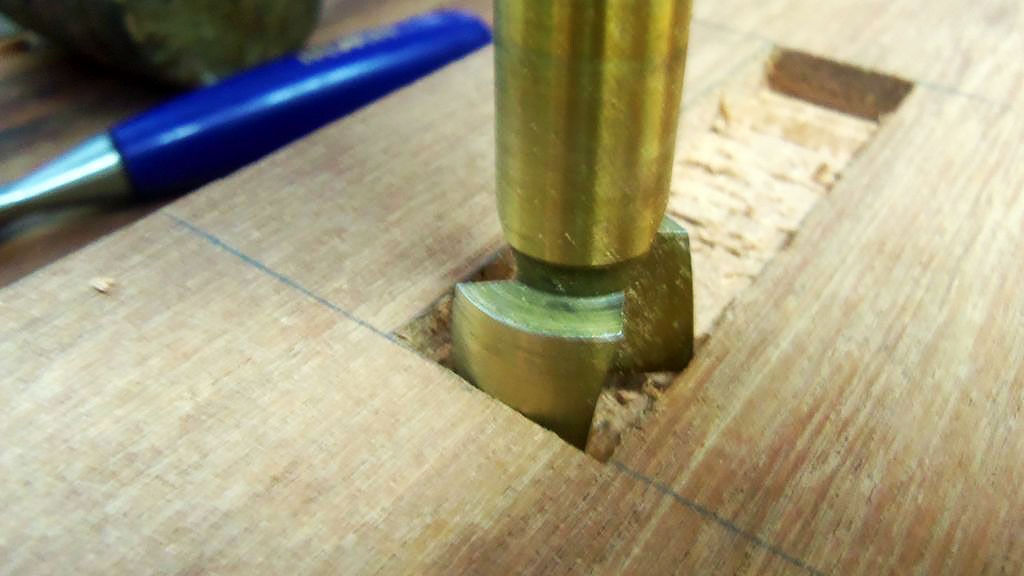
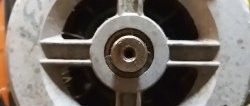
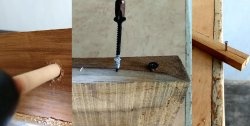
As soon as it becomes clear enough, you need to drill several holes along the groove with a drill of the same diameter. It is important that their depth is the same and corresponds to the required length of the tenon that will be inserted into the sample. When making a through groove, you should first work with a chisel on the other side, so that later, when drilling, the two recesses converge in the middle of the workpiece. If you break through only on one side, you will get chips on the other.

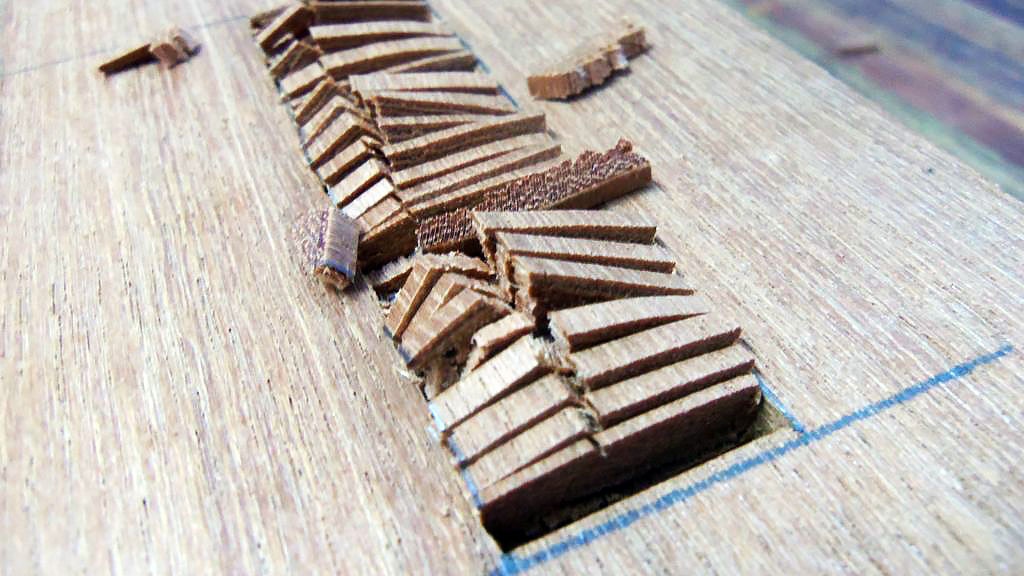
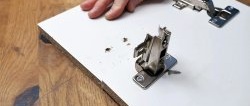
After drilling, thin wood partitions will remain. This can be done quickly if you additionally drill the walls at an angle.
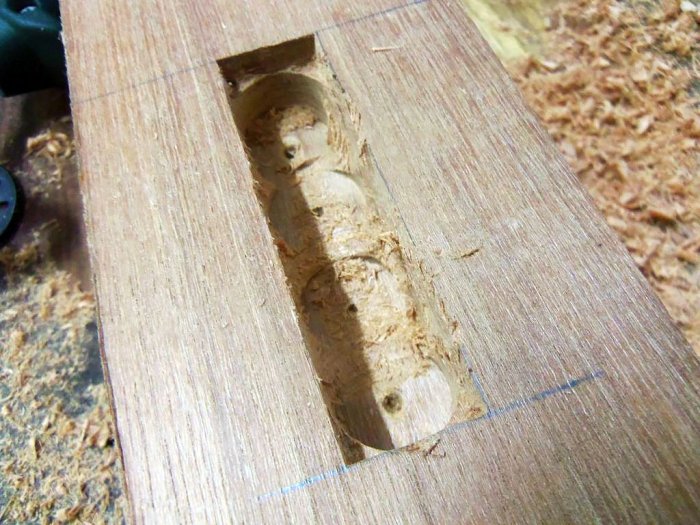
Anything that cannot be removed this way is cut off with a chisel.
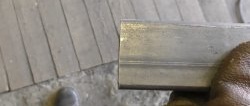
The result is a groove with smooth walls. It is important that its size matches the parameters of the spike. The bottom of a blind groove may have uneven surfaces and does not need to be sanded. This surface is still not visible, and after pouring wood glue, it will stick to the torn fibers even stronger.

Of course, connecting workpieces using tenons and grooves takes longer than using self-tapping screws and other metal fasteners. But such a unit looks much more attractive, and besides this, it is the most reliable. It will never allow any play to appear between the connected workpieces. The groove may not be as neat the first time, but with practice its quality will improve.
Original article in English

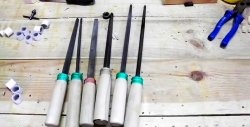
Tools:
- bit;
- mallet;
- drill and drill bit for the width of the groove;
- pencil and ruler.
Tenon mortise
The future groove is marked on the workpiece. If it must be end-to-end, then you need to draw on both sides, since otherwise you won’t be able to get a neat cut-in. It is important that the width of the marking matches the width of the available chisel.

The chisel is placed at the end of the marking and plunged into the wood with a light blow of the mallet. After this, its blade is inserted after a few millimeters and driven at an angle to the first notch. So you need to go to the very edge of the marking.


After this, the edges are cut out and a cutting is made along the middle. This allows you to separate the chipped wood and clean it out of the groove.

Next, several more passes are made to deepen the groove.

As soon as it becomes clear enough, you need to drill several holes along the groove with a drill of the same diameter. It is important that their depth is the same and corresponds to the required length of the tenon that will be inserted into the sample. When making a through groove, you should first work with a chisel on the other side, so that later, when drilling, the two recesses converge in the middle of the workpiece. If you break through only on one side, you will get chips on the other.

After drilling, thin wood partitions will remain. This can be done quickly if you additionally drill the walls at an angle.


Anything that cannot be removed this way is cut off with a chisel.

The result is a groove with smooth walls. It is important that its size matches the parameters of the spike. The bottom of a blind groove may have uneven surfaces and does not need to be sanded. This surface is still not visible, and after pouring wood glue, it will stick to the torn fibers even stronger.

Of course, connecting workpieces using tenons and grooves takes longer than using self-tapping screws and other metal fasteners. But such a unit looks much more attractive, and besides this, it is the most reliable. It will never allow any play to appear between the connected workpieces. The groove may not be as neat the first time, but with practice its quality will improve.
Original article in English
Similar master classes

Particularly interesting


Comments (0)
