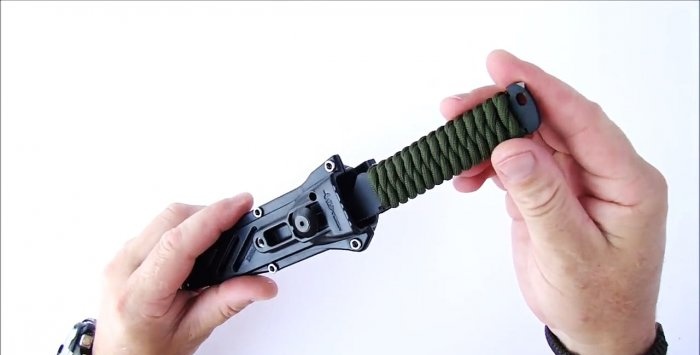
The fastest and easiest way to make a knife handle
Sometimes annoying situations arise when the knife handle breaks for various reasons (manufacturing defects, excessive mechanical loads). It’s a shame to throw away an expensive knife, but it’s impossible to use. There is a fairly effective way to restore it on your own.
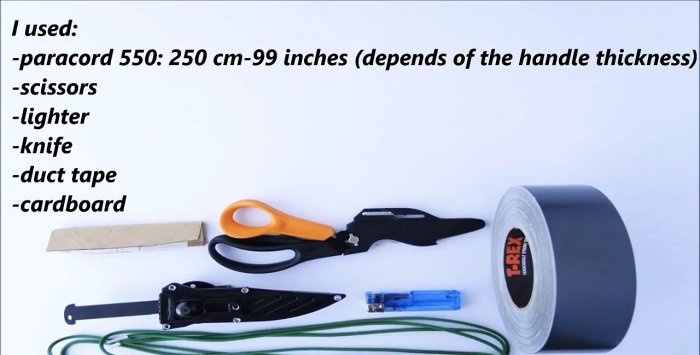
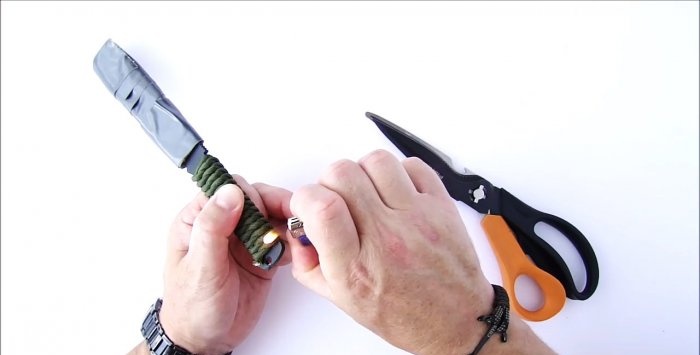
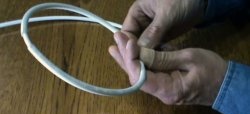
You need to have about 2.5 m of thick rope, this kind is sold for making handicrafts. Prepare scissors, a lighter, tape and a piece of cardboard.
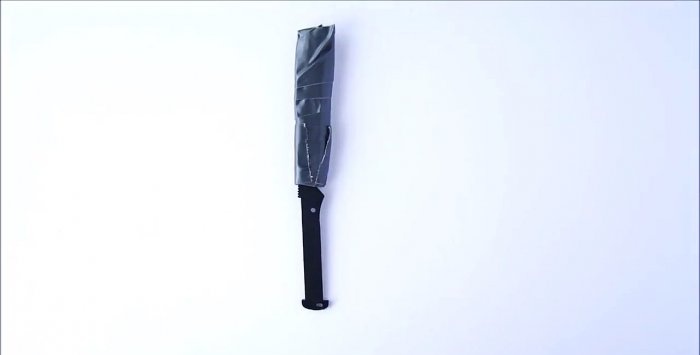
Remove the knife from the sheath. Cover the tip with a strip of cardboard bent in half and tape it firmly to the knife. The protection should not slide off the blade, make sure that the length of the cardboard is greater than the size of the knife, the tip should close securely, your safety depends on this.
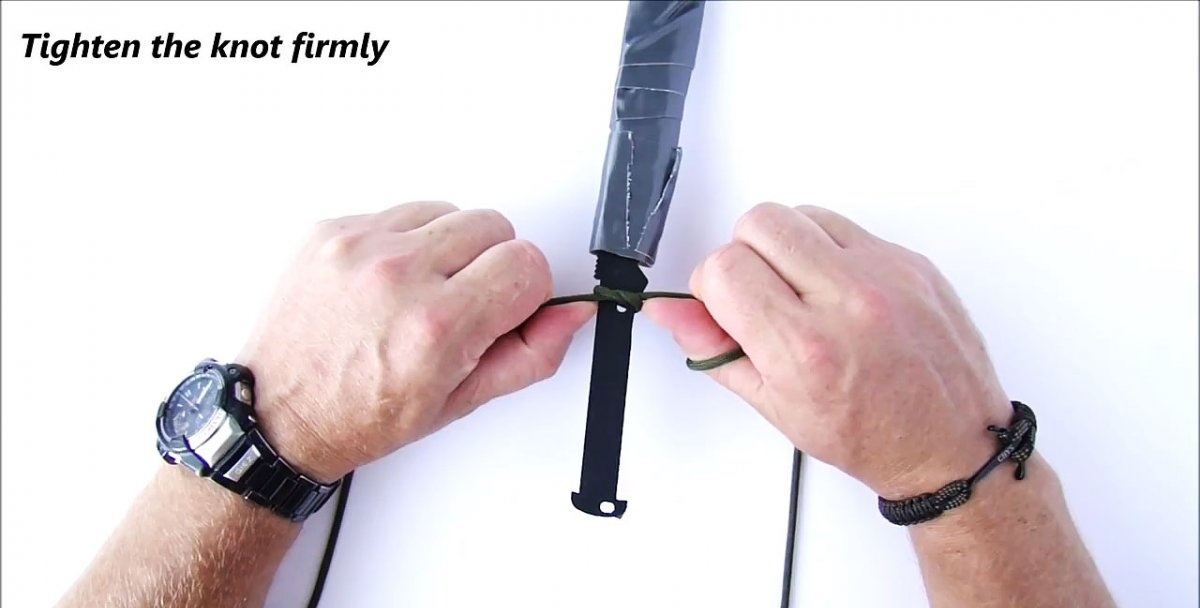
Bend the rope in half, take a knife and place the bend on the back of the top of the handle.

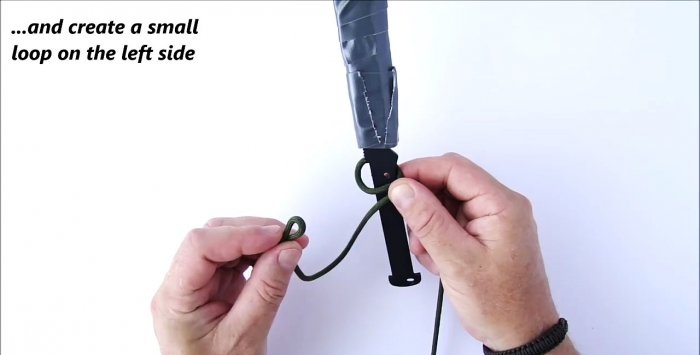
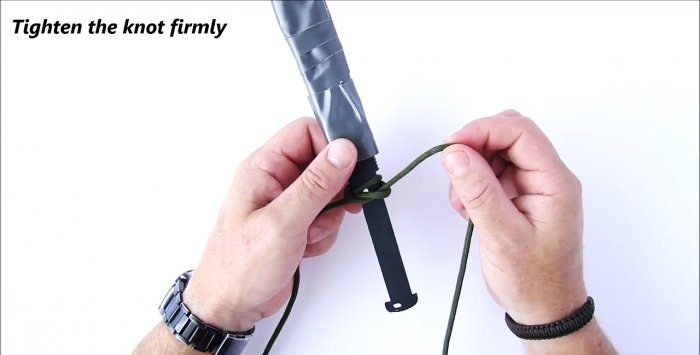
Tie a knot.

While tying, use your right thumb to constantly press the rope where it overlaps and do not let it uncontrollably unravel. Turn the knife over. Adjust the ends of the ropes.

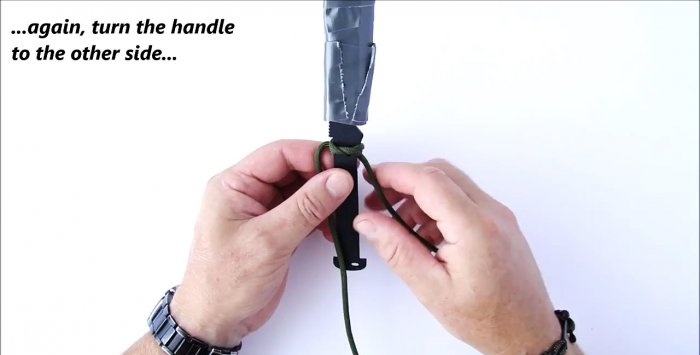
Tie the first knot on this side.The algorithm of actions is no different from that described above: the right end of the rope is located below, and the left end is above. The left rope is bent and pushed into the ring, then the knot is tightened very tightly.

Turn the knife again and tie a knot on the handle. It is very important to follow the rule: the same end of the rope is always in the upper position, in our case the left one. But it doesn’t matter, you can always hold the right end of the rope in this position.
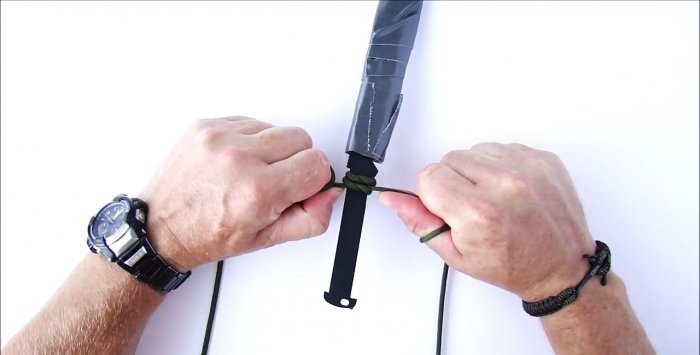
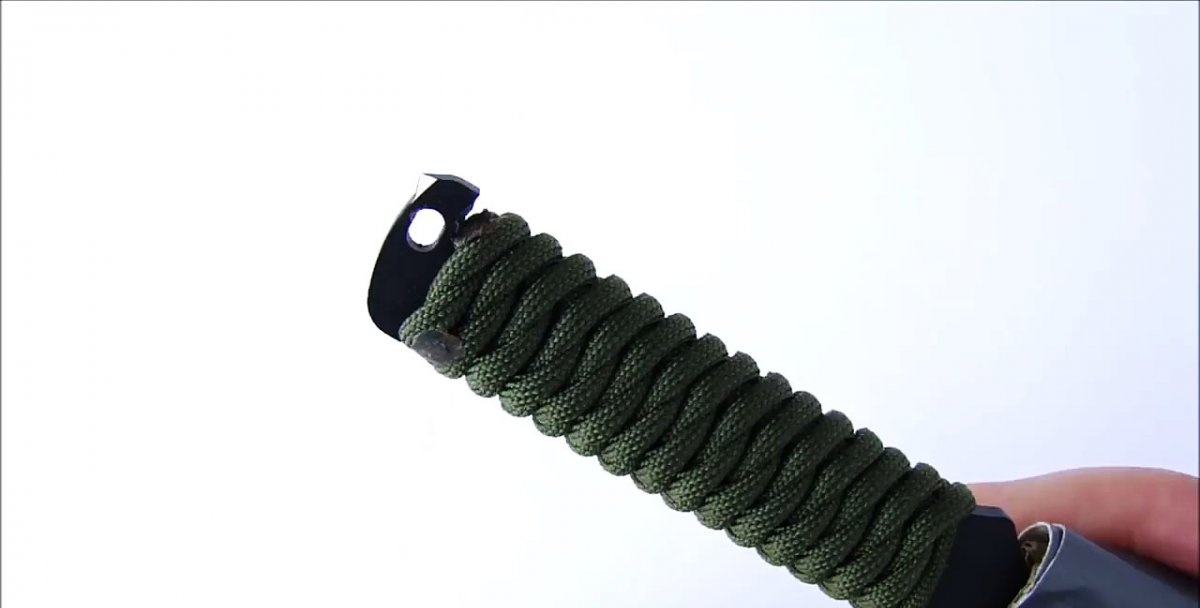
Wind the handle to the very end, and at the last knot cut off the long ends of the rope. Leave approximately 5 mm on each side.

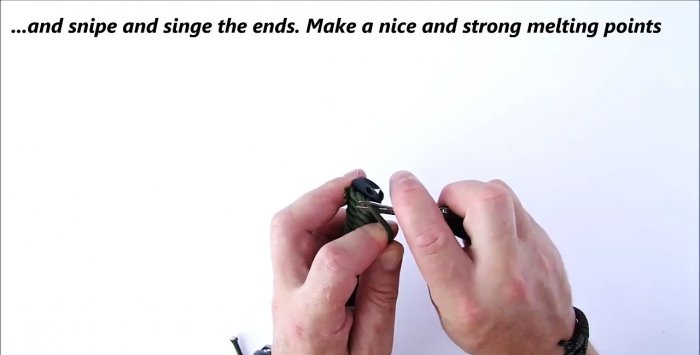
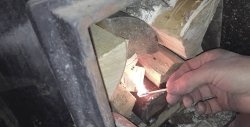
Using a lighter, carefully heat each end in turn; the rope should melt but not burn.
While the polymer has not cooled, use the side of the scissors to firmly press it onto the last turn of the winding.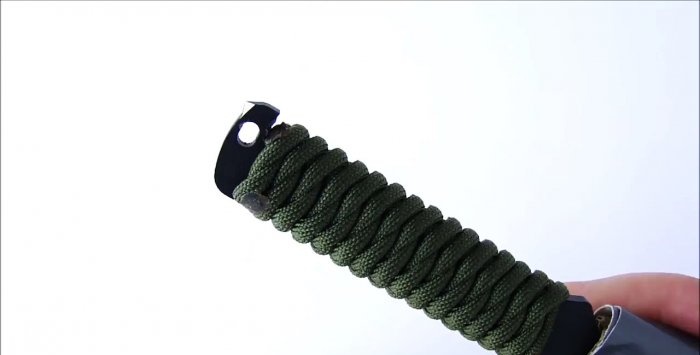
Repeat with the other end. Now the ends will not untie or unravel.
The knife is ready to use, insert it into the case and take it with you on hikes.
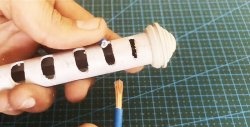
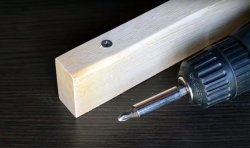
This type of handle can be made not only for knives, but also for chisels and carpentry chisels, hacksaws and files - for any hand tools.


What you need for work
You need to have about 2.5 m of thick rope, this kind is sold for making handicrafts. Prepare scissors, a lighter, tape and a piece of cardboard.

Handle making process
Remove the knife from the sheath. Cover the tip with a strip of cardboard bent in half and tape it firmly to the knife. The protection should not slide off the blade, make sure that the length of the cardboard is greater than the size of the knife, the tip should close securely, your safety depends on this.

Bend the rope in half, take a knife and place the bend on the back of the top of the handle.


Tie a knot.
While tying, use your right thumb to constantly press the rope where it overlaps and do not let it uncontrollably unravel. Turn the knife over. Adjust the ends of the ropes.

Tie the first knot on this side.The algorithm of actions is no different from that described above: the right end of the rope is located below, and the left end is above. The left rope is bent and pushed into the ring, then the knot is tightened very tightly.

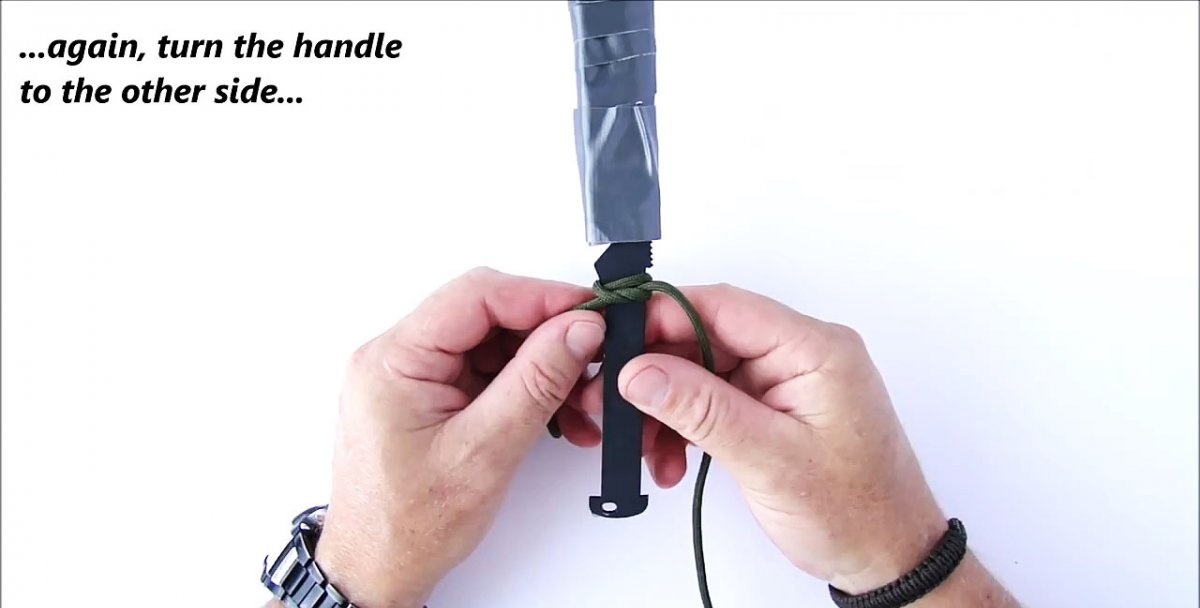
Turn the knife again and tie a knot on the handle. It is very important to follow the rule: the same end of the rope is always in the upper position, in our case the left one. But it doesn’t matter, you can always hold the right end of the rope in this position.


Wind the handle to the very end, and at the last knot cut off the long ends of the rope. Leave approximately 5 mm on each side.


Using a lighter, carefully heat each end in turn; the rope should melt but not burn.

While the polymer has not cooled, use the side of the scissors to firmly press it onto the last turn of the winding.
Repeat with the other end. Now the ends will not untie or unravel.
The knife is ready to use, insert it into the case and take it with you on hikes.
Conclusion
This type of handle can be made not only for knives, but also for chisels and carpentry chisels, hacksaws and files - for any hand tools.

Watch the video
Similar master classes


Particularly interesting


Comments (0)
