Radio-controlled submarine made from a jug
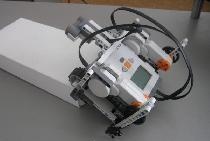
Many modellers have made homemade radio-controlled models of ships and airplanes. A more complex stage of design is the manufacture of submarines. Let's look at an interesting submarine concept based on Lego parts and a jug.


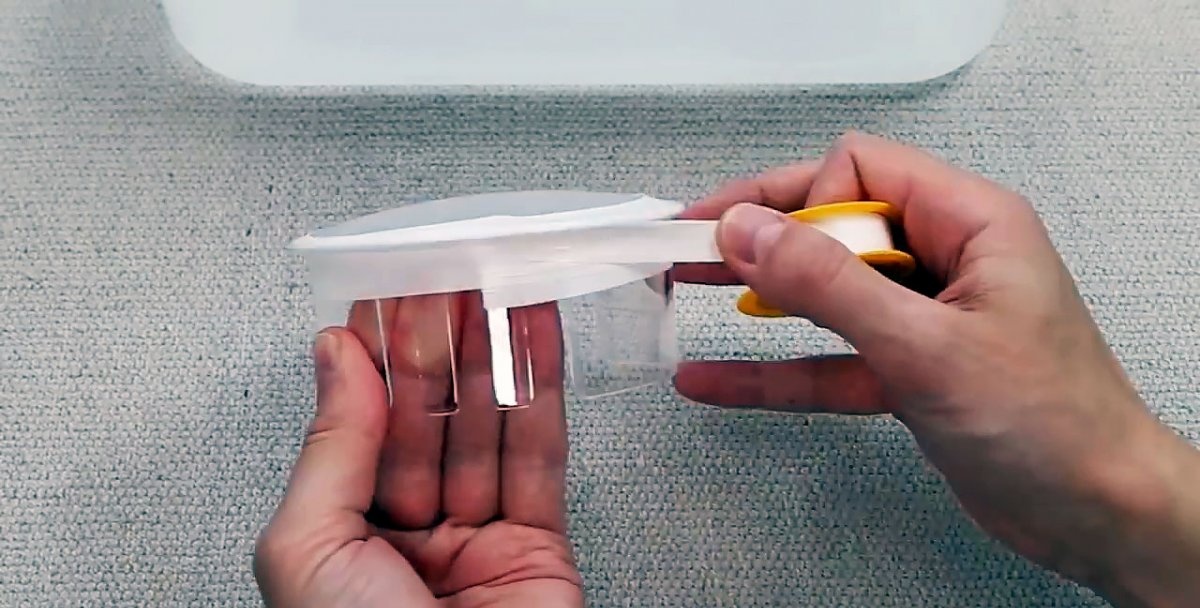
First you need to make the jug waterproof. To do this, its lid is sealed with fumlente, and the spout is sealed with hot-melt adhesive.

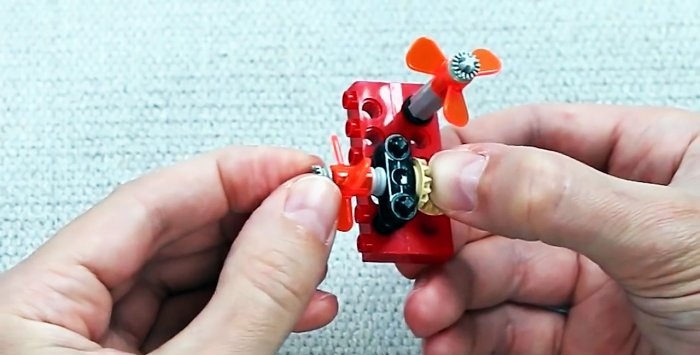
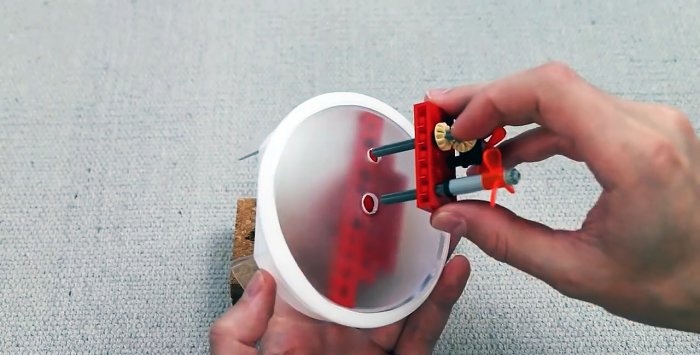
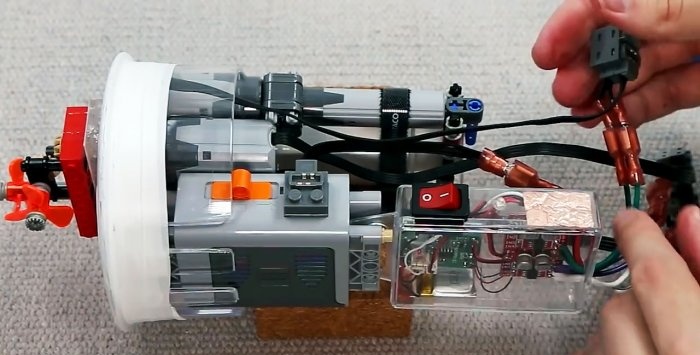
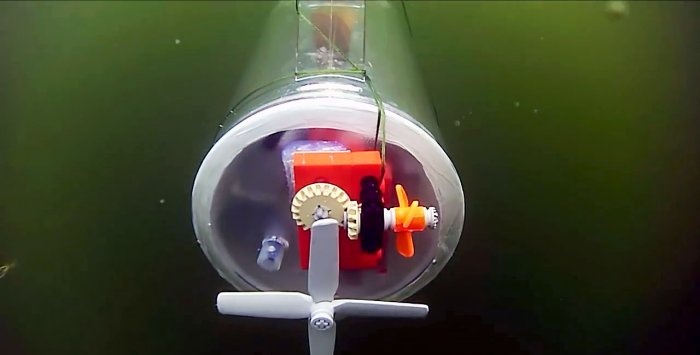
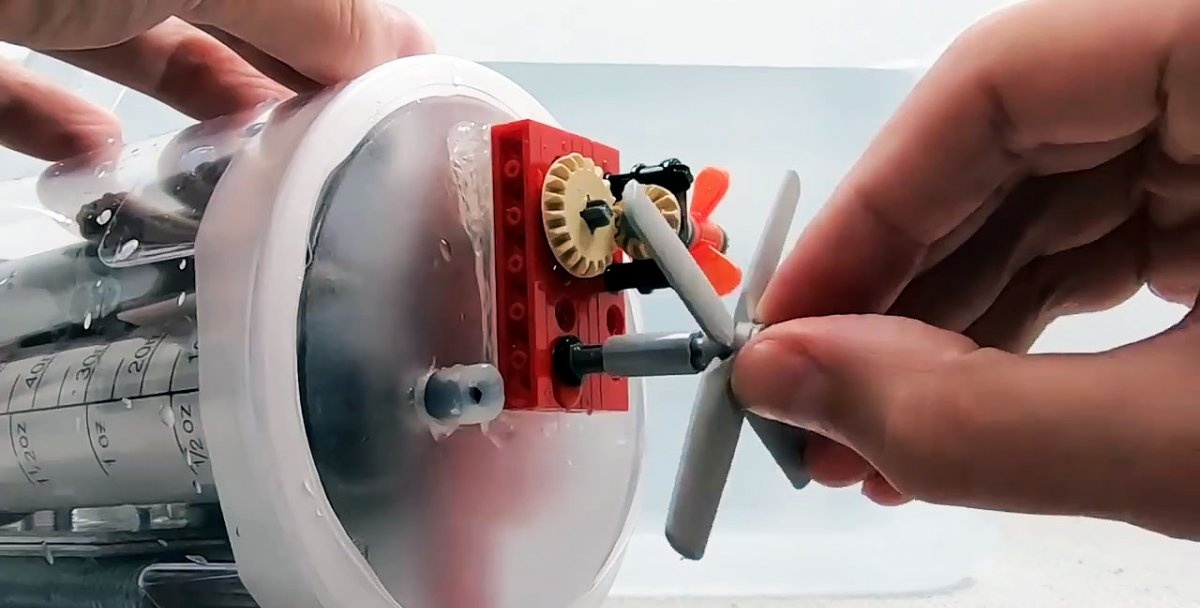
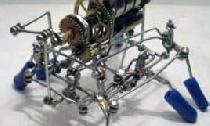
There are 2 holes made in the lid of the jug, into which the shafts from two engines are output. For tightness, they are sealed with fume tape. A large blade responsible for horizontal movement is attached to one motor shaft. A Lego rotary gearbox with a small blade that controls the rotation of the boat is fixed to the shaft of the second engine. Both motors are powered through a common battery pack.


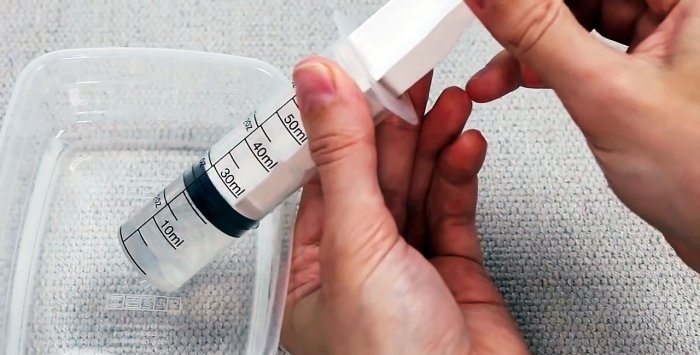
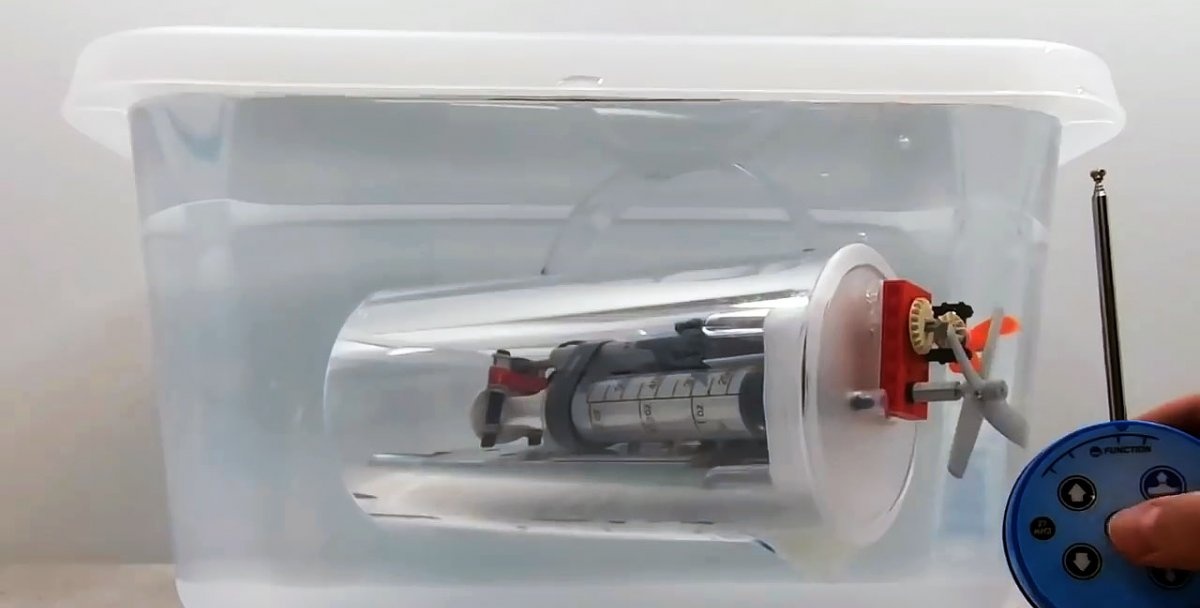
To make a mechanism for dialing and dumping ballast, you need to connect the retractable cylinder and the third motor together. The cylinder rod is connected to the syringe piston. The motor housing is attached to the syringe body.Power for the motor is supplied through the same battery pack. This mechanism will be able to suck water into the syringe, thereby making the boat heavier for diving, and squeeze it out for surfacing. Another hole is made in the lid of the jug, into which the hose from the syringe is routed.


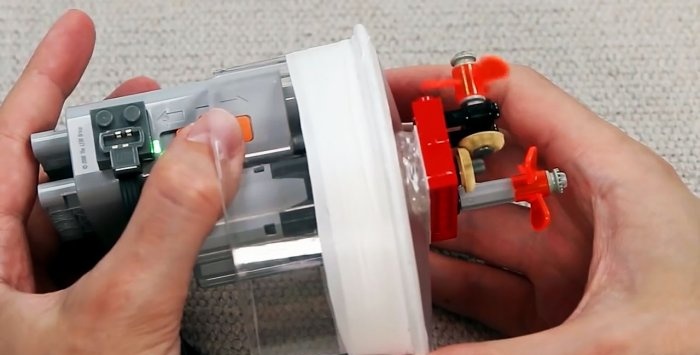
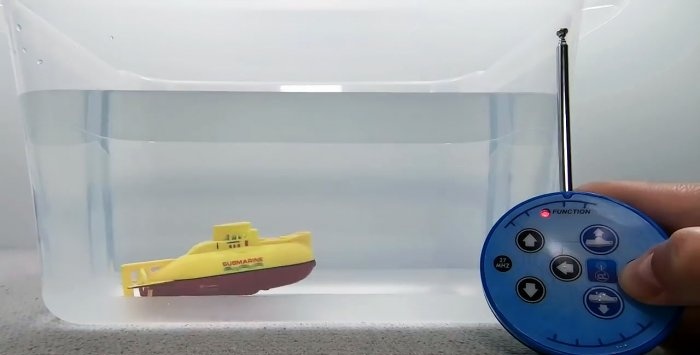
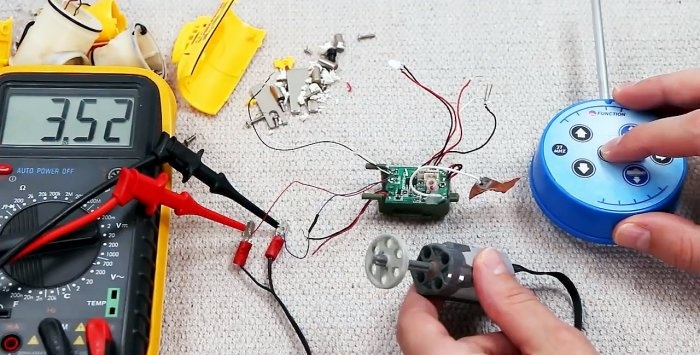
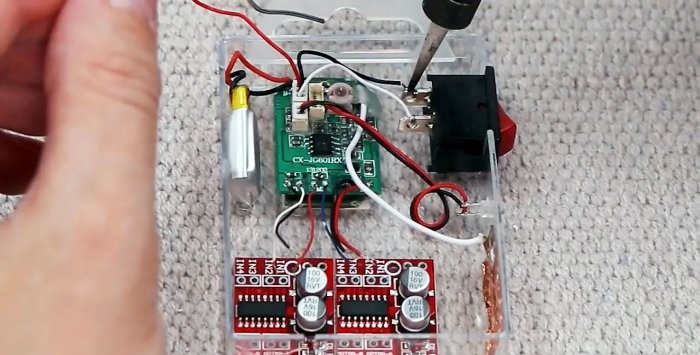
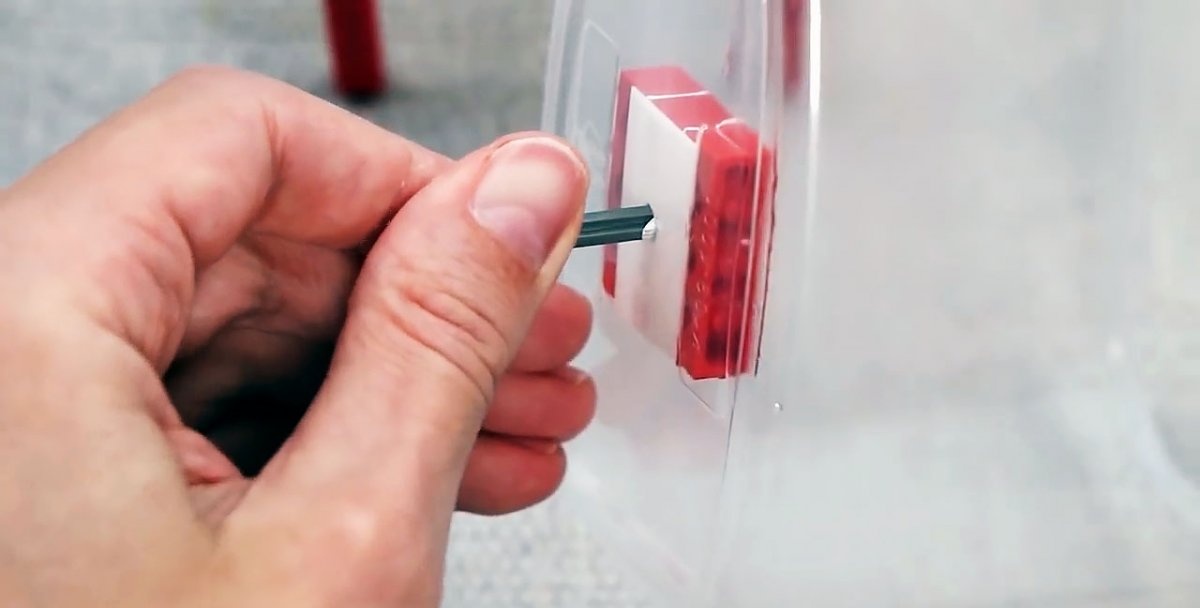
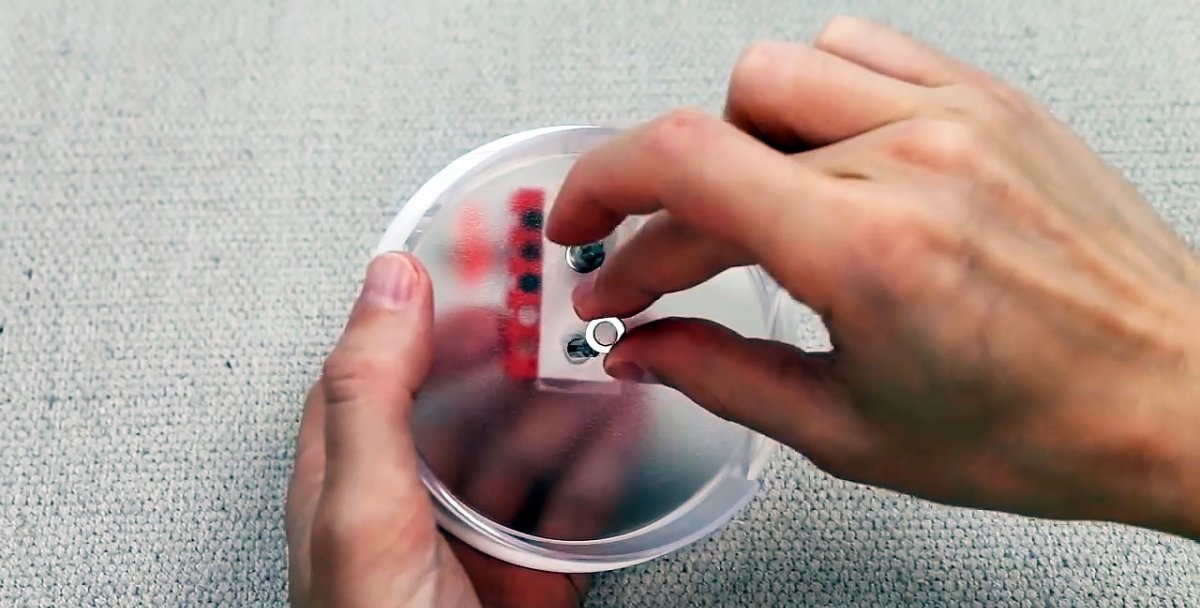
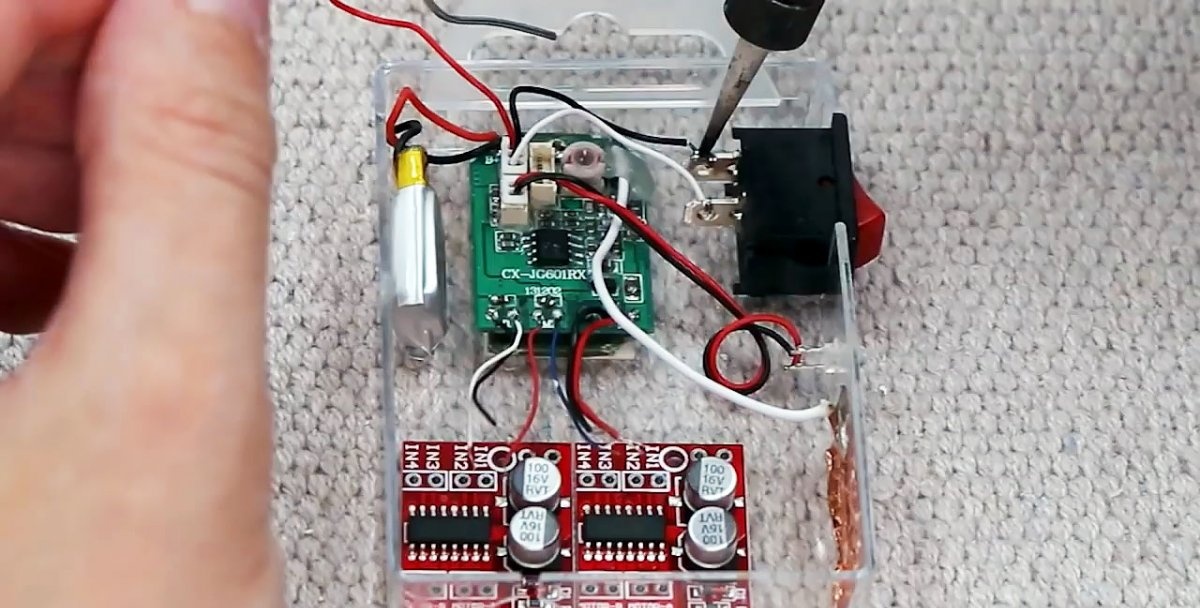
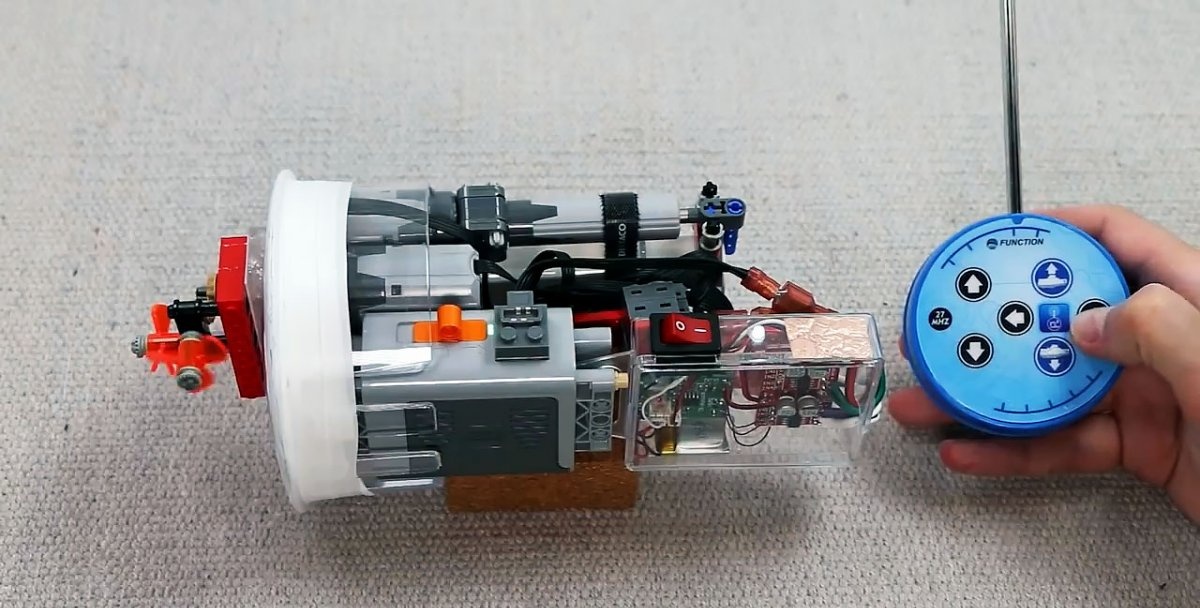
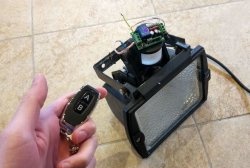
To control the boat you need a special remote control system. It can be removed from a mini toy submarine. The control scheme used in it is designed for moving forward/backward, turning left/right, collecting and discharging ballast water. It is better to hide the dismantled control in a sealed box, since the boat hull will leak easily in any case. Power is supplied from the battery pack using standard Lego connectors to the control. Wiring is already done from it to three motors.

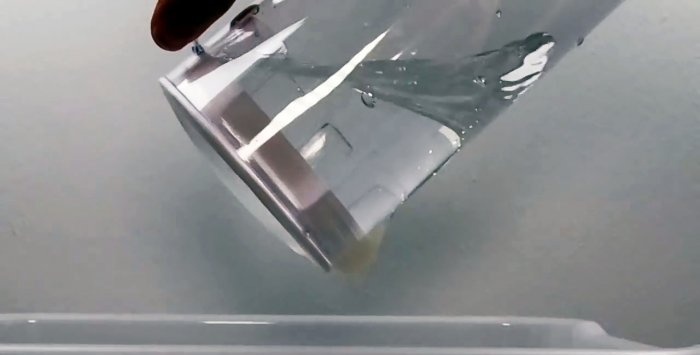
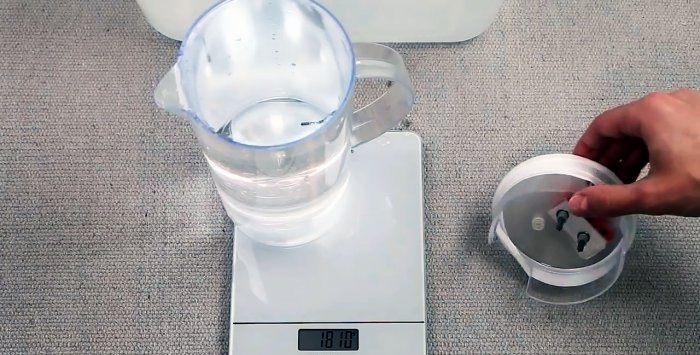
In order for a submarine to swim normally, it needs to be given zero buoyancy. To do this, the jug is filled to the edge with water and weighed together with the lid. Now you need to fill the boat with ballast scrap metal so that, together with the equipment, it has the same mass. This will allow her not to sink, but to stay level under the top layer of water. If it is skewed, then the shipment must be redistributed throughout the hull, compensating for the slope.
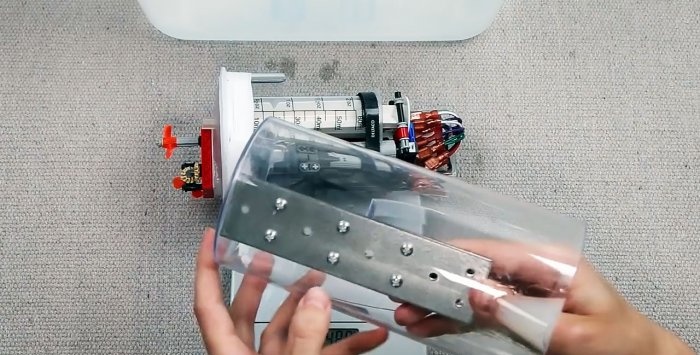

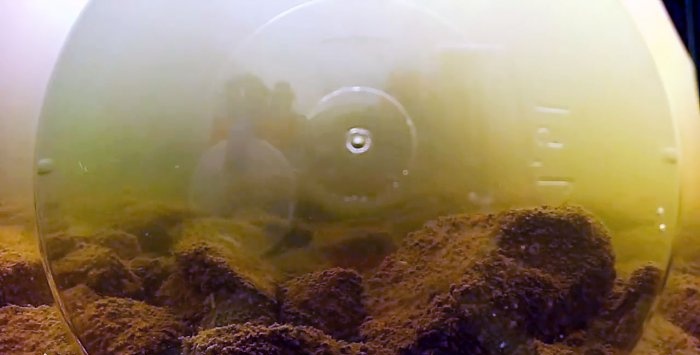
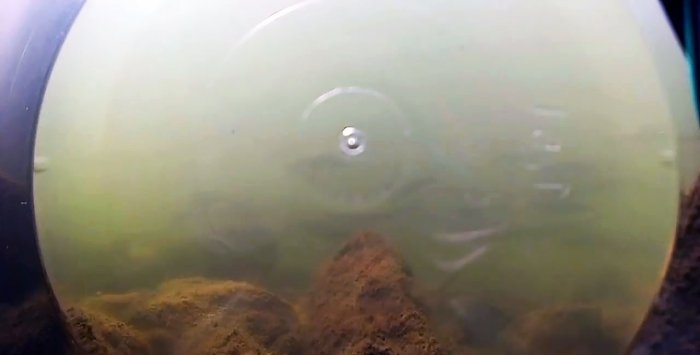
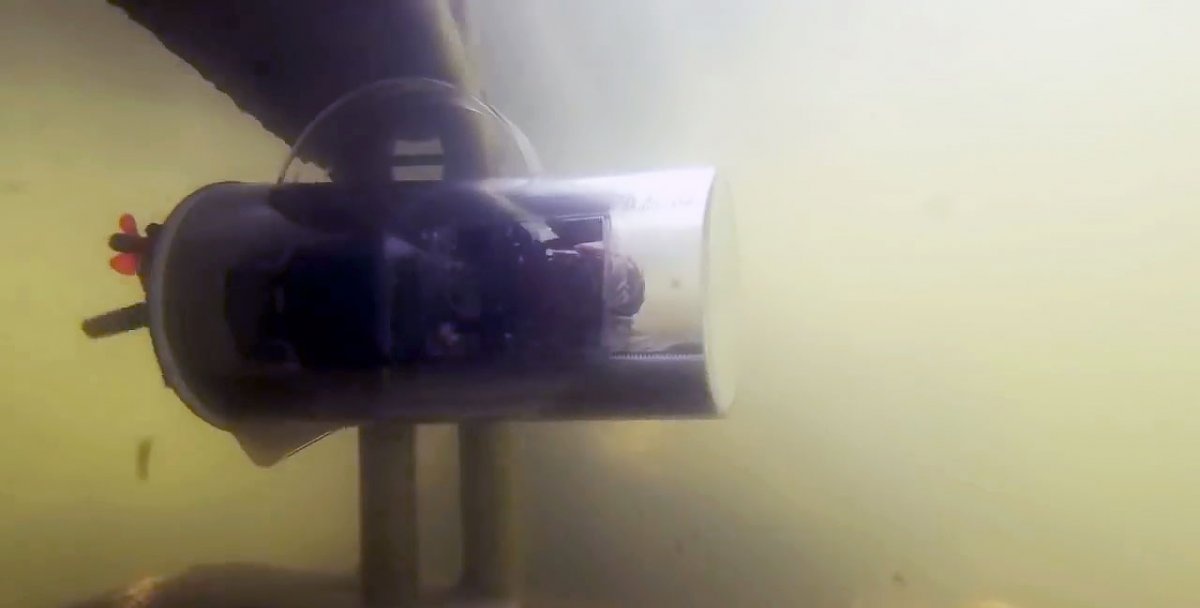
The submarine is ready. If you plan to install a camera in it, then you need to remove part of the shipment. It is better to carry out the first tests of the underwater vehicle by tying it with a thread in order to pull it out in case of an emergency. Periodically, the boat will have to be taken out of the water and the accumulated water drained, since standard motor shafts do not allow for complete sealing.


Detailed instructions in this video:
Basic materials:
- plastic jug with lid;
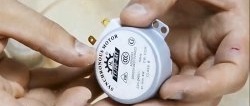
- 3 Lego motors;
- Lego cylinder
- syringe 60 cc;
- battery pack;
- radio control system with remote control;
- scrap metal for balance.

Submarine assembly
First you need to make the jug waterproof. To do this, its lid is sealed with fumlente, and the spout is sealed with hot-melt adhesive.

There are 2 holes made in the lid of the jug, into which the shafts from two engines are output. For tightness, they are sealed with fume tape. A large blade responsible for horizontal movement is attached to one motor shaft. A Lego rotary gearbox with a small blade that controls the rotation of the boat is fixed to the shaft of the second engine. Both motors are powered through a common battery pack.


To make a mechanism for dialing and dumping ballast, you need to connect the retractable cylinder and the third motor together. The cylinder rod is connected to the syringe piston. The motor housing is attached to the syringe body.Power for the motor is supplied through the same battery pack. This mechanism will be able to suck water into the syringe, thereby making the boat heavier for diving, and squeeze it out for surfacing. Another hole is made in the lid of the jug, into which the hose from the syringe is routed.


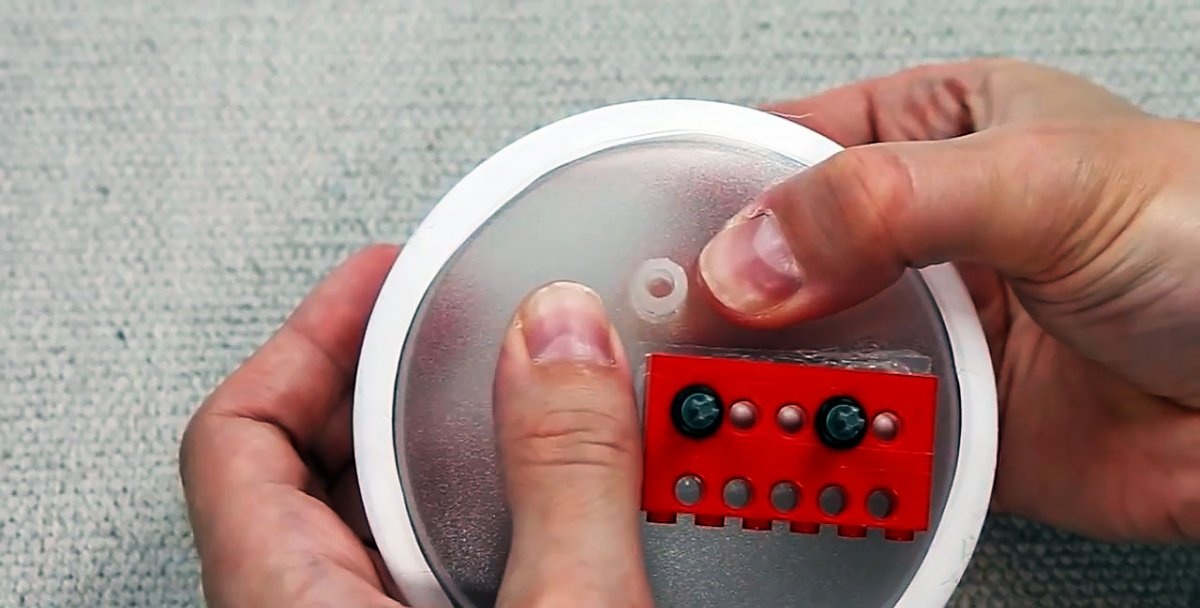
To control the boat you need a special remote control system. It can be removed from a mini toy submarine. The control scheme used in it is designed for moving forward/backward, turning left/right, collecting and discharging ballast water. It is better to hide the dismantled control in a sealed box, since the boat hull will leak easily in any case. Power is supplied from the battery pack using standard Lego connectors to the control. Wiring is already done from it to three motors.


In order for a submarine to swim normally, it needs to be given zero buoyancy. To do this, the jug is filled to the edge with water and weighed together with the lid. Now you need to fill the boat with ballast scrap metal so that, together with the equipment, it has the same mass. This will allow her not to sink, but to stay level under the top layer of water. If it is skewed, then the shipment must be redistributed throughout the hull, compensating for the slope.


The submarine is ready. If you plan to install a camera in it, then you need to remove part of the shipment. It is better to carry out the first tests of the underwater vehicle by tying it with a thread in order to pull it out in case of an emergency. Periodically, the boat will have to be taken out of the water and the accumulated water drained, since standard motor shafts do not allow for complete sealing.


Watch the video
Detailed instructions in this video:
Similar master classes

Particularly interesting


Comments (0)
