Electric bicycle based on a brushless motor
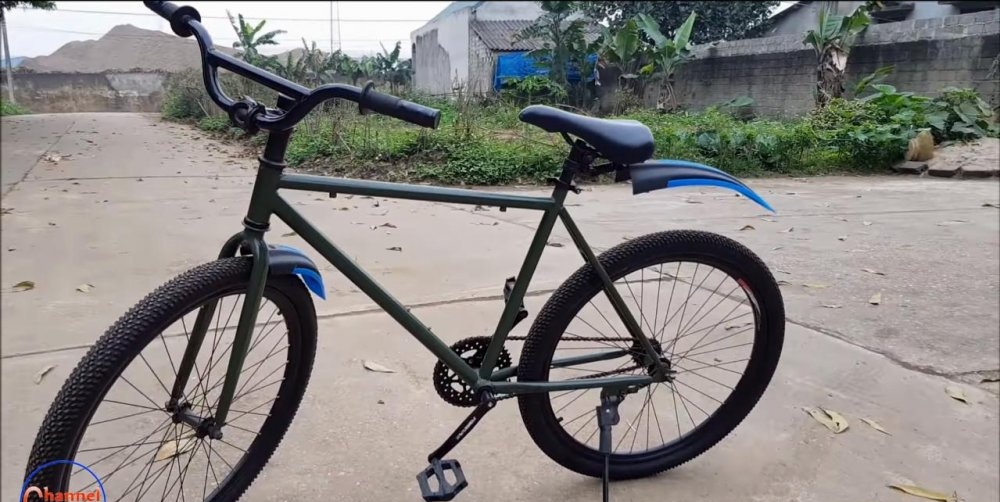
In our world, full of a variety of machines and automated mechanisms, bicycles stubbornly do not lose popularity. They are remade, modernized, and new models of incredible shapes and sizes are created. But they are based on the same two wheels. And today we propose to turn a regular bicycle into an electric bike.
Such models are widely discussed on the Internet. The controversy surrounding them does not subside, because alterations sometimes cost more than cars. But the author of the video did not strive for glamor or stunning design. Quite the contrary, his electric bike model can be called a budget one. All parts can be purchased on Chinese sites or in domestic online stores. The bike itself is not overloaded, and thanks to the modification it looks quite modern. It can be made in an ordinary home workshop. Is it worth it and is it worth the trouble to come up with a “bicycle” again? Let’s find out together.

Materials:
Tools:


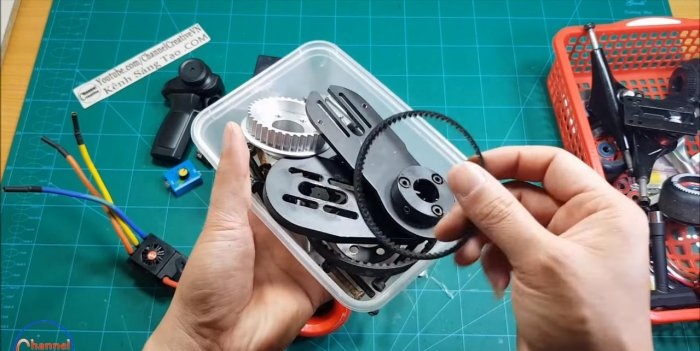

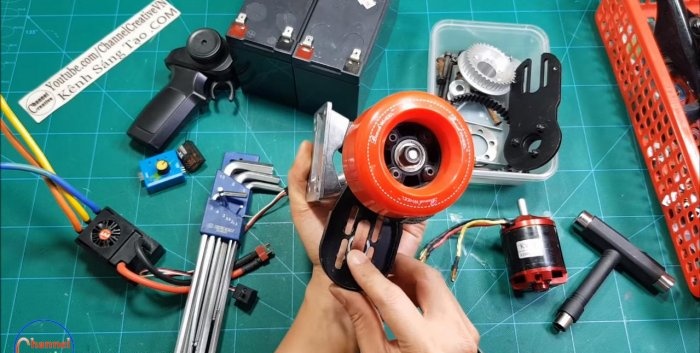
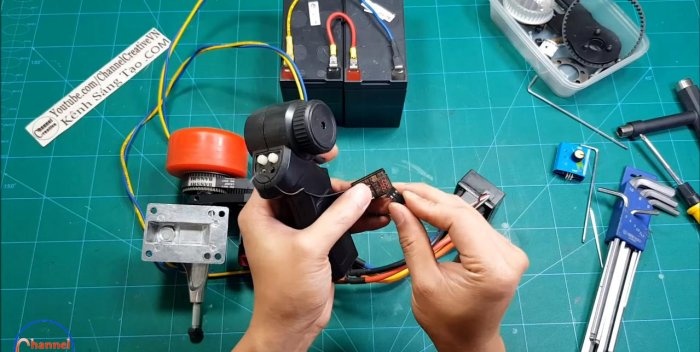
The author used a ready-made kit for converting a skateboard into an electric board as the basis for the driving mechanism of his electric bicycle. It can be bought on Chinese sites complete with an engine and a belt drive for around $100. They have a 24-volt motor that operates without brushes. For such devices, this is the most advantageous design, weight is about 500 grams, and power is 1800 W! Of course, with such characteristics, it has enough traction to easily pull the bicycle along with the rider.
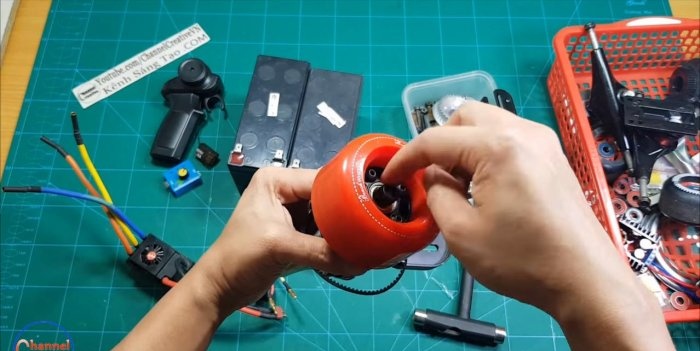
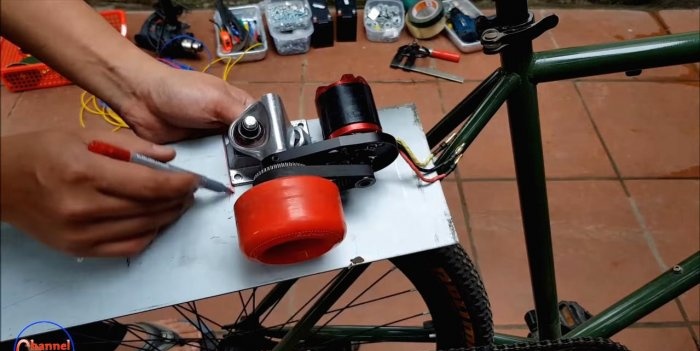
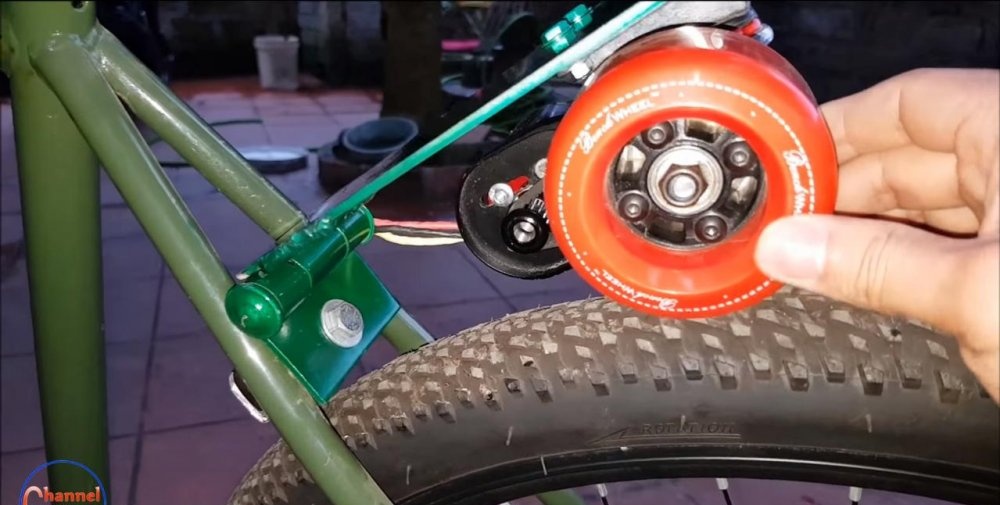
First of all, we attach the mounting platform for the engine and the belt drive to the suspension axis. Next, we attach the skateboard wheel with gear to the suspension axle.


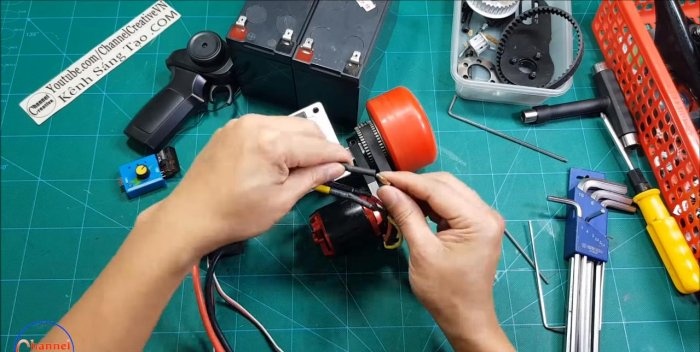
Now you need to correctly align the mounting platform for the engine.We turn it perpendicular to the vertical axis of the suspension, and tighten the clamping bolt with a hex key.


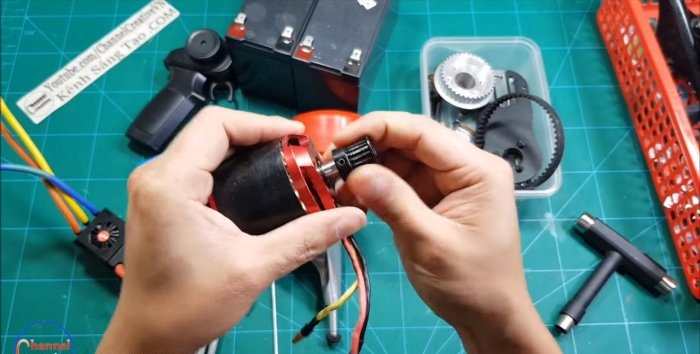
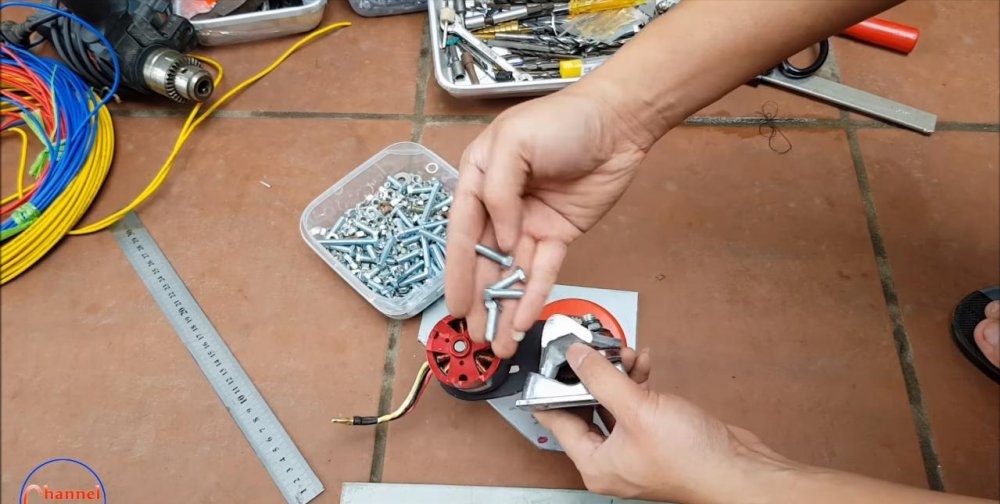
We install the engine on the seat, tighten it with four screws and put on a small gear for the belt drive.


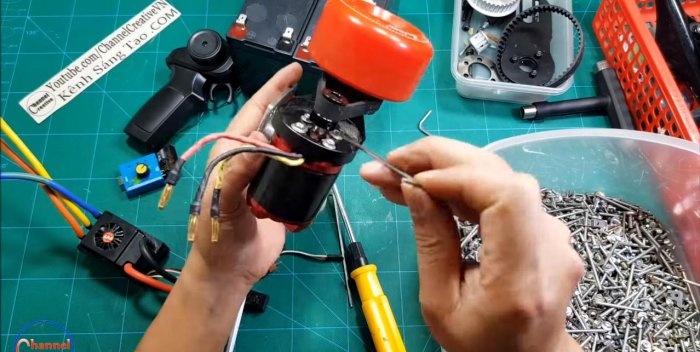

The suspension assembly is ready, now it can be connected through the speed controller to the batteries. We connect them in series. The author of the video added a rheostat switch to the circuit in order to be able to smoothly change the voltage and monitor the operation of the engine at the same time.


We disconnect the rheostat (we won't need it anymore), and connect the radio-controlled controller-handle with a receiver-transmitter. This equipment is used by skateboarders to control electric boards. A convenient trigger on the handle will allow you to operate such a device easily and naturally.


Installing such a module has its own characteristics. If it is fixed tightly to the bicycle frame, the skate wheel can rub the bicycle tire, and the engine can overheat from excessive stress and burn out. In a free position, such a suspension will dangle like unnecessary ballast while driving, especially on country roads. For a functional fastener, you need a fulcrum and a lever mechanism that will press the skateboard wheel to the tire. This is what we will do now.
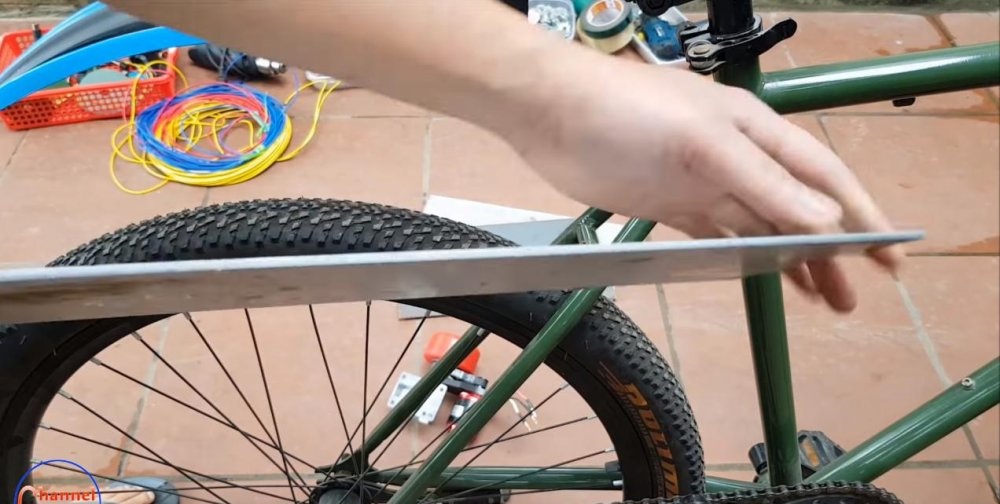
We raise the rear fender of the bicycle higher to place the driving module in its place.

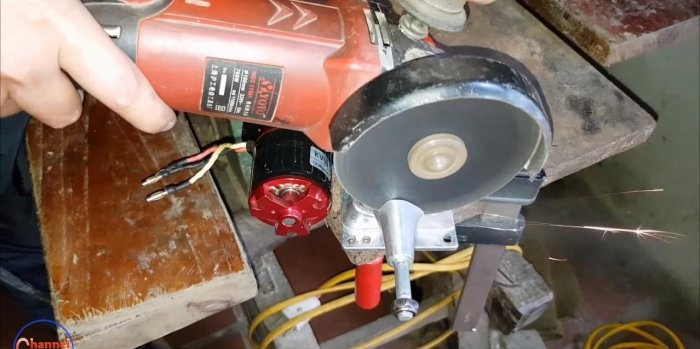
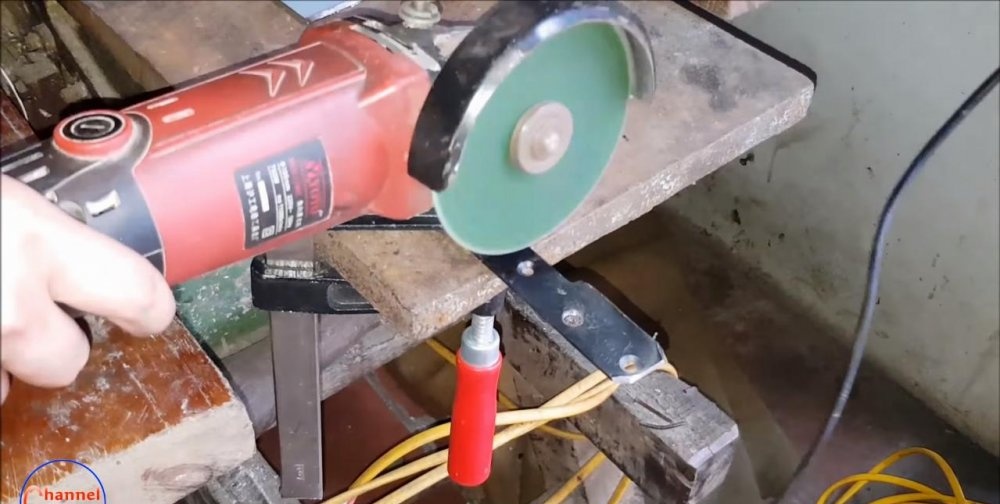
The suspension needs to be trimmed down slightly by removing the unclaimed second axle. We clamp the device in a vice, and use an angle grinder to cut it off flush with the mounting platform for the board. Clean the cut edges with a sanding disc.


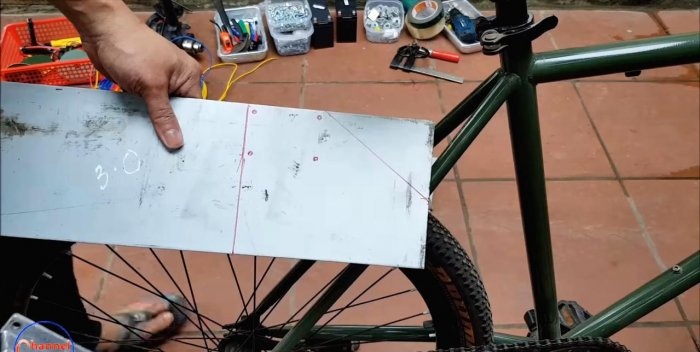
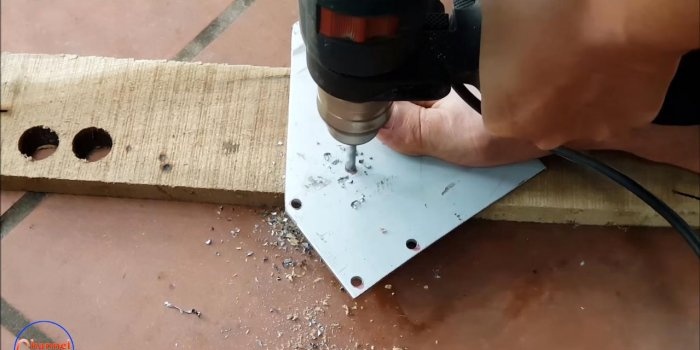
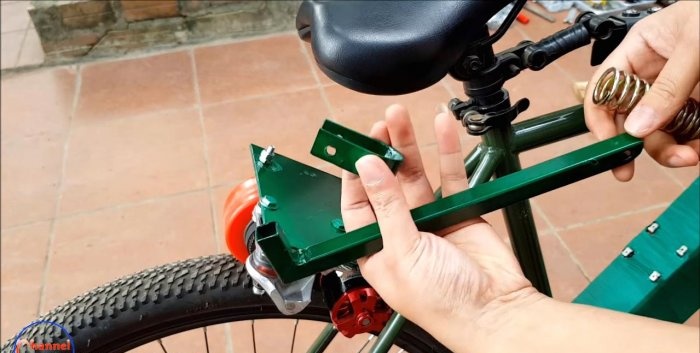
We cut out a protective cover for the driving module from a sheet of metal. We mark it according to the size of the device and cut it with a grinder. To secure the engine, we make holes for the mounting plate and place it on the bolts.


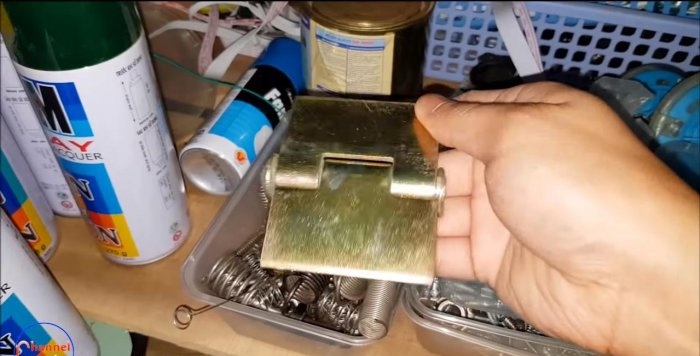
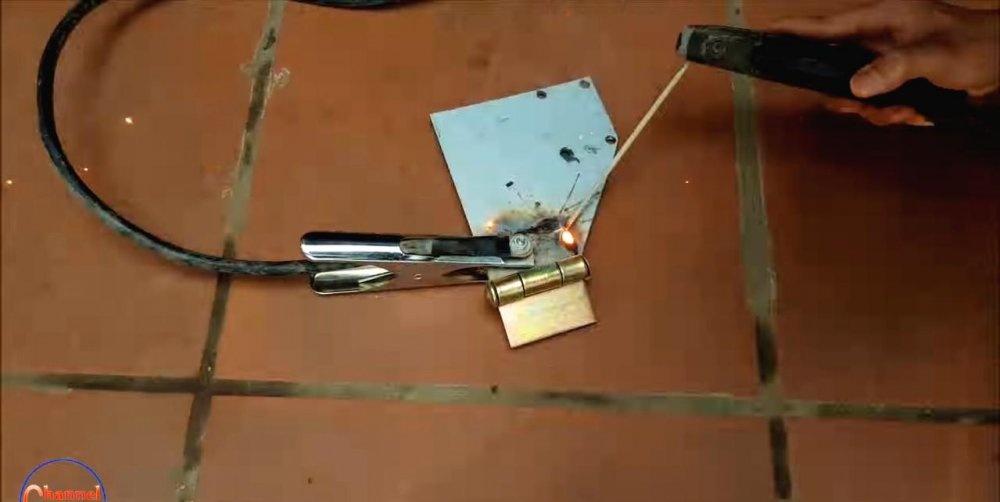
The movable module will be attached to the frame using a small but powerful hinge. This will be the axis of our device. We secure the loop on the back of the protective cover with a welding inverter. We clean the seams with a grinder.
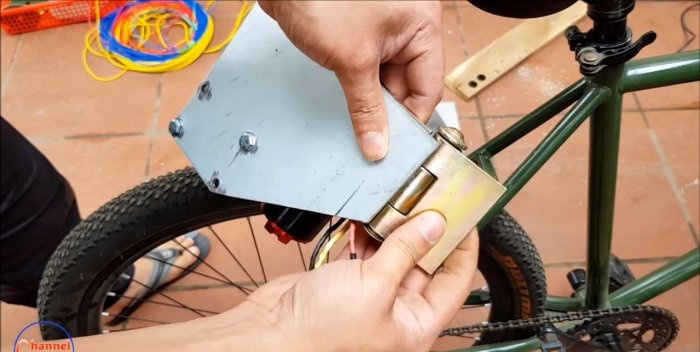


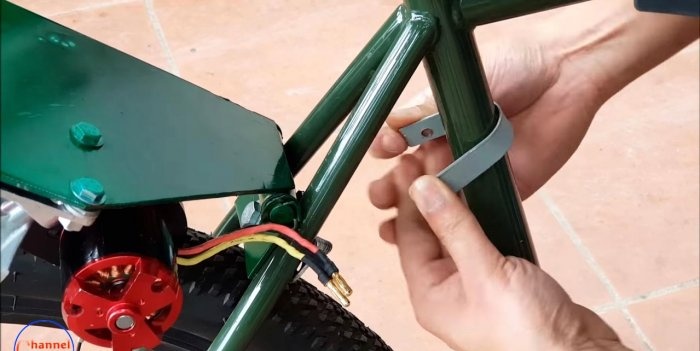
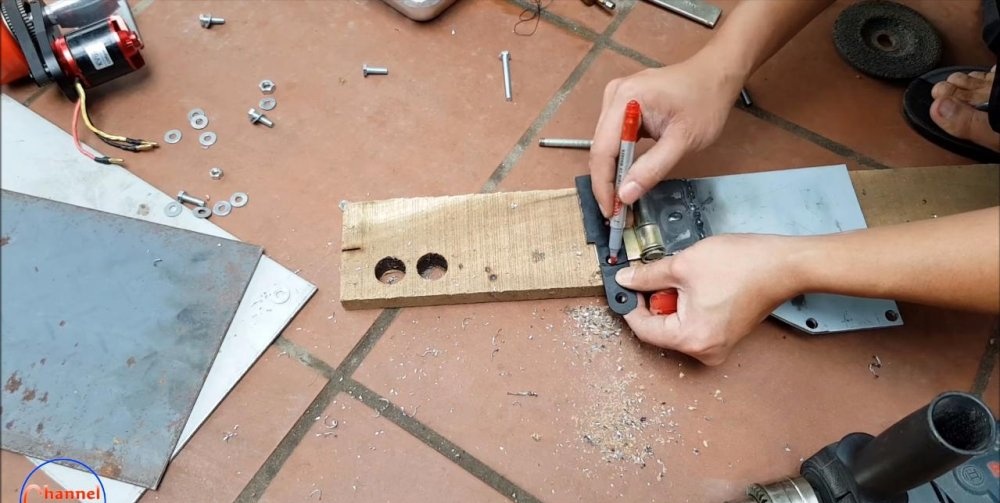
Using a piece of a regular door hinge, we make a clamp for fastening to the frame. We spray paint the protective cover with the hinge in the color of the bicycle frame. We fasten it with bolts to the moving module device.


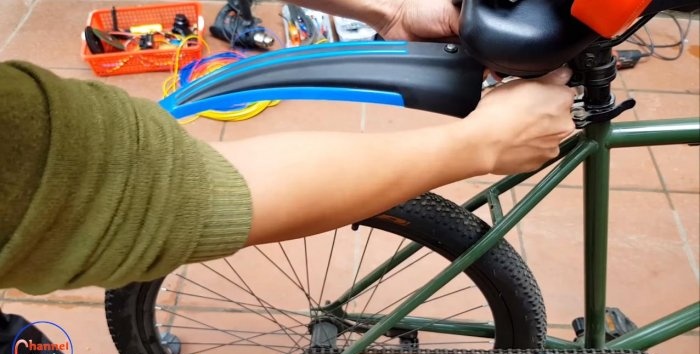
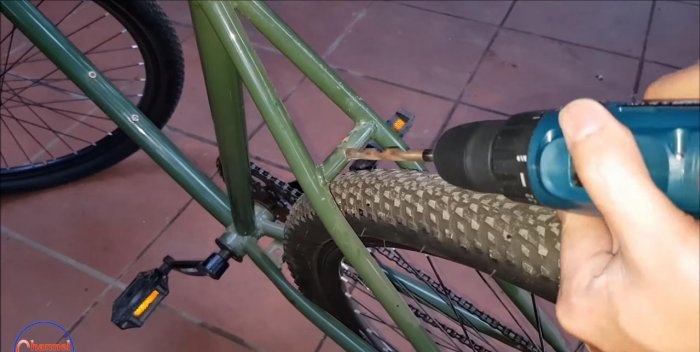
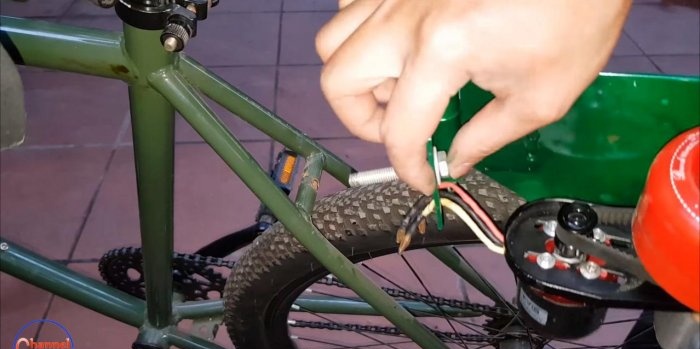
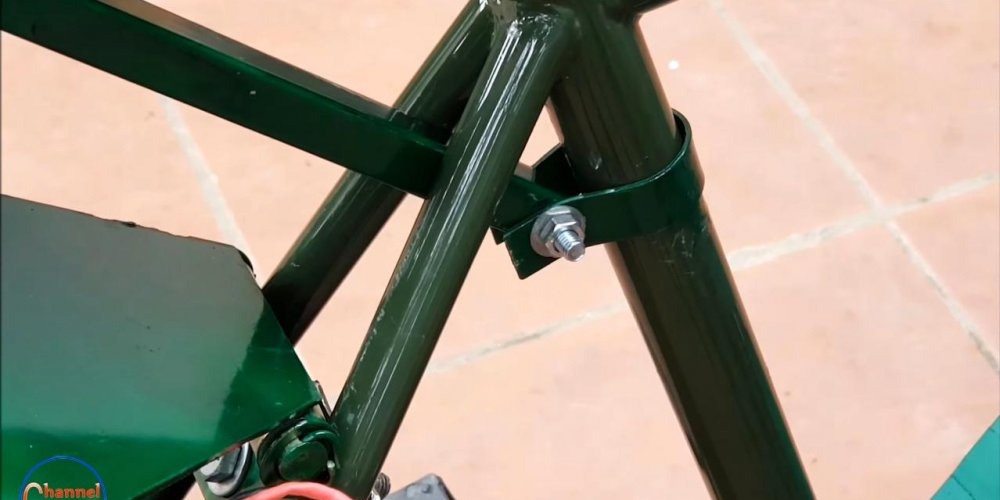
We mount the entire device using a powerful bolt. We drill a hole in the hinge and frame, tighten the bolted connection through it with an open-end and spanner wrenches. You need to adjust its position in such a way that the skateboard wheel is aligned parallel to the slope of the wheel and moves in the same plane with it.


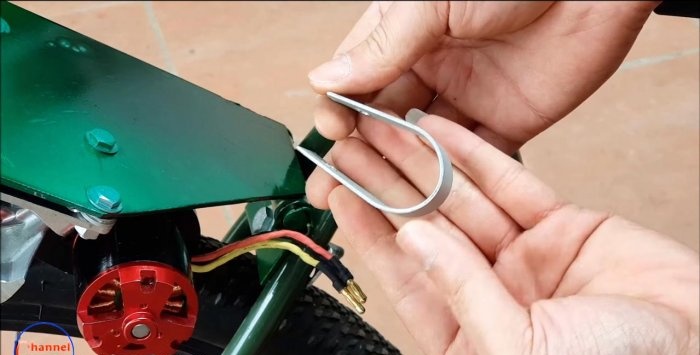
The clamping mechanism is made in the form of a small lever. It rests on a rigid spring, defined for compression.
We attach a bolt to the cover that will restrain the movement of the spring and prevent it from jumping off.


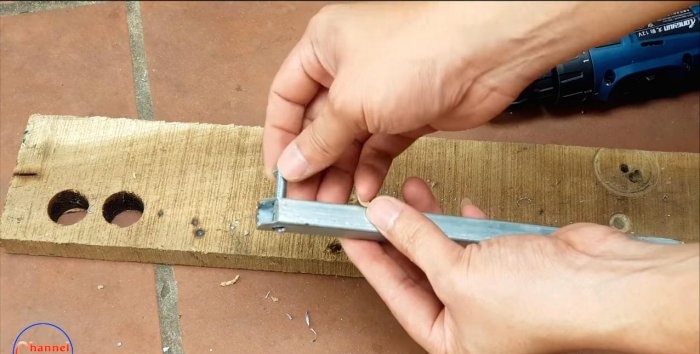
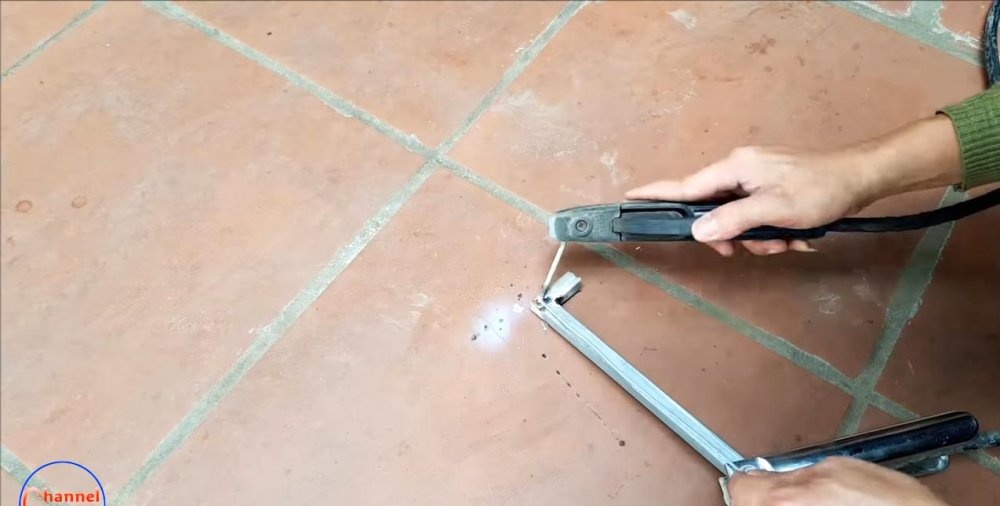
We make the lever from a 15x15 mm profile pipe. We mark an angular cut at one end, and a 90-degree bend at the other. We make cuts with a grinder and weld the joint with a welder.


We make a crimp clamp from an aluminum plate to secure the lever to the frame. After cleaning the seams, you can start painting.

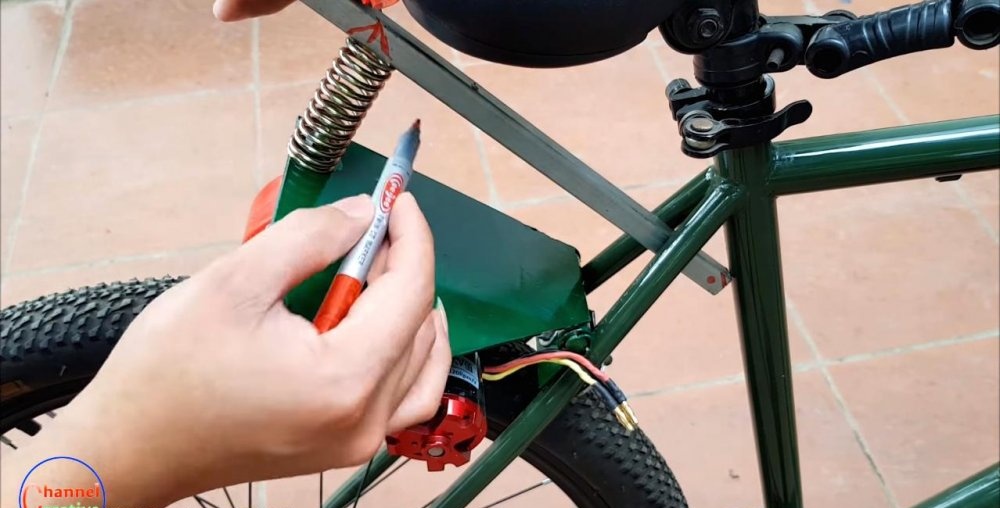
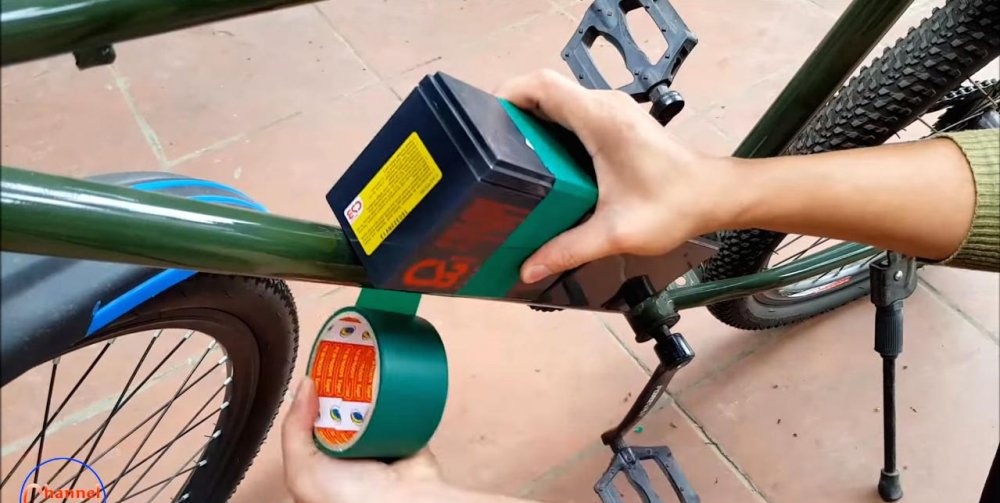
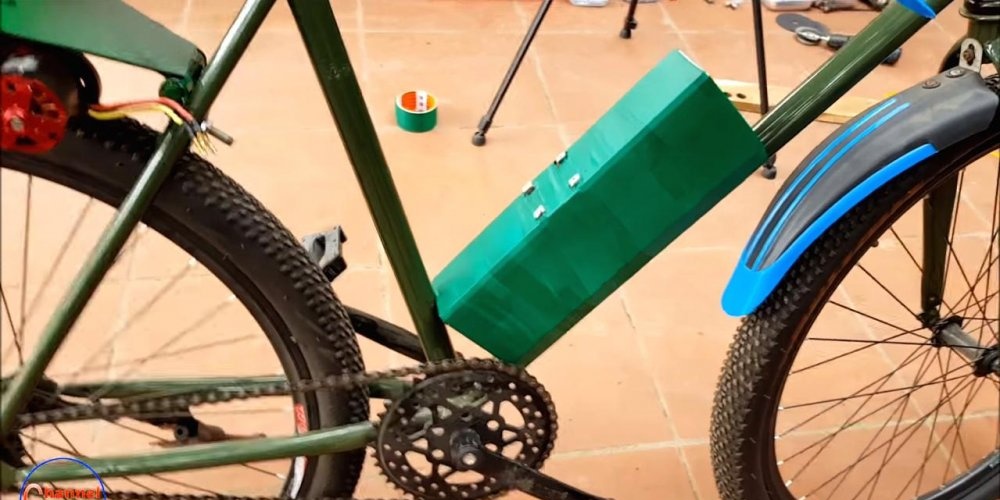
We place battery banks on the diagonal cross member of the frame. We rest them against a vertical stand and wrap them tightly with tape, leaving only the contact terminals open.We install the lever on the frame, fasten the clamp to the bolted connection, and tighten it with a screwdriver. We put the spring in its seat and check the pressing force against the tire.


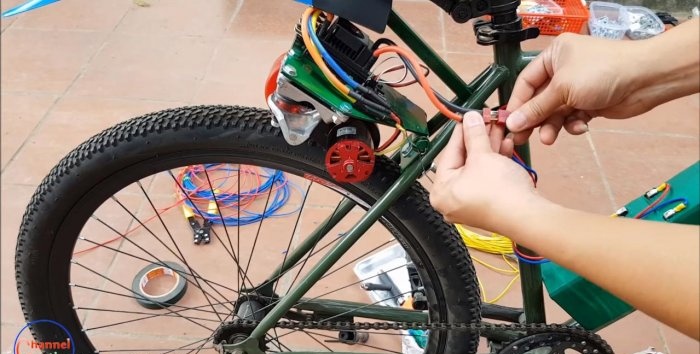
We attach the plastic fender under the saddle using a crimp bracket. We glue the speed regulator onto the protective cover with double tape. We connect the contacts of the motor and the regulator. We insulate the wire joints with heat shrink. We glue the receiver with the transmitter for radio-controlled control next to it.


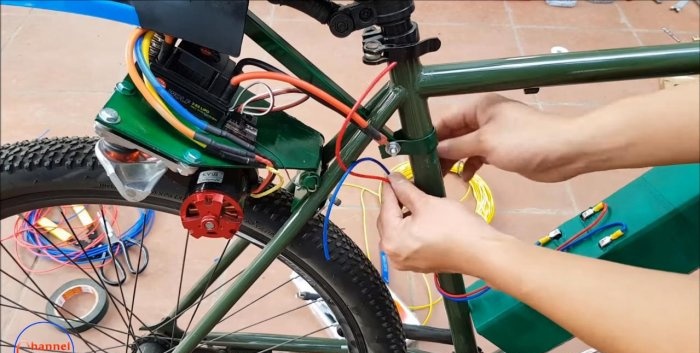
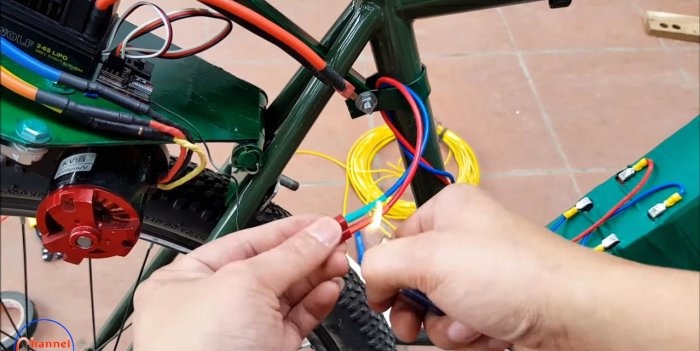
We cut the wiring to connect the batteries and the moving module. Using a stripper, you can crimp the terminals and strip the insulation. We wrap a long wire around the frame and solder a terminal block to connect to the speed controller. We tie the cable with nylon ties. The device is ready to start!


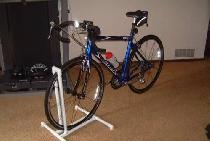
By lifting the driving rear wheel on a bicycle stand, you can try to start our electric bike. The advantage of an electronic speed controller is that it allows you to accurately reproduce the specified voltage up to complete shutdown. They are often used for electric boards and model cars.


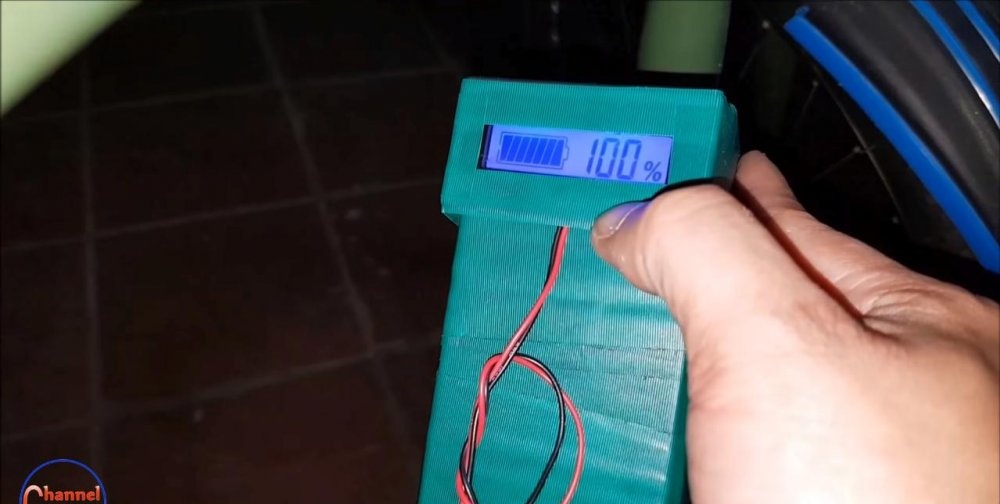
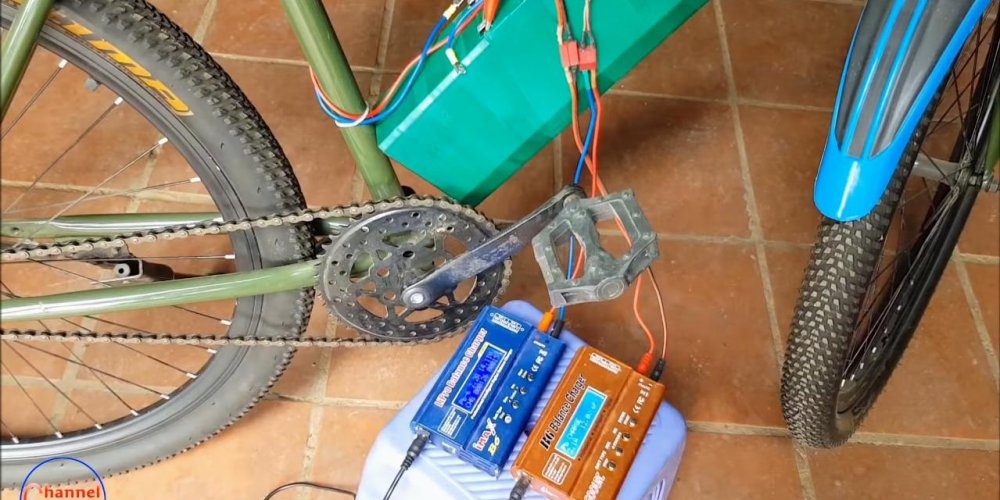
An electronic sensor attached to the front side of the cans will help control battery charging in a timely manner. For charging we use a professional device for lithium-ion and polymer batteries with a voltage stabilizer.


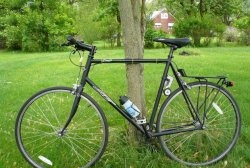
It's time to get on an electric bike and ride somewhere, testing the battery life. Despite the lack of a rear brake, turning off the power to the engine should help bring the electric bike to a smooth stop.


Well, the most important advantage of this type of transport is that if your batteries suddenly run out, you can always pedal to the nearest source of electricity and continue your exciting journey lightly!
Such models are widely discussed on the Internet. The controversy surrounding them does not subside, because alterations sometimes cost more than cars. But the author of the video did not strive for glamor or stunning design. Quite the contrary, his electric bike model can be called a budget one. All parts can be purchased on Chinese sites or in domestic online stores. The bike itself is not overloaded, and thanks to the modification it looks quite modern. It can be made in an ordinary home workshop. Is it worth it and is it worth the trouble to come up with a “bicycle” again? Let’s find out together.
Materials:
- Regular bicycle;
- 320kV brushless motor. Of course you can take SUCH DC motor and control it using PWM regulator;
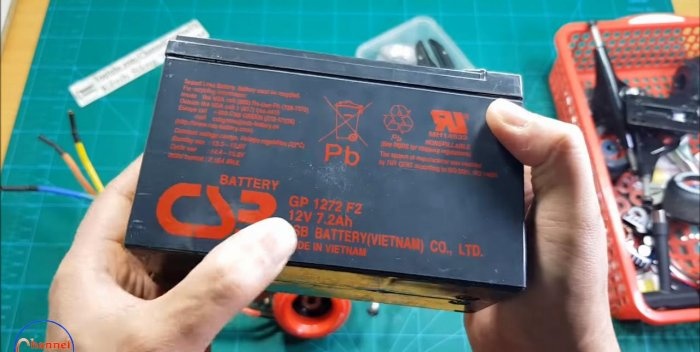
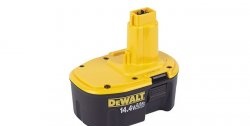
- Lead-acid battery GP1272 F2 – 2 pcs;
- Belt drive for gears;
- Skate pendant with wheel;
- Mounting plate for engine suspension;
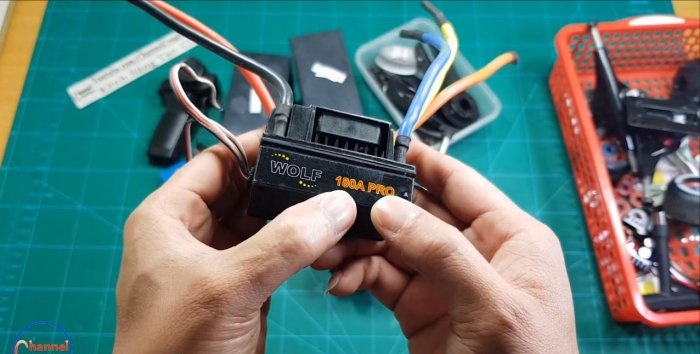
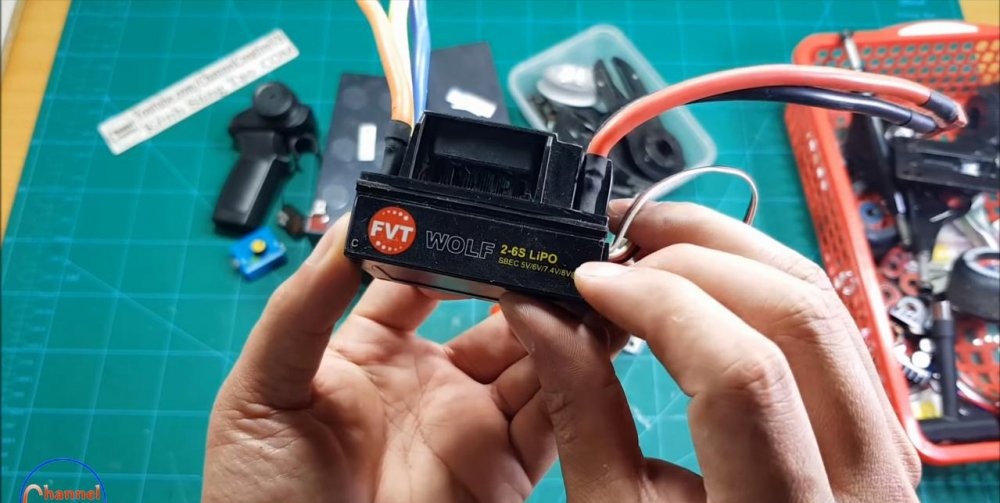
- Speed controller FVT 180 A;
- RC Transmitter with Receiver for Electric Motors;
- Metal plate (preferably stainless steel or aluminum);
- Aerosol car paint;
- Bolts, screws, nuts, washers;
- Wiring with terminals for connecting contact groups;
- Insulating tape;
- Tight anodized tension spring;
- Powerful loop with small shelves;
- Metal plates for clamps and gaskets;
- A section of profile pipe 15x15 mm, length - about 50 cm;
- Double tape.
Tools:
- Drill or screwdriver;
- Bulgarian (angle grinder);
- Welding inverter;
- Drills, cutting and grinding discs for grinders;
- Set of open-end and hex keys;
- Stripper for crimping terminals on wires;
- Screwdriver, pliers, paint knife and tape measure with pencil.


Assembling an electric bike
The author used a ready-made kit for converting a skateboard into an electric board as the basis for the driving mechanism of his electric bicycle. It can be bought on Chinese sites complete with an engine and a belt drive for around $100. They have a 24-volt motor that operates without brushes. For such devices, this is the most advantageous design, weight is about 500 grams, and power is 1800 W! Of course, with such characteristics, it has enough traction to easily pull the bicycle along with the rider.
Step one - making an electric drive on the suspension
First of all, we attach the mounting platform for the engine and the belt drive to the suspension axis. Next, we attach the skateboard wheel with gear to the suspension axle.


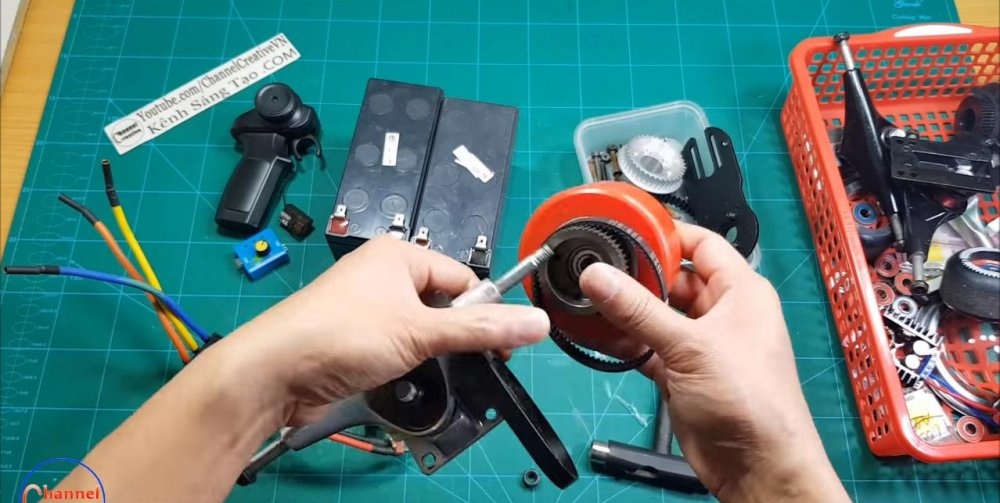


Now you need to correctly align the mounting platform for the engine.We turn it perpendicular to the vertical axis of the suspension, and tighten the clamping bolt with a hex key.

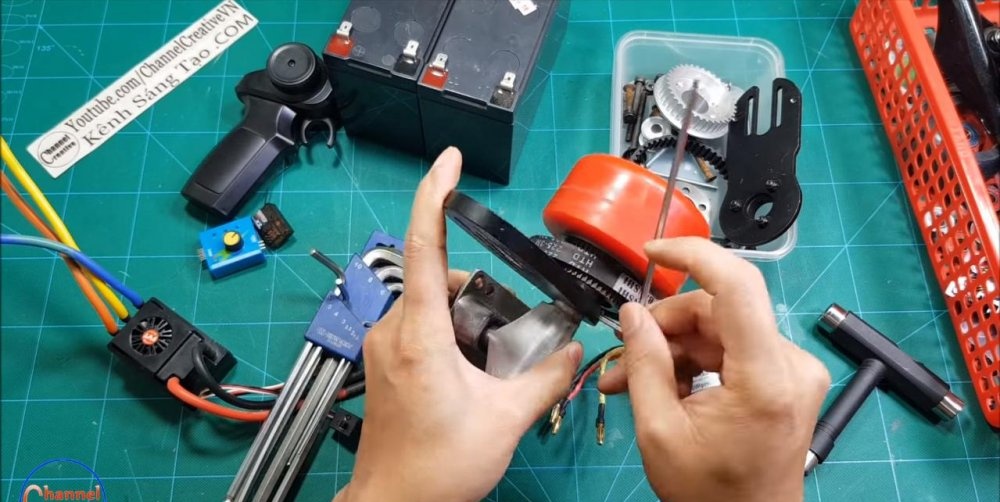

We install the engine on the seat, tighten it with four screws and put on a small gear for the belt drive.


Step two - connect the electrical circuit
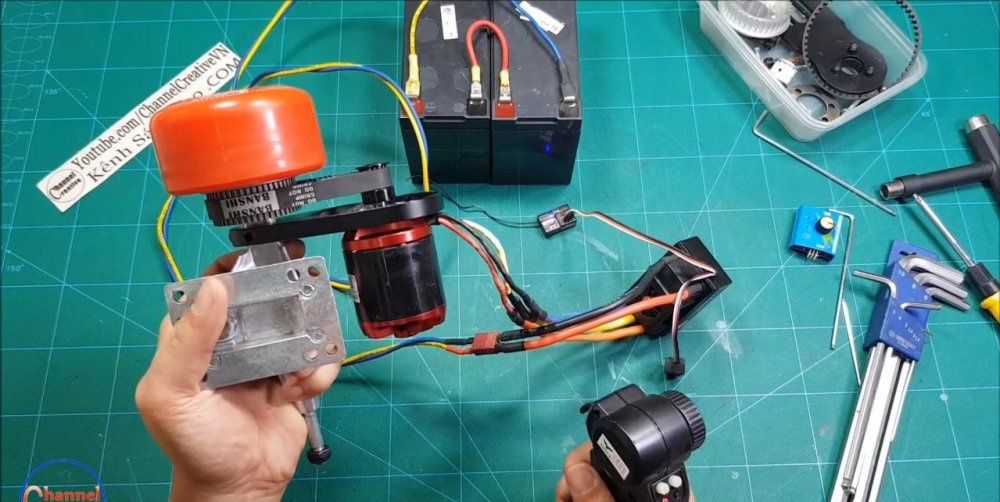
The suspension assembly is ready, now it can be connected through the speed controller to the batteries. We connect them in series. The author of the video added a rheostat switch to the circuit in order to be able to smoothly change the voltage and monitor the operation of the engine at the same time.


We disconnect the rheostat (we won't need it anymore), and connect the radio-controlled controller-handle with a receiver-transmitter. This equipment is used by skateboarders to control electric boards. A convenient trigger on the handle will allow you to operate such a device easily and naturally.


Step three - attach the driving module to the bicycle frame
Installing such a module has its own characteristics. If it is fixed tightly to the bicycle frame, the skate wheel can rub the bicycle tire, and the engine can overheat from excessive stress and burn out. In a free position, such a suspension will dangle like unnecessary ballast while driving, especially on country roads. For a functional fastener, you need a fulcrum and a lever mechanism that will press the skateboard wheel to the tire. This is what we will do now.
We raise the rear fender of the bicycle higher to place the driving module in its place.


The suspension needs to be trimmed down slightly by removing the unclaimed second axle. We clamp the device in a vice, and use an angle grinder to cut it off flush with the mounting platform for the board. Clean the cut edges with a sanding disc.


We cut out a protective cover for the driving module from a sheet of metal. We mark it according to the size of the device and cut it with a grinder. To secure the engine, we make holes for the mounting plate and place it on the bolts.


The movable module will be attached to the frame using a small but powerful hinge. This will be the axis of our device. We secure the loop on the back of the protective cover with a welding inverter. We clean the seams with a grinder.


Using a piece of a regular door hinge, we make a clamp for fastening to the frame. We spray paint the protective cover with the hinge in the color of the bicycle frame. We fasten it with bolts to the moving module device.


We mount the entire device using a powerful bolt. We drill a hole in the hinge and frame, tighten the bolted connection through it with an open-end and spanner wrenches. You need to adjust its position in such a way that the skateboard wheel is aligned parallel to the slope of the wheel and moves in the same plane with it.


Step four - preparing the lever
The clamping mechanism is made in the form of a small lever. It rests on a rigid spring, defined for compression.
We attach a bolt to the cover that will restrain the movement of the spring and prevent it from jumping off.


We make the lever from a 15x15 mm profile pipe. We mark an angular cut at one end, and a 90-degree bend at the other. We make cuts with a grinder and weld the joint with a welder.


We make a crimp clamp from an aluminum plate to secure the lever to the frame. After cleaning the seams, you can start painting.


Step five - install electrics on the bike
We place battery banks on the diagonal cross member of the frame. We rest them against a vertical stand and wrap them tightly with tape, leaving only the contact terminals open.We install the lever on the frame, fasten the clamp to the bolted connection, and tighten it with a screwdriver. We put the spring in its seat and check the pressing force against the tire.


We attach the plastic fender under the saddle using a crimp bracket. We glue the speed regulator onto the protective cover with double tape. We connect the contacts of the motor and the regulator. We insulate the wire joints with heat shrink. We glue the receiver with the transmitter for radio-controlled control next to it.


We cut the wiring to connect the batteries and the moving module. Using a stripper, you can crimp the terminals and strip the insulation. We wrap a long wire around the frame and solder a terminal block to connect to the speed controller. We tie the cable with nylon ties. The device is ready to start!


By lifting the driving rear wheel on a bicycle stand, you can try to start our electric bike. The advantage of an electronic speed controller is that it allows you to accurately reproduce the specified voltage up to complete shutdown. They are often used for electric boards and model cars.


An electronic sensor attached to the front side of the cans will help control battery charging in a timely manner. For charging we use a professional device for lithium-ion and polymer batteries with a voltage stabilizer.


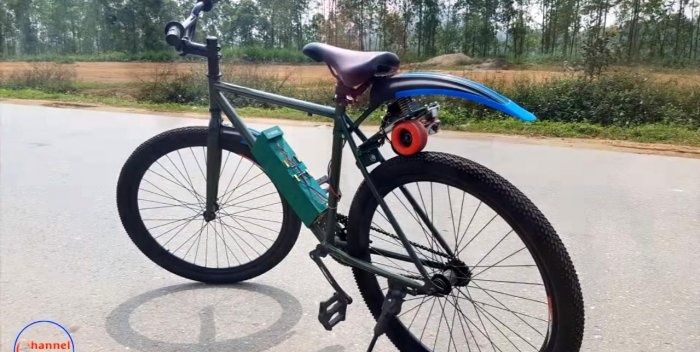
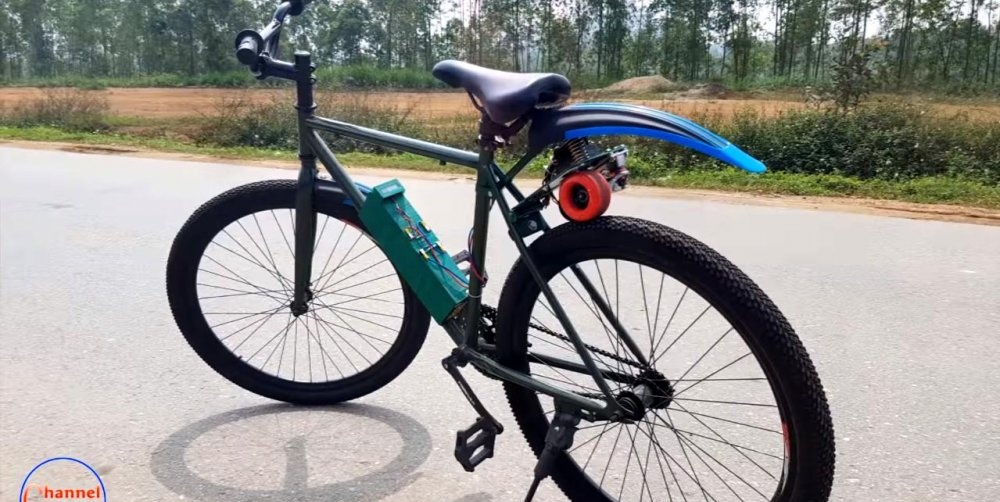
It's time to get on an electric bike and ride somewhere, testing the battery life. Despite the lack of a rear brake, turning off the power to the engine should help bring the electric bike to a smooth stop.


Well, the most important advantage of this type of transport is that if your batteries suddenly run out, you can always pedal to the nearest source of electricity and continue your exciting journey lightly!
Watch the video
Similar master classes


Particularly interesting


Comments (5)
