Triac power regulator
Such a simple, but at the same time very effective regulator can be assembled by almost anyone who can hold a soldering iron in their hands and even slightly read the diagrams. Well, this site will help you fulfill your desire. The presented regulator regulates power very smoothly without surges or dips.
Circuit of a simple triac regulator

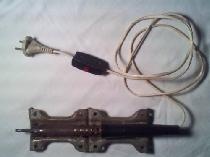
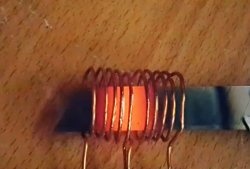
Such a regulator can be used to regulate lighting with incandescent lamps, but also with LED lamps if you buy dimmable ones. It is easy to regulate the temperature of the soldering iron. You can continuously adjust the heating, change the rotation speed of electric motors with a wound rotor, and much more where there is a place for such a useful thing. If you have an old electric drill that does not have speed control, then by using this regulator you will improve such a useful thing.
The article, with the help of photographs, descriptions and the attached video, describes in great detail the entire manufacturing process, from collecting parts to testing the finished product.

I’ll say right away that if you are not friends with your neighbors, then you don’t have to collect the C3 - R4 chain. (Joke) It serves to protect against radio interference.
All parts can be bought in China on Aliexpress. Prices are two to ten times less than in our stores.
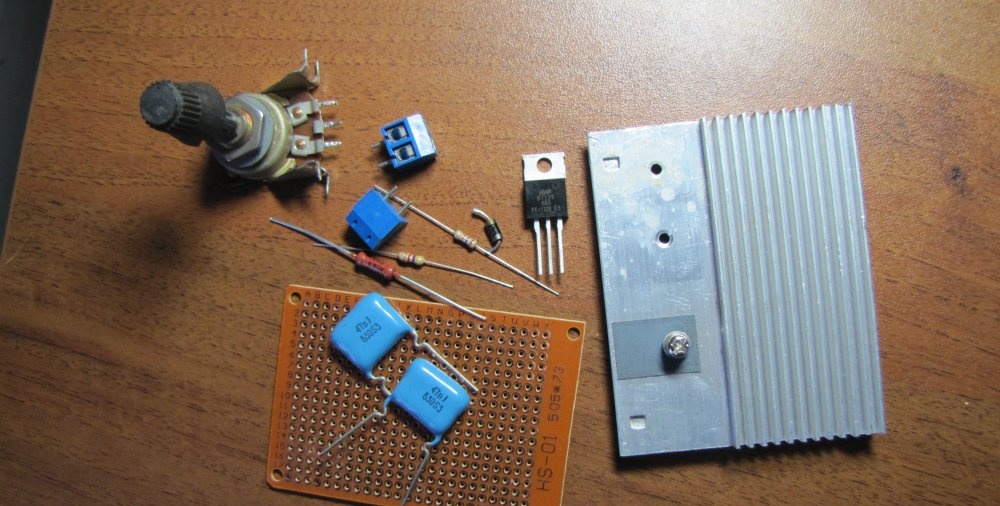
To make this device you will need:
- R1 – resistor approximately 20 Kom, power 0.25 W;
- R2 – potentiometer approximately 500 Kom, 300 Kom to 1 Mohm is possible, but 470 Kom is better;
- R3 - resistor approximately 3 Kom, 0.25 W;
- R4 - resistor 200-300 Ohm, 0.5 W;
- C1 and C2 – capacitors 0.05 μF, 400 V;
- C3 – 0.1 μF, 400 V;
- DB3 – dinistor, found in every energy-saving lamp;
- BT139-600, regulates a current of 18 A or BT138-800, regulates a current of 12 A - triacs, but you can take any others, depending on what kind of load you need to regulate. A dinistor is also called a diac, a triac is a triac.
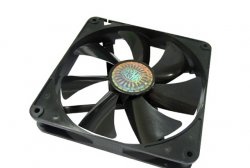
- The cooling radiator is selected based on the planned regulation power, but the more, the better. Without a radiator, you can regulate no more than 300 watts.
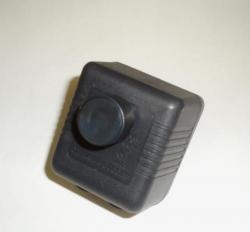
- Any terminal blocks can be installed;
- Use the breadboard as you wish, as long as everything fits in.
- Well, without a device it’s like without hands. But it’s better to use our solder. Although it is more expensive, it is much better. I haven't seen any good Chinese solder.

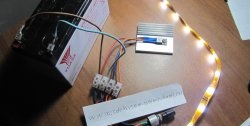
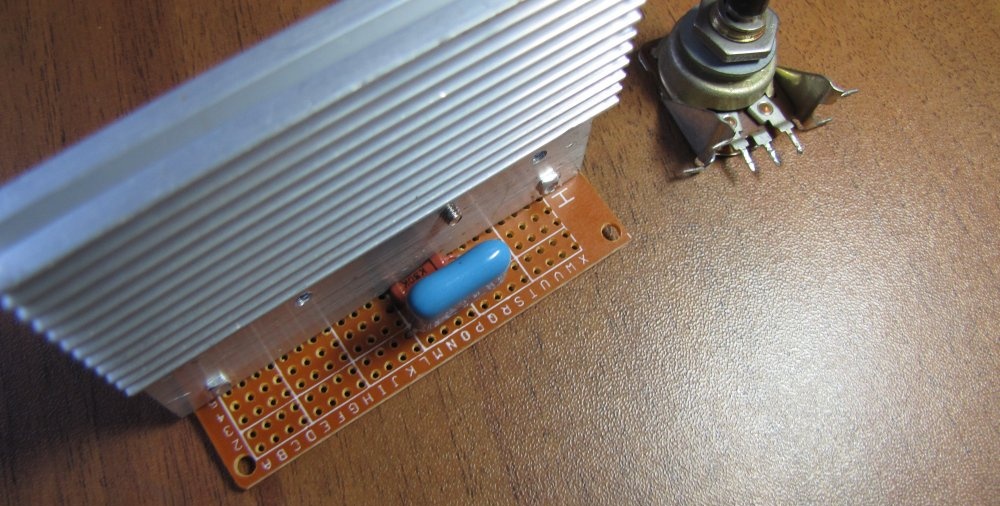
Let's start assembling the regulator
First, you need to think about the arrangement of parts so as to install as few jumpers as possible and do less soldering, then we very carefully check the compliance with the diagram, and then solder all the connections.


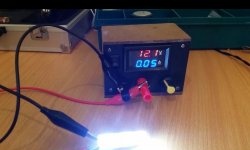
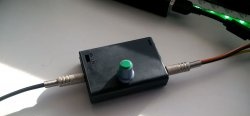
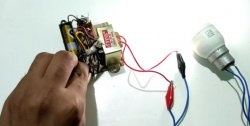
After making sure that there are no errors and placing the product in a plastic case, you can test it by connecting it to the network.

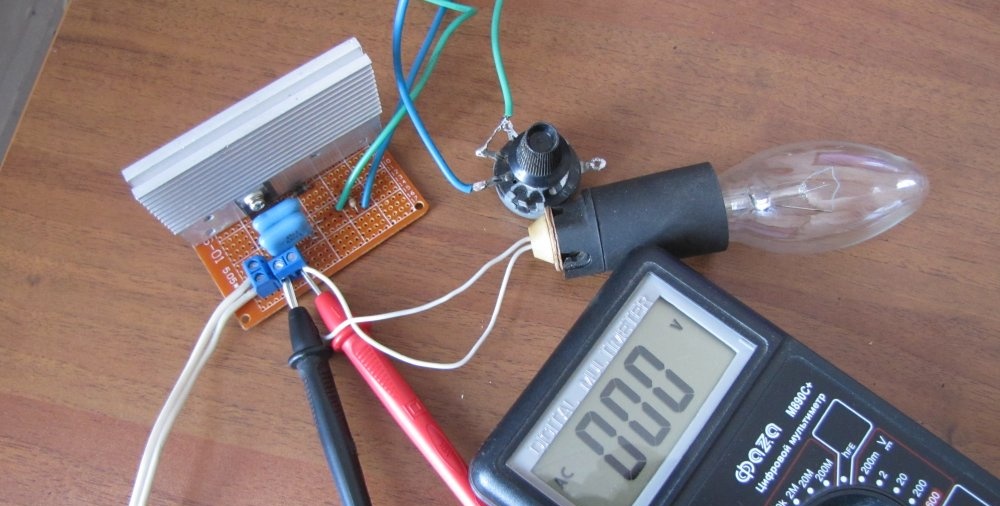


Be very careful when testing. All parts of the circuit are under direct voltage of 220 volts and touching them is very dangerous.
If you completed the assembly correctly, then everything should work right away. The device does not require adjustment or adjustment.